New York Heads Day Two/Three
Posted: Mon Jun 17, 2019 7:48 am
(sorry I have been so tardy! life ebbs and flows like ripples in a still pond, then bam! tsunami)
I remember Heads Day Two Total Visit Day 3 at the wdollie6 Volkswagen Jack Test Facility starting with a welcome visit to the kitchen for a blast of coffee. Wdollie6 and spouse were so hospitable at the hospital for headless Volkswagens. We yakked at the kitchen table about "business". Wdollie6 is a real businessman, I am a punk little proprietor punk, but it was fun to find our common ground, quality! promptness! ... it really matters!
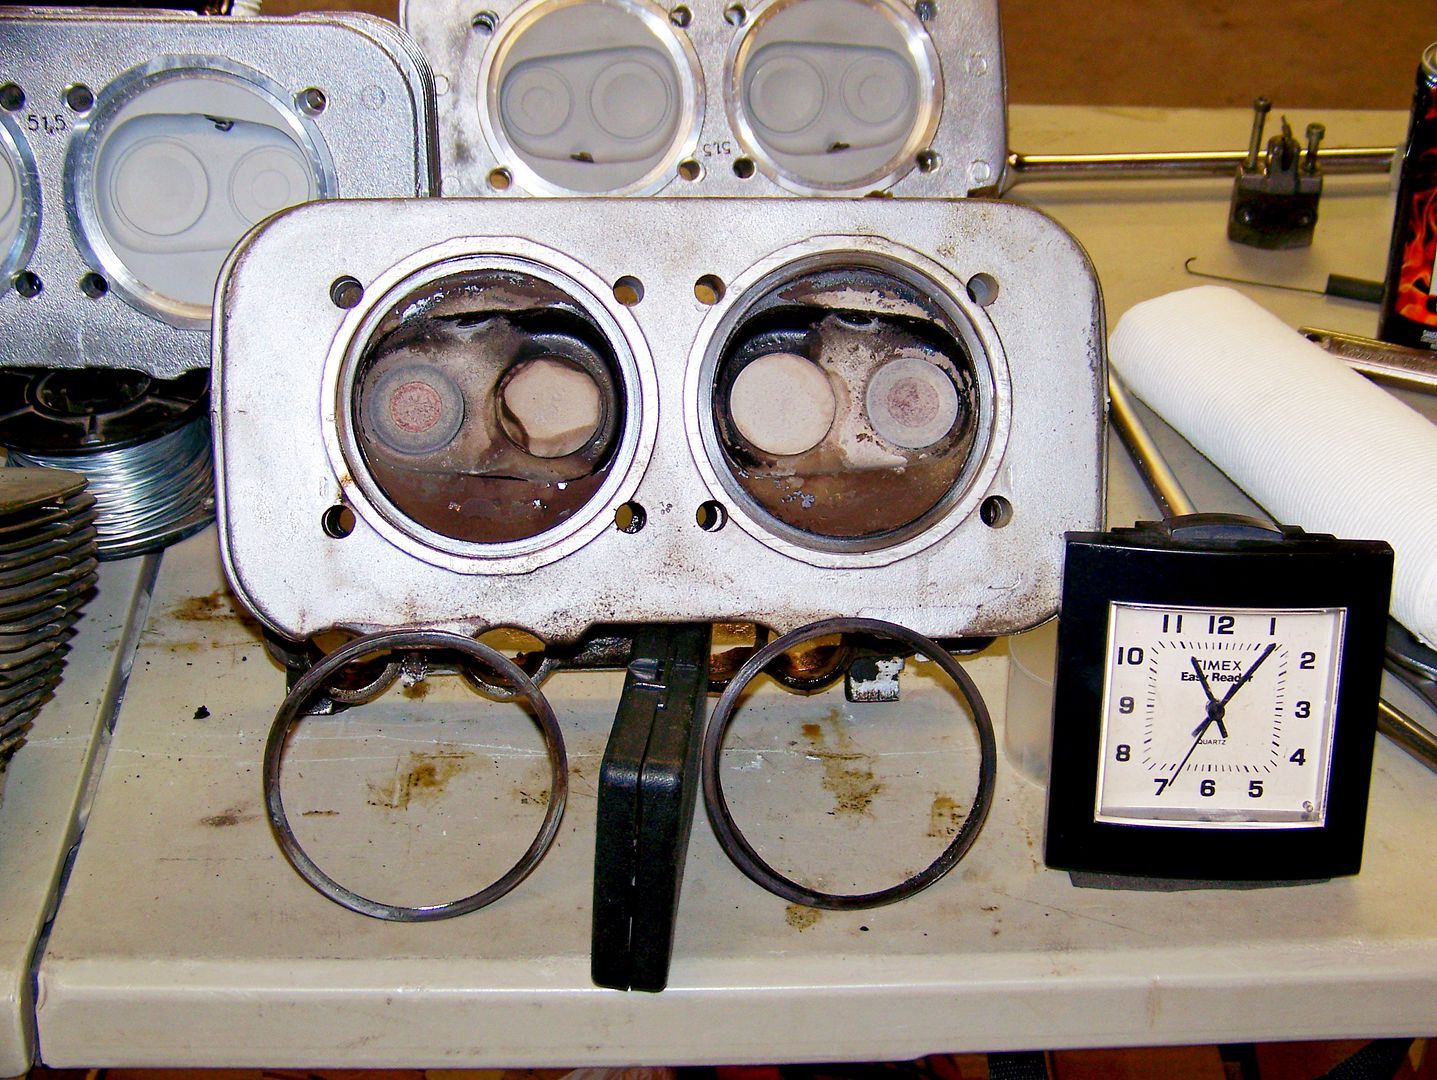
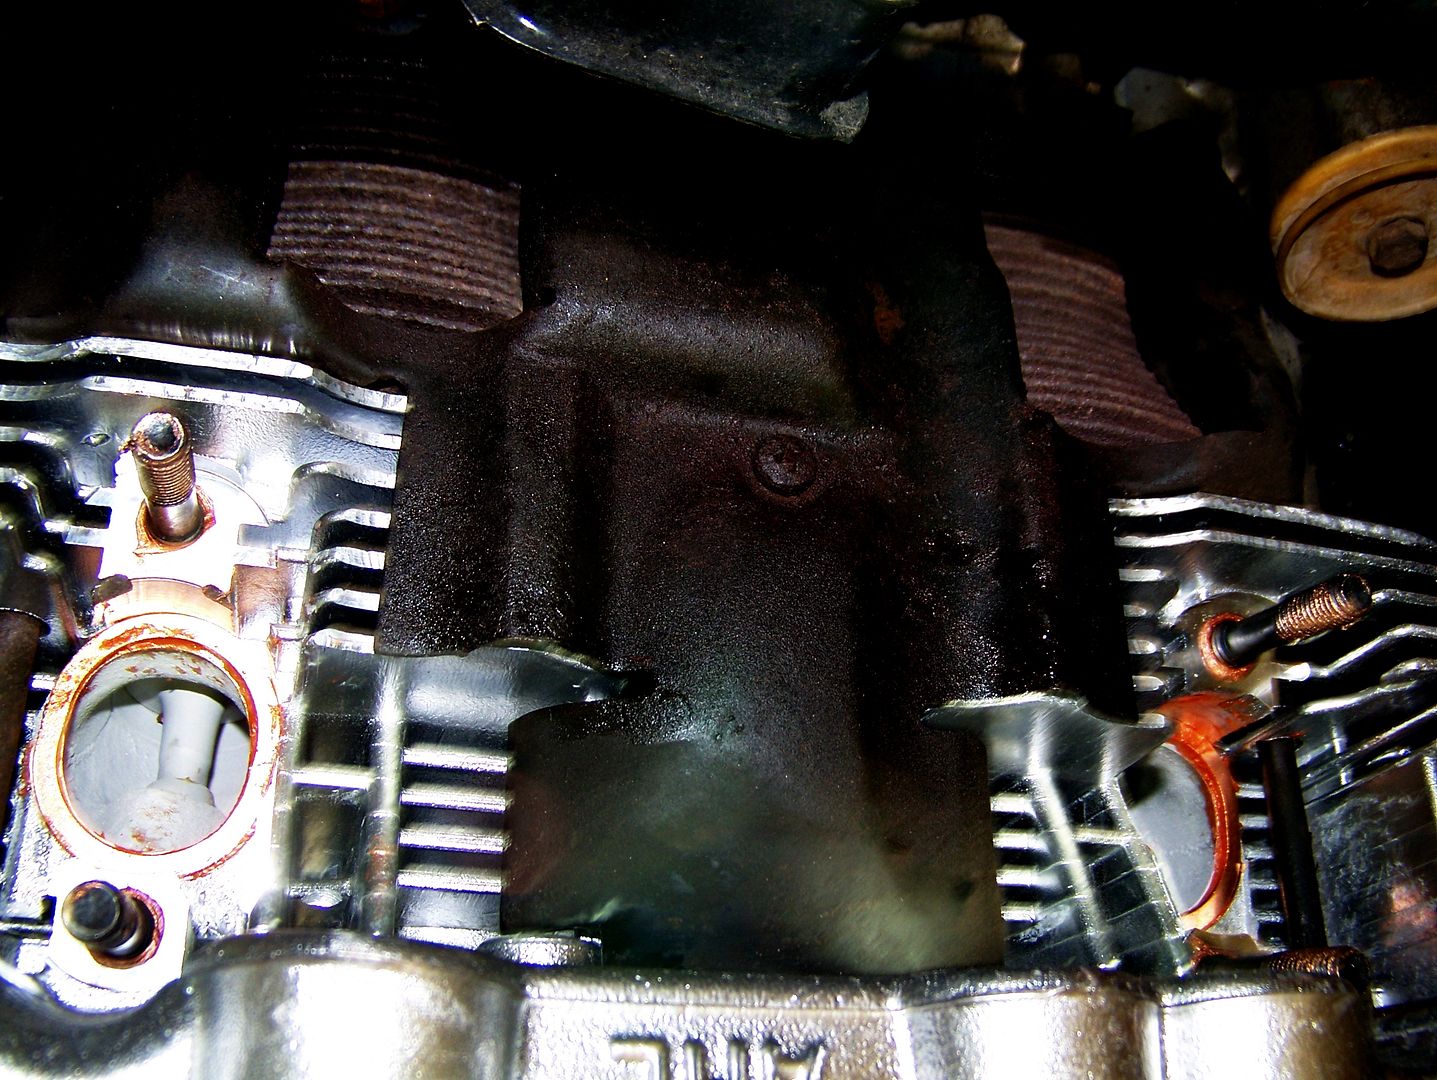
So look at these head sealing rings. They are fine! They were just beginning to get a little blow-by as the engine relaxed its clamping force after countless heat-cool cycles. Eventually they might have leaked and burned through, but we are supposed to take the heads off after 100,000 miles anyway. You know why I like head sealing rings? They save the heads from barrel wear. They act like washers. Yes, you delete them in the 2.0 engines, but not because they are failure prone, but rather the engineers had to deal with an engineering mistake in their clearances for the new 94mm pistons. If your head sealing rings fail prematurely, it is because the engine overheated. I still use them when called-for:
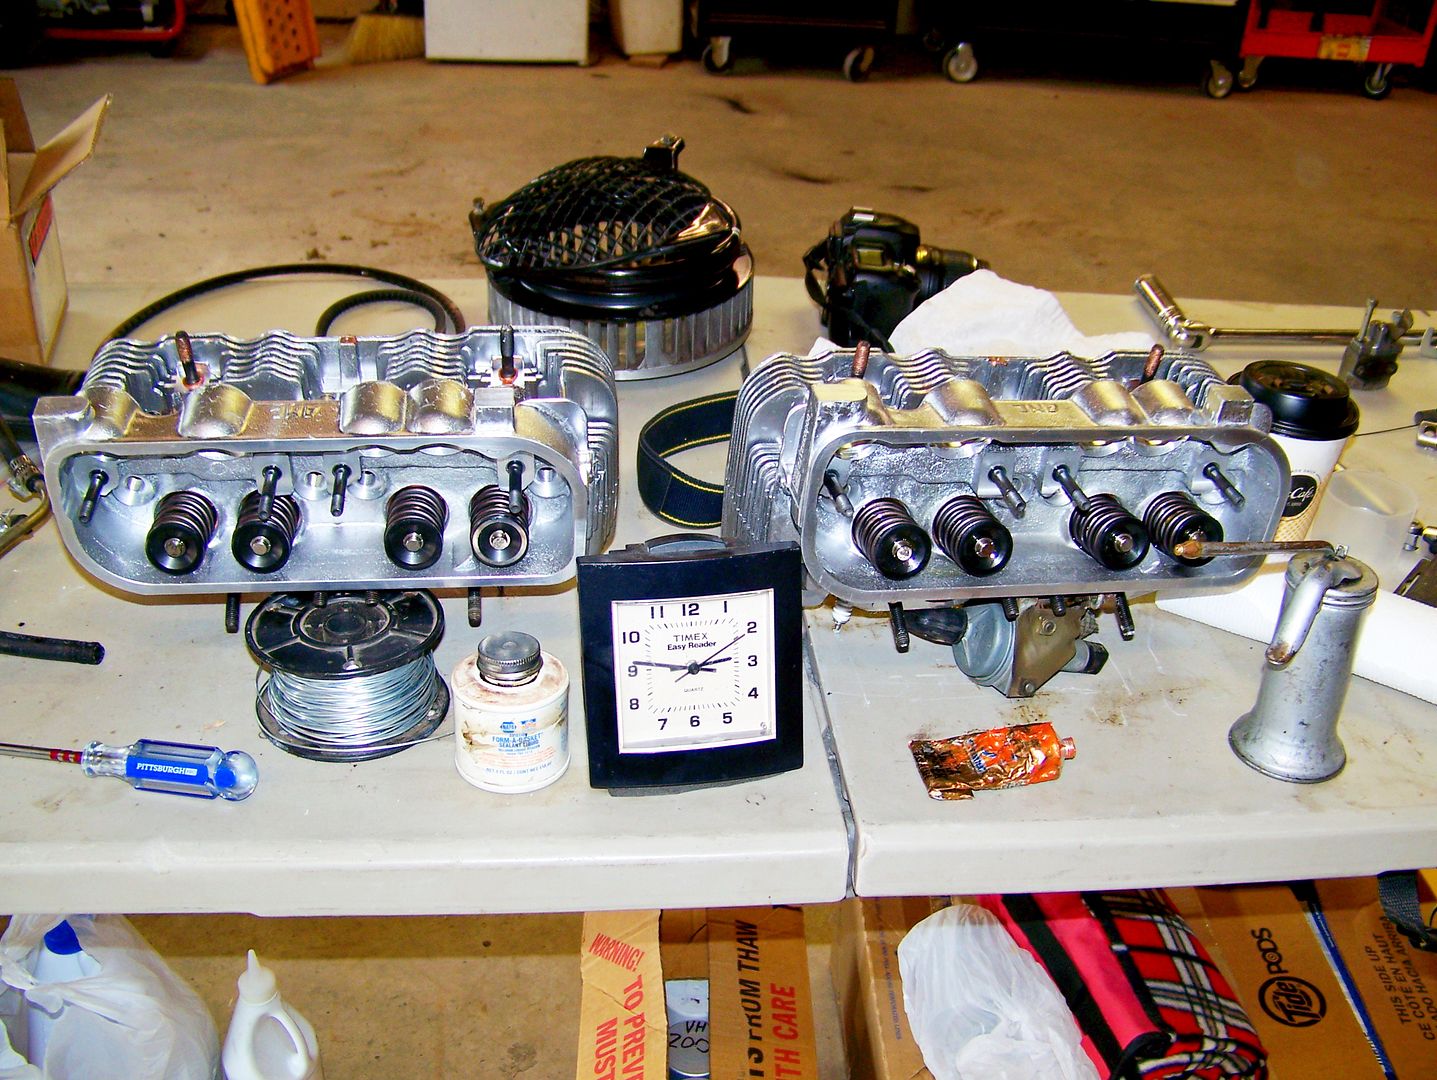
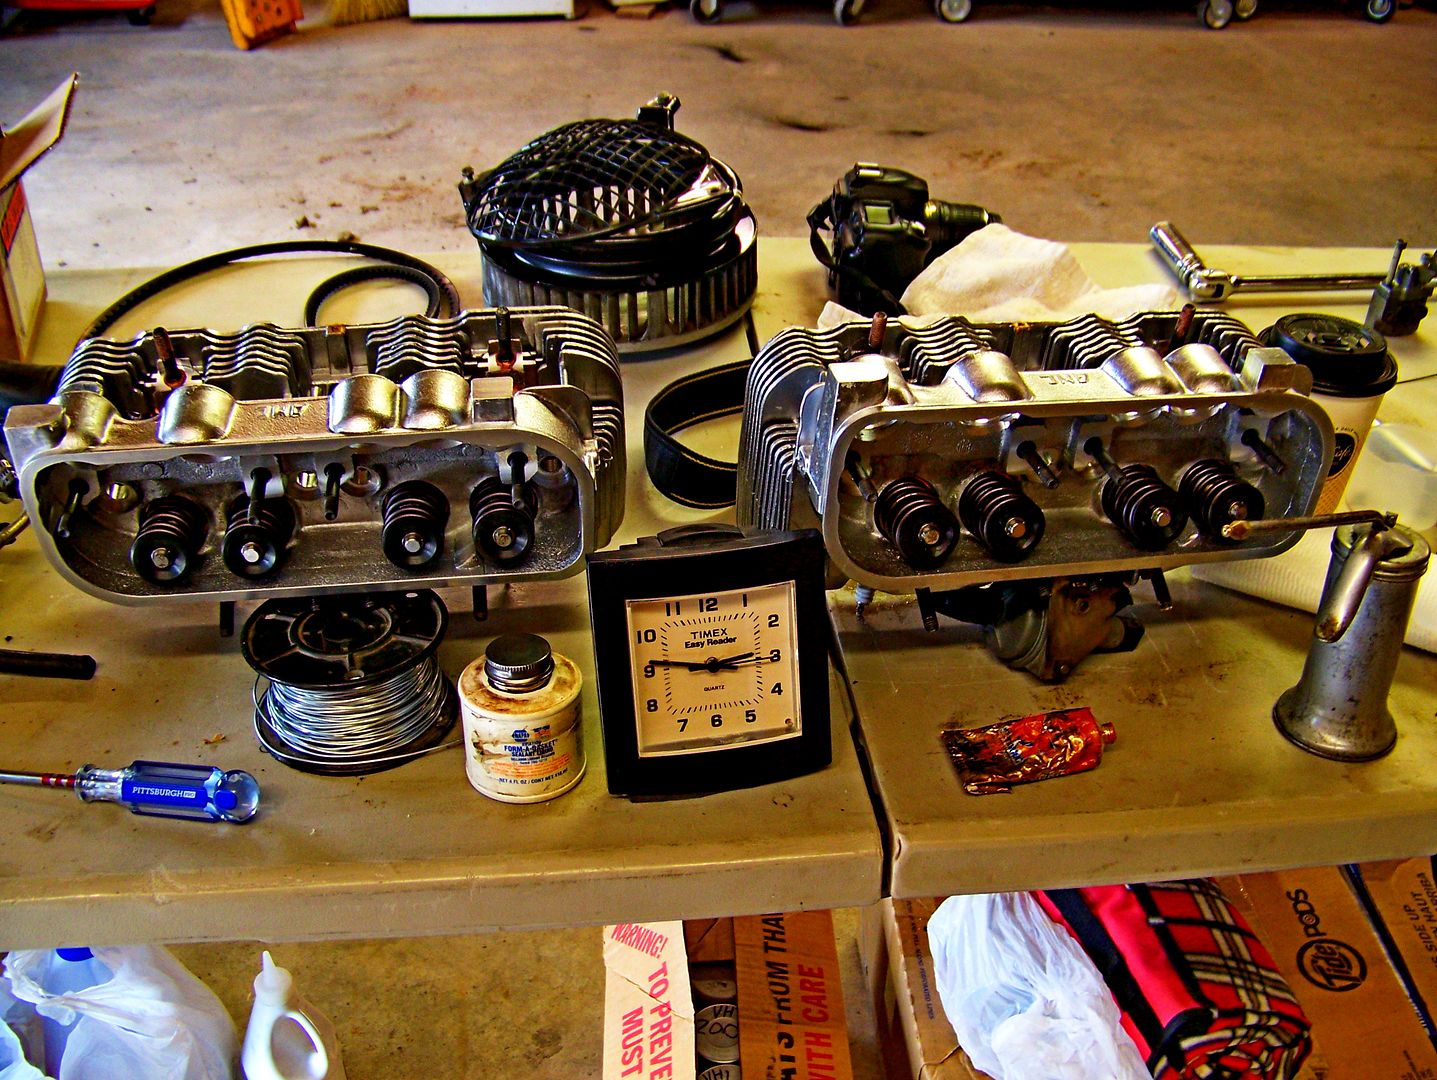
Four hours later, I am still just staring at the heads. Not really, this shot is after I pre-lubricated the valve stems and keepers, applied anti-seize to the exhaust studs and spark plug threads, installed the intake studs to a specific depth and applied Ultracopper to the exhaust ports and stuck in the copper sealing rings:
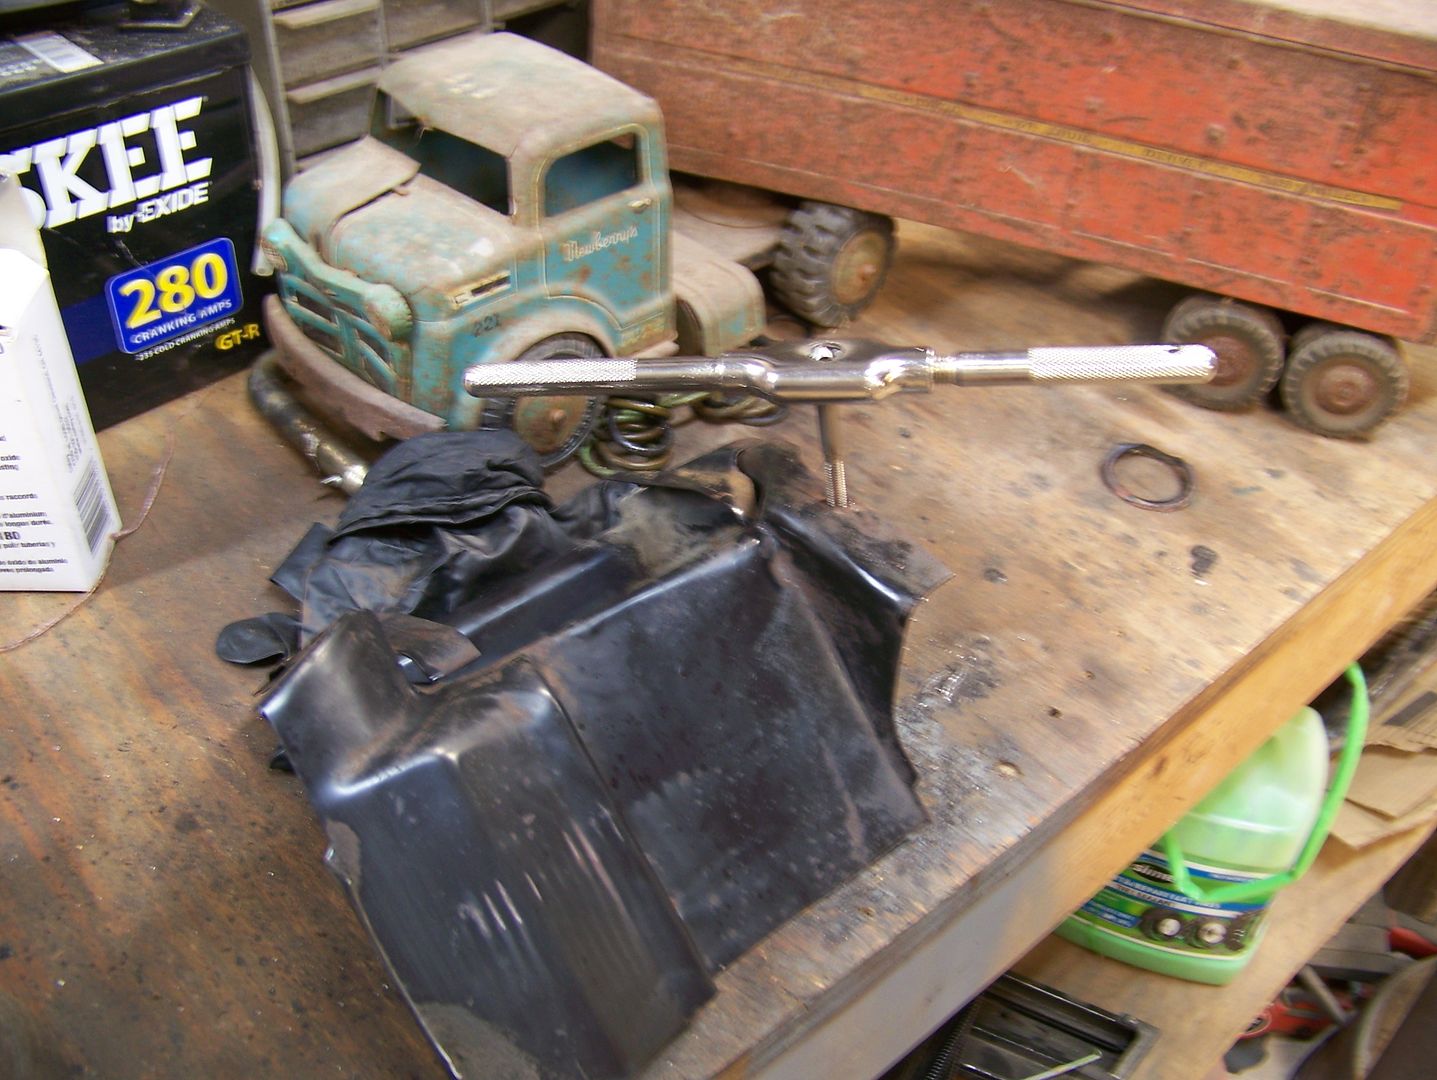
This photograph is a gratuitous and unnecessary photograph highlighting "textures", that is a word used in wine-tasting, literature, mashed potatoes, and of course, "high art":
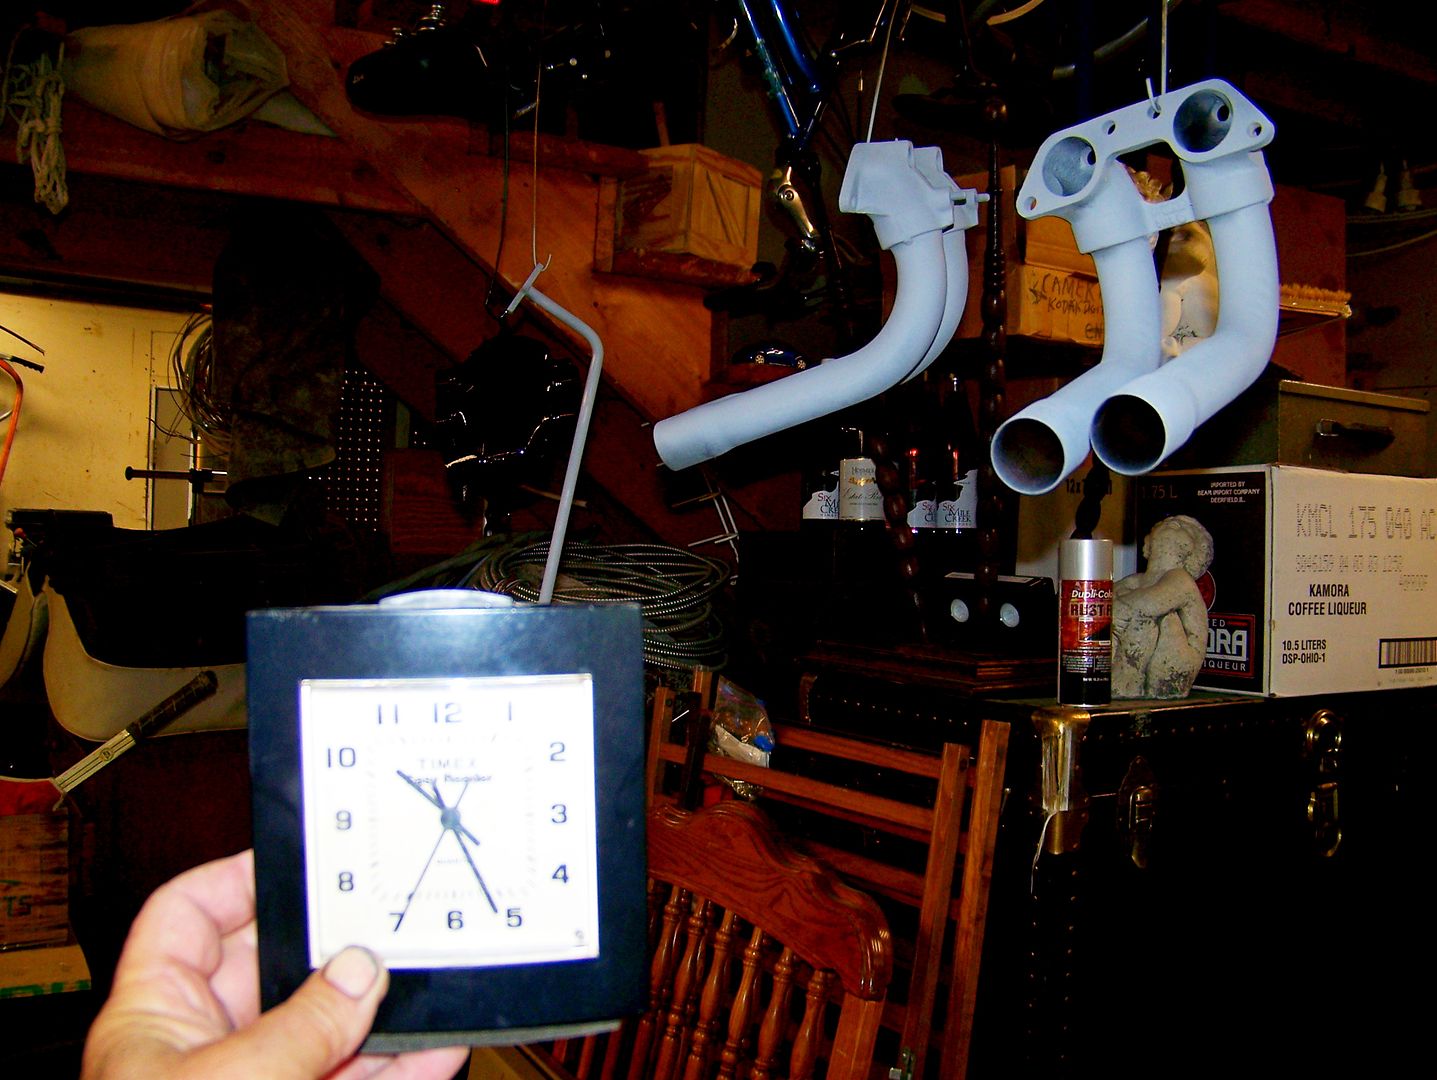
Intake pipes painted with my patented "fillable primer grey" plus 500* satin clear coat engine enamel:
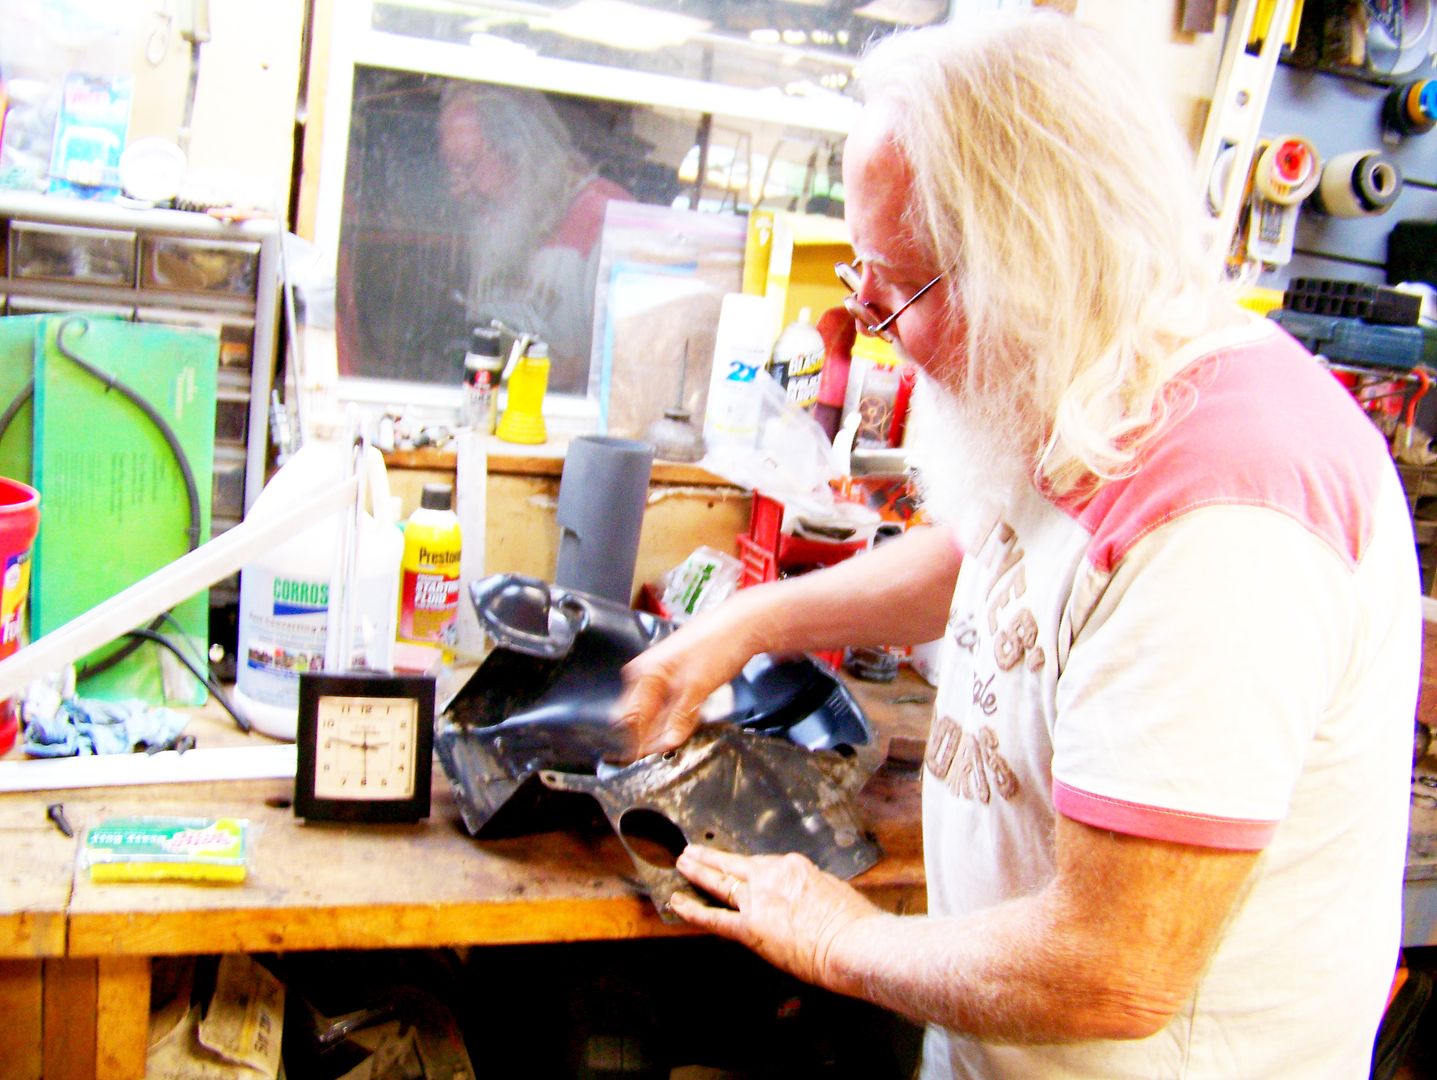
Ian came over from Pennsylvania rarin', rarin' I tell ya, to jump in and help me process all the rusty tins so they could be painted sort of like how JR and Kit snuck in an entire tin painting process under my nose when we put new Len Hoffman heads on their engine in February. I still don't know how they did it all. See the ghost of Santa shimmering in the background? :
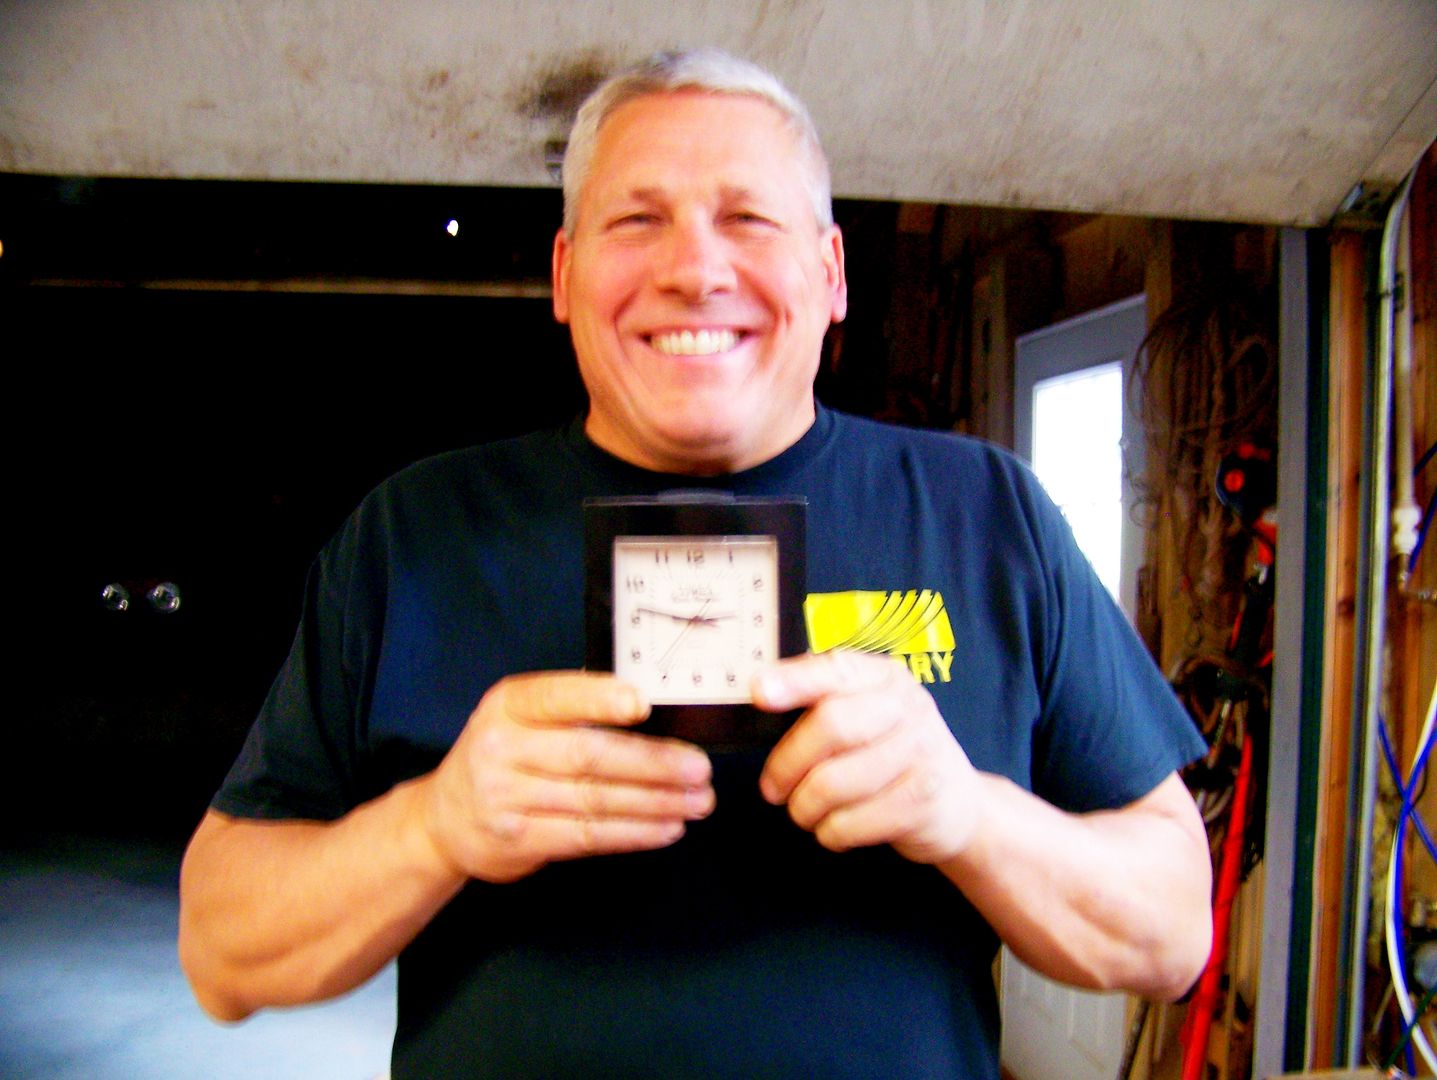
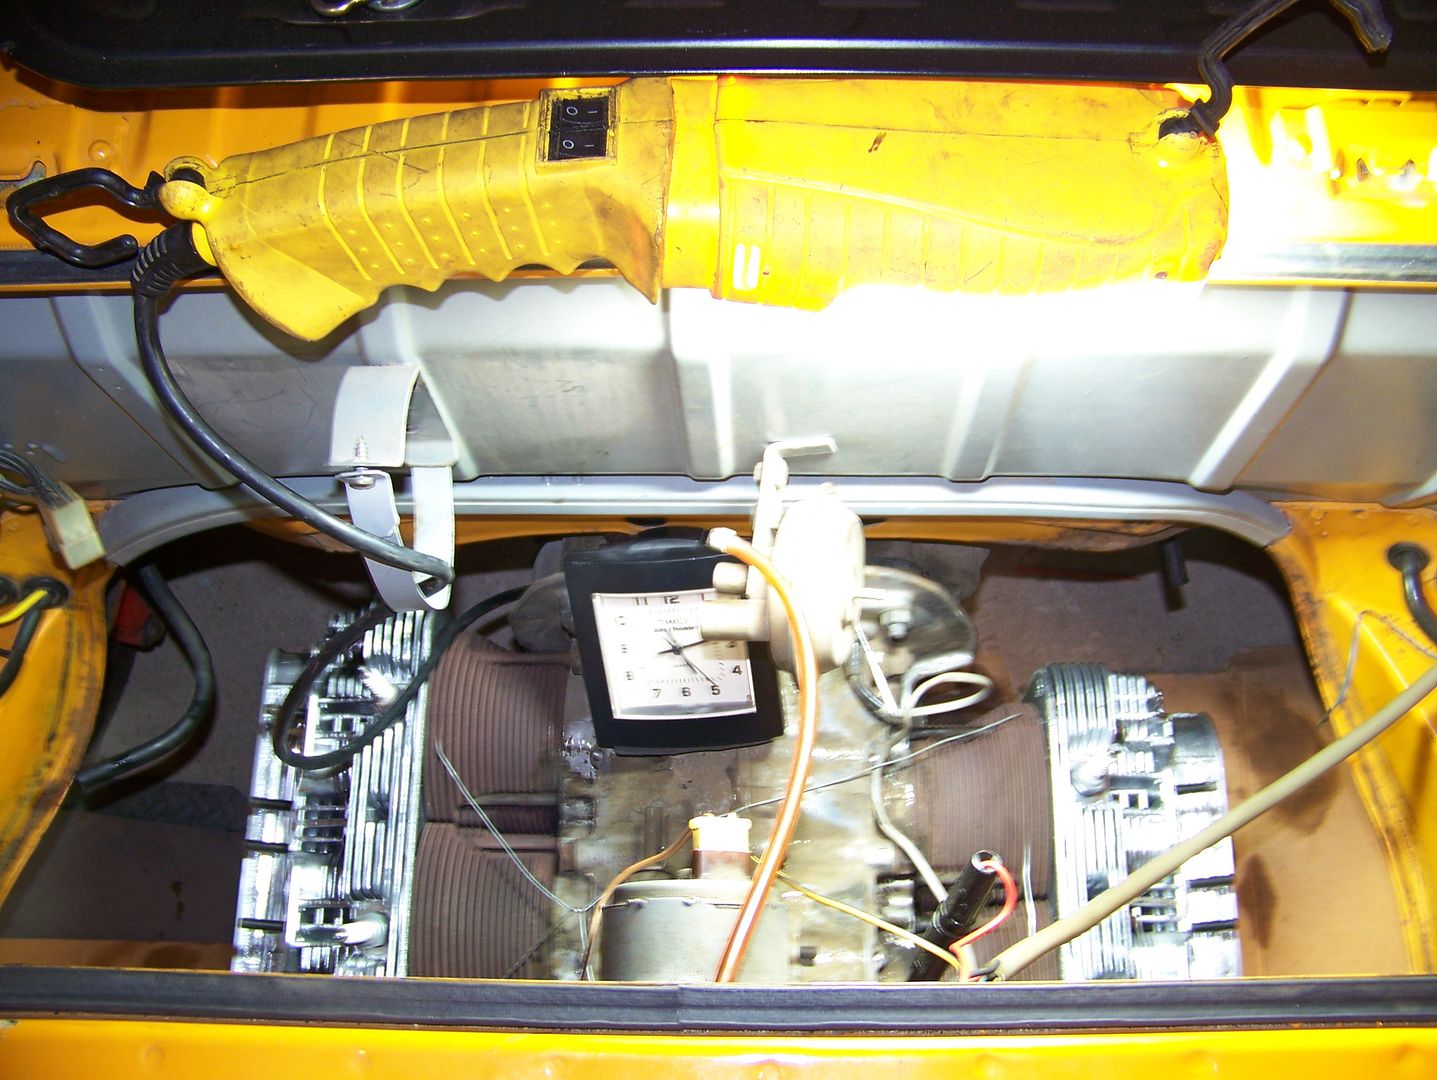
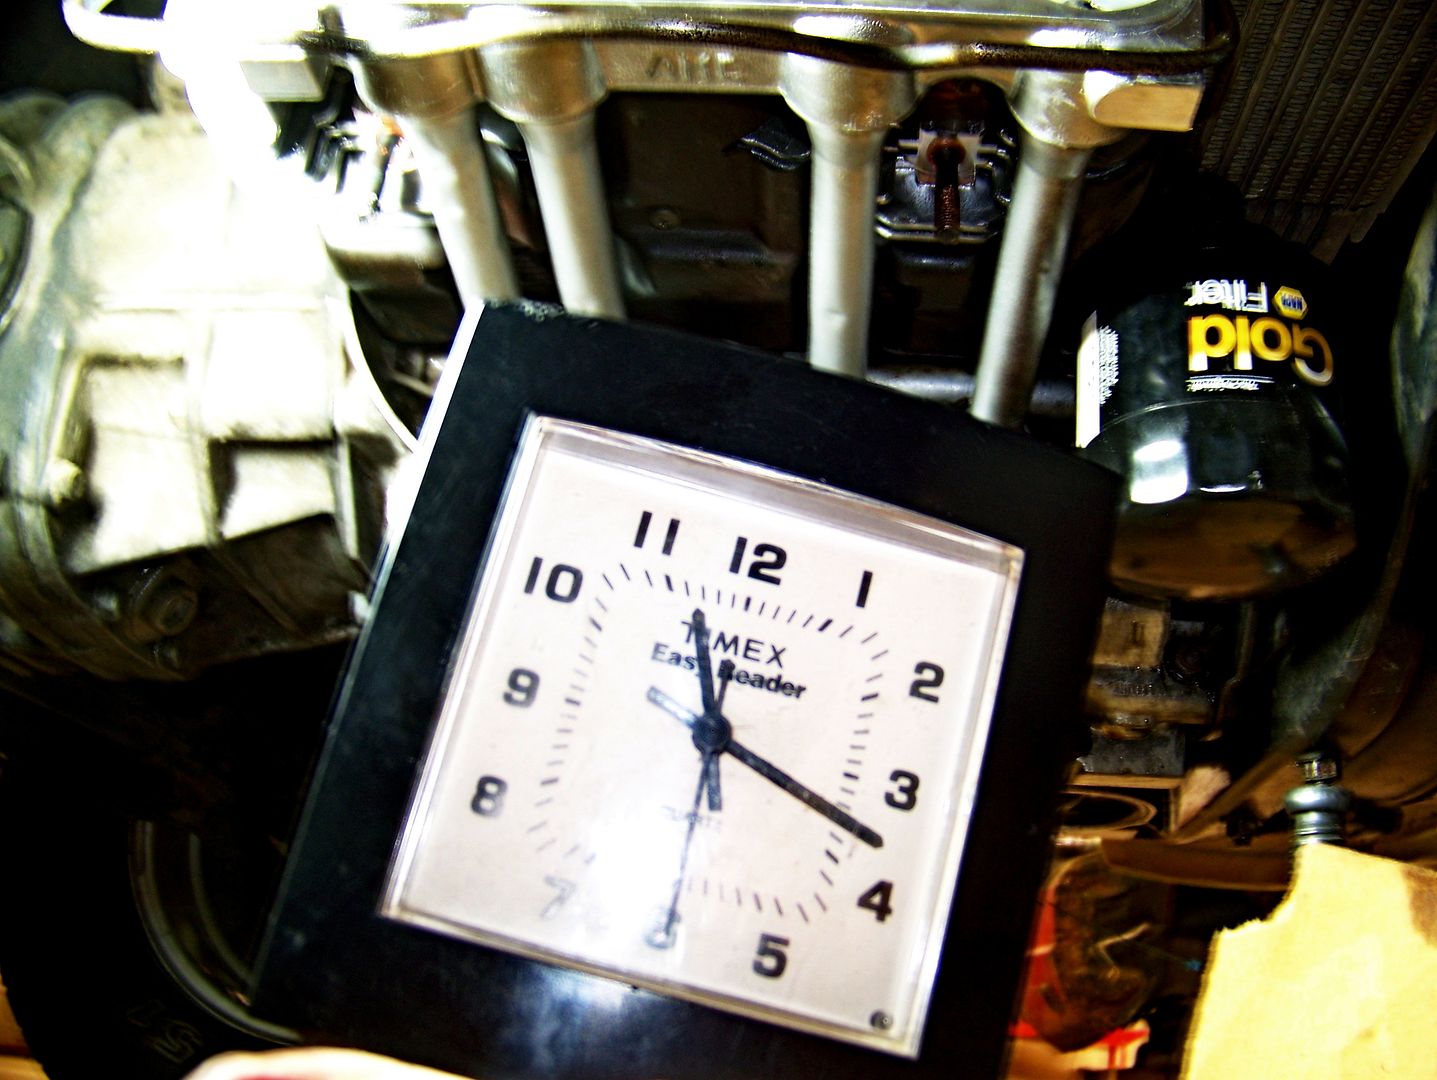
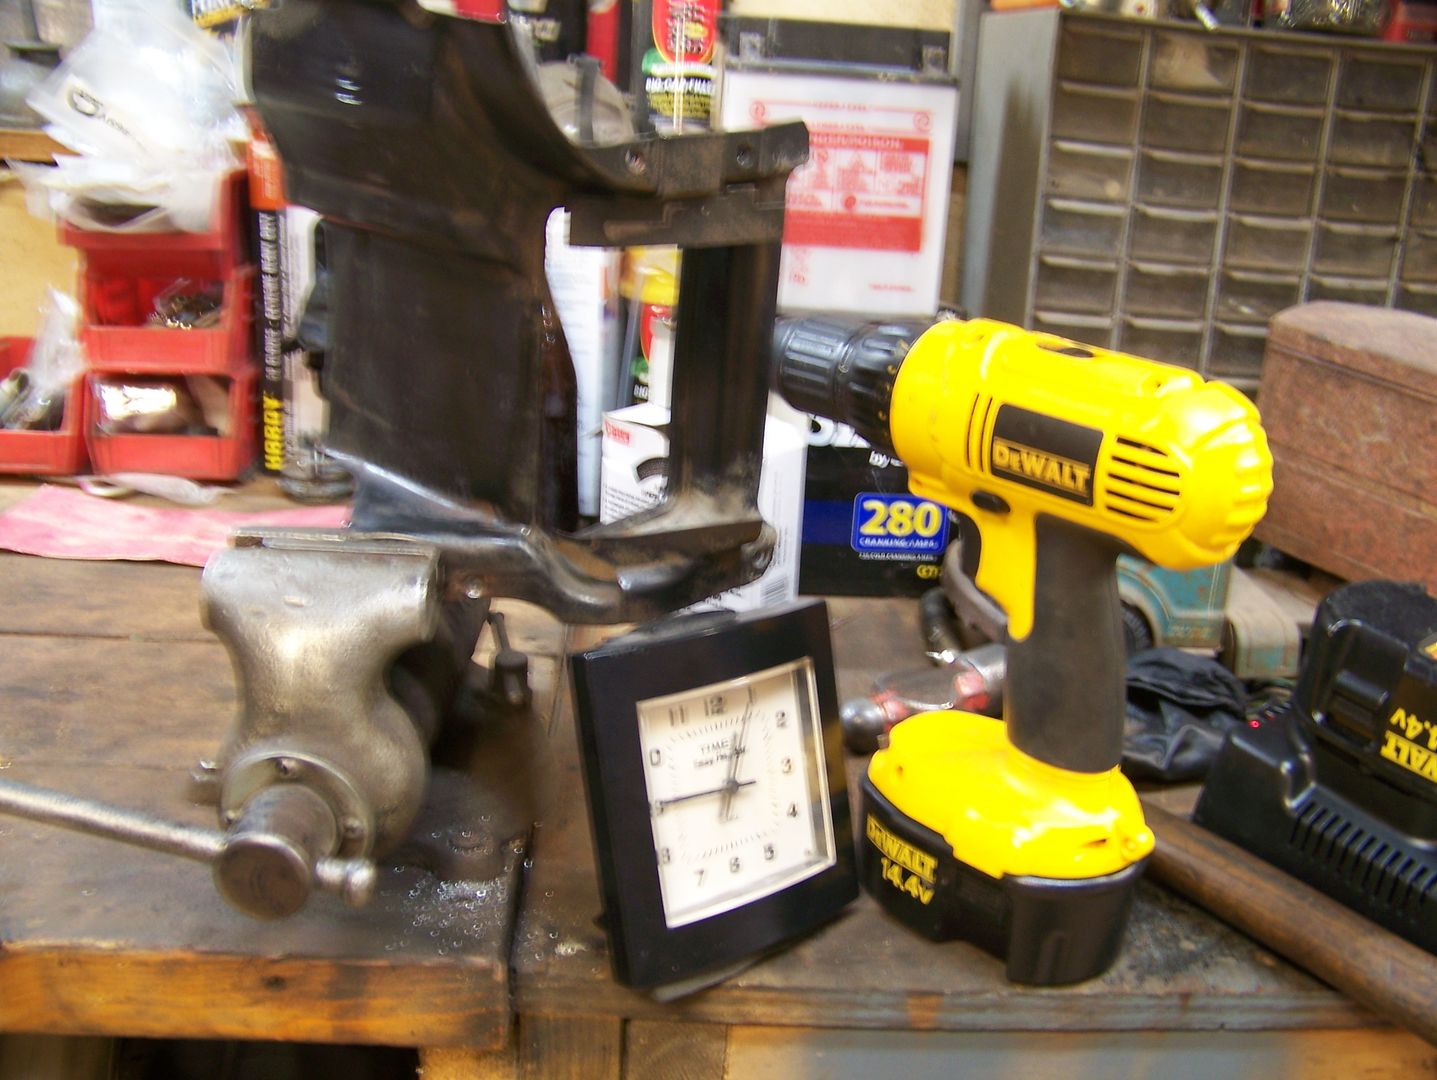
I think wdollie6 asked me about the clock showing up in all the photographs. "What's with that clock showing up in all the photographs?" :
5:10PM Day Two, the heads are installed with a final wipe of oil on the cylinder walls and pistons. The head nuts were torqued in three stages and re-checked four times in half-hour intervals and they kept relaxing as the tension dispersed through the case, the sealing rings, and the brand-new heads. It is a little unsettling to keep cranking on the torque wrench, shades of stripped exhaust studs for me, but finally, they held their 23 ft/lbs:
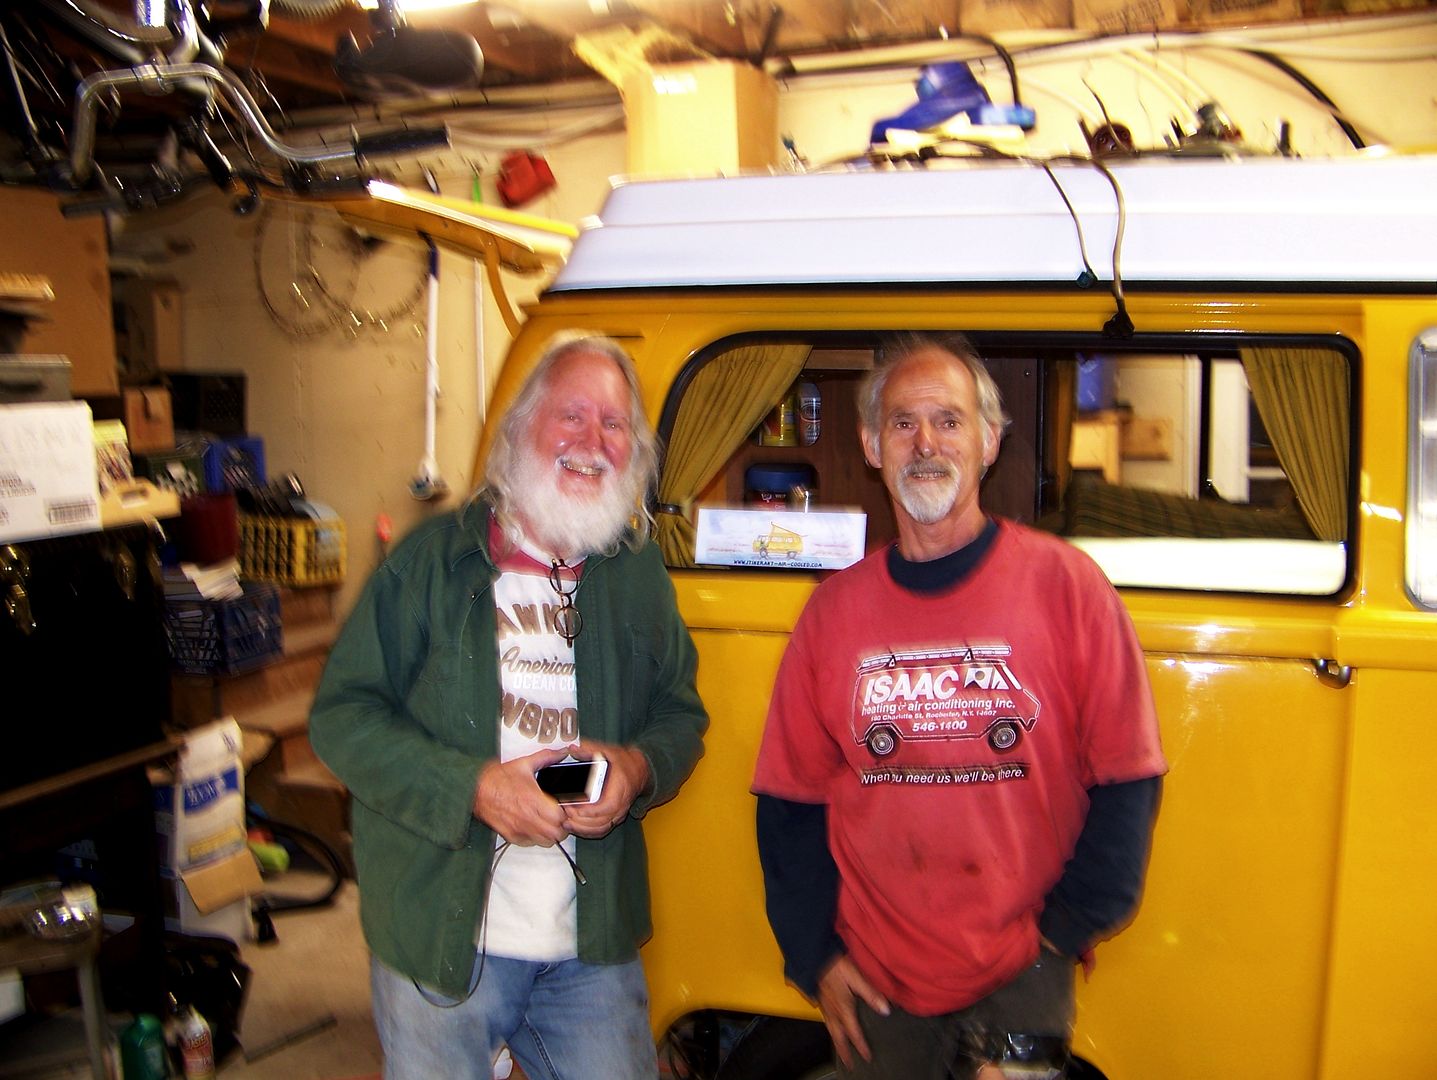
A portrait for our personal injury lawyers so they can see just how traumatized we really are:
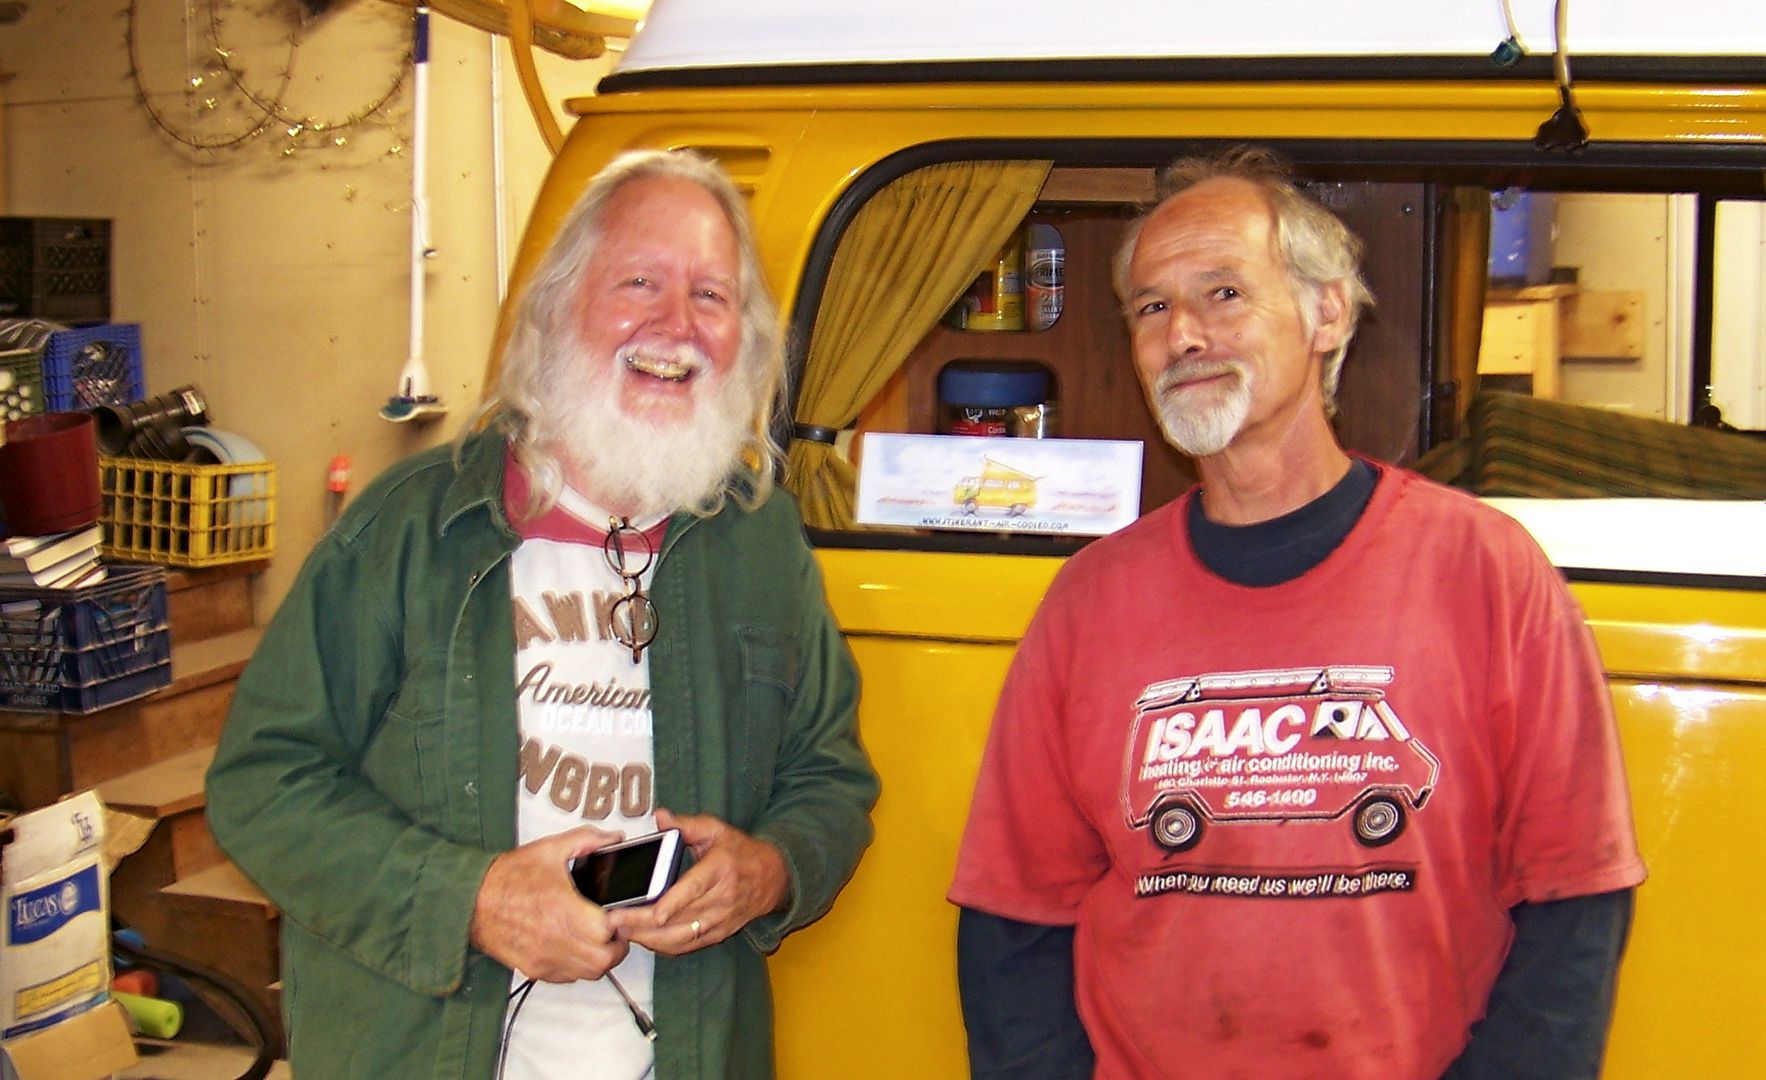
A portrait showing just how uptight I was getting at Time Organization Procedure Declining Craftsmanship:
Still trying to smile, but all of my mental notes were crashing in my head, "file not found":
Wdollie6 and I did a weird tai-chi yoga isometric tension dance with breaker bars in the manifold pipes to spread them just enough to go over the NEW! exhaust studs in the NEW heads without damage. Then Jivermo bastard filed the mating surfaces back to flush. They mated up very nicely to the exhaust ports, thankfully.
New copper sealing rings cured in place with Ultra-Copper:
Jivermo plugged along with tin sanding and washing and pushrod tube sanding and washing, and here is the engine just before exhaust system installation. Look at those push rod tubes, HAAH??
At 12:45AM on Day Two, I am still working all of the thread holes with a tap and repairing this broken screw in the left intermediate rear tin:
Washed it and painted it by 2:30AM, when I asked myself without irony or philosophy, "who am I and what am I doing?" So I went to bed:
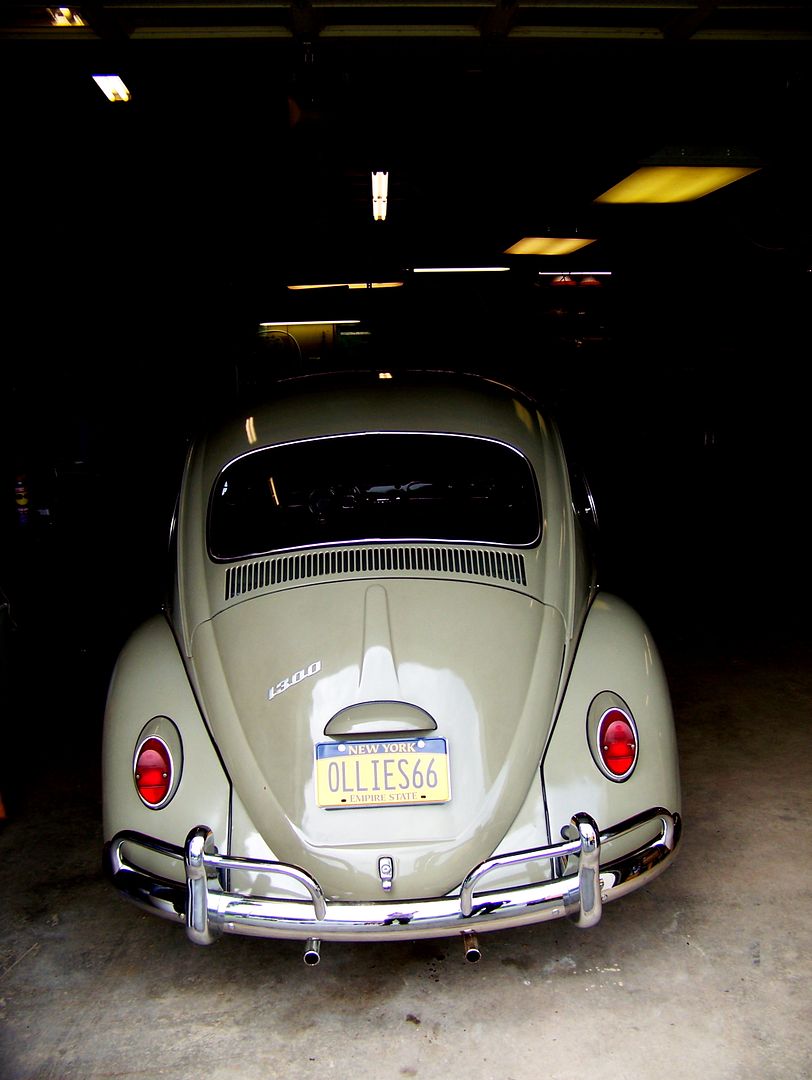
Day Three, I got to drive wdollie6's beautiful original 1966 Deluxe Sunroof bug.
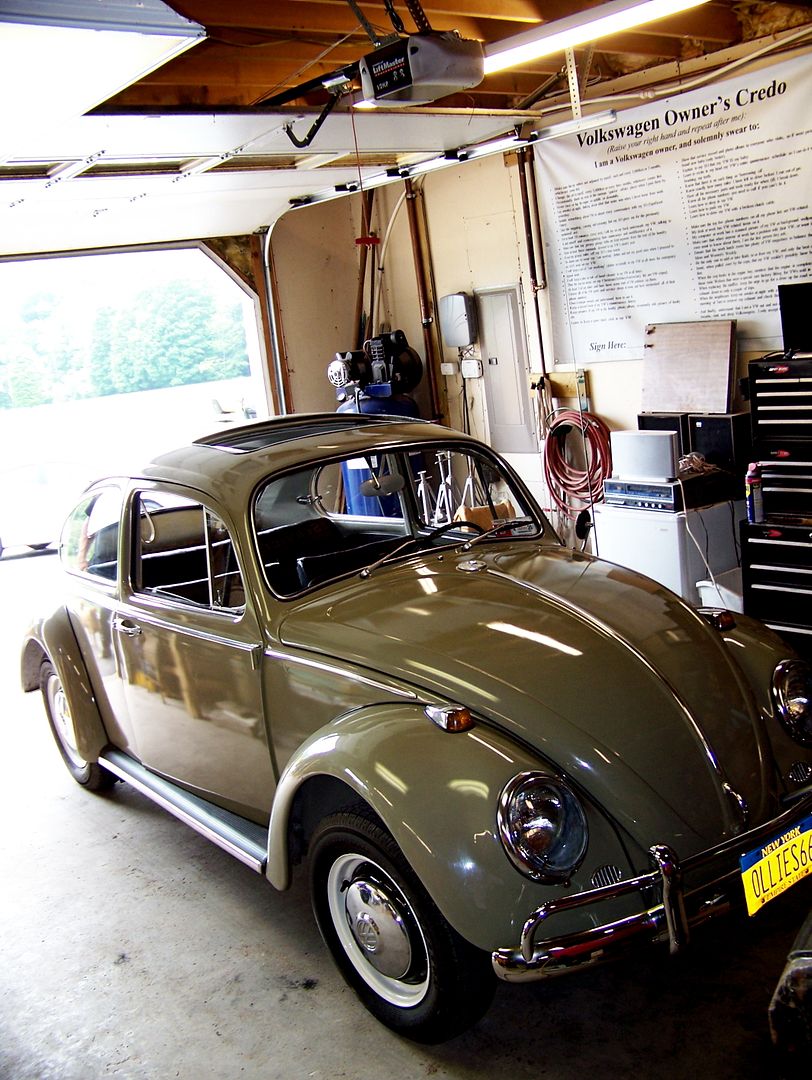
What a spirit pick-me-up, such a lovely precise and lively little car. Adjusted the mixture at the end of the road a tad leaner and gave it a spirited little romp back to the house:
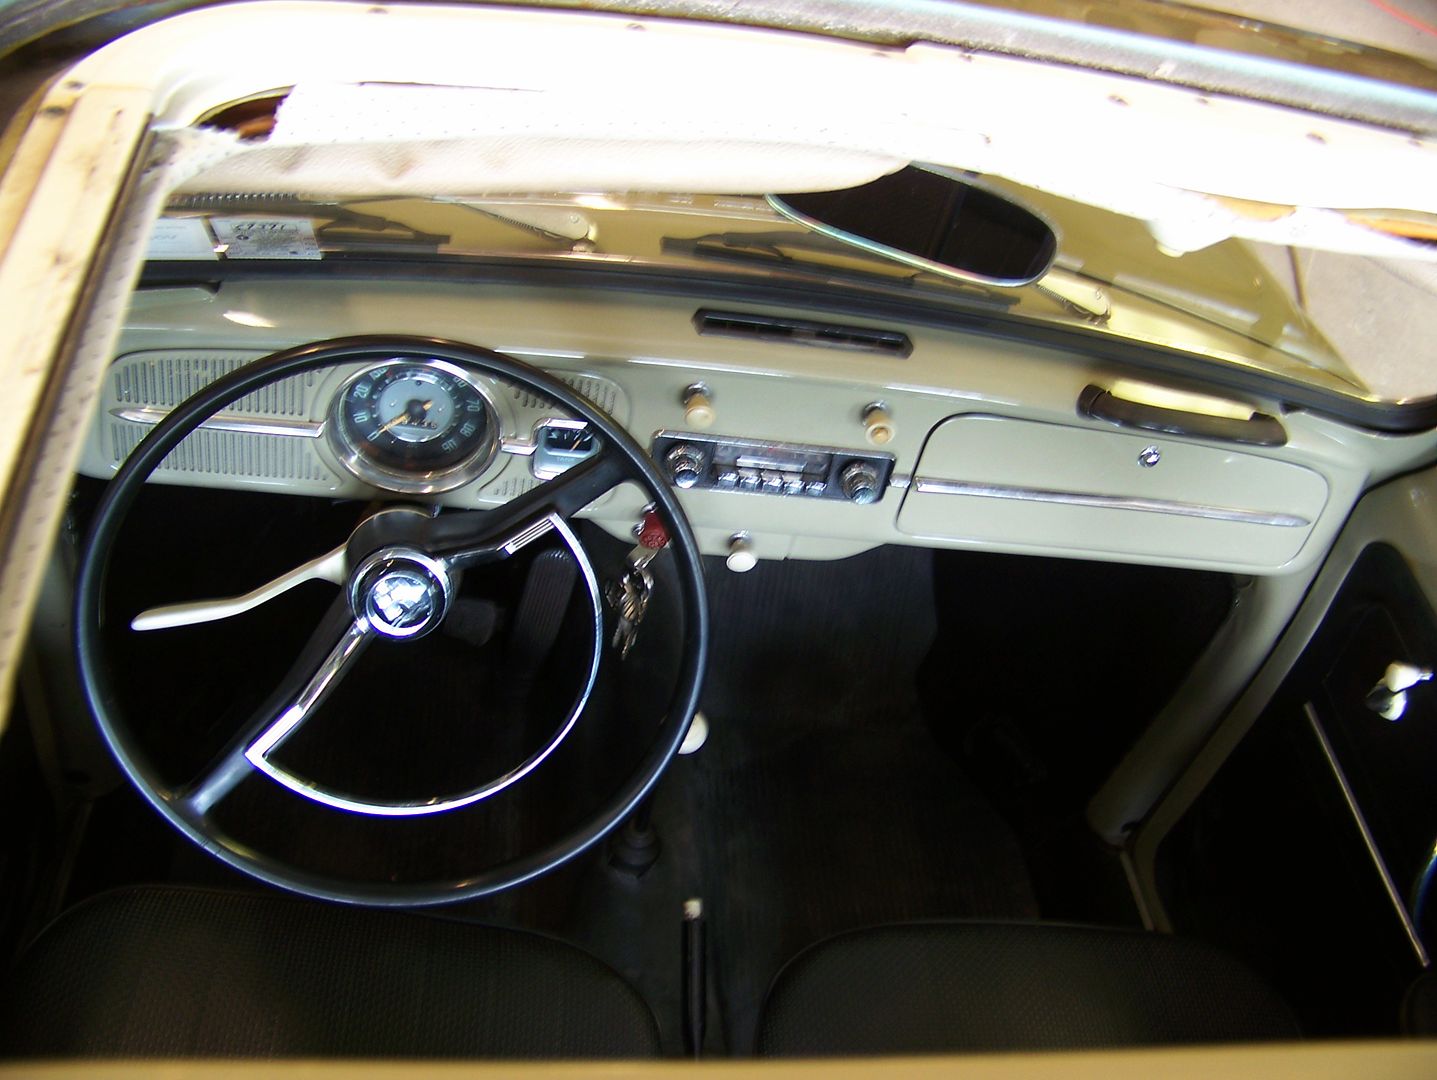
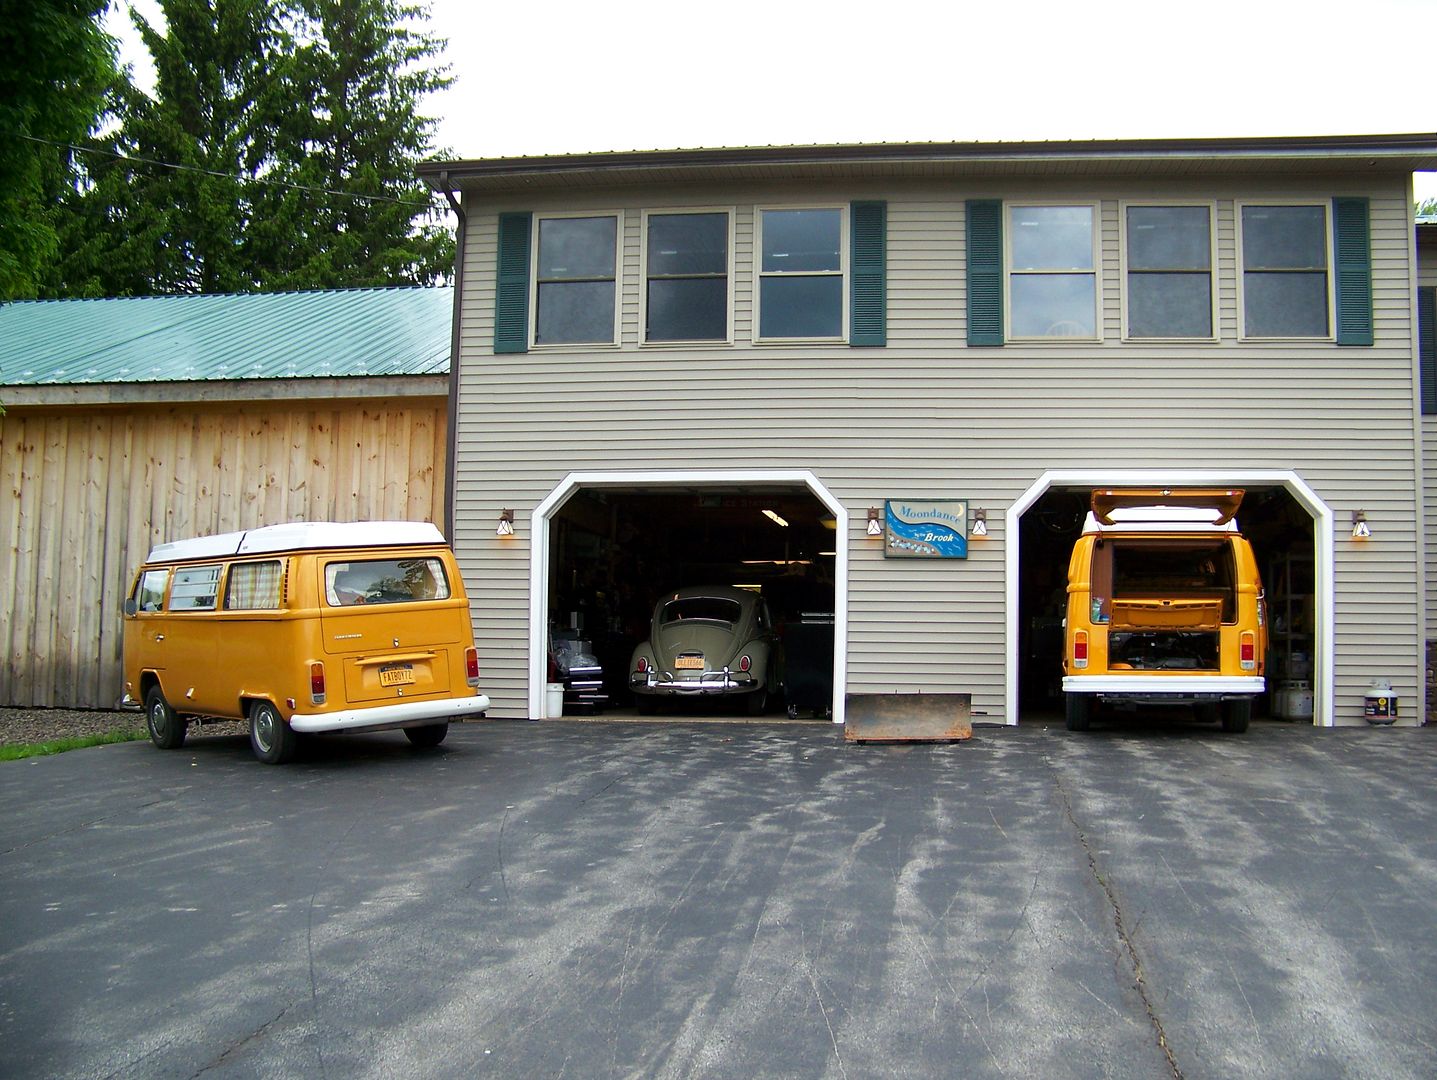
A Volkswagen:
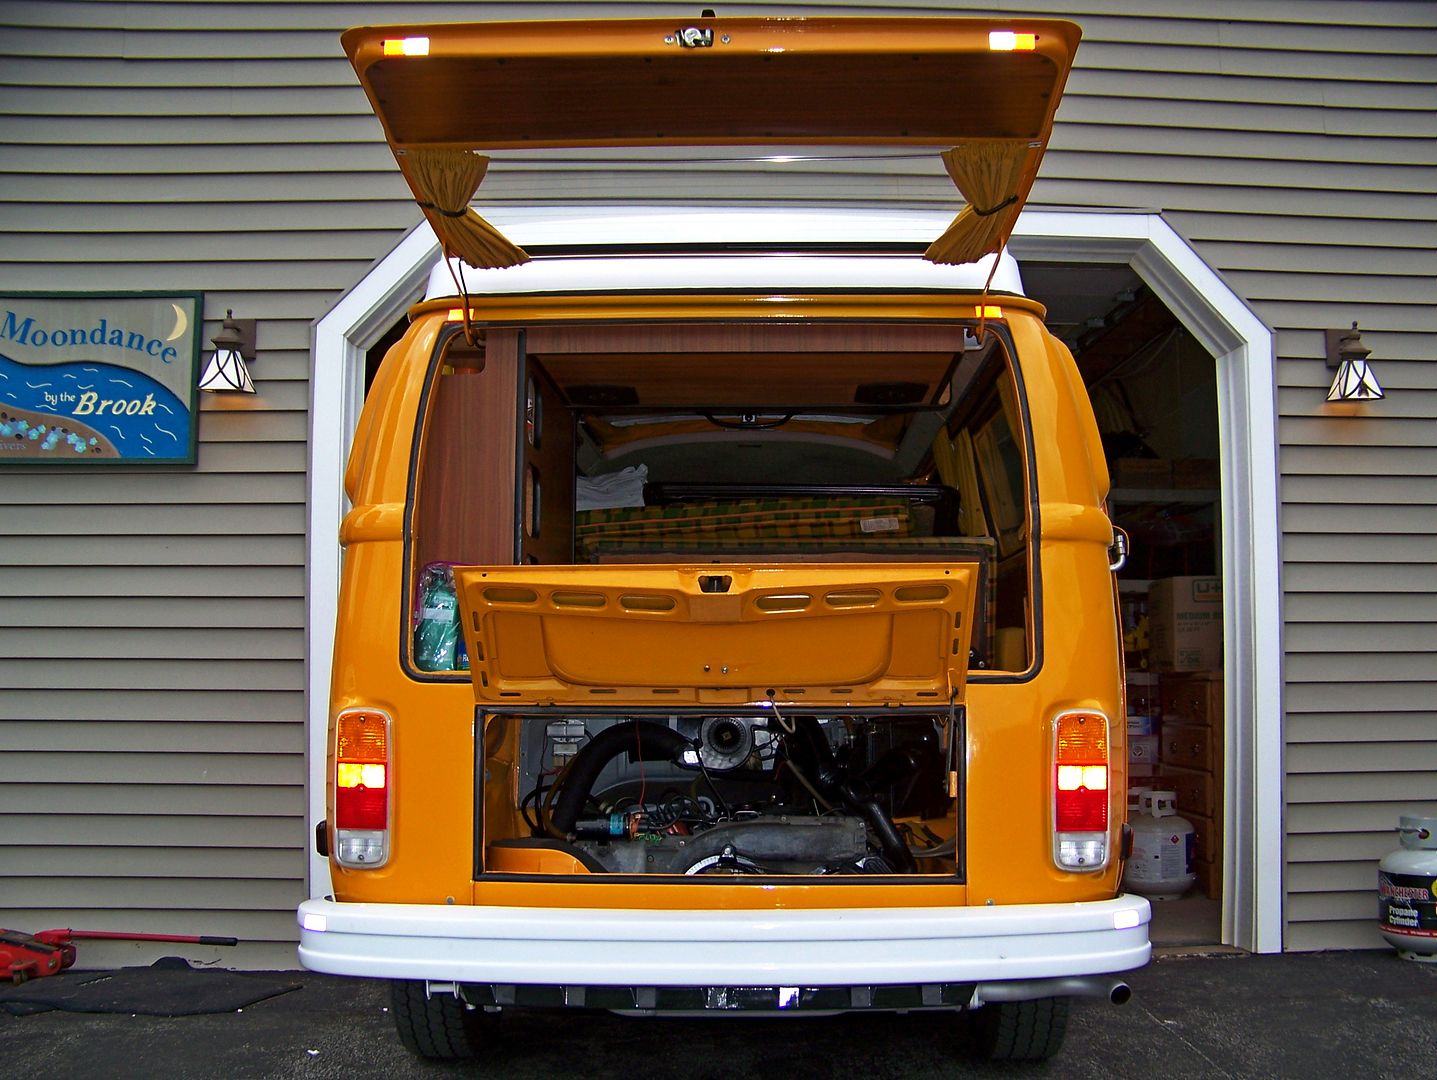
Somewhere around 4:00PM, NaranjaWesty started for the first time with the new heads, drama-free and tick-free:
99,570 miles on the odometer, three feet on the new Len Hoffman heads ...
Snagged my very own wdollie6 mom Rhubarb Cobbler (can you believe it?), bid these wonderful people a grateful thankful good-bye, and launched for upper upstate New York to visit my folks. Sure, it was running poorly and the head temps hit 425* on a mild uphill, little backfires at a restless chuffing idle, and yes, I tore into the AFM on the side of the road as the rain began to spatter ...
I remember Heads Day Two Total Visit Day 3 at the wdollie6 Volkswagen Jack Test Facility starting with a welcome visit to the kitchen for a blast of coffee. Wdollie6 and spouse were so hospitable at the hospital for headless Volkswagens. We yakked at the kitchen table about "business". Wdollie6 is a real businessman, I am a punk little proprietor punk, but it was fun to find our common ground, quality! promptness! ... it really matters!
So look at these head sealing rings. They are fine! They were just beginning to get a little blow-by as the engine relaxed its clamping force after countless heat-cool cycles. Eventually they might have leaked and burned through, but we are supposed to take the heads off after 100,000 miles anyway. You know why I like head sealing rings? They save the heads from barrel wear. They act like washers. Yes, you delete them in the 2.0 engines, but not because they are failure prone, but rather the engineers had to deal with an engineering mistake in their clearances for the new 94mm pistons. If your head sealing rings fail prematurely, it is because the engine overheated. I still use them when called-for:
Four hours later, I am still just staring at the heads. Not really, this shot is after I pre-lubricated the valve stems and keepers, applied anti-seize to the exhaust studs and spark plug threads, installed the intake studs to a specific depth and applied Ultracopper to the exhaust ports and stuck in the copper sealing rings:
This photograph is a gratuitous and unnecessary photograph highlighting "textures", that is a word used in wine-tasting, literature, mashed potatoes, and of course, "high art":
Intake pipes painted with my patented "fillable primer grey" plus 500* satin clear coat engine enamel:
Ian came over from Pennsylvania rarin', rarin' I tell ya, to jump in and help me process all the rusty tins so they could be painted sort of like how JR and Kit snuck in an entire tin painting process under my nose when we put new Len Hoffman heads on their engine in February. I still don't know how they did it all. See the ghost of Santa shimmering in the background? :
I think wdollie6 asked me about the clock showing up in all the photographs. "What's with that clock showing up in all the photographs?" :
5:10PM Day Two, the heads are installed with a final wipe of oil on the cylinder walls and pistons. The head nuts were torqued in three stages and re-checked four times in half-hour intervals and they kept relaxing as the tension dispersed through the case, the sealing rings, and the brand-new heads. It is a little unsettling to keep cranking on the torque wrench, shades of stripped exhaust studs for me, but finally, they held their 23 ft/lbs:
A portrait for our personal injury lawyers so they can see just how traumatized we really are:
A portrait showing just how uptight I was getting at Time Organization Procedure Declining Craftsmanship:
Still trying to smile, but all of my mental notes were crashing in my head, "file not found":
Wdollie6 and I did a weird tai-chi yoga isometric tension dance with breaker bars in the manifold pipes to spread them just enough to go over the NEW! exhaust studs in the NEW heads without damage. Then Jivermo bastard filed the mating surfaces back to flush. They mated up very nicely to the exhaust ports, thankfully.
New copper sealing rings cured in place with Ultra-Copper:
Jivermo plugged along with tin sanding and washing and pushrod tube sanding and washing, and here is the engine just before exhaust system installation. Look at those push rod tubes, HAAH??
At 12:45AM on Day Two, I am still working all of the thread holes with a tap and repairing this broken screw in the left intermediate rear tin:
Washed it and painted it by 2:30AM, when I asked myself without irony or philosophy, "who am I and what am I doing?" So I went to bed:
Day Three, I got to drive wdollie6's beautiful original 1966 Deluxe Sunroof bug.
What a spirit pick-me-up, such a lovely precise and lively little car. Adjusted the mixture at the end of the road a tad leaner and gave it a spirited little romp back to the house:
A Volkswagen:
Somewhere around 4:00PM, NaranjaWesty started for the first time with the new heads, drama-free and tick-free:
99,570 miles on the odometer, three feet on the new Len Hoffman heads ...
Snagged my very own wdollie6 mom Rhubarb Cobbler (can you believe it?), bid these wonderful people a grateful thankful good-bye, and launched for upper upstate New York to visit my folks. Sure, it was running poorly and the head temps hit 425* on a mild uphill, little backfires at a restless chuffing idle, and yes, I tore into the AFM on the side of the road as the rain began to spatter ...