(PART ONE: 0-16 Hours)
Arrived at James Dwan's house on Thursday morning to save my engine from the impending disaster as intimated by CHT readings in the 420s under load, and more threateningly still, the rapidly decreasing valve clearances. This whole symptomology was taking the fun out of driving, and all the experimentation with jetting and timing and little deflectors had had barely any effect. Air-cooled VWs are supposed to be tough, and this little princess was being a prissy pill. I categorically refuse to cater to little miss princesses, not when there is some serious driving to be done.
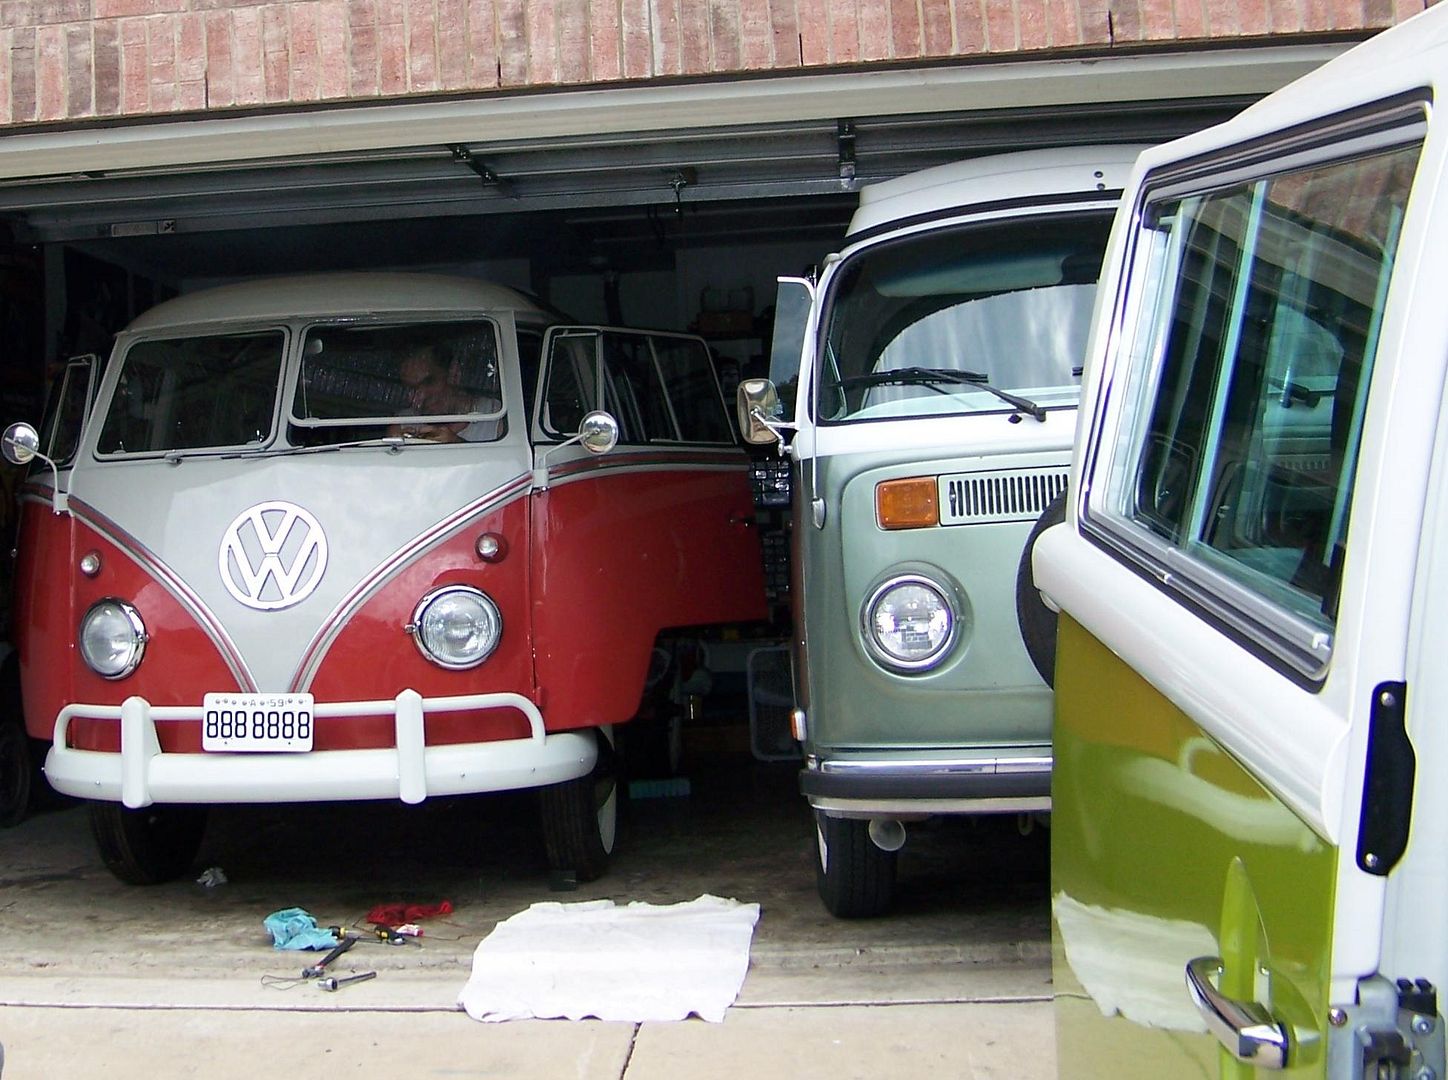
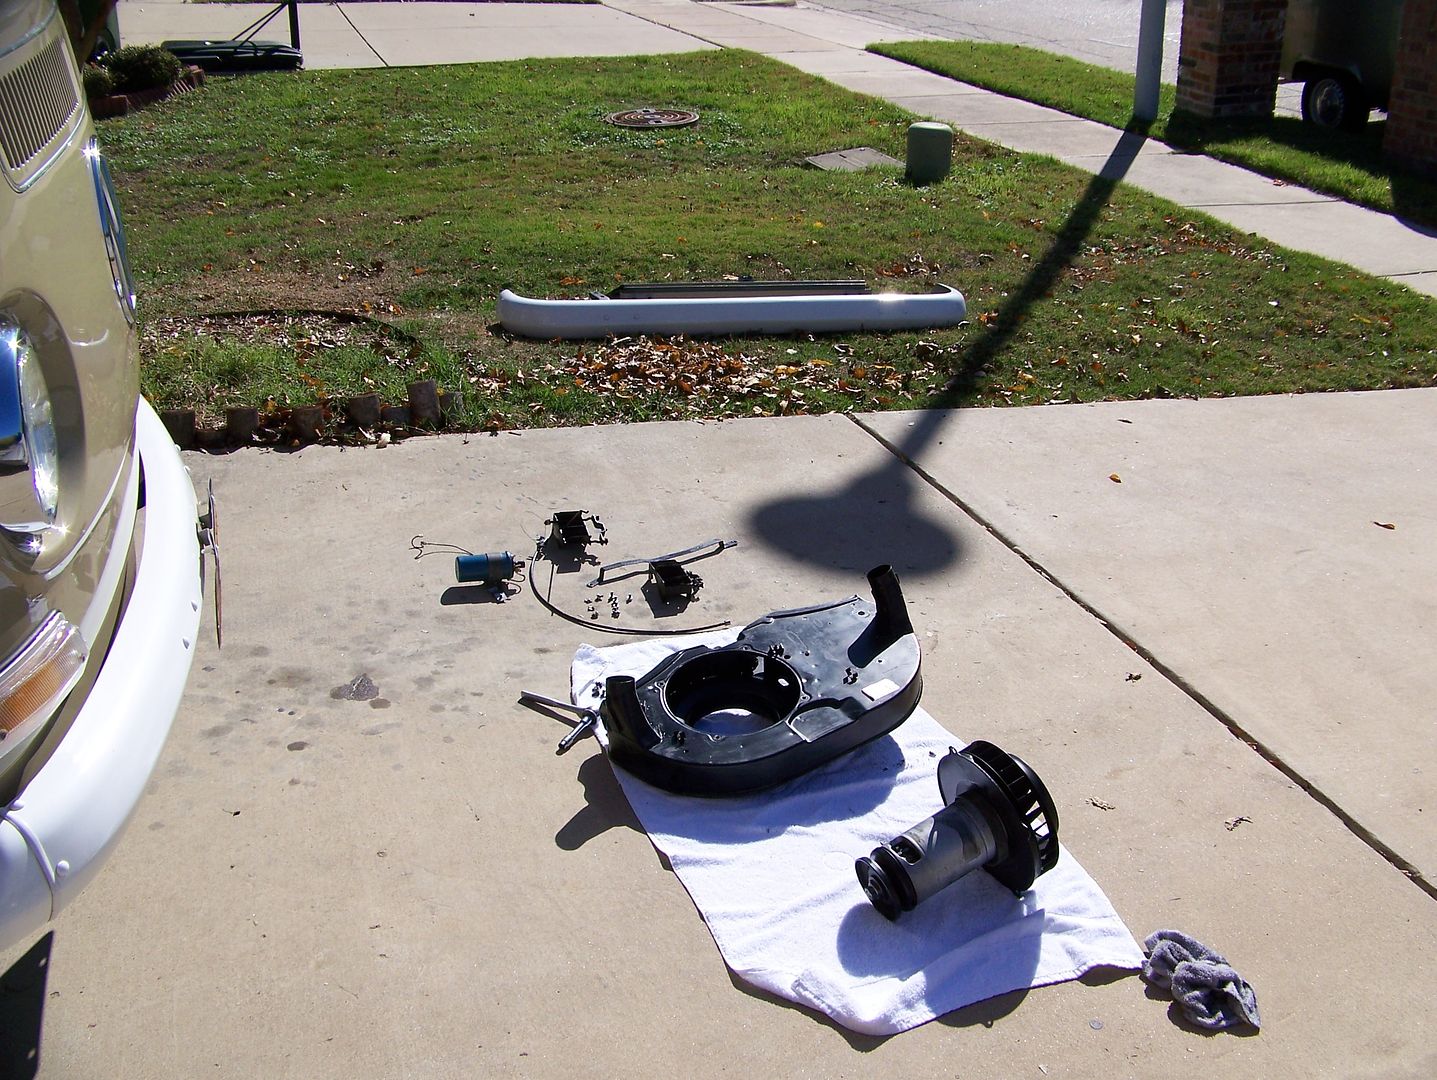
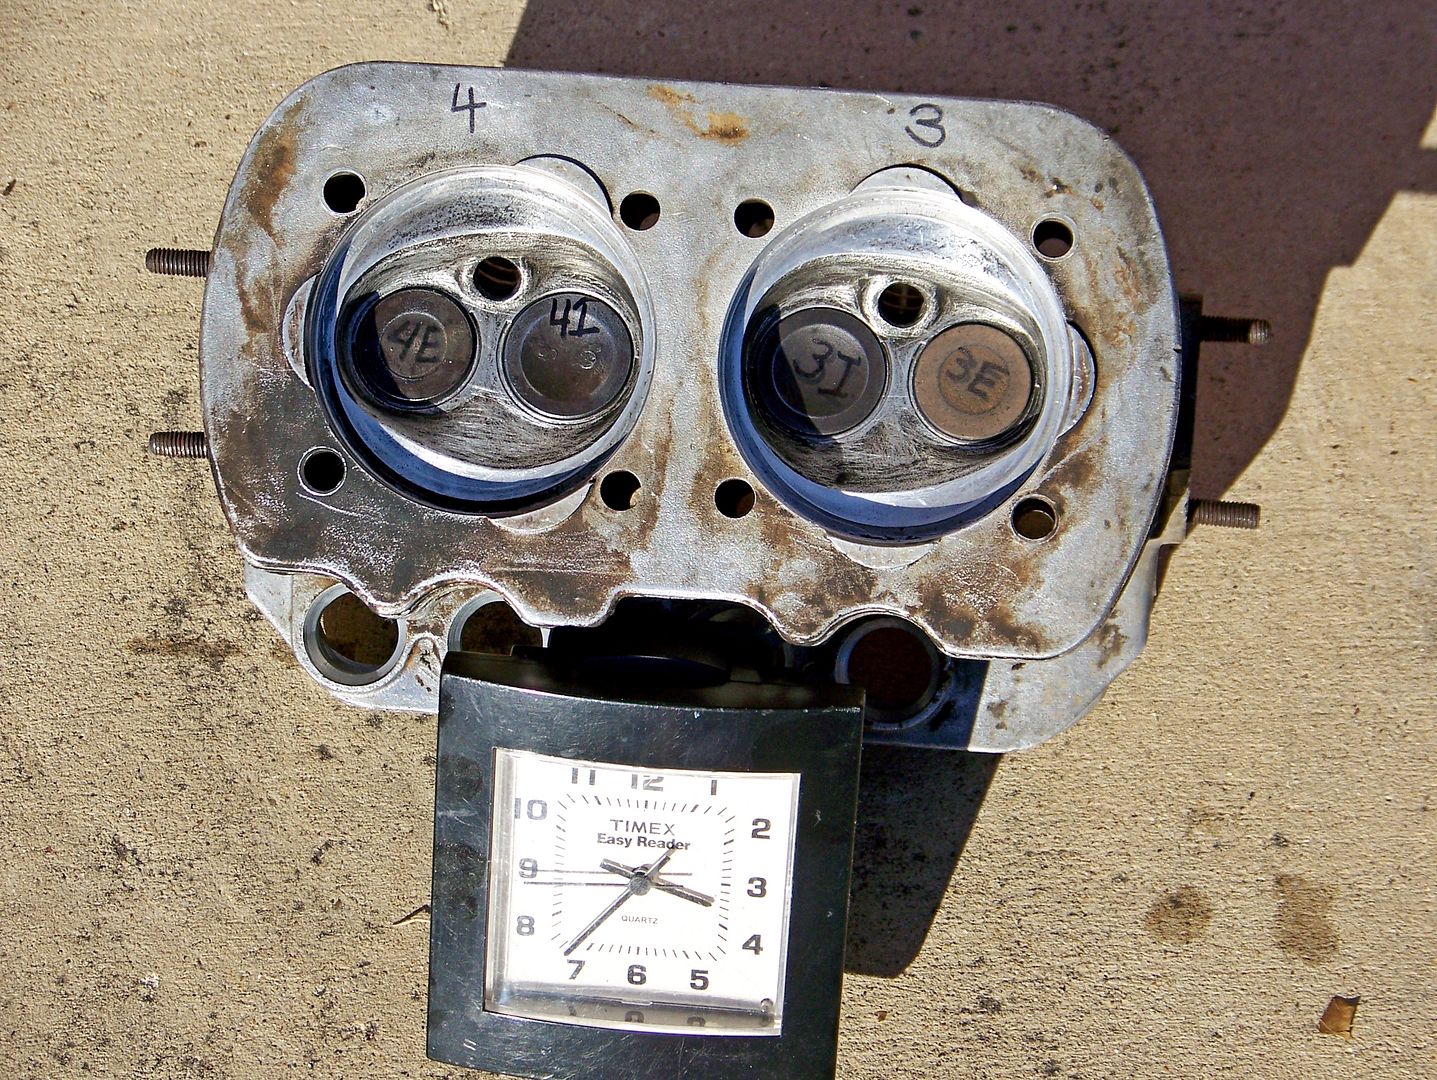
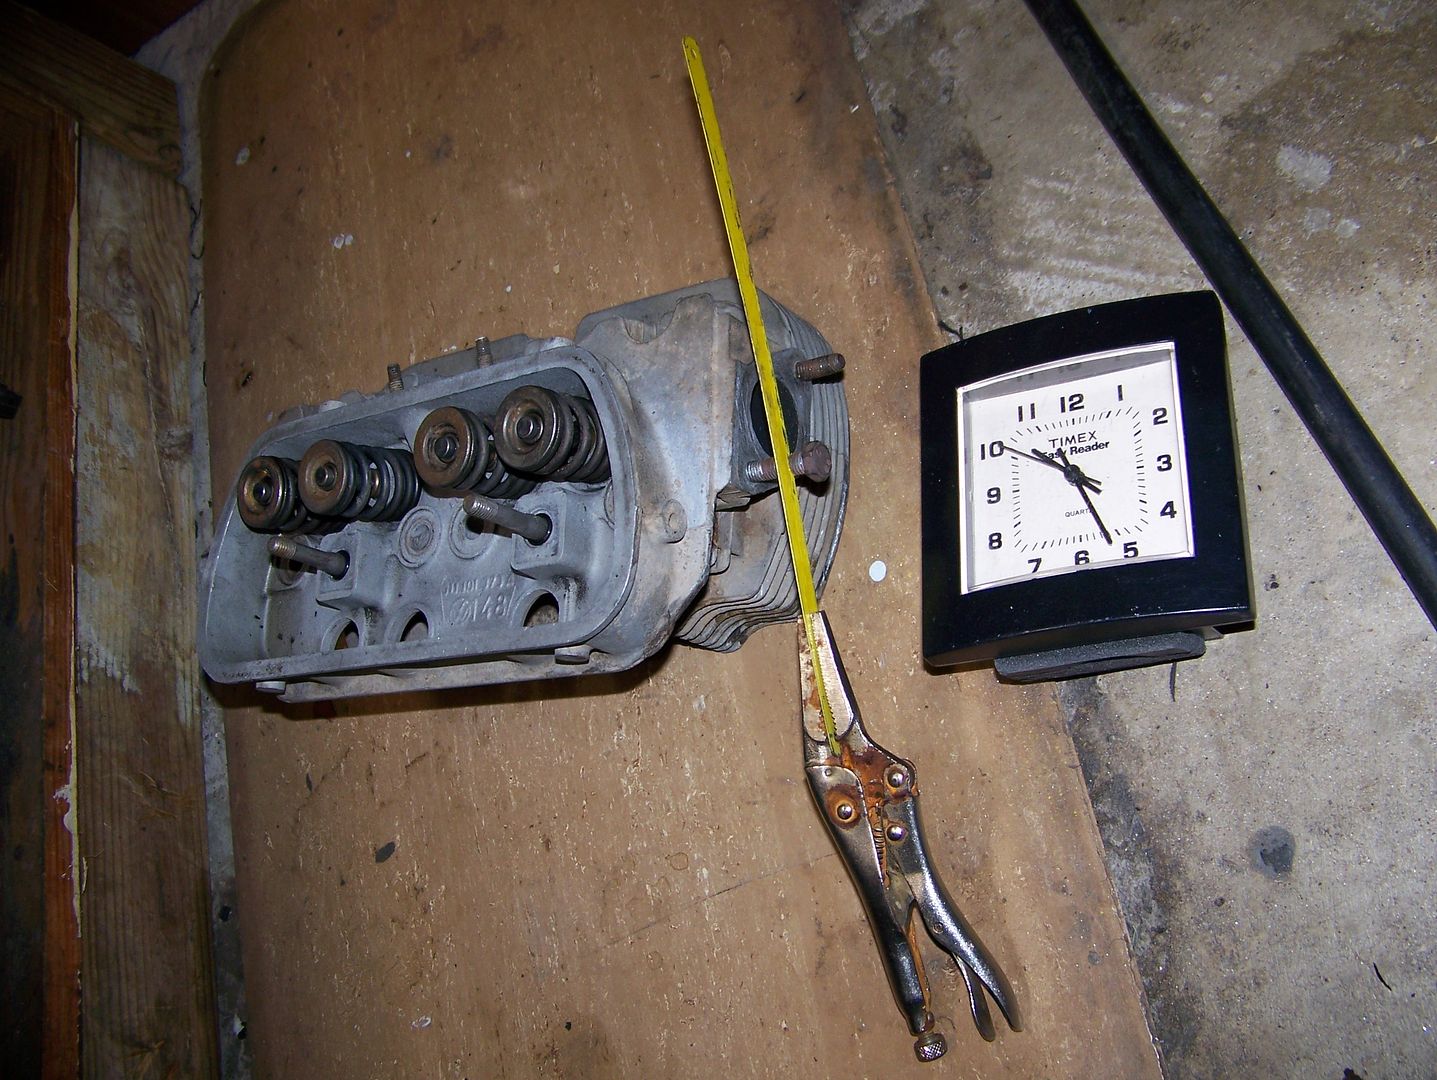
At 8:45AM, I backed the bus into the garage halfway:
TX ER 00
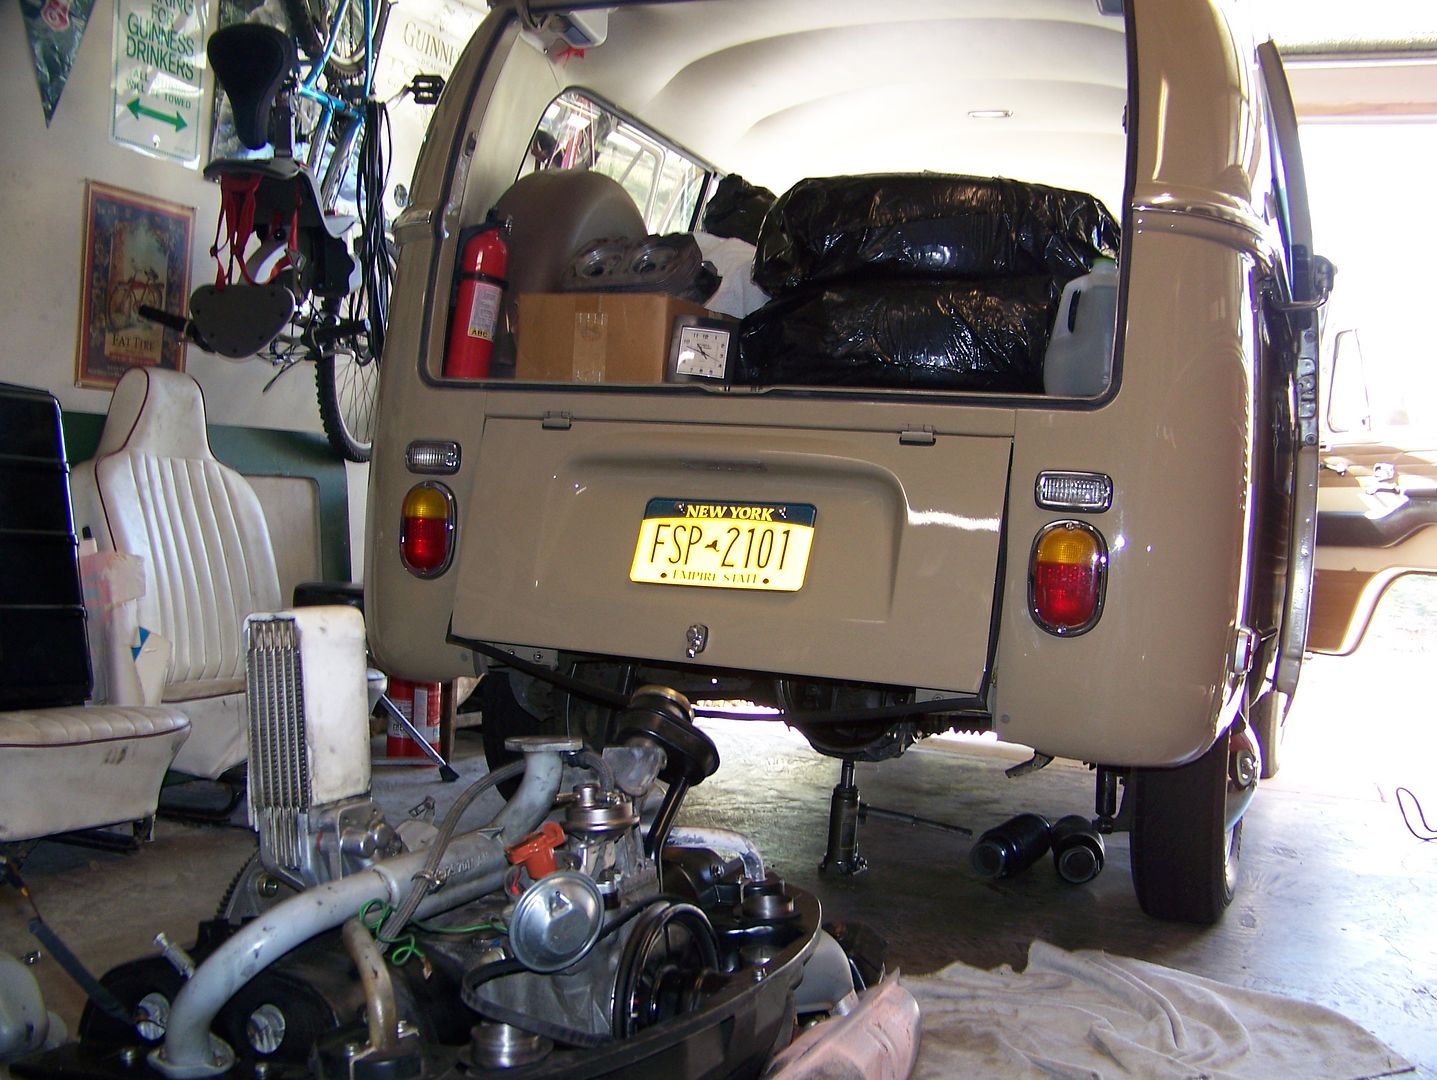
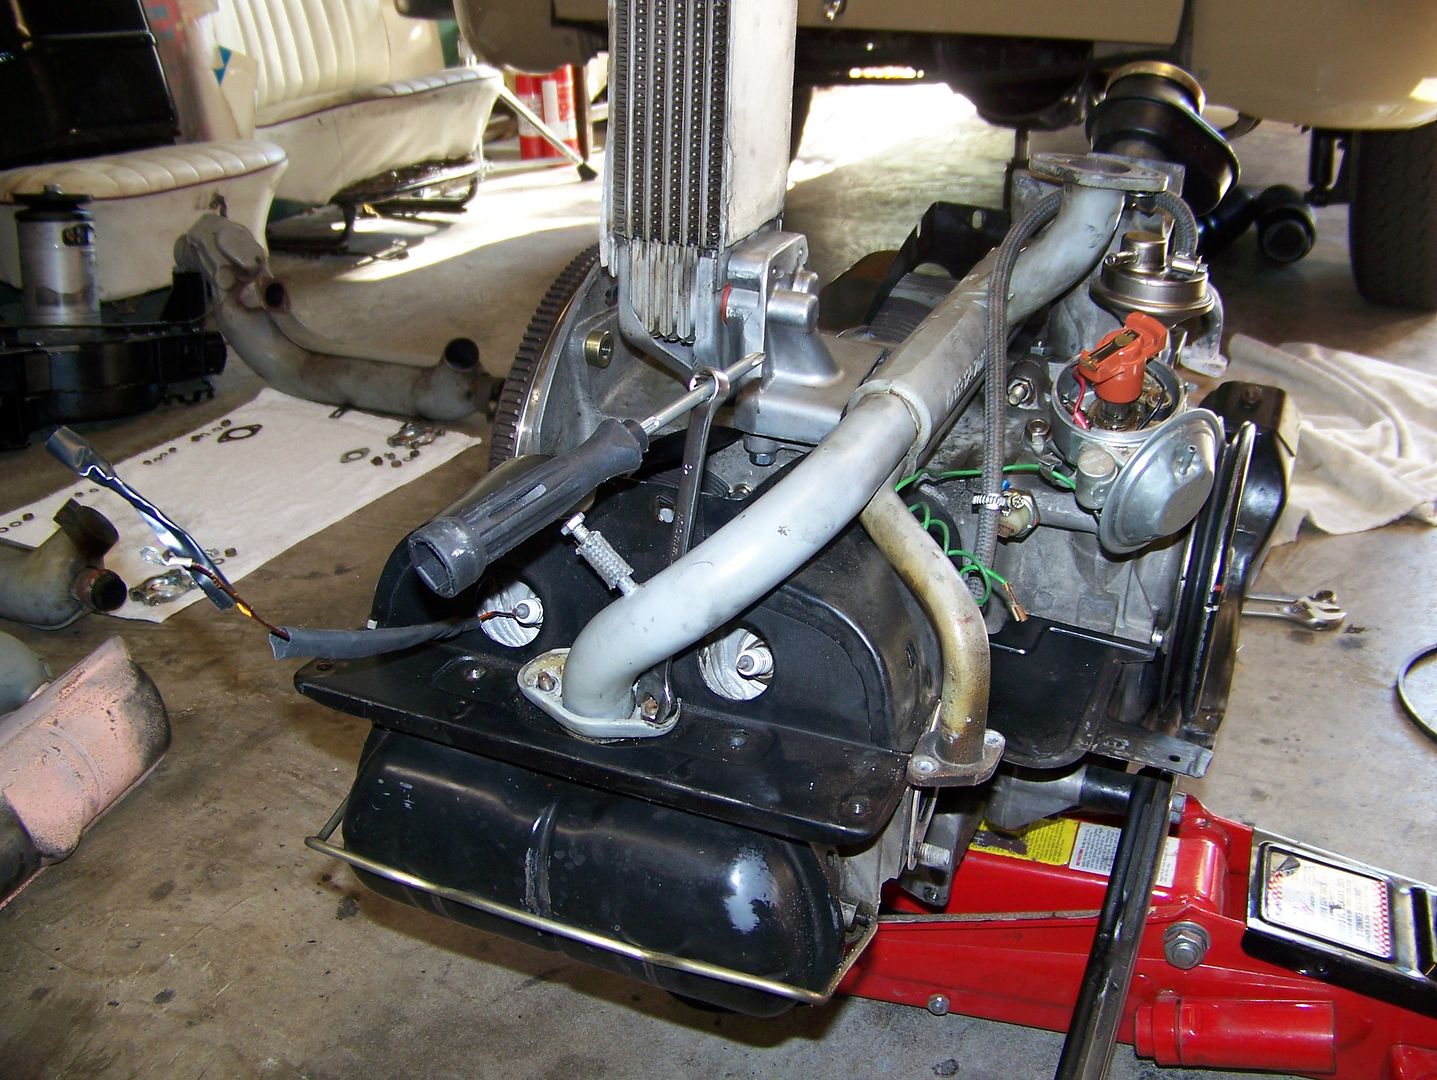
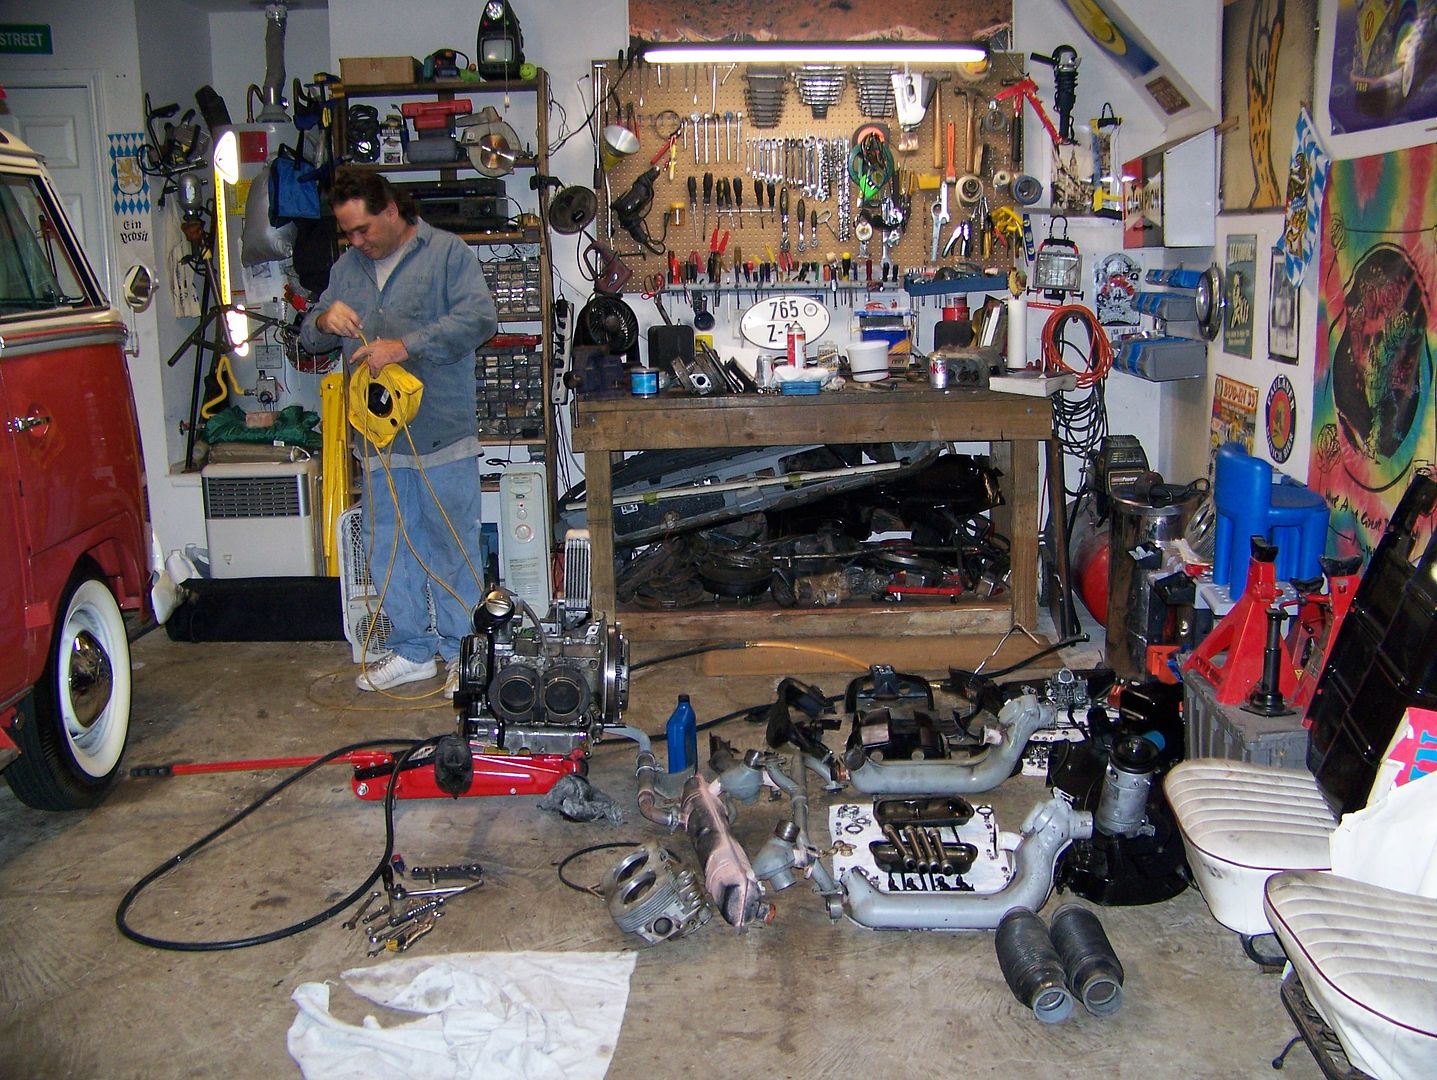
At 9:45AM, the engine was out.
TX ER 01
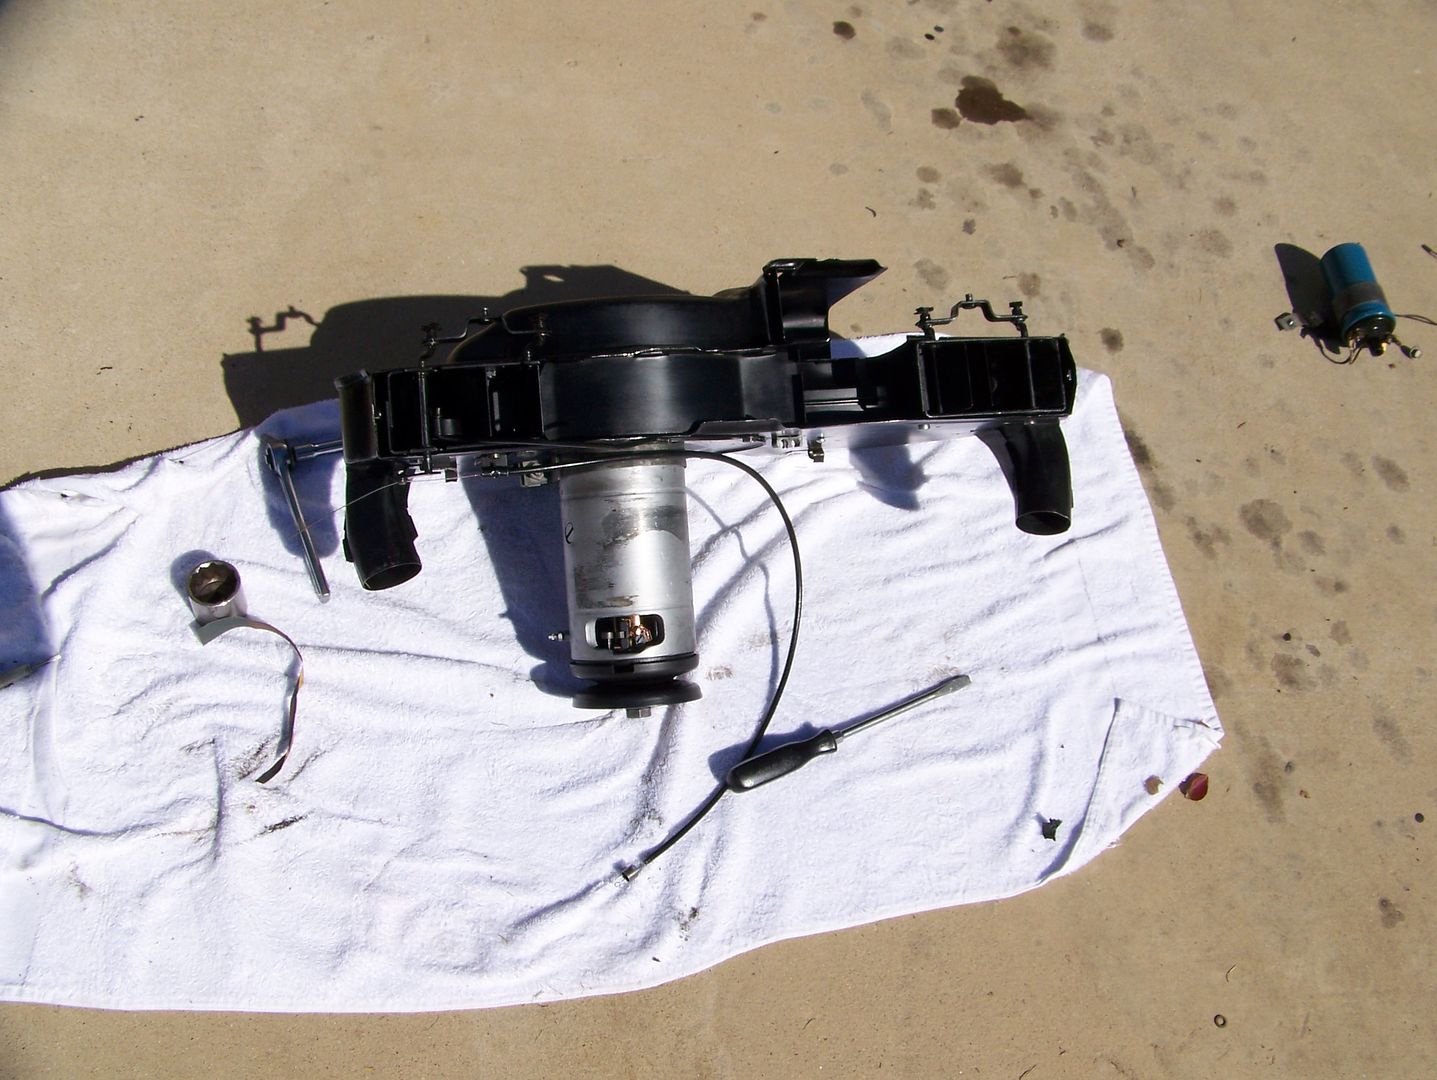
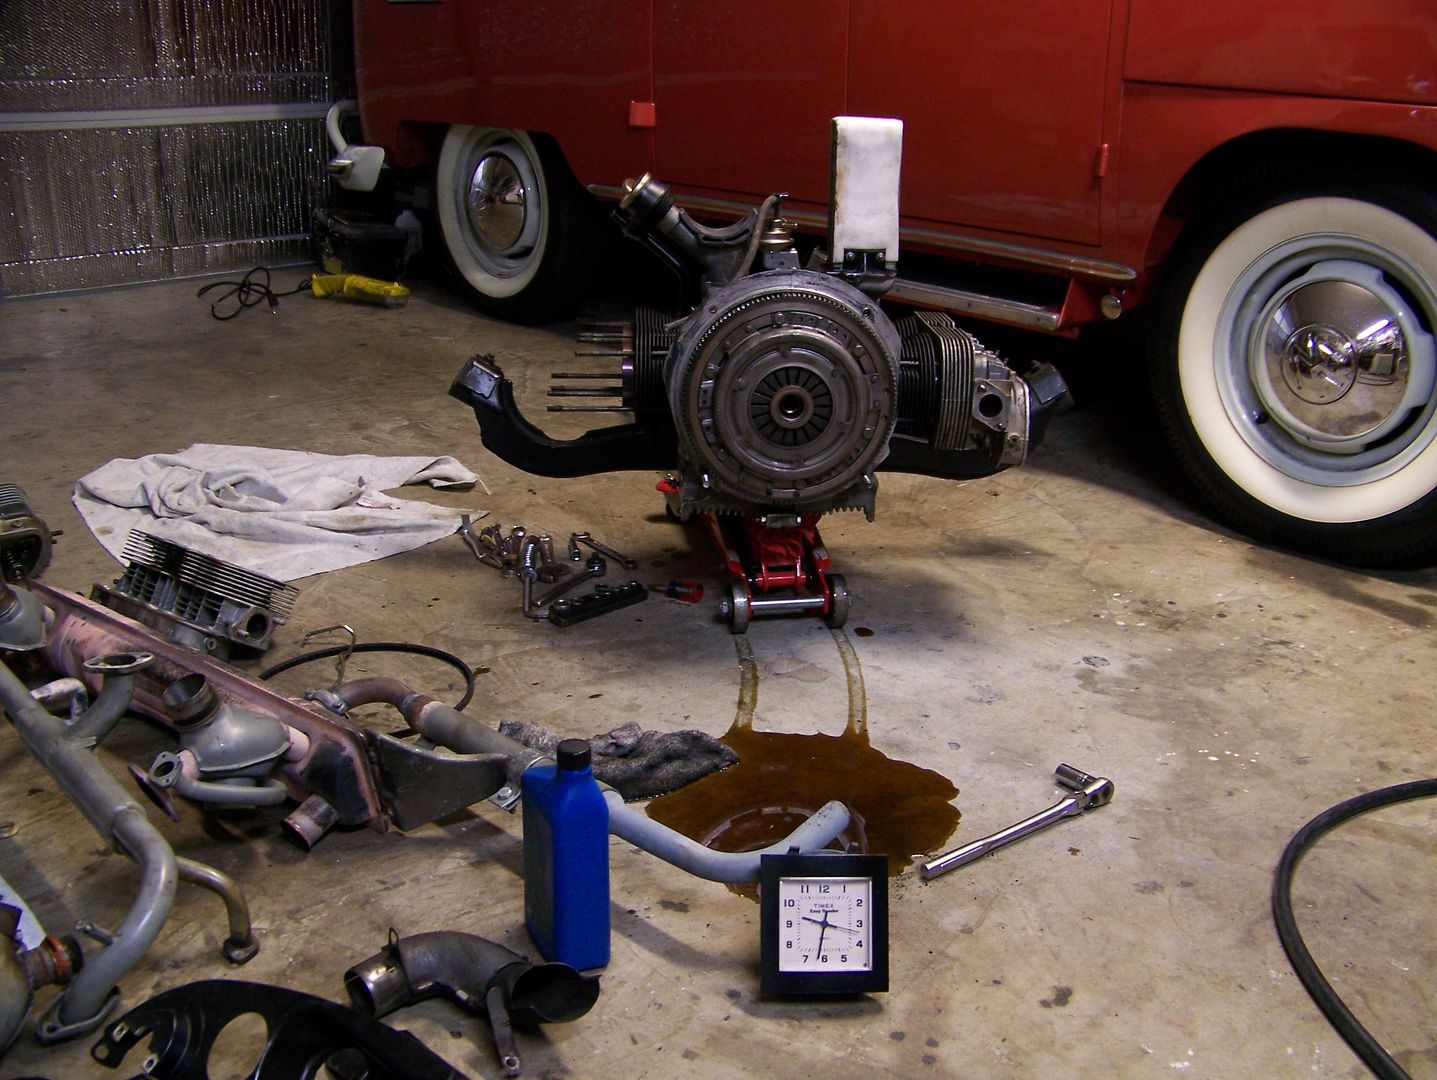
At 10:52AM, the fan housing was off.
TX ER 02a
Fan housing was disassembled and flaps removed. The flaps were straightened and twisted on their shafts to provide perfect synchronization from opened to closed.
TX ER 02b
(and the generator's commutator was again polished upto prevent yet another emergence of that sparking nonsense)
TX ER 02c
Flaps closed (note that some air is allowed to properly heat up the thermostat so it will open).
TX ER 02d
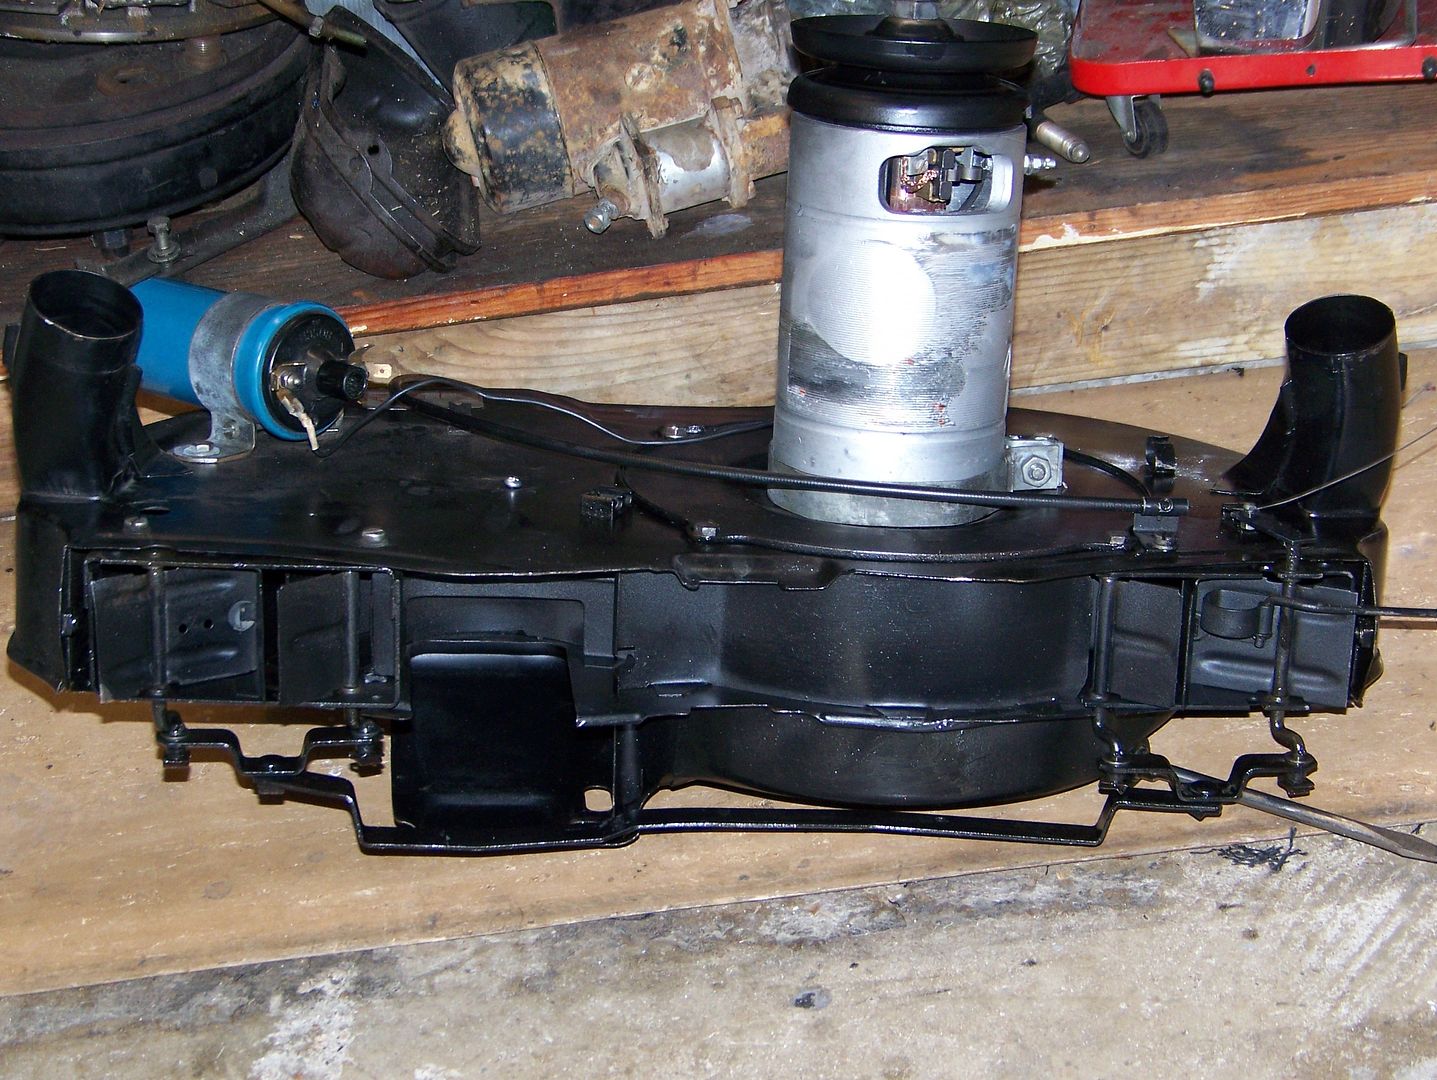
Flaps open.
TX ER 02e

At 11:50AM, I had no definitive answer yet as to why this engine was running hot. I was also getting irritated at the notion that stupid little things like bent flaps could possibly have such an effect.
TX ER 03a

Maybe I will find dead bats under the cylinder covers. Here I am using a trick to get to the stupid 10mm nut on the inside of the intake curve.
TX ER 03b
Down to the long block, everything is clean (except for the case parting line leak next to the repaired oil cooler). I admire this engineering. I have known too many filthy VW engines neglected half to death running cool and happy. This clean and carefully built engine has some other problem that I must find.
TX ER 03c
Entering the fourth hour, I am mindful to keep this organized ... but what is ailing my engine???
TX ER 04a
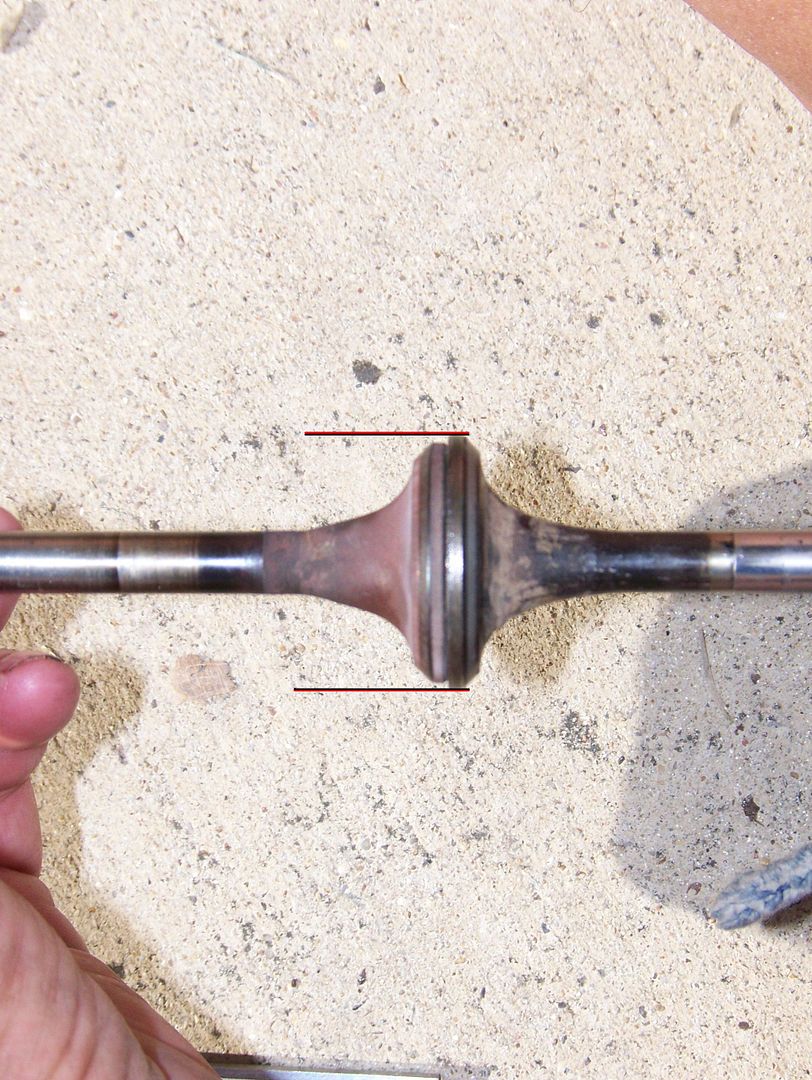
Here you can see the resultant valve adjustment screw migrations that have been driving me nuts.I had looked at those exhaust screws sticking way out and could only think that I did not want to drive this car blithely down the highway, ignoring this unmistakeable message of impending disaster, is that valve stretch???
TX ER 04b

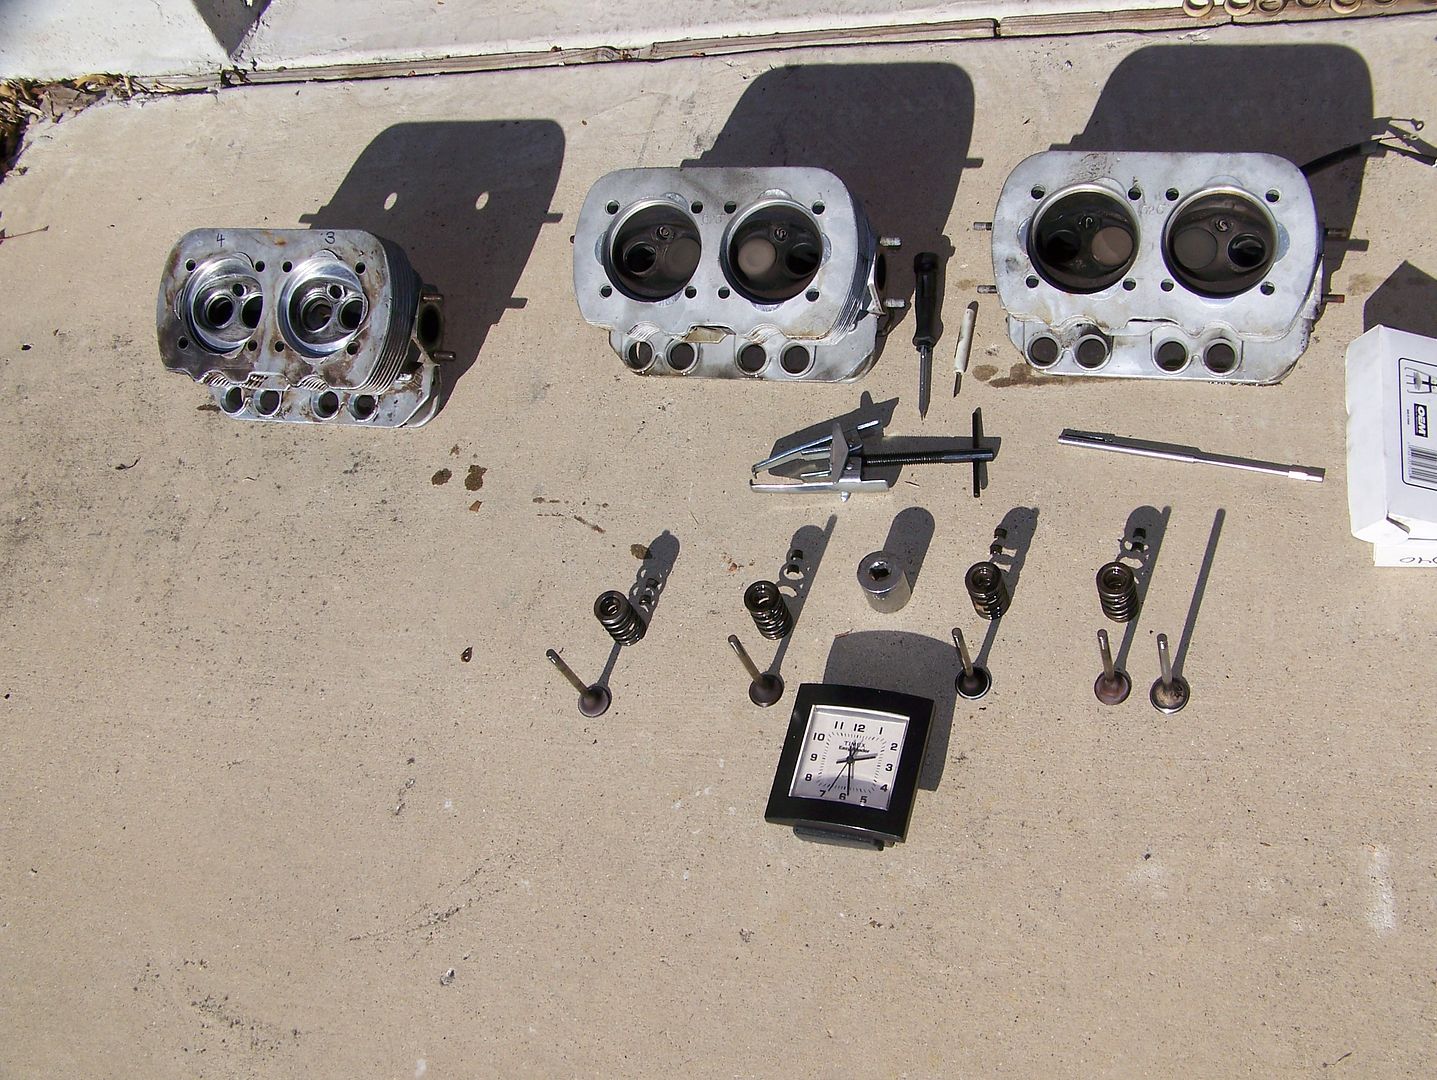
Five hours and ten minutes into it, both heads are off. Answers are coming up, that is what can motivate me to extreme tests of endurance, good ol' curiosity ...
TX ER 05a
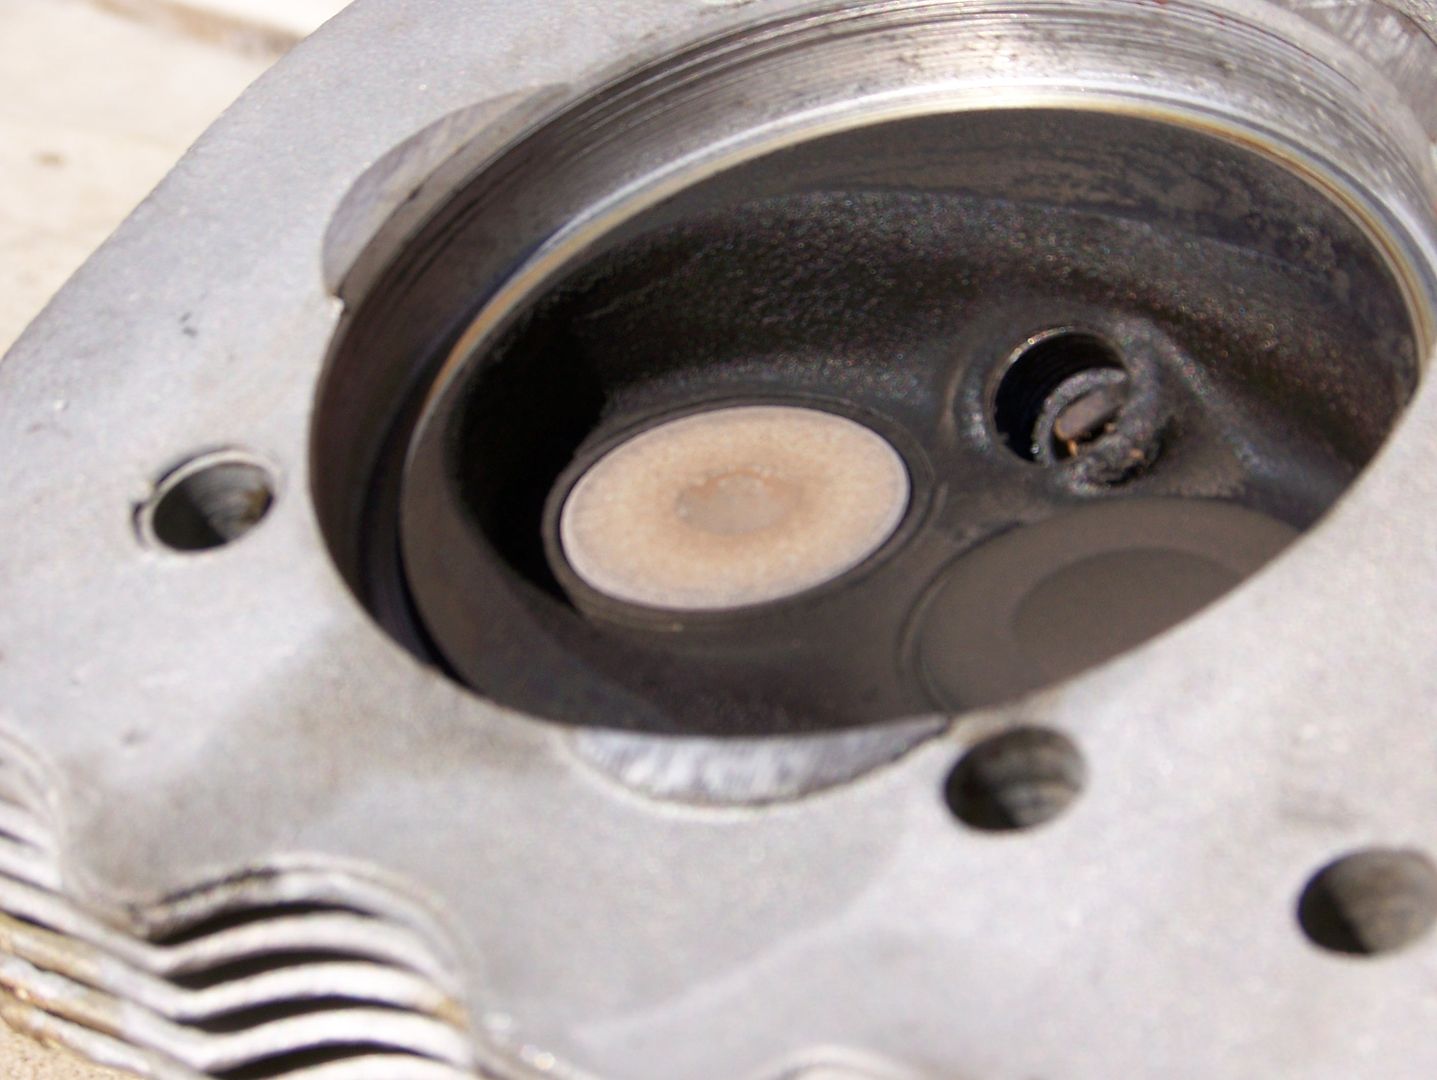
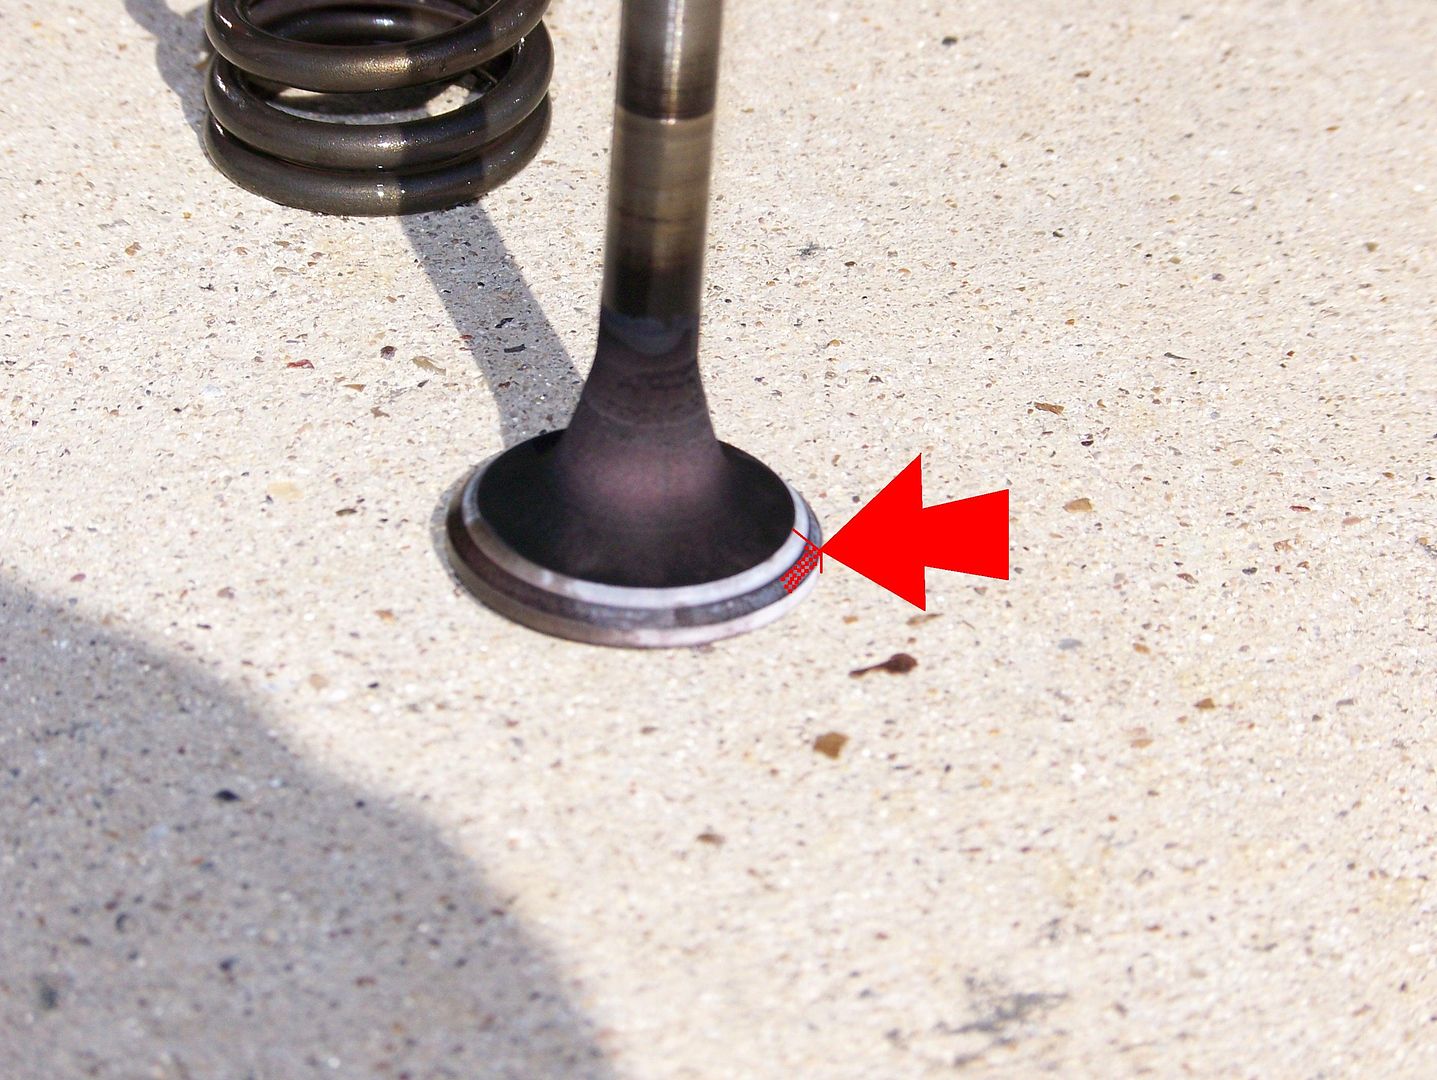
Well, here is #3 exhaust. Sure looks recessed, doesn't it?
TX ER 04d
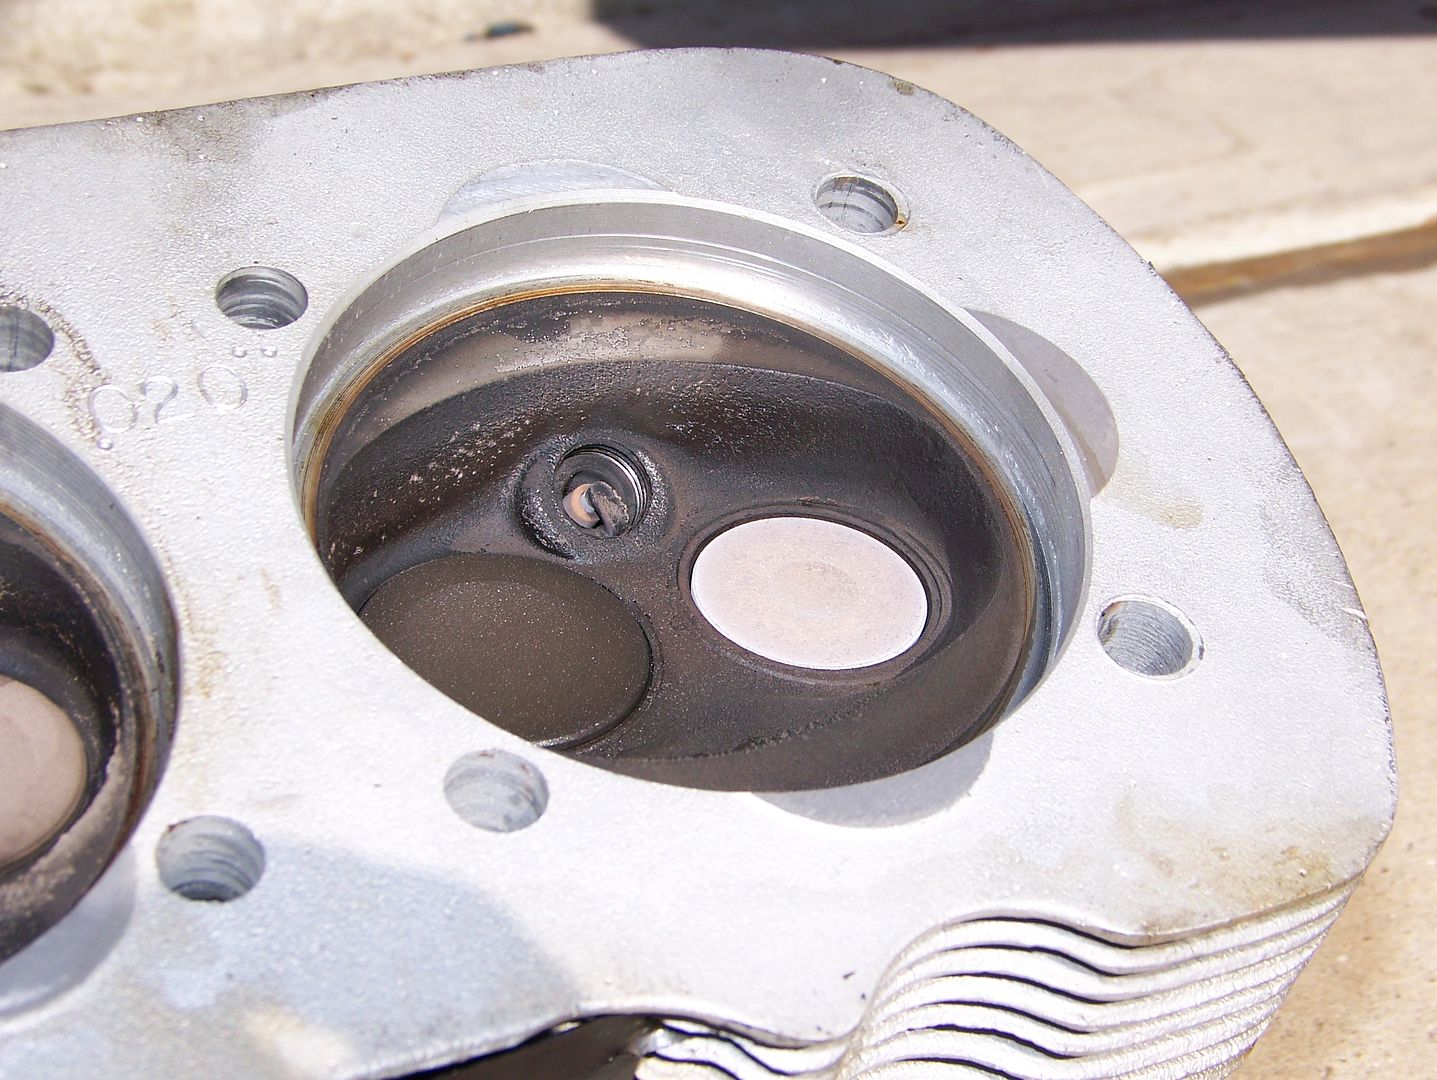
Good grief, so does #4 exhaust.
TX ER 04e
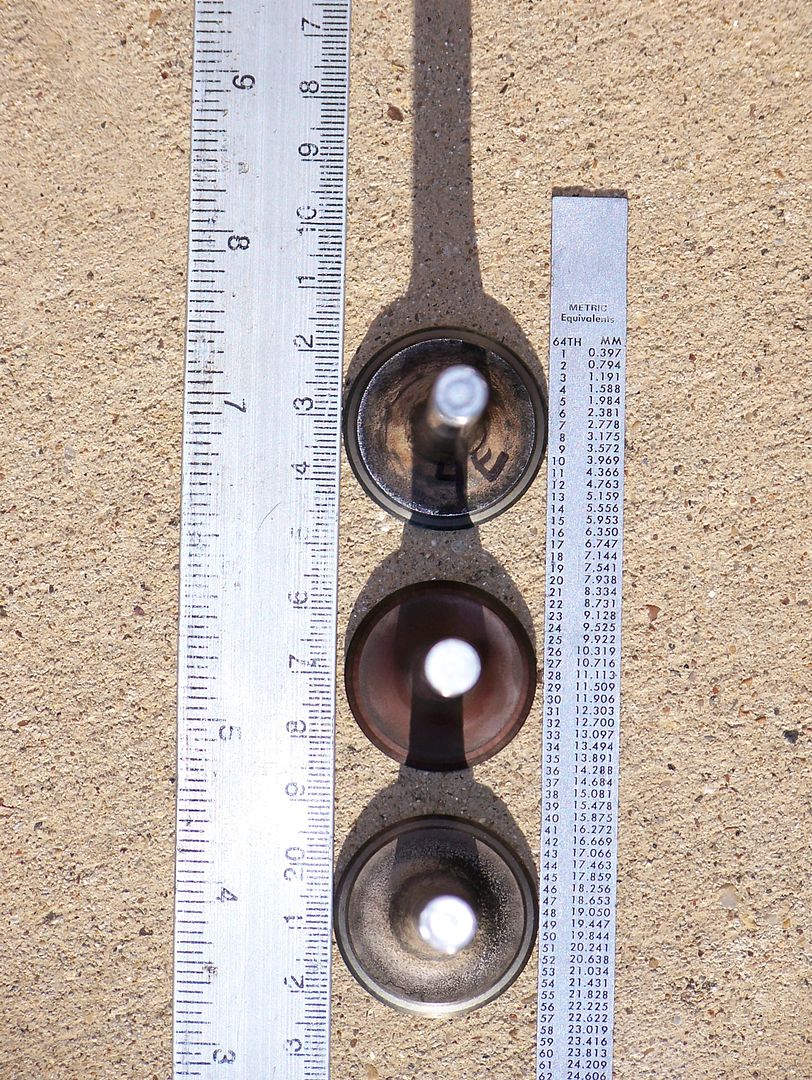
38 minutes later, all the exhaust valves are out. I have one of the used heads I picked up for $80.00/pr when I passed through Yuma as a comparison.
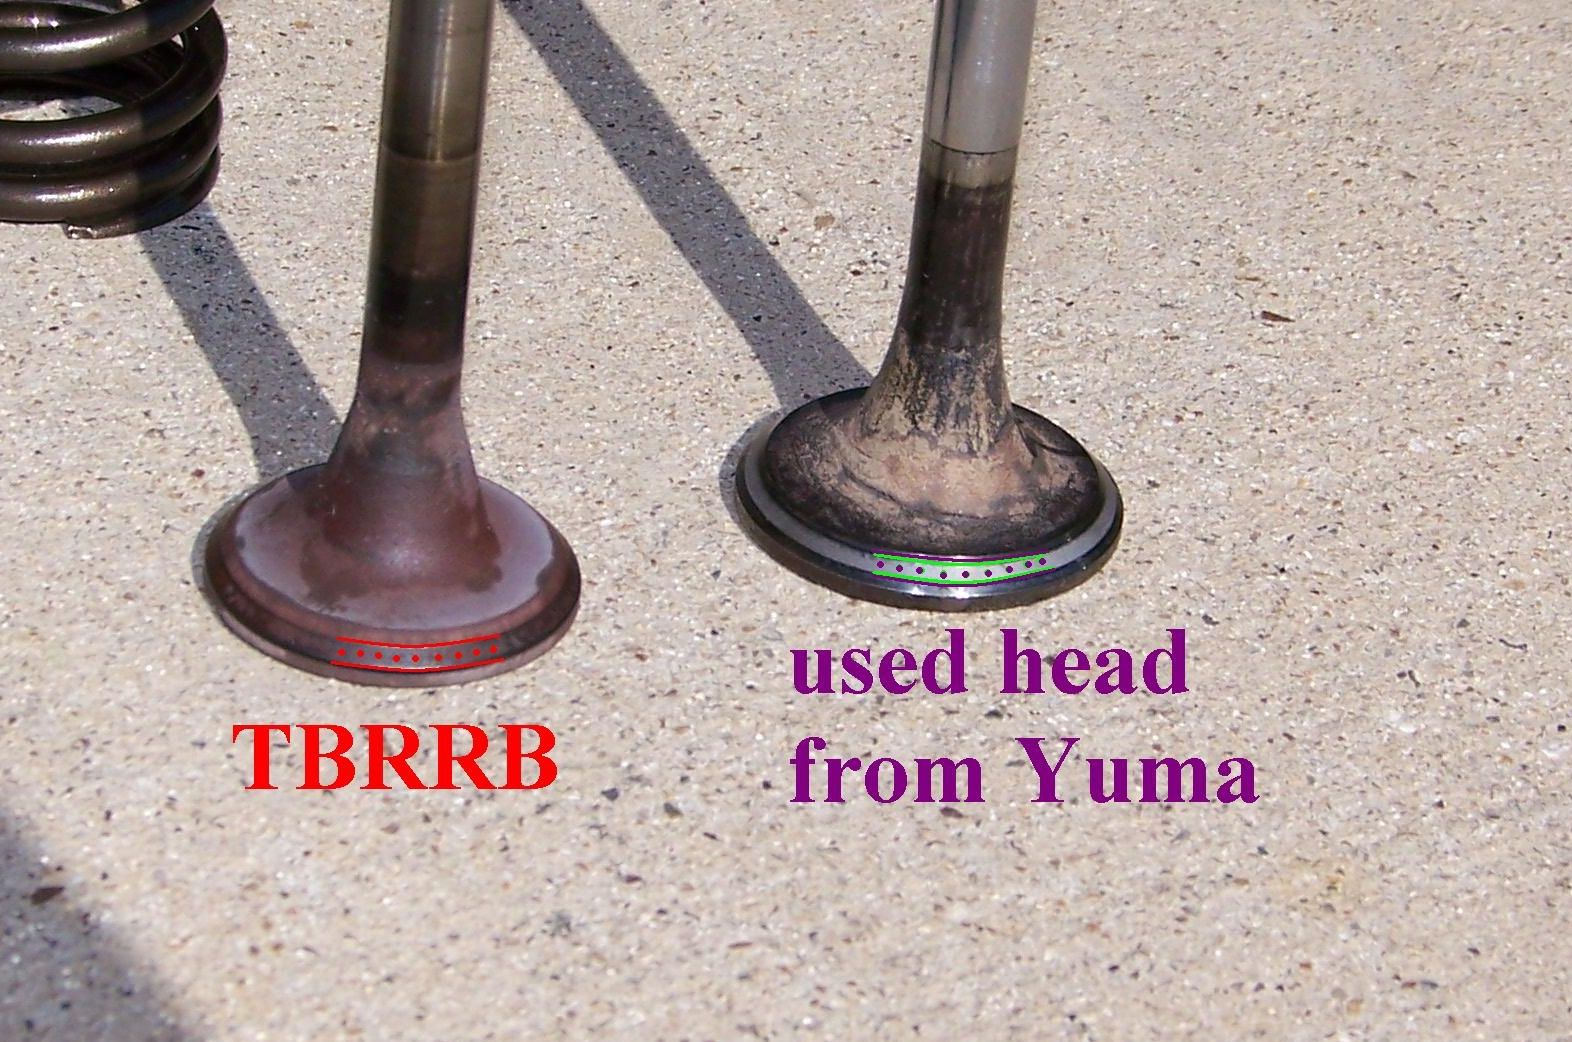
TX ER 05b
Very strange. The contact surface on the TBRRD's #3 exhaust is right at the margin, the very outside edge. The color of the valve also suggests serious heat. Meanwhile, the filthy dirty muddy caked-on grease clogged fin used head's #3 looks nifty with its contact surface a healthy distance from the edge or margin.
TX ER 05c
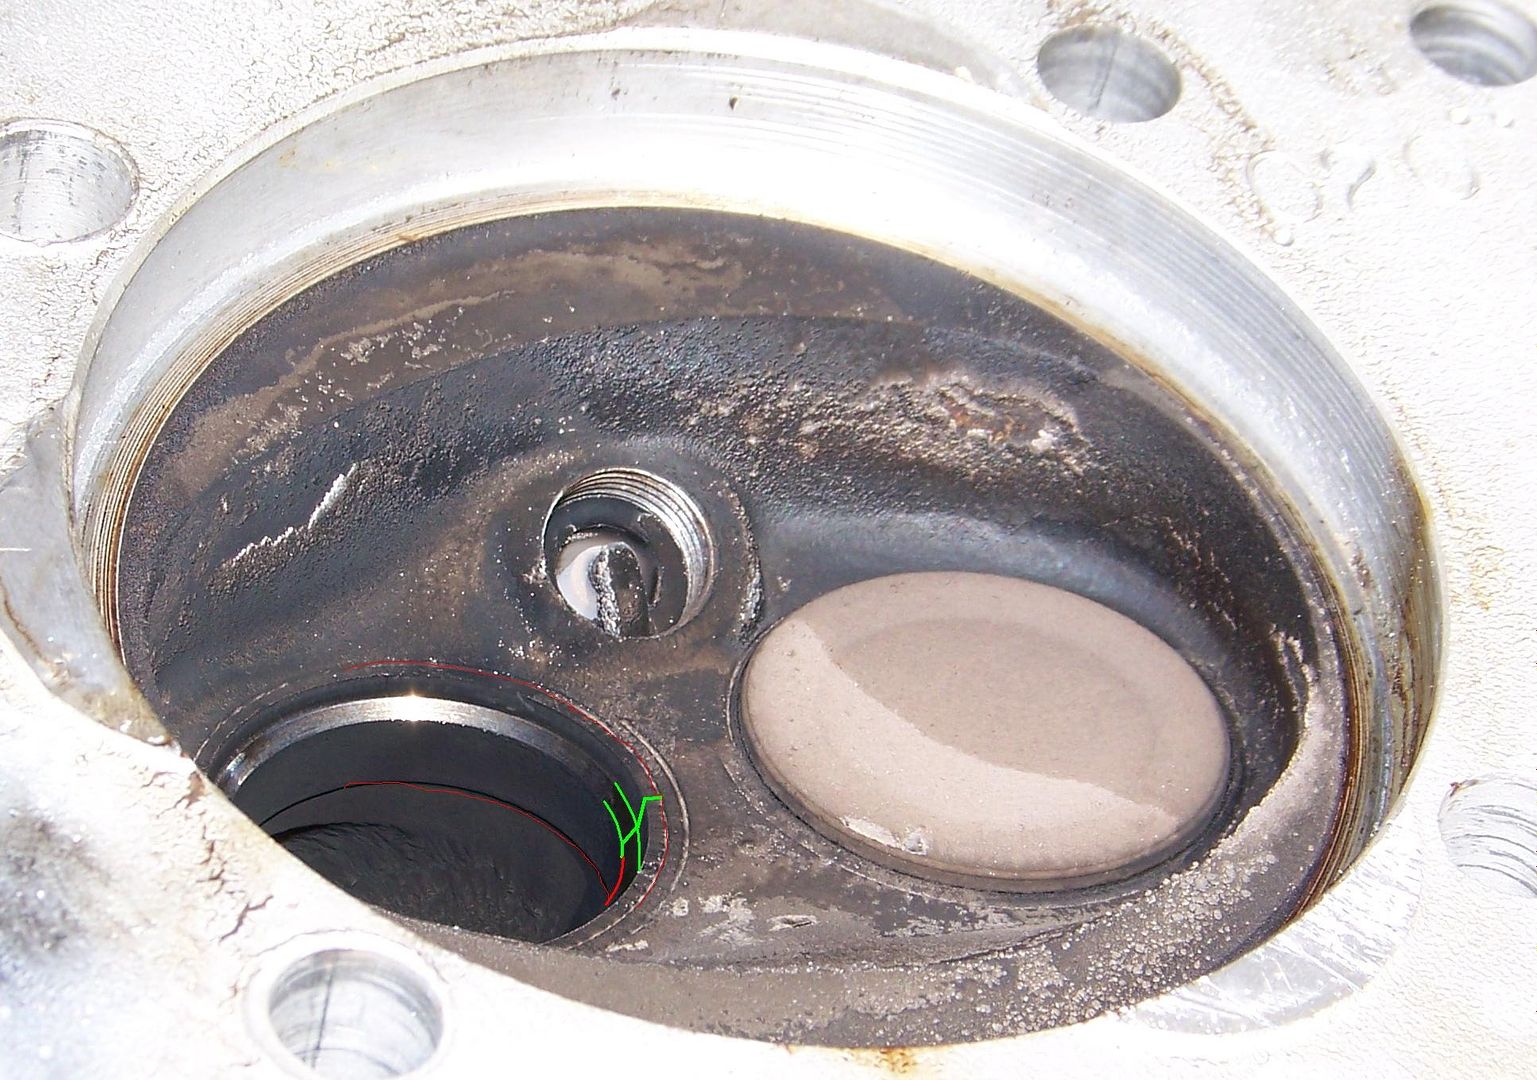
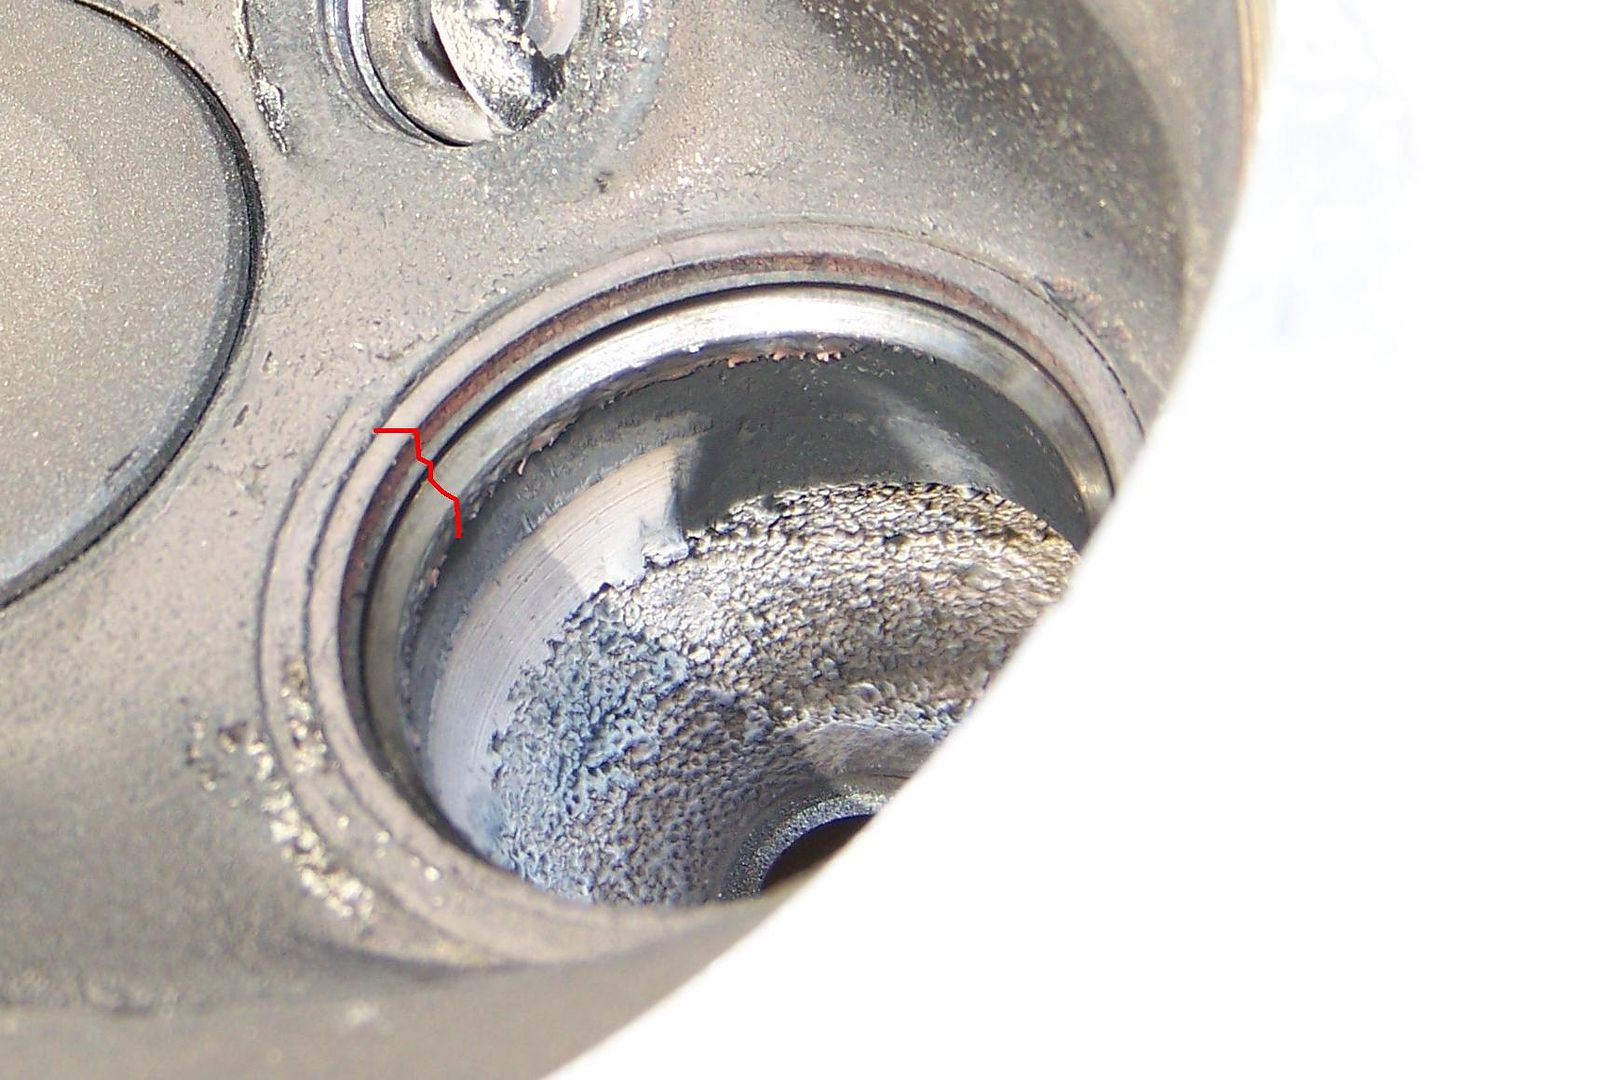
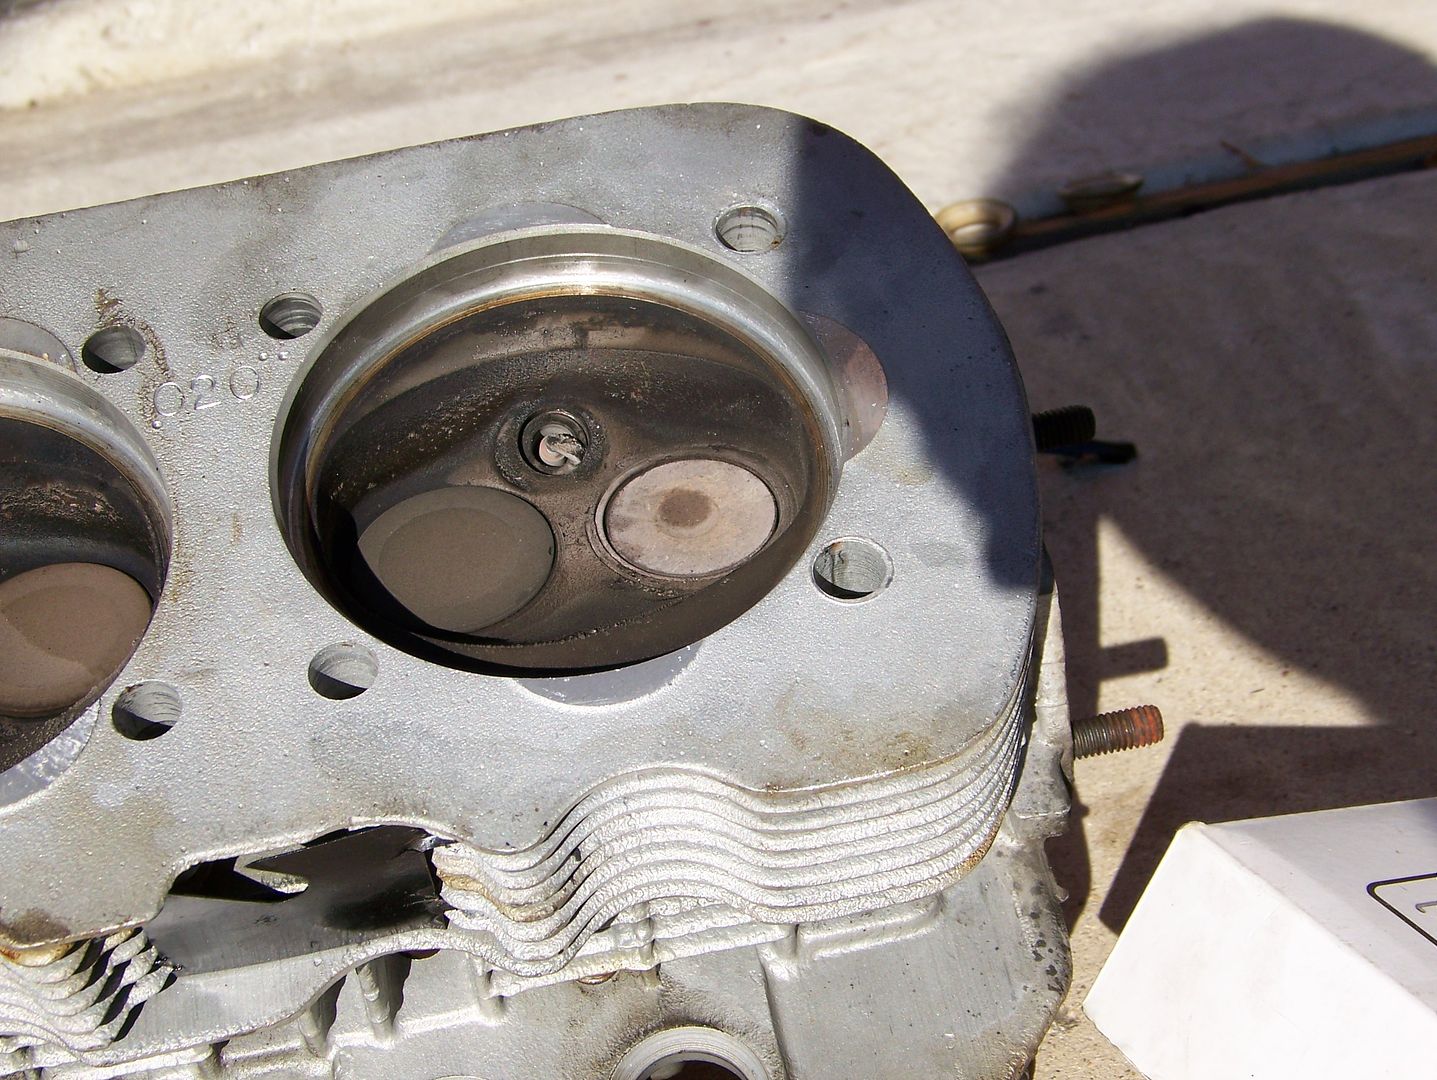
Here is the TBRRD's #4 exhaust seat outline in fine red. Look at how far down the contact surface is. What is going here?
TX ER 05d
Here is the #4 exhaust valve with the same contact surface way too far down towards the edge.
TX ER 05e
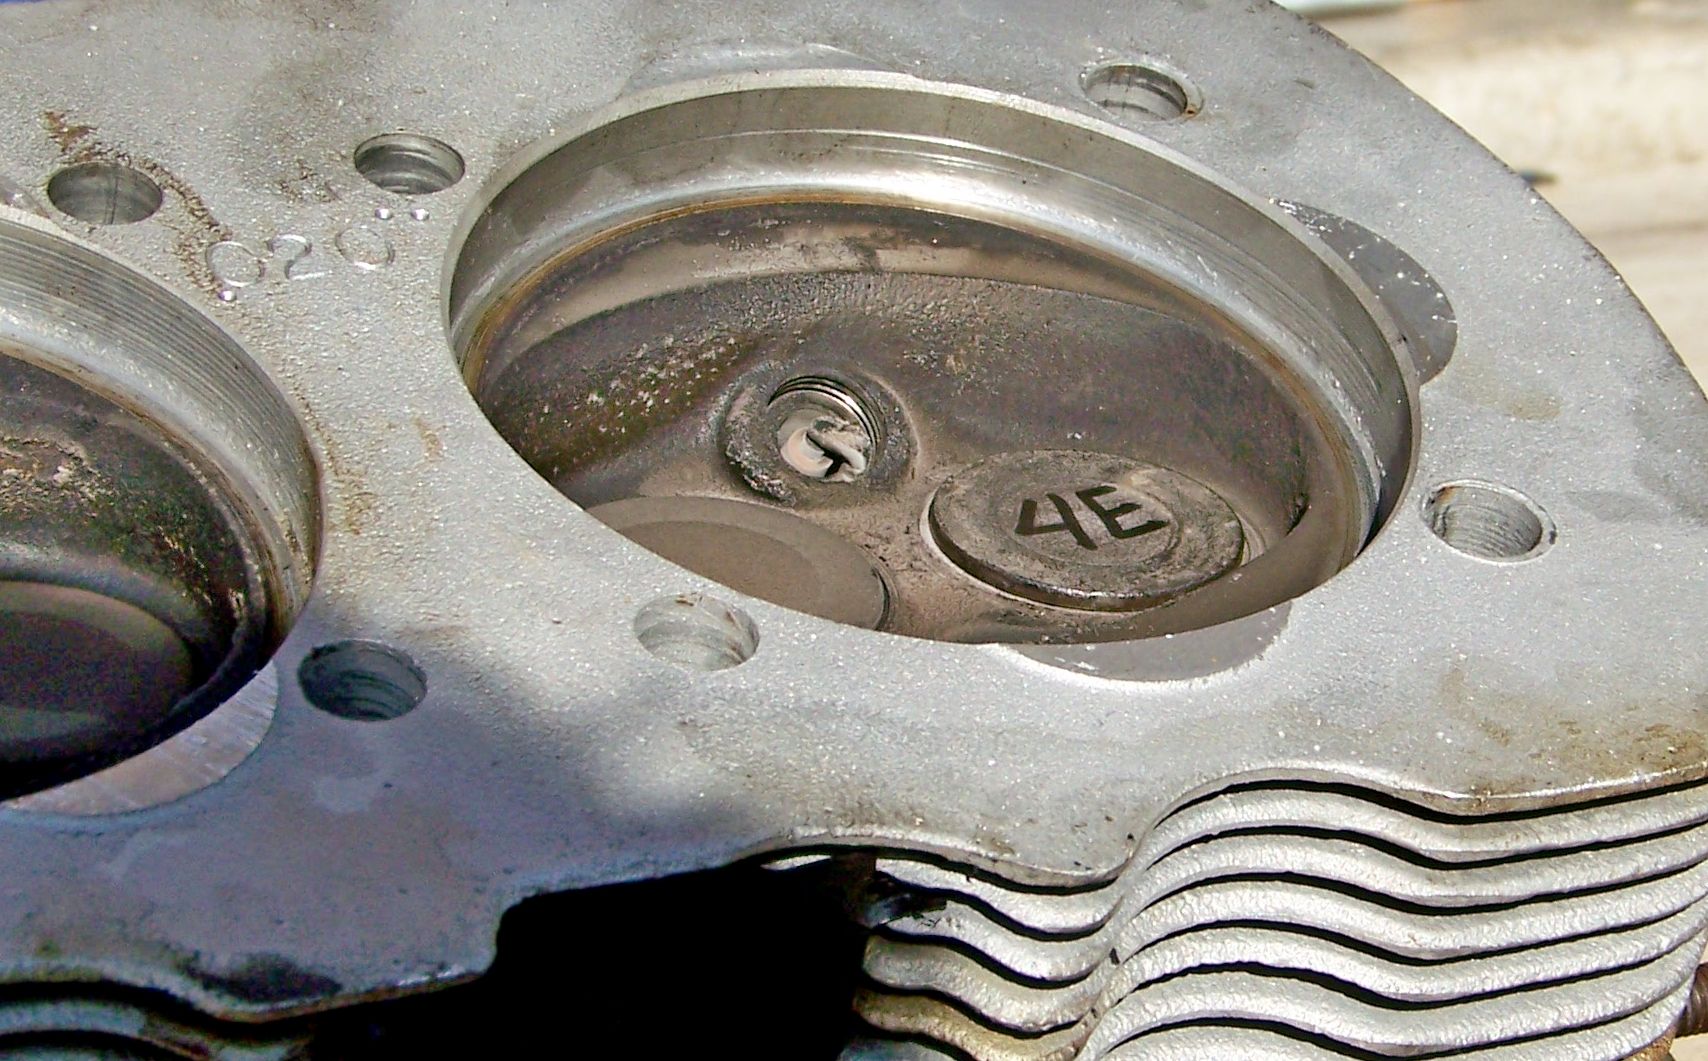
But #3 takes the cake. I have never seen this. Look at the amazing destruction of the seat. I pencilled in a little red profile to show you how deeply the valve had migrated into the seat's metal. The 45* contact area has eroded downwards several millimeters.
TX ER 05f
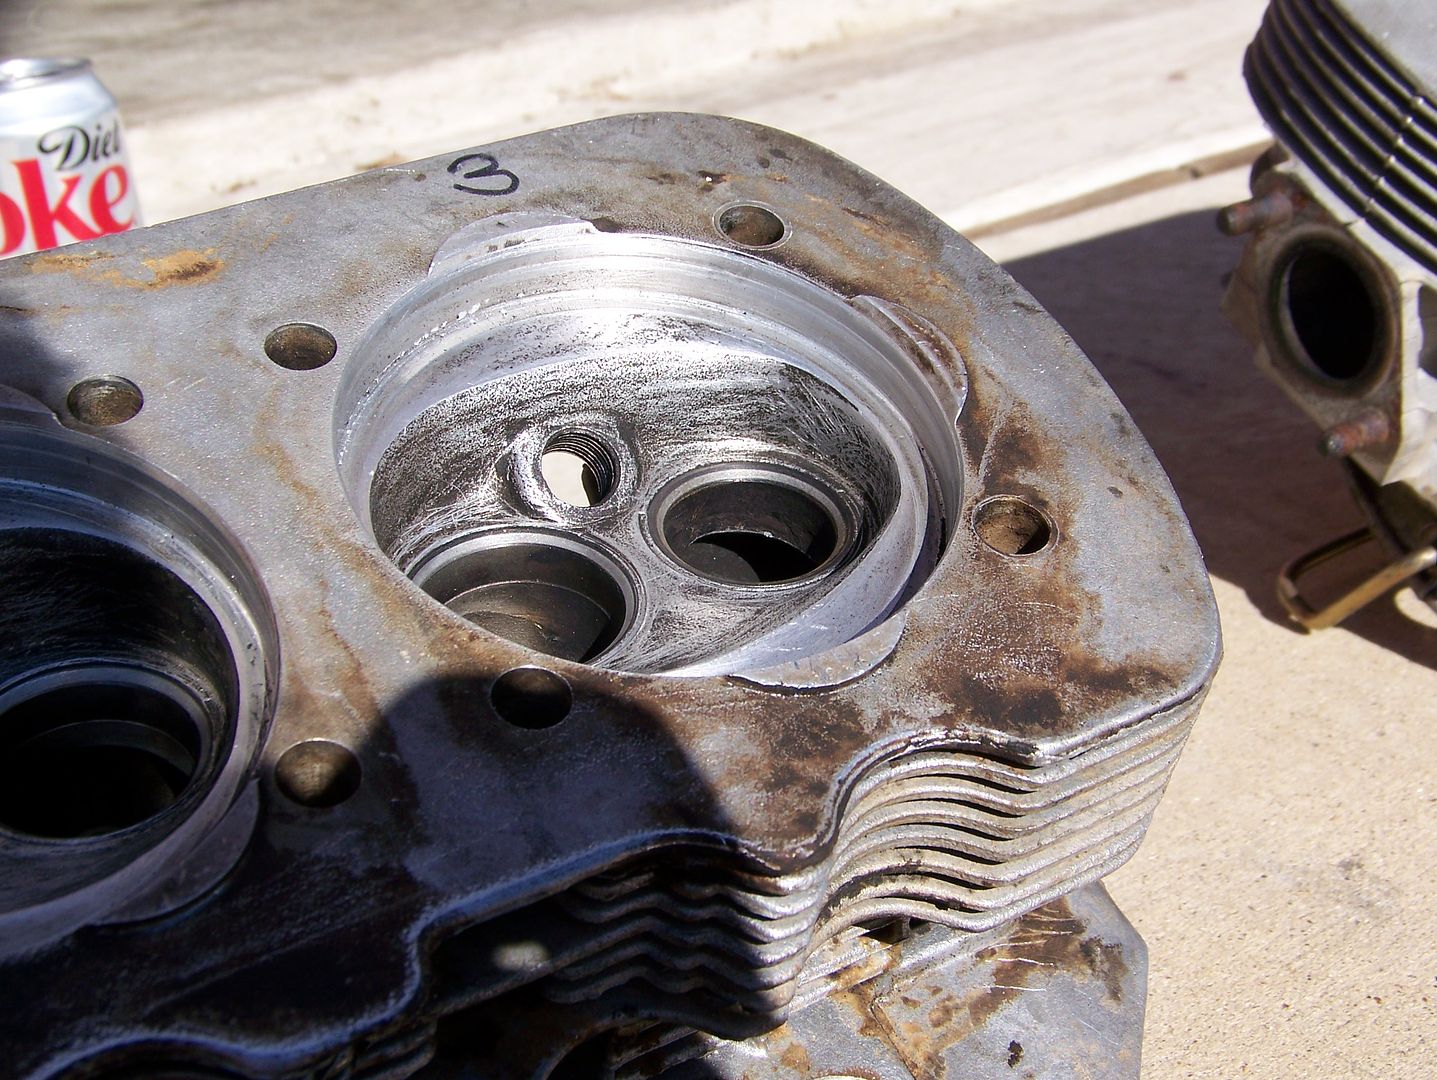
For comparison, see how the used head's contact areas are simply spiffy?
TX ER 05g
Three angle grind with a correctly narrowed seat contact area ... good ol' old.
TX ER 05h
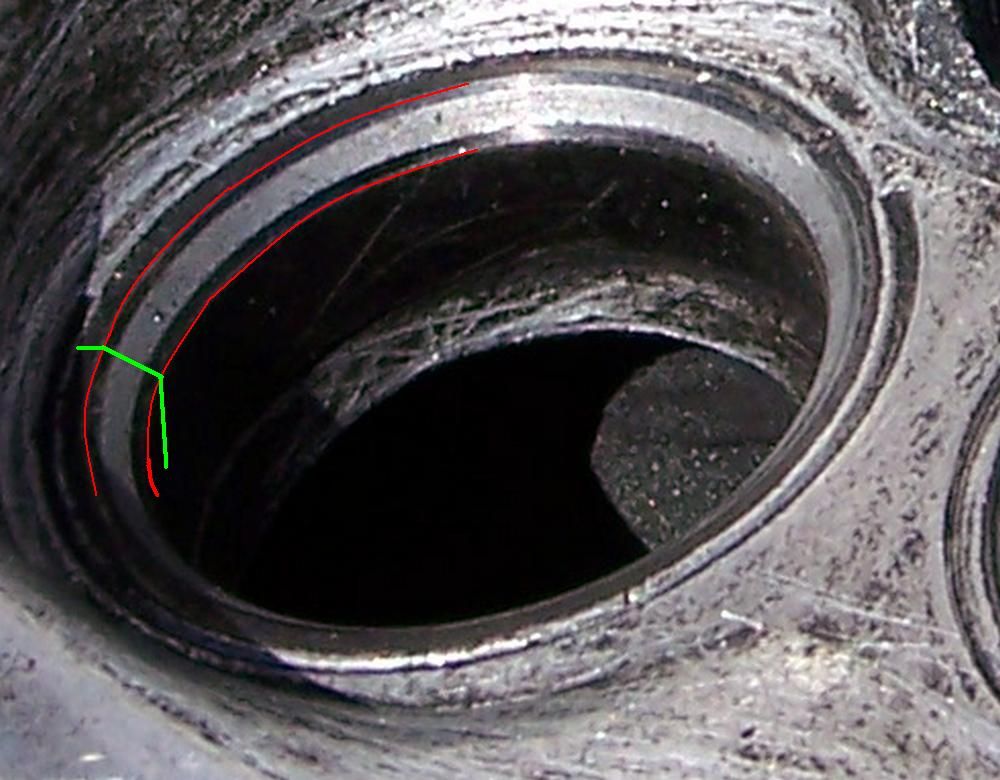
And here is the reason that this poor bus has been suffering so. The machinist who did the heads for Bookwus installed the wrong size valves. It may seem subtle to the neophyte, but there is *no way* a machinist could possible miss this. The instant he stuck this fuel-injected Beetle 31mm valve in would have shown a contact area too close to the margin of the valve.
TX ER 05i
Here are the two used 32mm exhaust valves from the used Yuma heads on either side of the TBRRD's 31mm exhaust valve. Imagine the scenario here. You have blistering hot exhaust valves (1,000* in the middle) that are too small for the hole. The very edges of the valves have to transfer the heat to the seats. The very edges of the valves already have too much heat being blasted by exhaust gas on the fronts and the backs of the edges. My scenario with this engine is that these too small exhaust valves were running red-to-orange hot halos under load, and this concentrated heat was then conducting over to the plug thread area and scaring me with those 430* CHT readings. Everything else in the engine was cool and nice. Concentrated catastrophe in the making. Thankfully, they were TRW valves. None the less, these heads were ruined by a dumb mistake.
TX ER 05j
Let's review. Here is the incorrect fuel injected Beetle valve sitting so low in the head.
TX ER 05k
Here is the Yuma valve visiting the TBRRD exhaust seat. Sitting up nice and pretty, huh? Unfortunately, the seat underneath is almost a millimeter too low now. Heads that came with the TBRRD are no longer useable.
TX ER 05l
So, I had to try to refinish these used Yuma heads with another serious round of Itinerant Razorhands desperately wondering if he is killing his last chance to get to Atlanta for Thanksgiving.
This is an hour of round and round with a razor blade trying to do a flycut by eye, to tame the grooves dug in at 10-2 on the top and 4-8 on the bottom of the cylinder spigots (these Yuma head had run with loose cylinders)
TX ER 07a
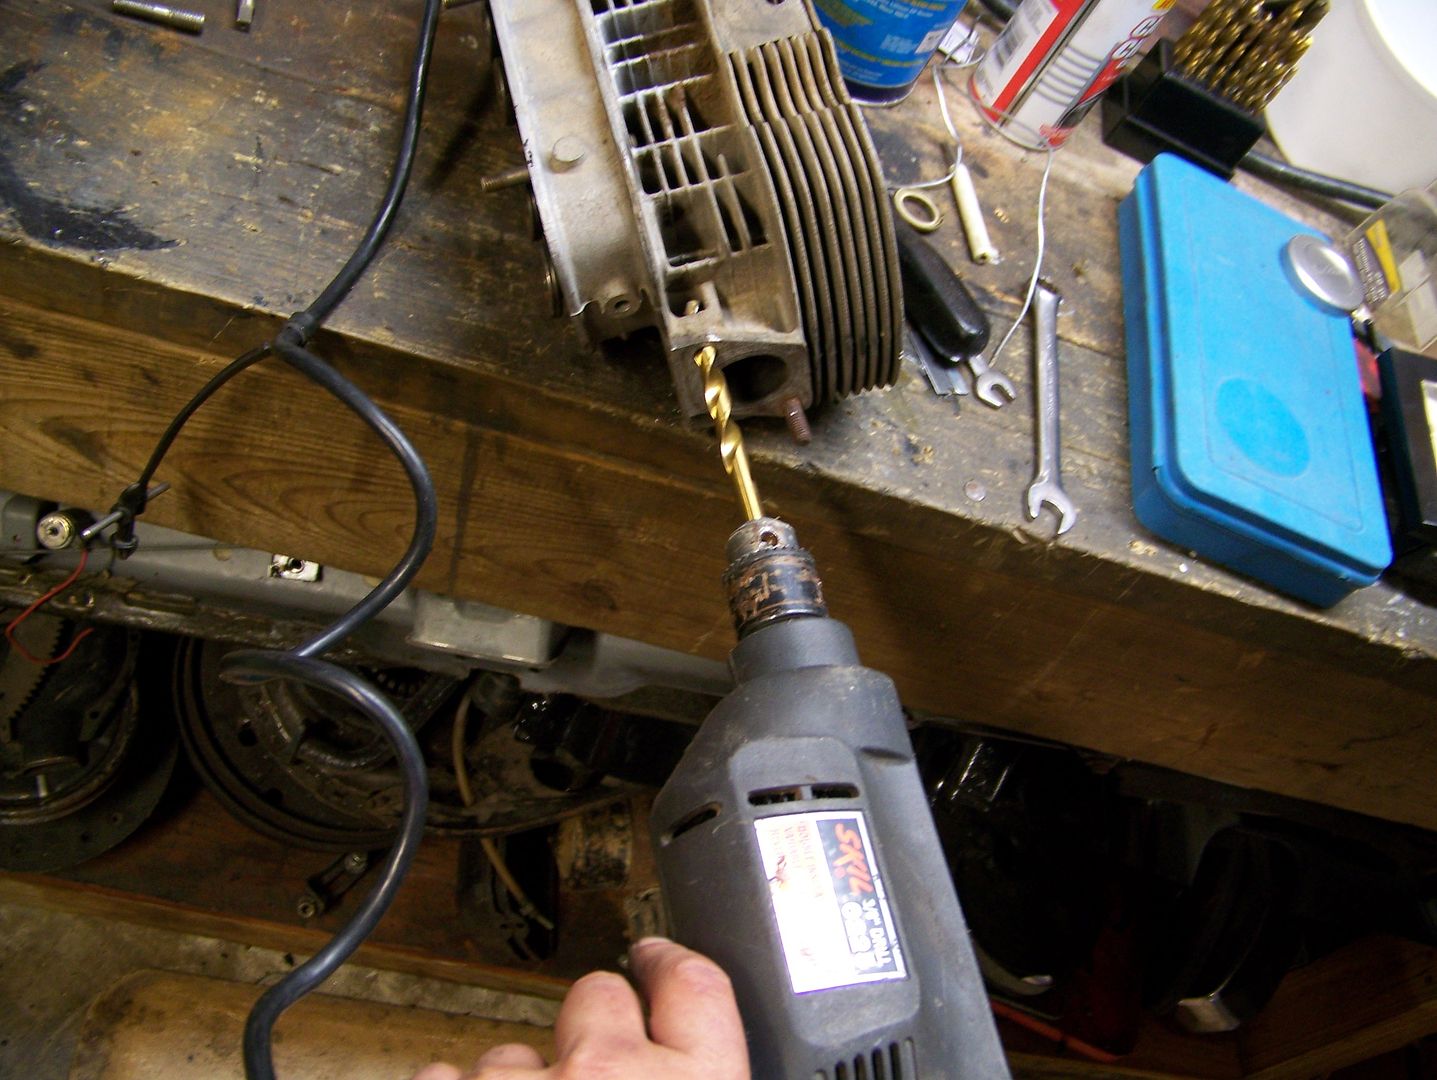
And another hour of round and round, and a wild spell of drilling madly, blindly, through the caked mud in the fins around the exhaust ports. It is a well-ventilated head now.
TX ER 08a

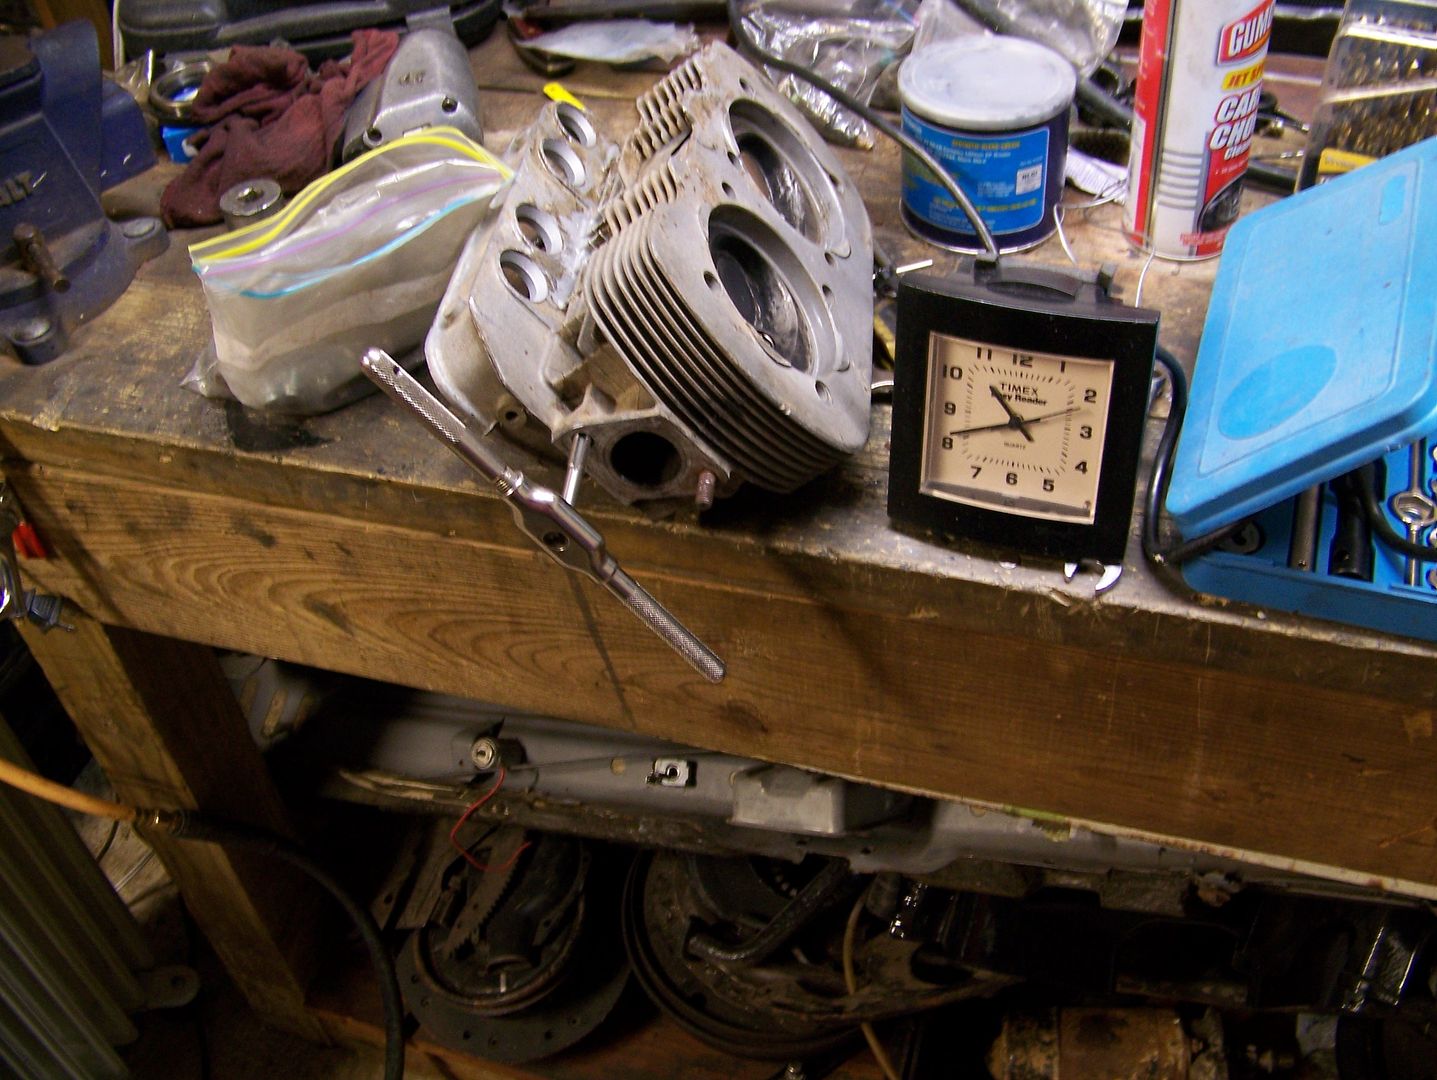
At the nine hour mark, a dollop of hacksaw blade cleaning through the ground-in dirt in between the fins, and a finger driven valve lap job followed by a fierce scrub in the kitchen sink.
TX ER 09a
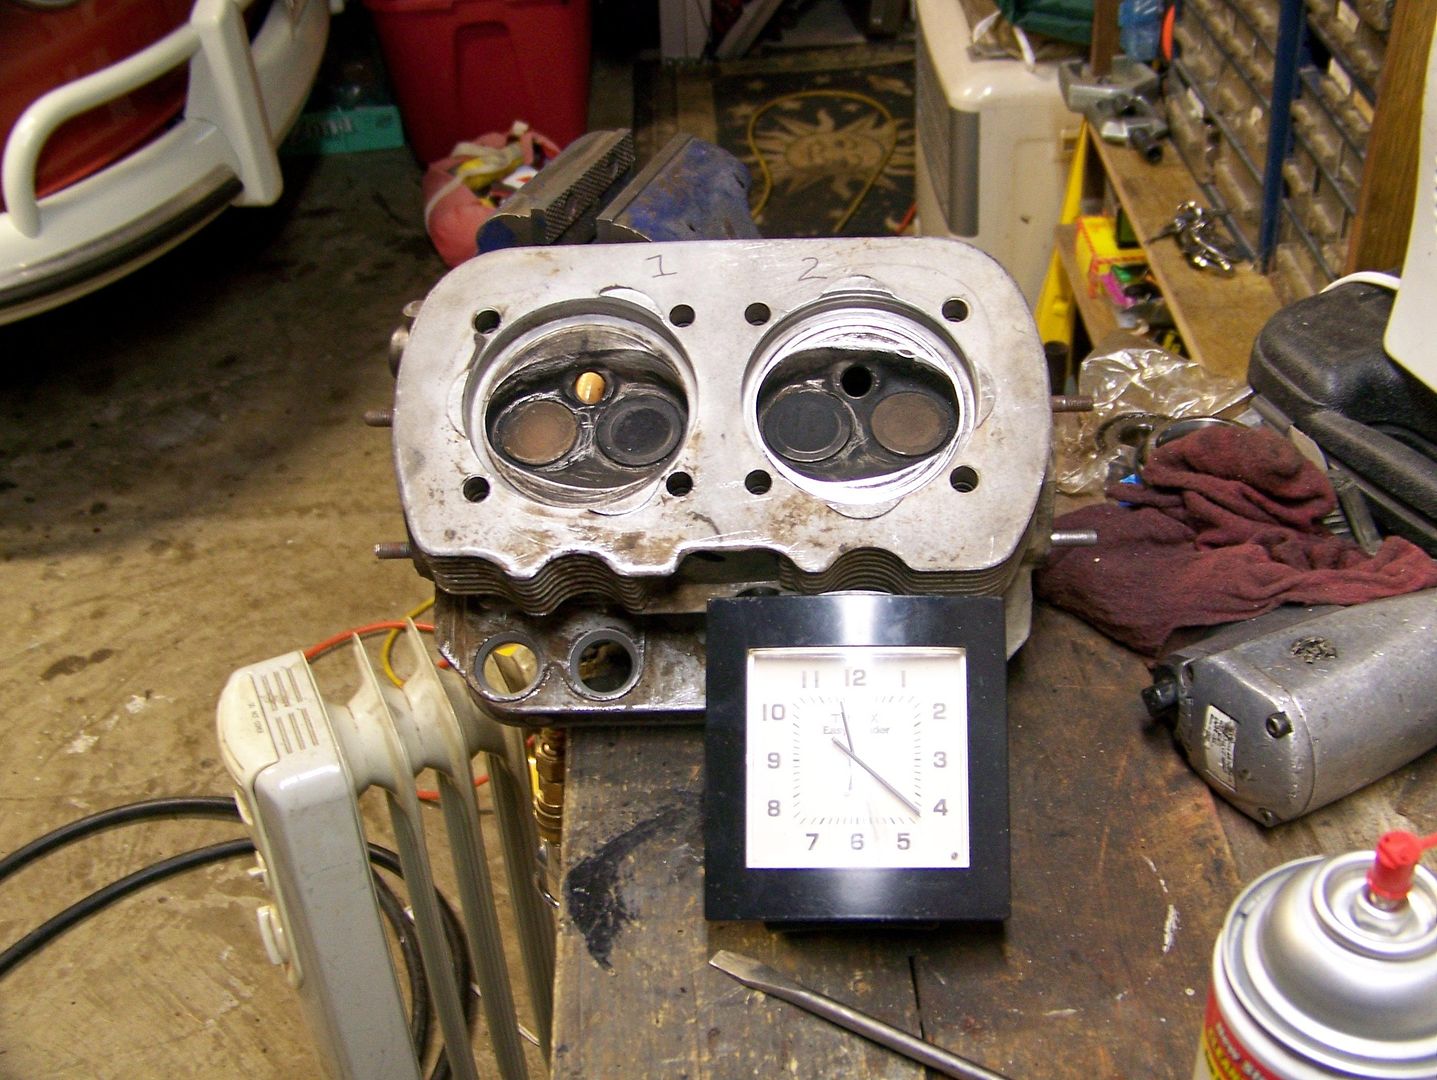
Two hours later, the host of this party has shown up. I greet him with a spray of snot and sneezing, this cold is ripping me up with swollen sinuses fatigue and irritated fatigue. He has a '77 bus that won't move under its own power. I cannot think of such things right now.
TX ER 11b
At the 12 hour 45 minute mark, I find a little oil slick? The jack has slowly settled and allowed oil to drain from the #1 exhaust lifter bore. The 3/4 (left side) used Yuma head is done... now I have to do the same razor blade flycut + finger valve lap job thing with the 1/2 (right) used Yuma head.
TX ER 12a
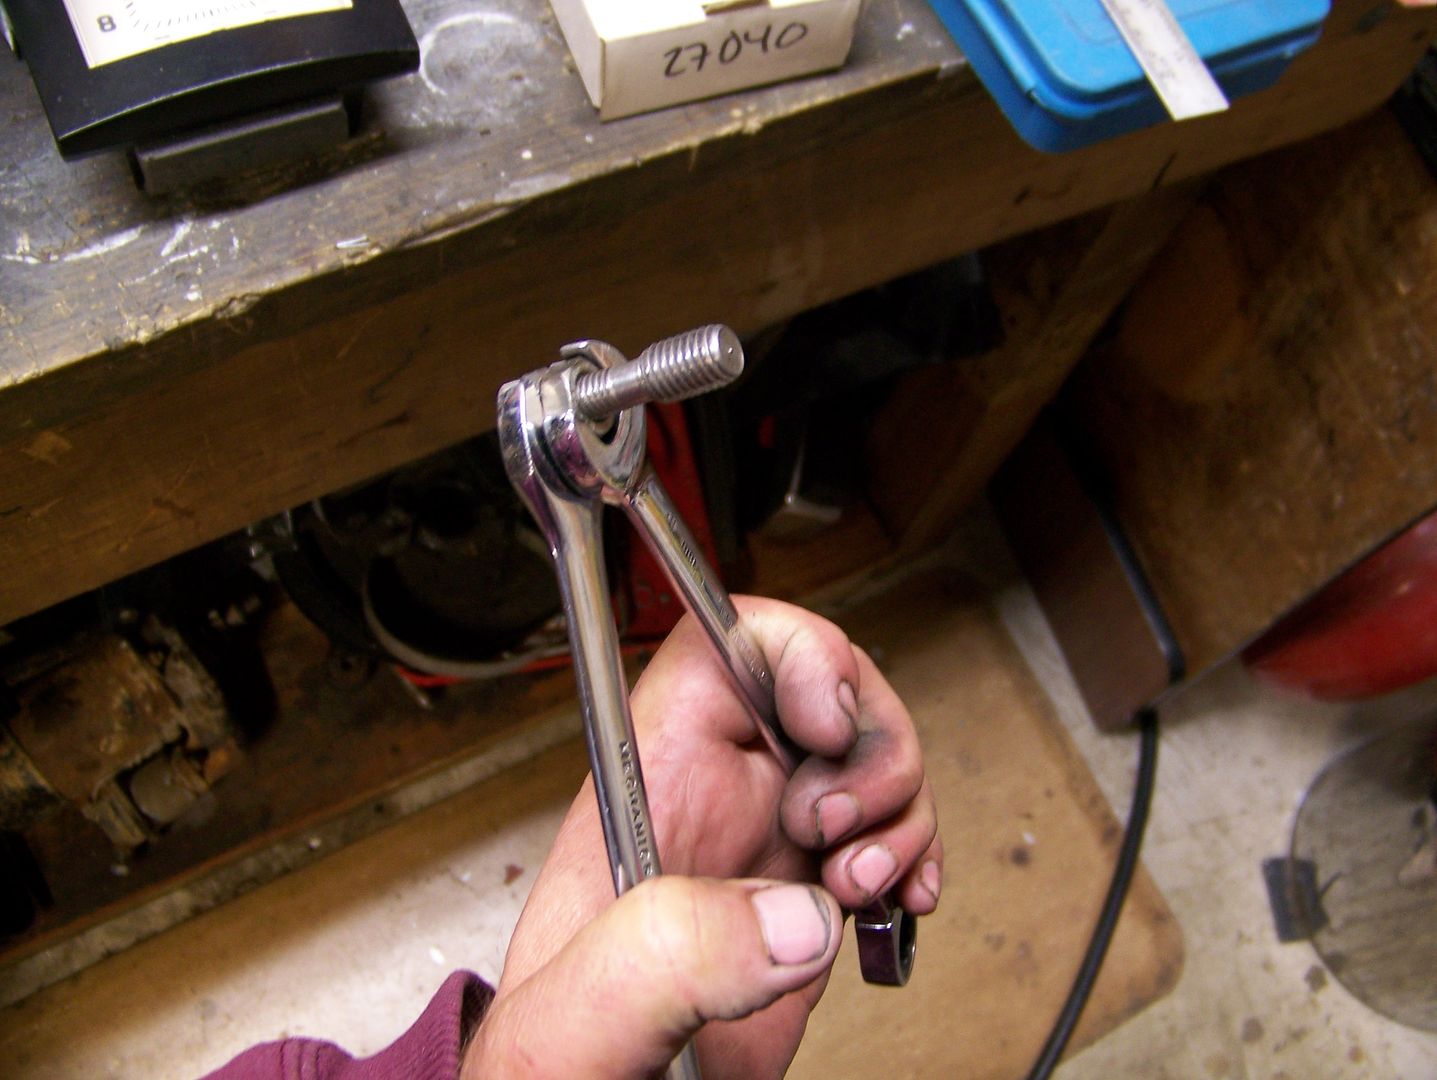
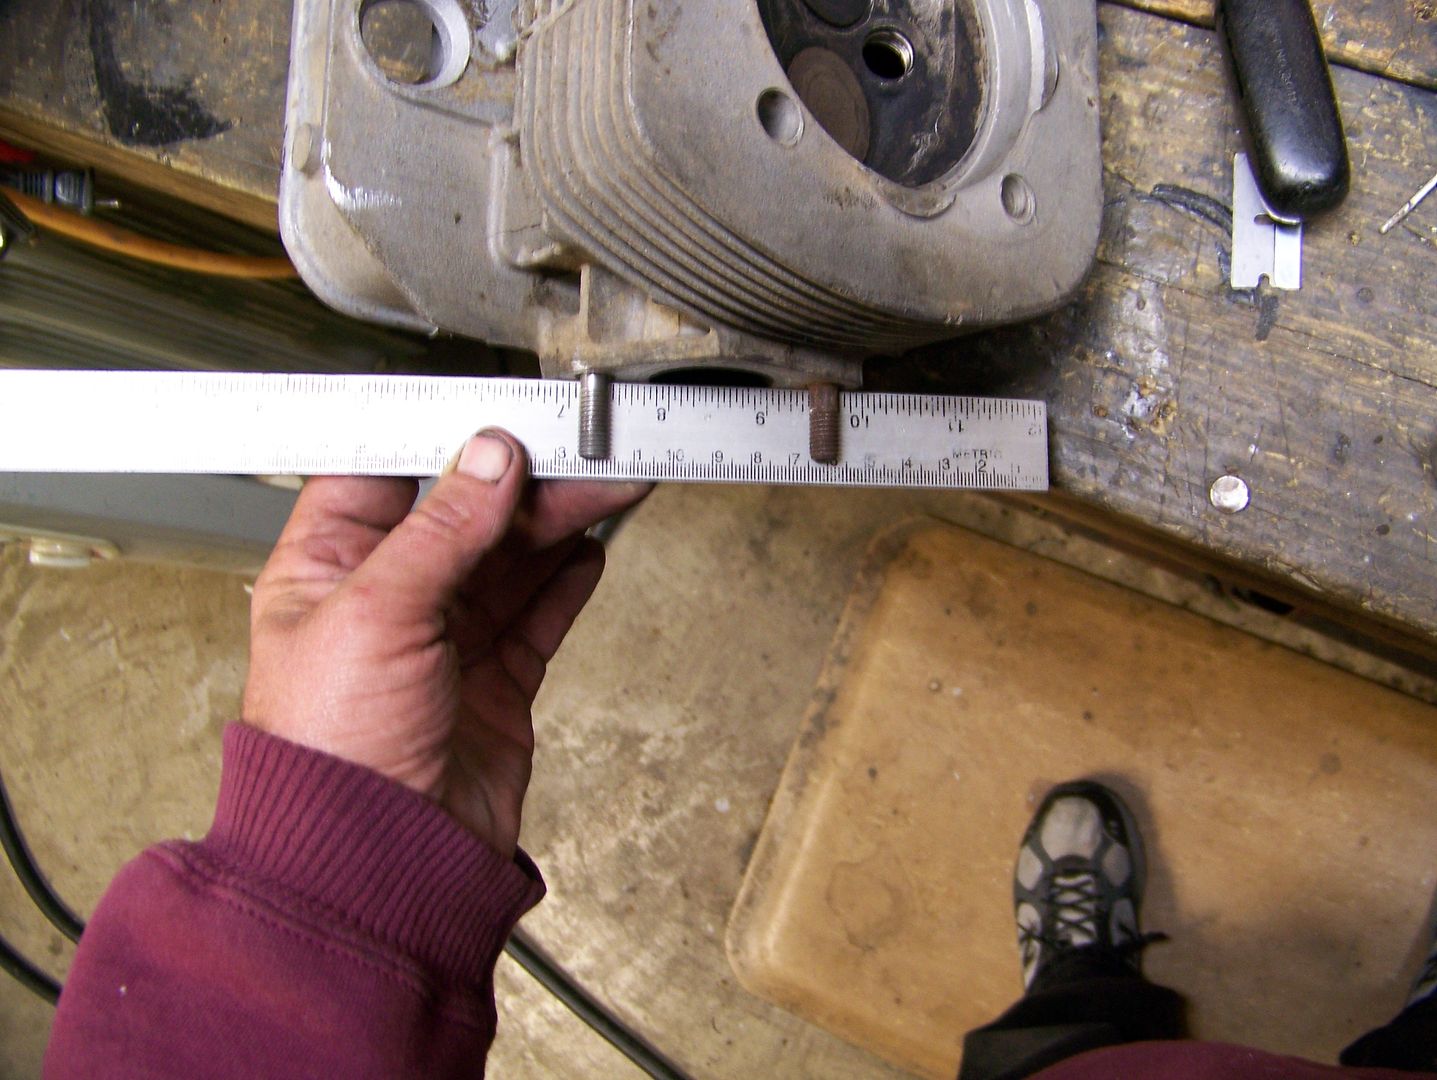
13 hours mark, I am beheading a bolt to turn it into an exhaust stud.
TX ER 13a
The other side of the head had a wallowed out hole. I drilled it out ...
TX ER 13b
and tapped for a 10mm/8mm step stud that I luckily found in my bag of spare bolts as the 14th hour rolled by.
TX ER 14a
Double-nutted it ...
TX ER 14b
... and drove into the head with the outside nut.
TX ER 14c

... to the same depth as its mate.
TX ER 14d
At the 15th hour of exhausting details and adversarial gravity and a nasty cold, I looked at all the grease and caked-in dirt of the head not yet touched, and remembered the hours of razor-blading in circles and fiddling valve keepers and spring retainers and lapping of the head I just finished, and I sighed ... no, I sneezed huge strings of mucous. I am just starting the merrygoround of razor-blading here ... sort of like the first ten headliner dots.
TX ER 15
Fortunately, this head wasn't too bad, so I was able to knock off at about 1:00AM.
END OF PART ONE