Replacing The Voltage Regulator In A Fuel Injected Beetle
Posted: Mon Feb 28, 2011 7:49 am
So you're driving along and all of a sudden your instrument panel lights brighten, your wipers start wiping faster and your Blaupunkt radio shuts itself off. Poltergeist? Aliens? No, your voltage regulator has stopped regulating and you have a moderate to severe over-voltage situation. Oh sure it's nice having the brighter lights and the peppy wipers but I'm pretty sure your ECU is saying WTF?!?! Alright then you decide you better do the right thing and replace your voltage regulator. Well if this was your 1978 bus it would be about a five minute bingo, bango, bongo. Well this isn't your 1978 bus, this is your 1979 fuel injected Beetle. The process is a little more involved. Let's get to it.
The first thing you'll notice is... you can't find the regulator. Oh, that's because it's INSIDE the damn alternator!! Oh how handy and thank you so much to the fine folks at Bosch for putting it in such a readily accessible place. I guess they're all that way nowadays, but I still find it annoying. This means removing the alternator is in order. On carbureted vehicles this is much easier but we've got the "modern" fuel injected model and seemingly as all "modern" technology goes, this is shaping up to be a royal PITA. Allow me to share this character-building experience with you all.
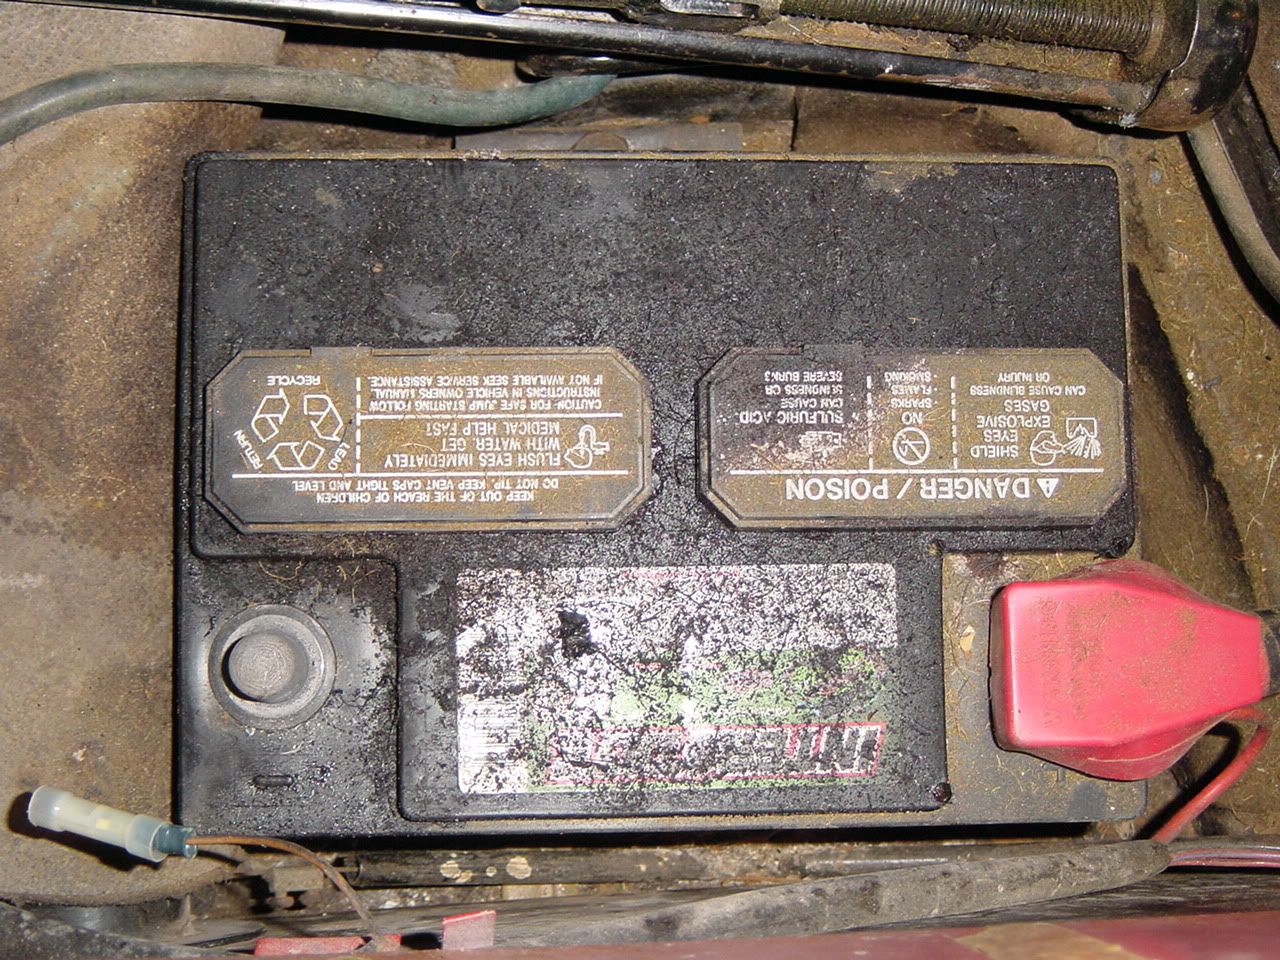
The first thing you want to do when doing any kind of electrical work is to remove the ground connection from the battery.
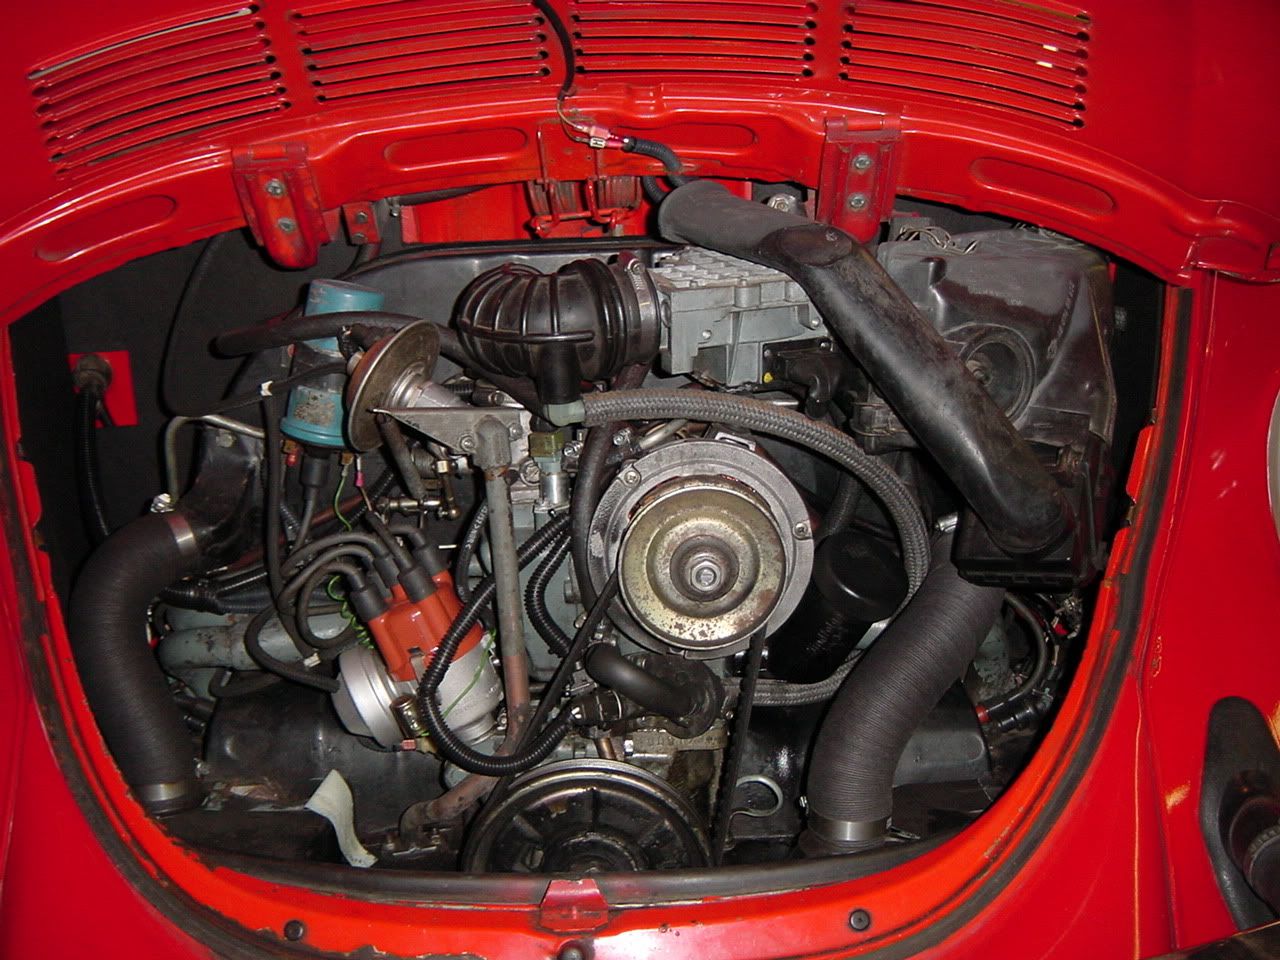
Then, remove the engine compartment lid. This seems like extra work, but trust me. Completely remove the hinges, again, trust me. Now here's what we have to work with.
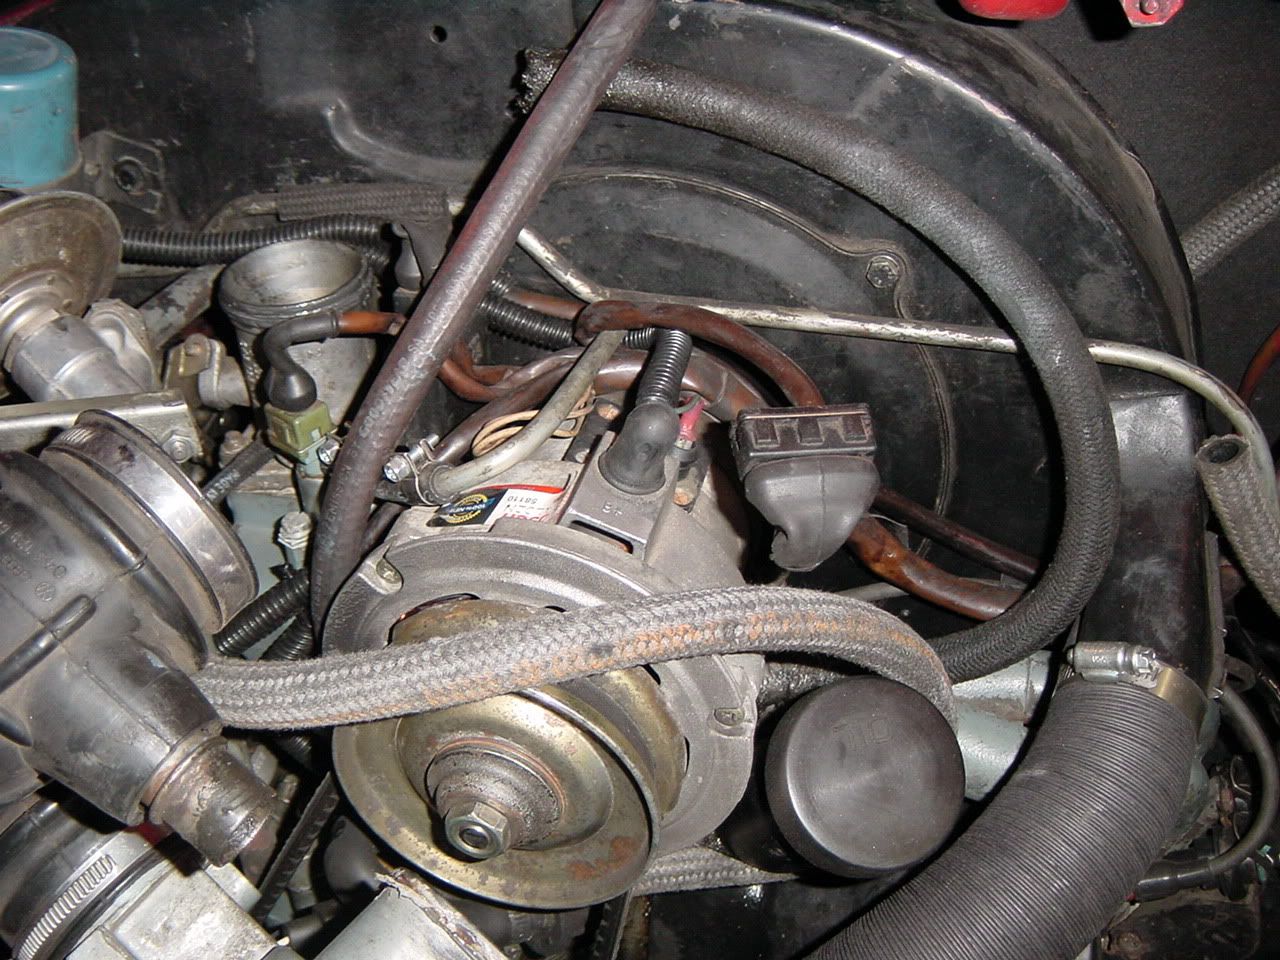
Since you can barely even see the alternator in the above picture, it seems we're going to need to start removing stuff in order to get some access. Remove the air cleaner, AFM, intake S-boot. This will get you to this point.
You're on a roll so go ahead and disconnect the electrical connections from the alternator, remove the throttle body, remove the injectors and cold start valve from their mounts so you'll be able to rotate the fuel rail that crosses the engine in front of the fan shroud forward and out of the way. Disconnect (and remember where they go) any hoses or other stuff that's in the way. The ultimate goal is to remove the fan shroud with the alternator as a unit. This is why the deck lid hinges need to be removed so that you'll have enough room to get the shroud out of the vehicle. If you haven't already, remove the alternator belt and loosen the two screws on the bottom of the left and right side of the fan shroud. If your car has a thermostat, disconnect it from the rod that actuates the flaps. You will also need to remove the alternator hold-down strap. Unless I've forgotten a step (and I almost certainly have), you will now be able to lift the fan shroud up and out of the vehicle.
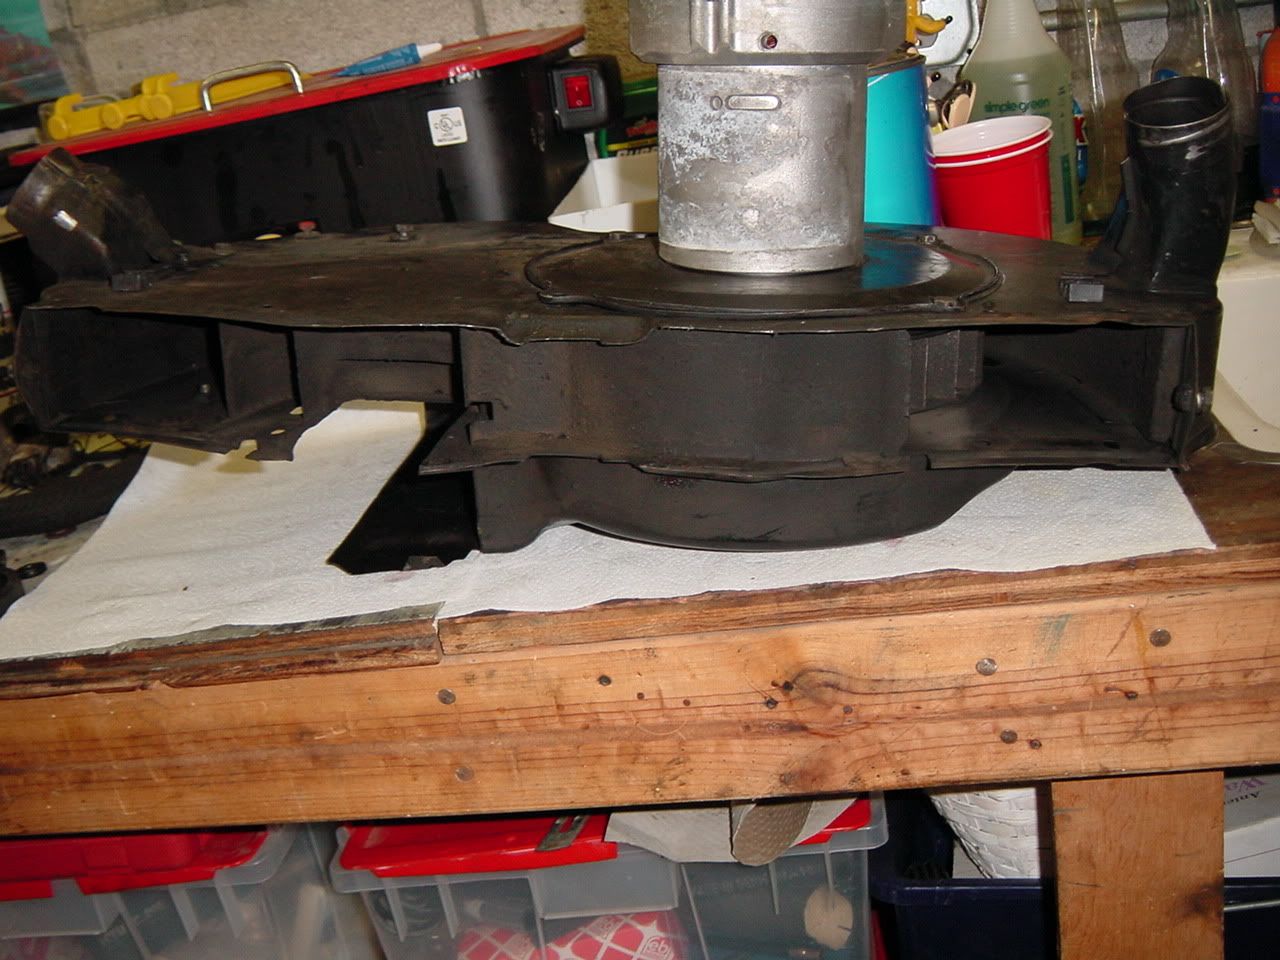
Here 'tis on the bench.

Look, ma! No flaps! (That will the subject of a completely different topic)
Now you can easily remove the alternator from the fan shroud by removing the four (three in my case, thanks PO) bolts that hold it in.

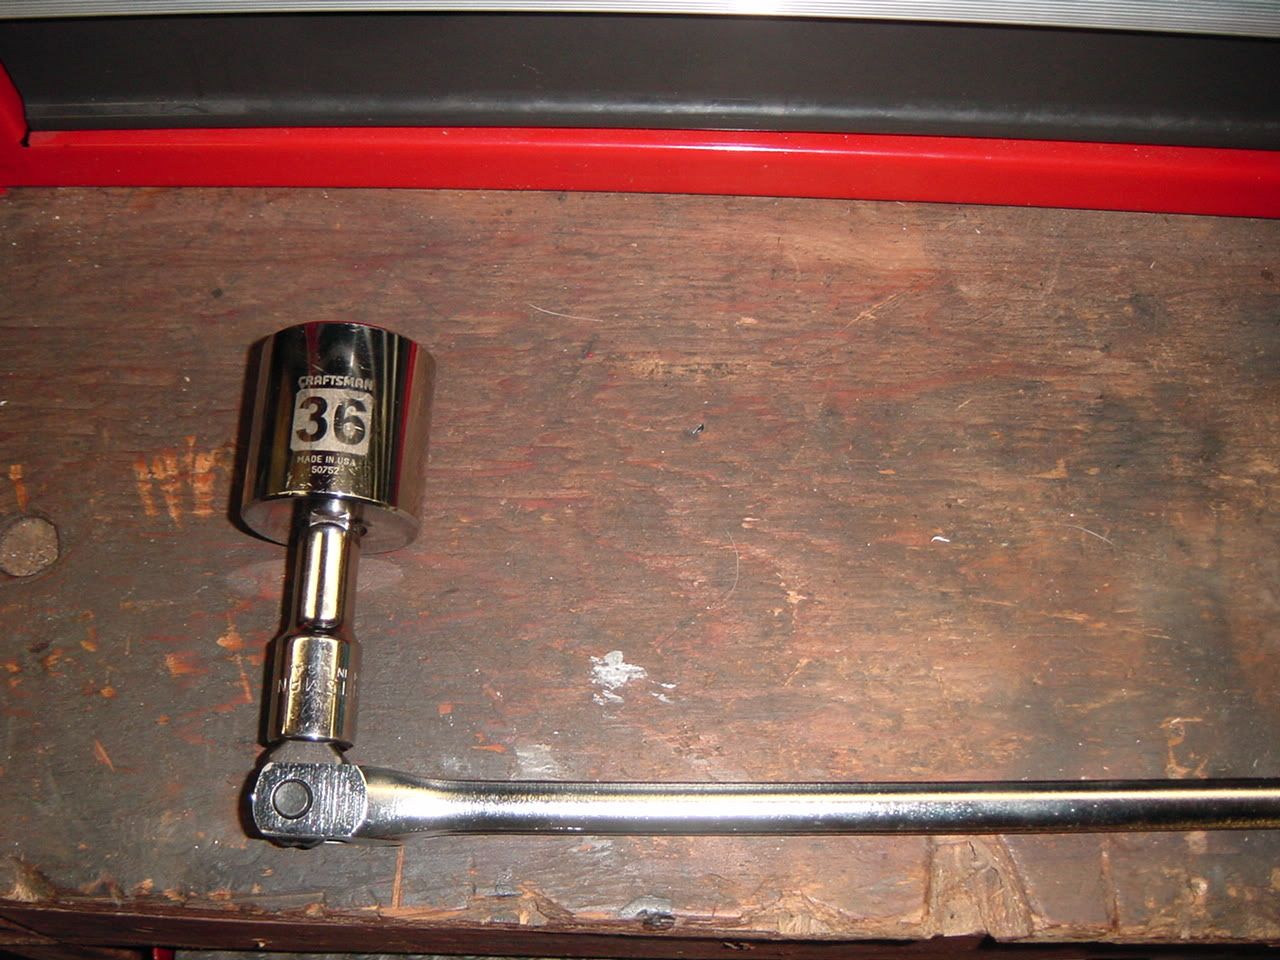
The faint cries from our poor distressed regulator are slowly but surely getting louder, but we've still got some stuff to take apart to get to it. Next is to remove the fan from the rear of the alternator. Use this:
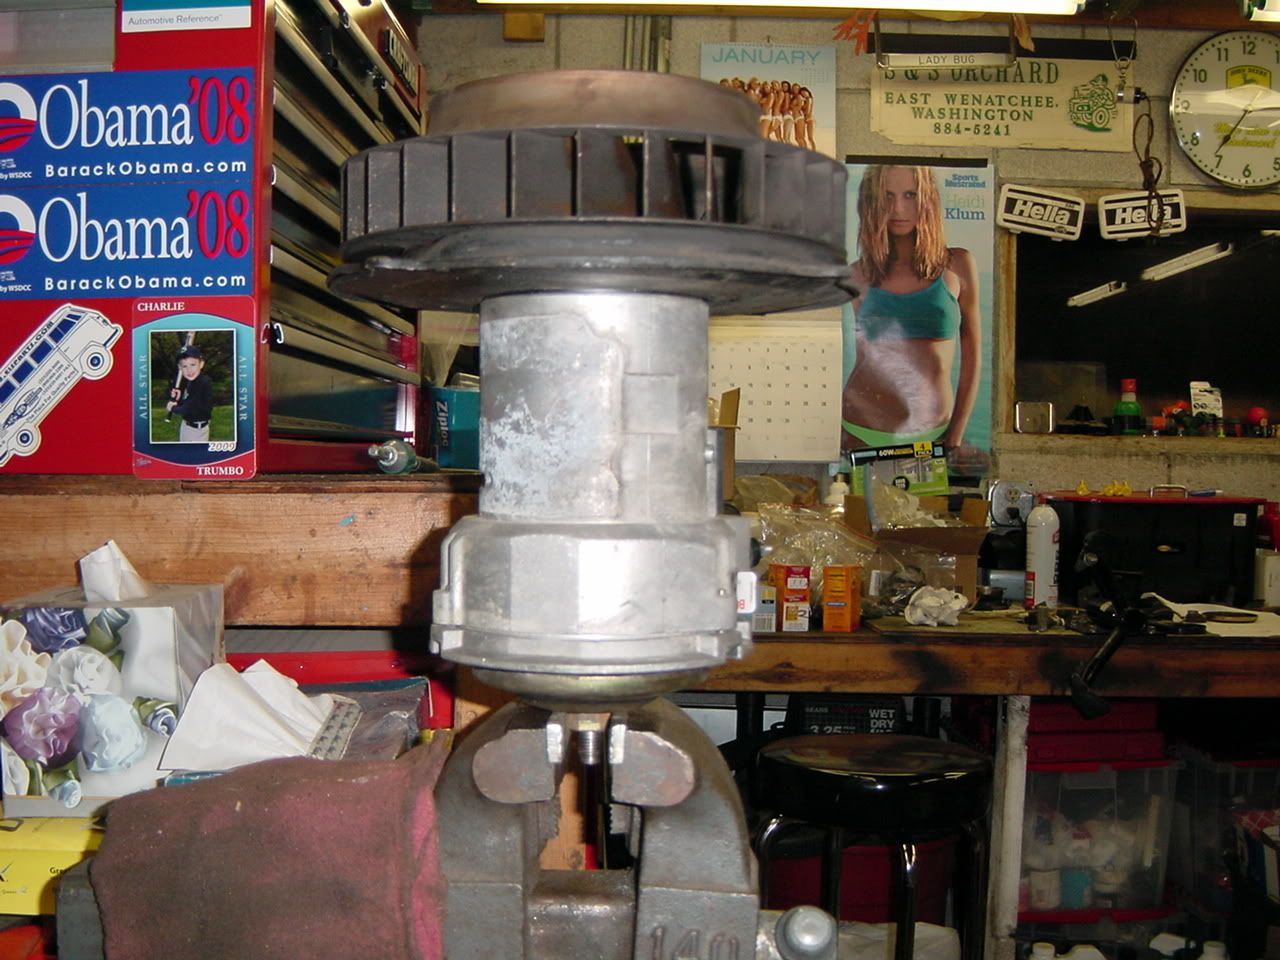
with your alternator secured in a vise or some-such like so.
As with everything you ever do to your vehicle, DO NOT LOOSE ANY OF THE PARTS OR GET THEM OUT OF ORDER FOR REASSEMBLY!
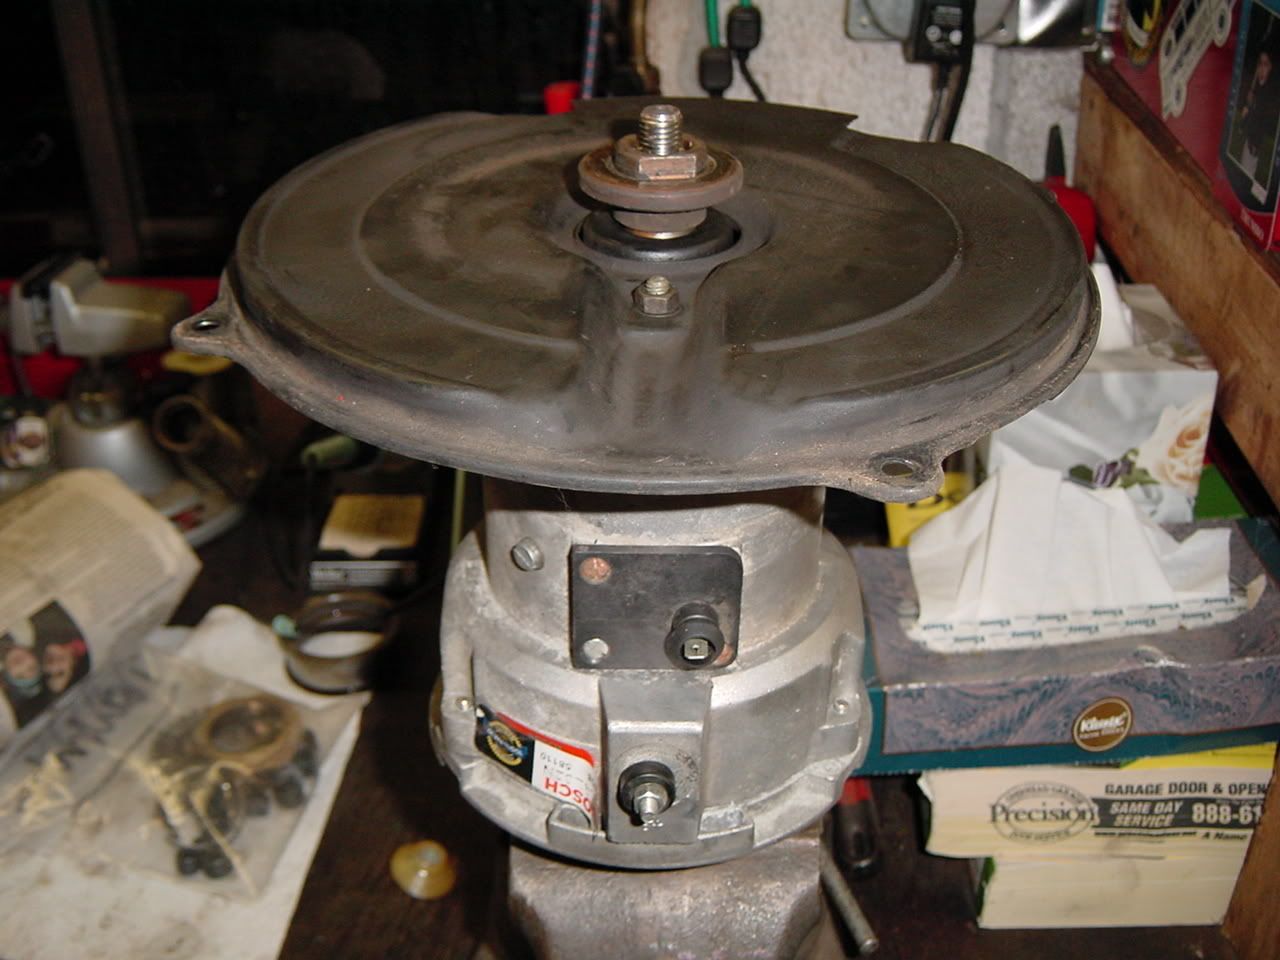
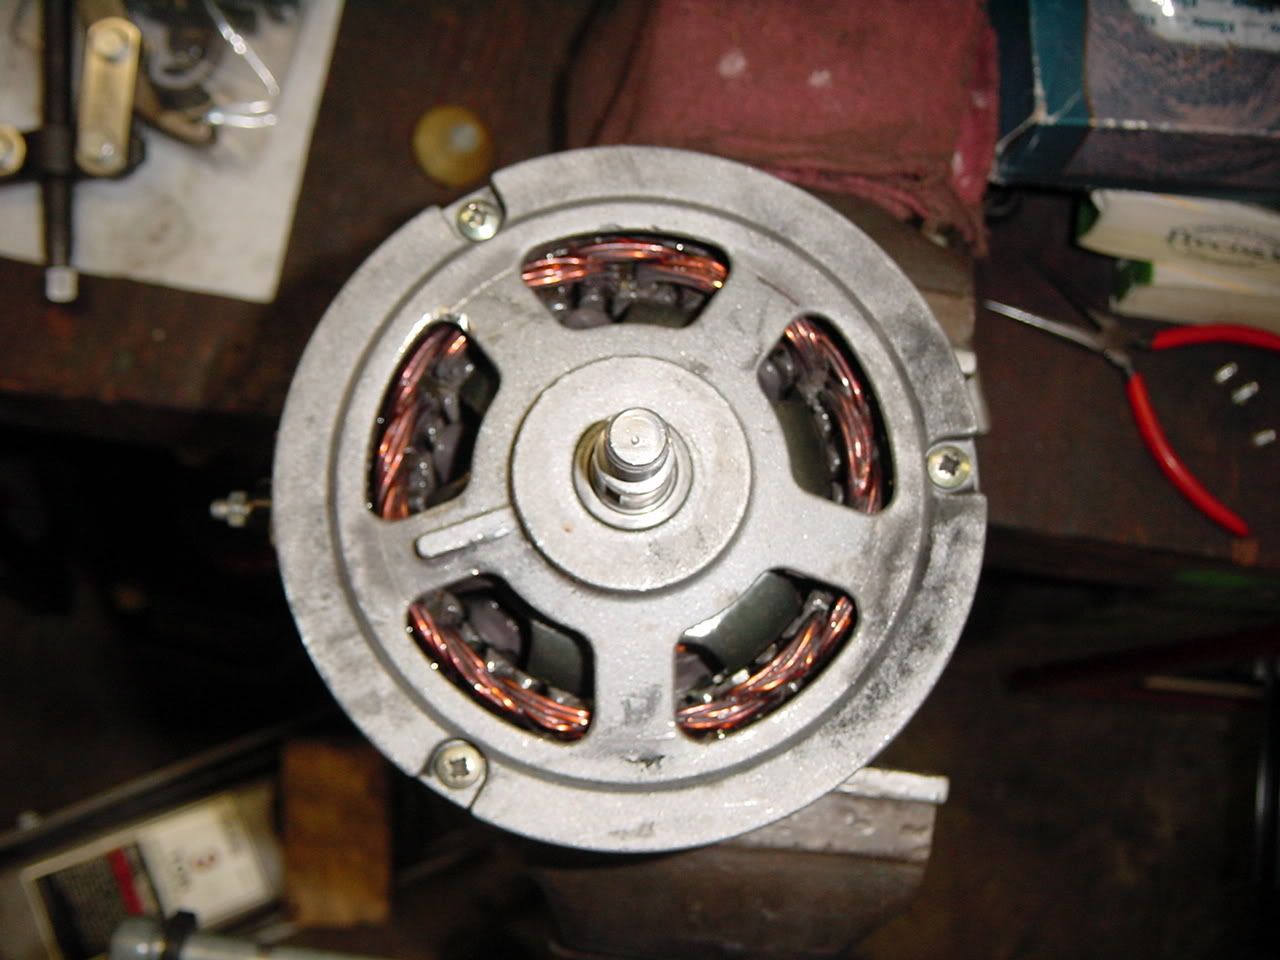
Once the fan is off, here is what's left.
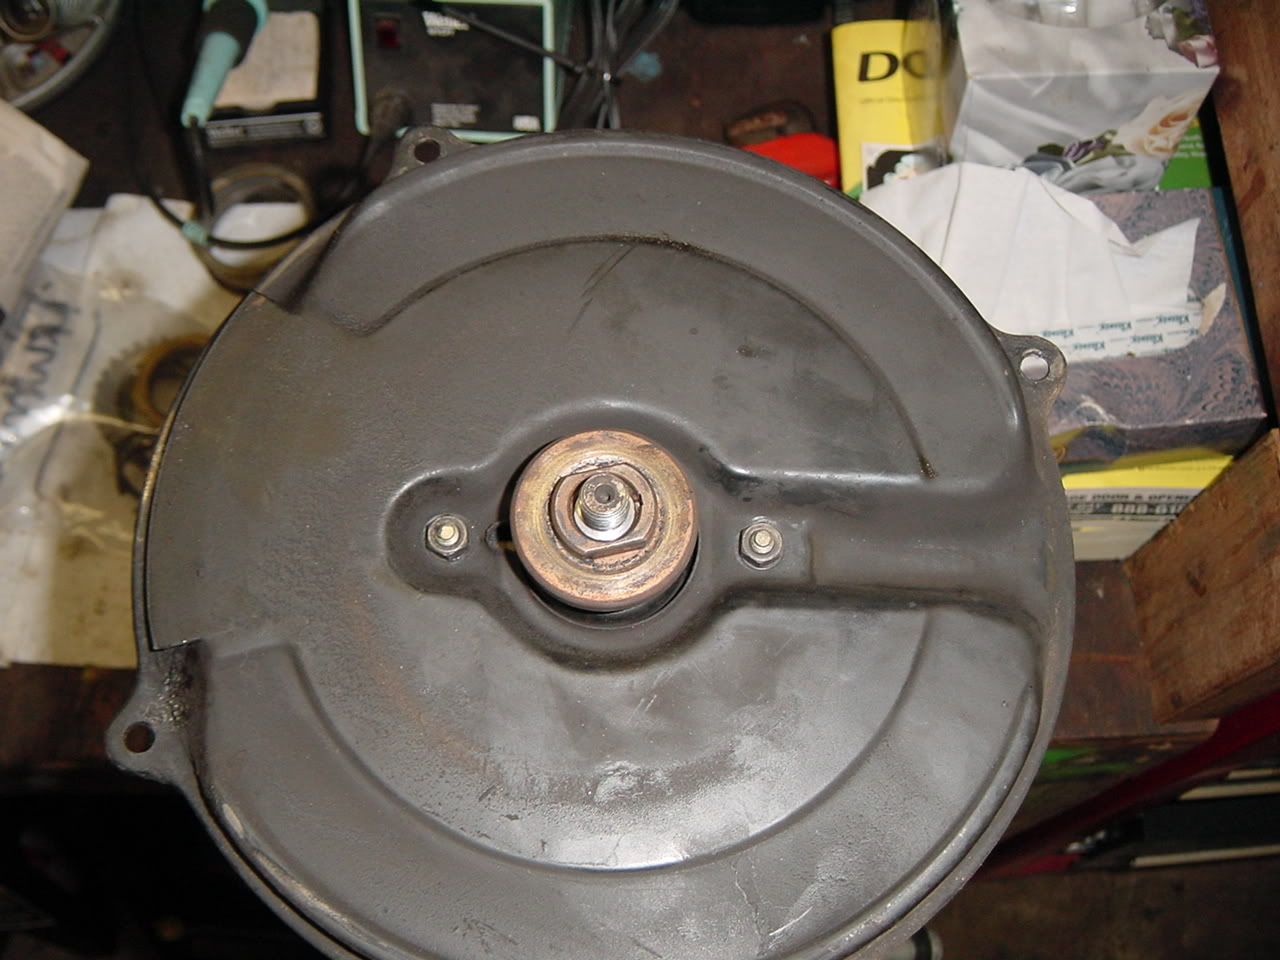
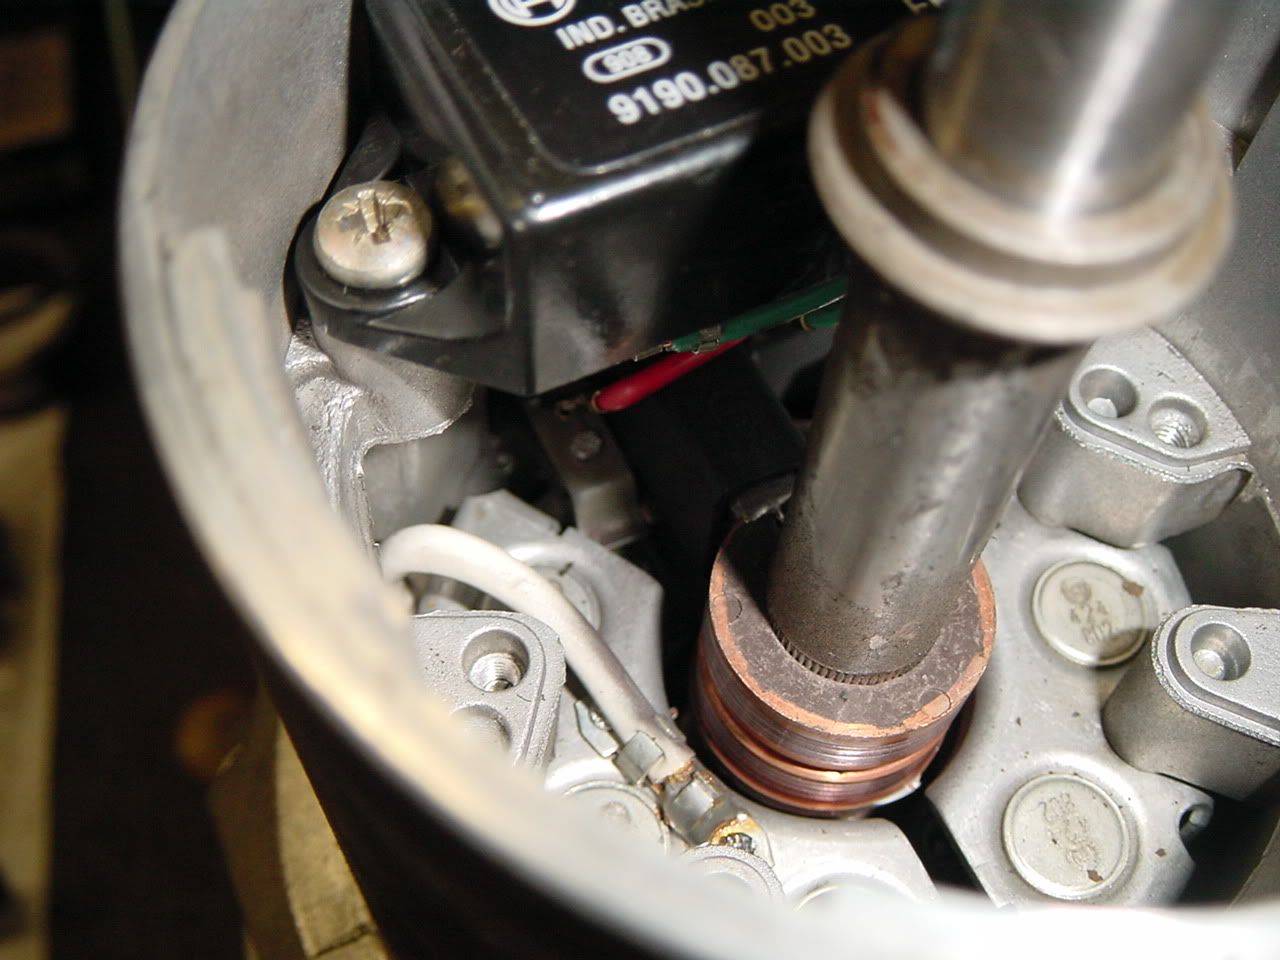
See the little black square with the spade terminal held in by the three screws? Don't touch it... yet. Maybe later, but not yet. Now remove the backing plate by removing the two nuts shown below. The regulator's cries are getting even louder now, we're getting close.
Now you'll need to use a puller to remove the fan hub from the alternator shaft. Like so...
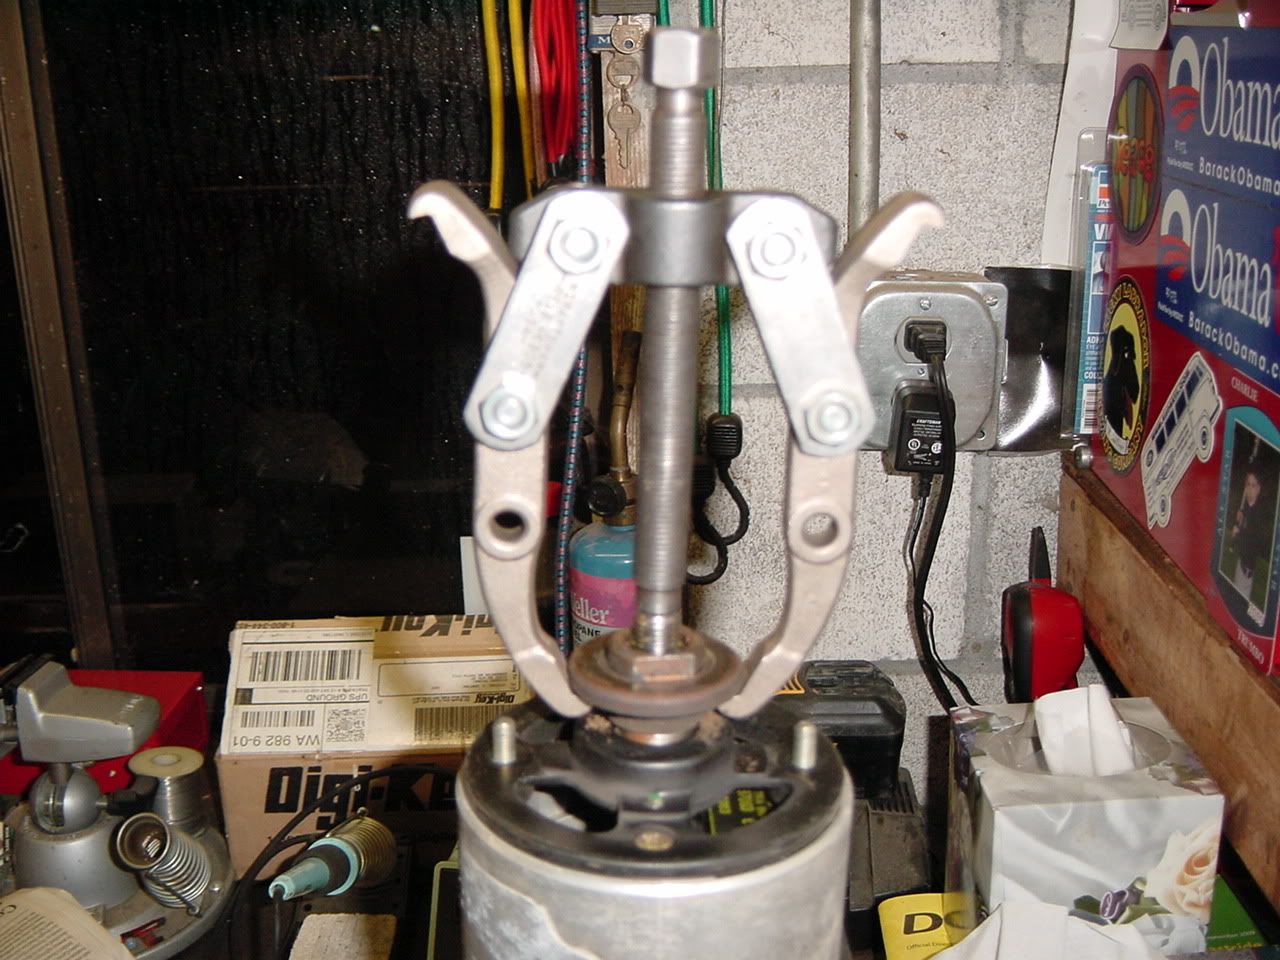
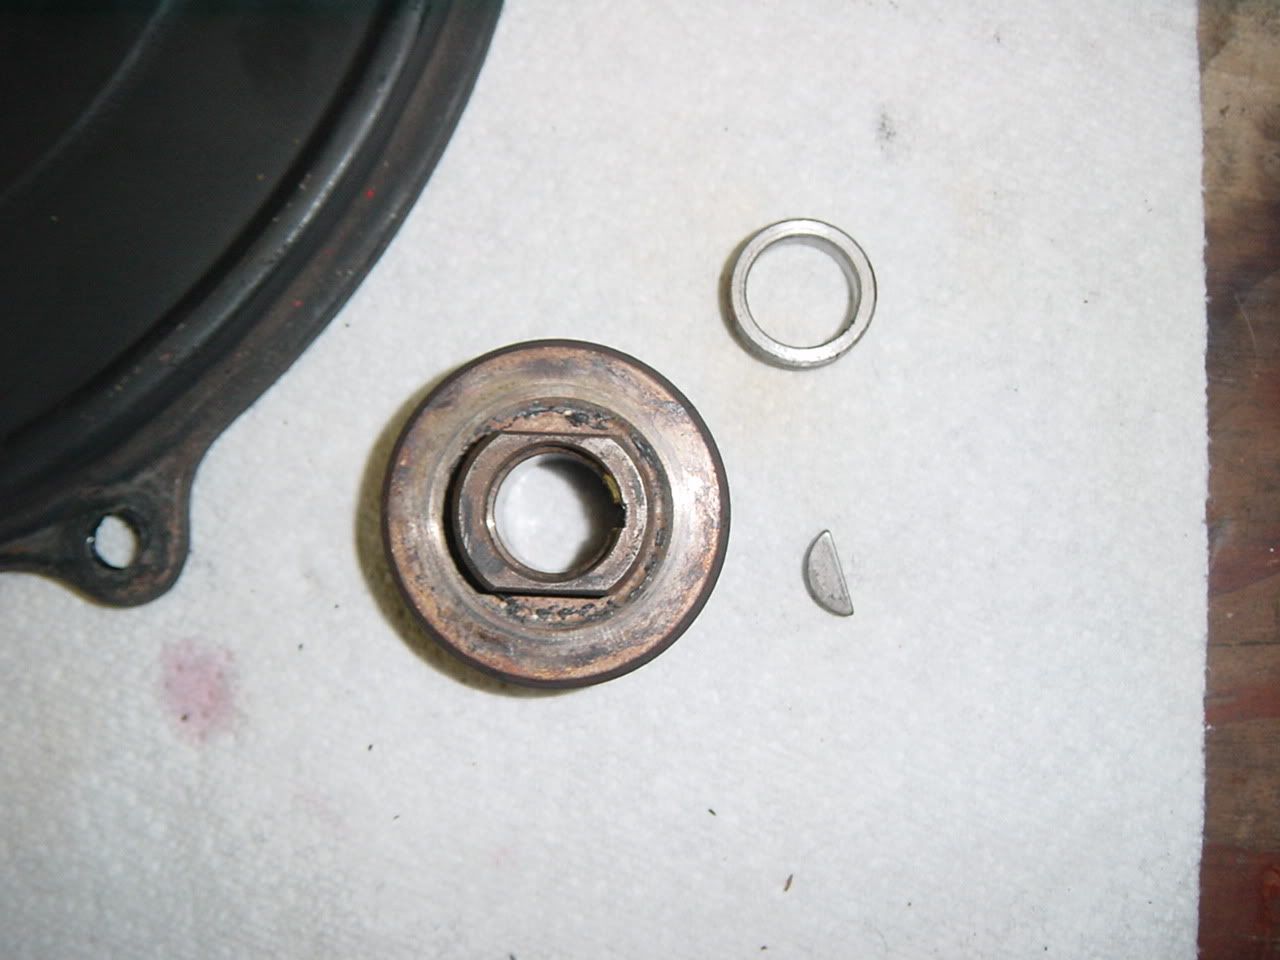
Again, don't loose the woodruff key, the hub or the bushing that is under the hub.
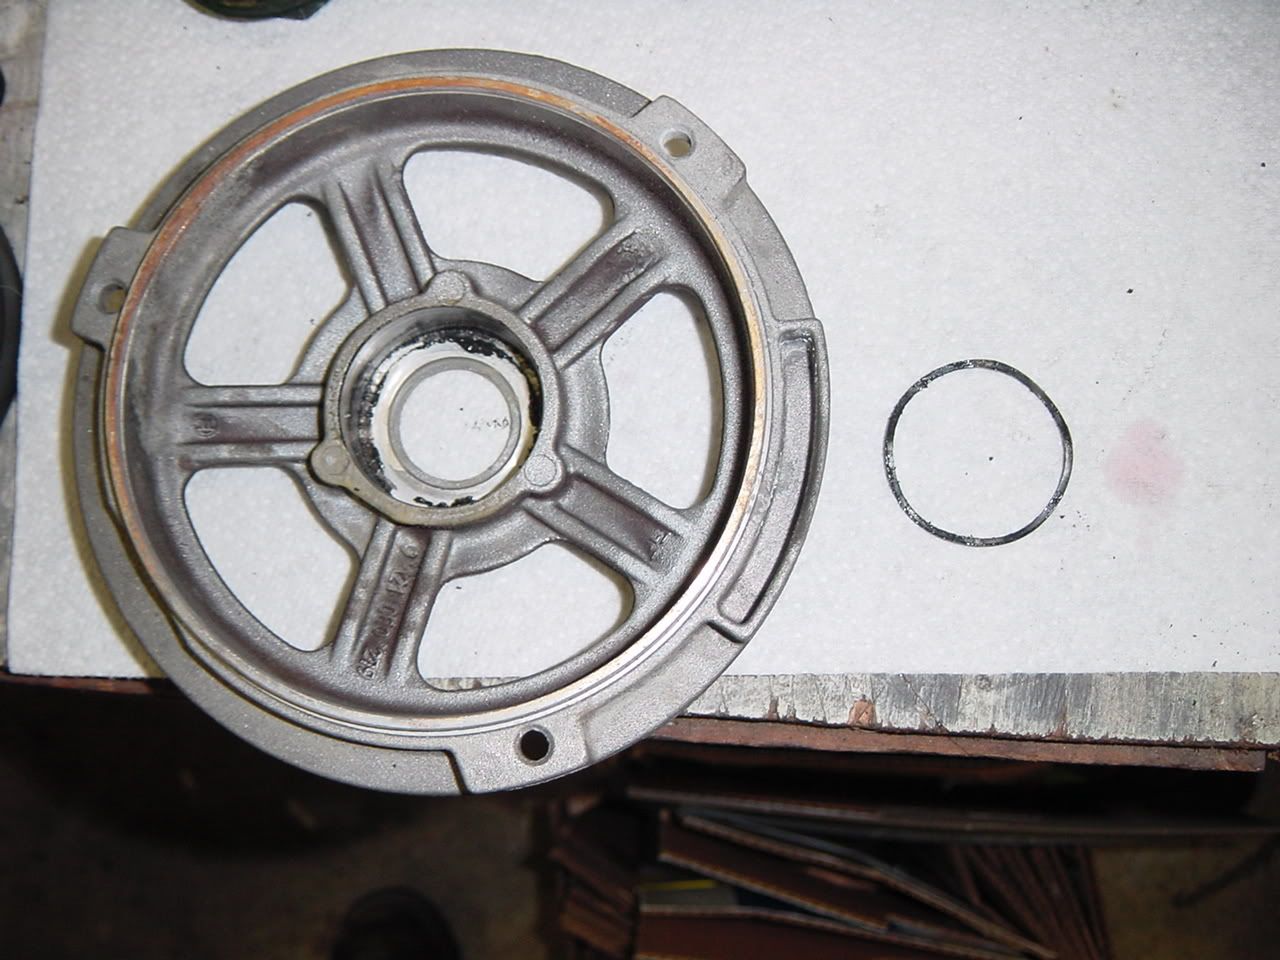
We're really close now. Use your puller to GENTLY remove the back plate from the alternator.
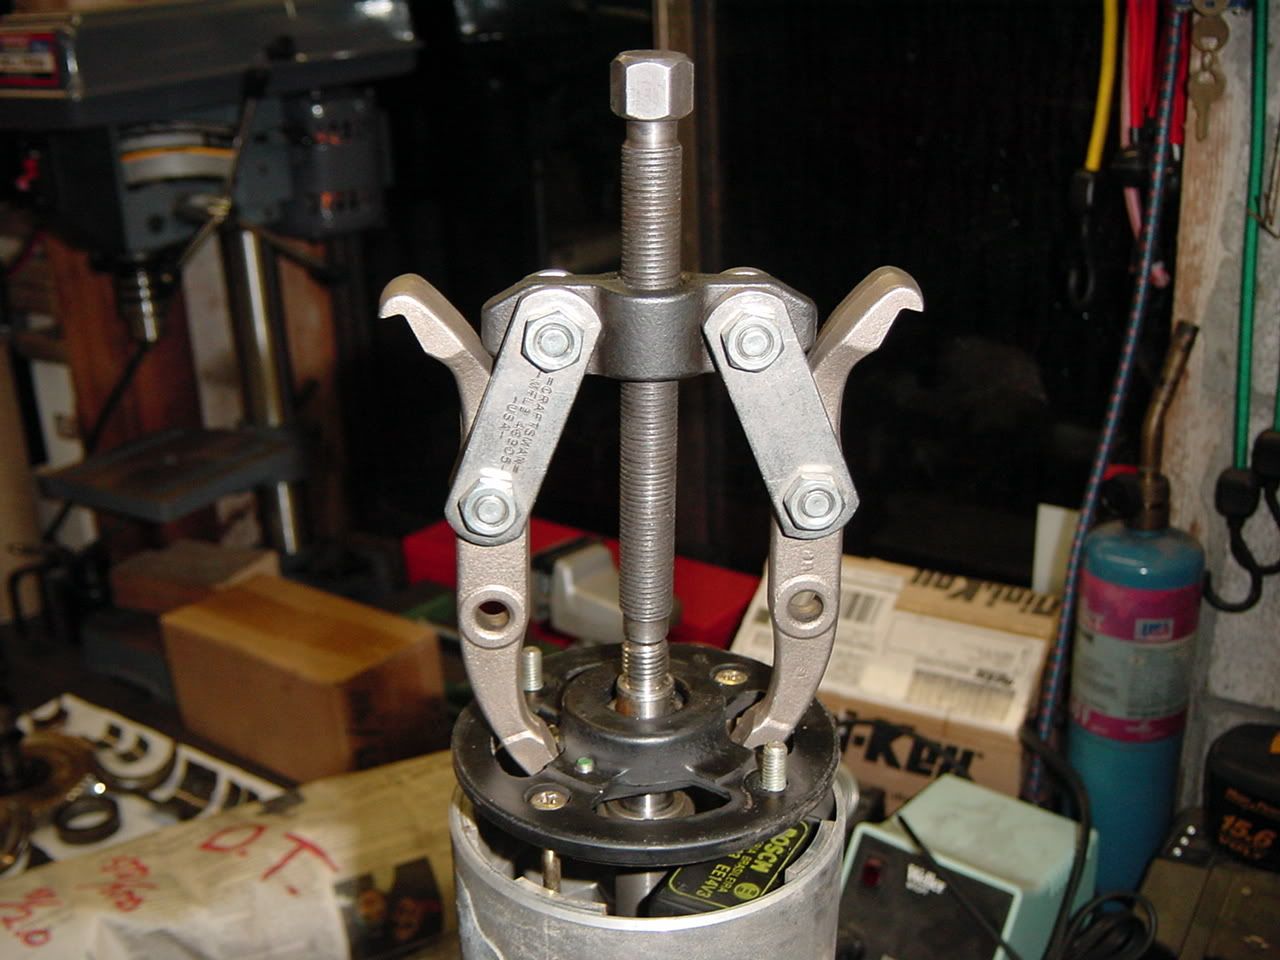
There she is, like a trapped Chilean miner that has waited so very long to see the light of day again.
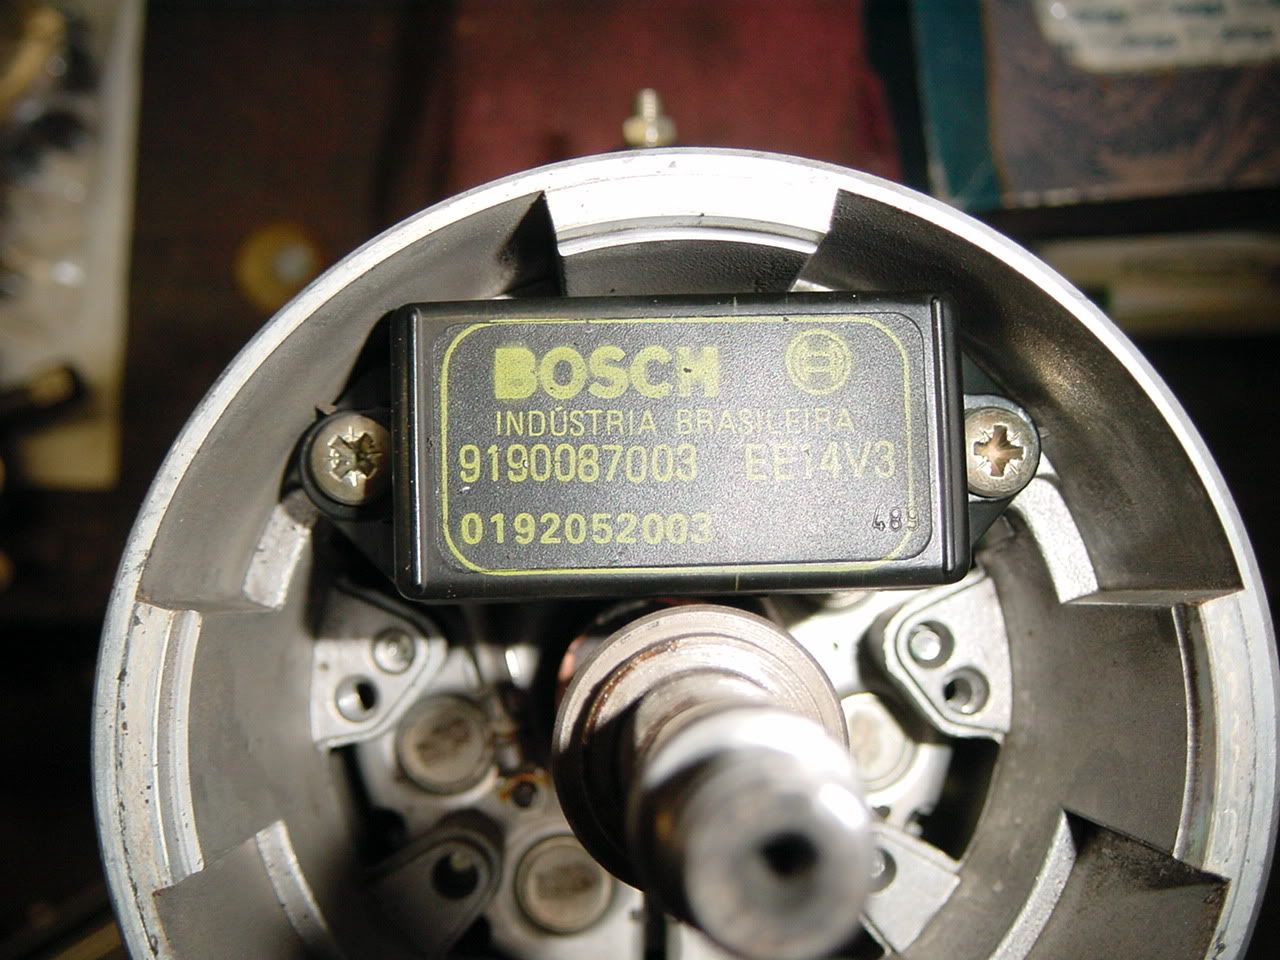
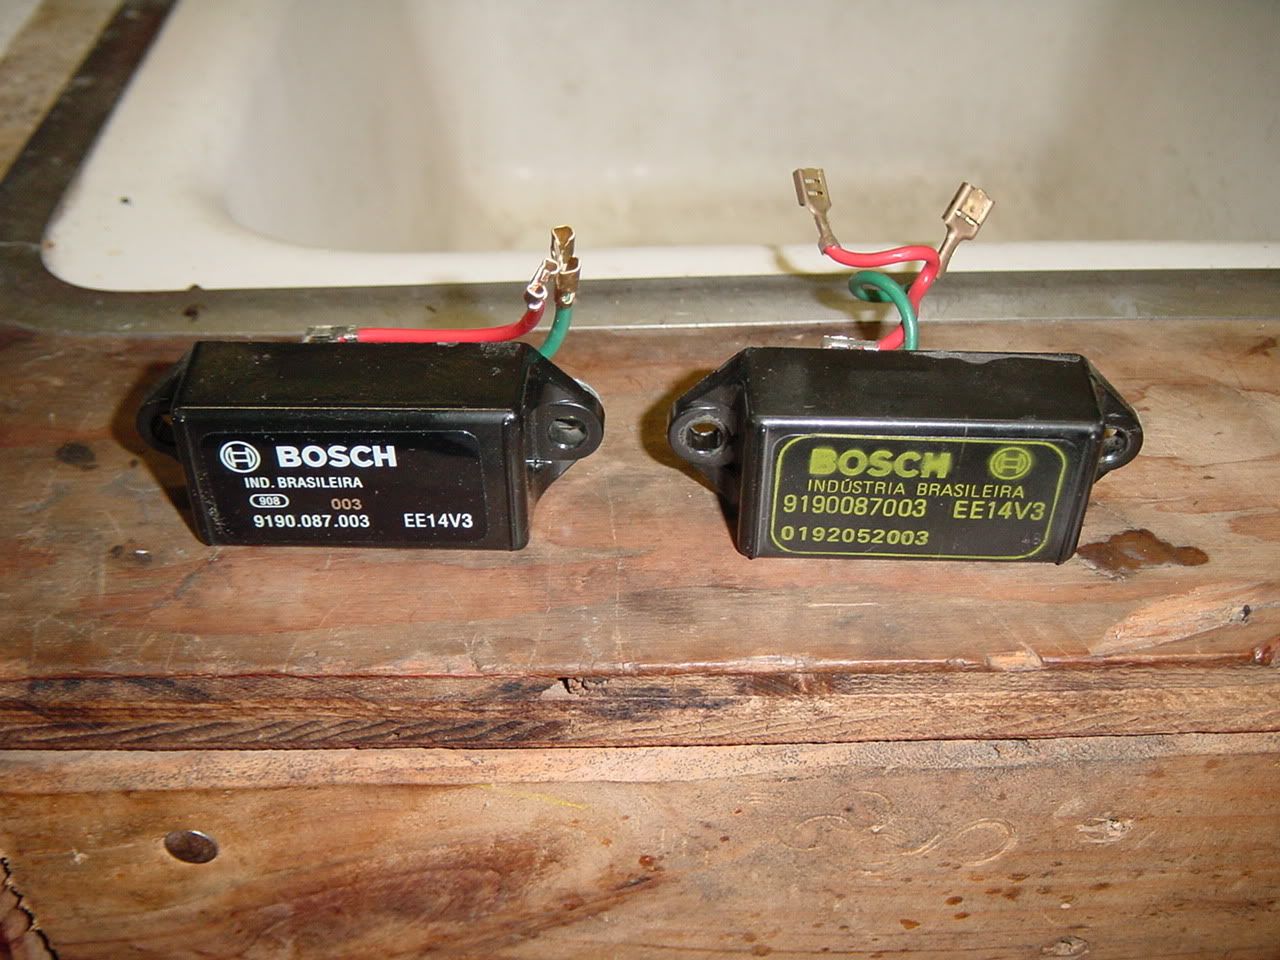
Out with the old, in with the new.
The wires connect underneath that little black square with the three screws. Depending on the size of your digits, you might be able to attach the wires as-is. Otherwise, remove the three screws so you can lift the square doo-dad out far enough to get the wires attached.
To quote Bentley "assembly is the reverse of the above procedure" or some such BS like that. Seriously, just retrace your steps and it goes back together just as easy (HA! HA! HA!) as it came apart. I replaced the bearings in my alternator since I had it apart. This is optional and since this whole process is one of those things on everyone's "bucket-list", I know you wouldn't want to cheat yourself out of doing this all over again when your bearings fail. If you decide that once is enough, the rear bearing is located in the black rear cover and the front bearing is appropriately located here.
Don't loose the spring-washer doo-dad shown here.
Here's the front bearing ready to be pulled.
BE GENTLE WHEN PRESSING THE NEW BEARINGS ONTO THE SHAFT! Make SURE you support the shaft on the opposite end from the one you're pressing the new bearing. I used a deep socket and hammer to gently press the bearings on to the shaft. The bearings are readily available. I got them at W.W Grainger which is a nationwide industrial supply house. Your FLAPS probably have them too. They're quite common. A co-worker of mine rattled the numbers off the top of his head and he's never owned a Volkswagen. Apparently they are used in alternators of all walks.
In my flair for the dramatic, I may have made this sound harder than it is. On the other hand, I know I've skipped over a lot of details that you'll curse me for later. Take your time and be meticulous. TAKE PICTURES OR WRITE DOWN WHERE EVERYTHING GOES!! Unless you have the time to do this start-to-finish in one day (and even if you do...), you'll never remember it all.
Once it's all back together, your lights will be at their normal luminosity, the wipers will be back to their lazy lope and your ECU and Blaupunkt radio will breath a sigh of relief and thank you for your efforts.
The first thing you'll notice is... you can't find the regulator. Oh, that's because it's INSIDE the damn alternator!! Oh how handy and thank you so much to the fine folks at Bosch for putting it in such a readily accessible place. I guess they're all that way nowadays, but I still find it annoying. This means removing the alternator is in order. On carbureted vehicles this is much easier but we've got the "modern" fuel injected model and seemingly as all "modern" technology goes, this is shaping up to be a royal PITA. Allow me to share this character-building experience with you all.
The first thing you want to do when doing any kind of electrical work is to remove the ground connection from the battery.
Then, remove the engine compartment lid. This seems like extra work, but trust me. Completely remove the hinges, again, trust me. Now here's what we have to work with.
Since you can barely even see the alternator in the above picture, it seems we're going to need to start removing stuff in order to get some access. Remove the air cleaner, AFM, intake S-boot. This will get you to this point.
You're on a roll so go ahead and disconnect the electrical connections from the alternator, remove the throttle body, remove the injectors and cold start valve from their mounts so you'll be able to rotate the fuel rail that crosses the engine in front of the fan shroud forward and out of the way. Disconnect (and remember where they go) any hoses or other stuff that's in the way. The ultimate goal is to remove the fan shroud with the alternator as a unit. This is why the deck lid hinges need to be removed so that you'll have enough room to get the shroud out of the vehicle. If you haven't already, remove the alternator belt and loosen the two screws on the bottom of the left and right side of the fan shroud. If your car has a thermostat, disconnect it from the rod that actuates the flaps. You will also need to remove the alternator hold-down strap. Unless I've forgotten a step (and I almost certainly have), you will now be able to lift the fan shroud up and out of the vehicle.
Here 'tis on the bench.
Look, ma! No flaps! (That will the subject of a completely different topic)
Now you can easily remove the alternator from the fan shroud by removing the four (three in my case, thanks PO) bolts that hold it in.
The faint cries from our poor distressed regulator are slowly but surely getting louder, but we've still got some stuff to take apart to get to it. Next is to remove the fan from the rear of the alternator. Use this:
with your alternator secured in a vise or some-such like so.
As with everything you ever do to your vehicle, DO NOT LOOSE ANY OF THE PARTS OR GET THEM OUT OF ORDER FOR REASSEMBLY!
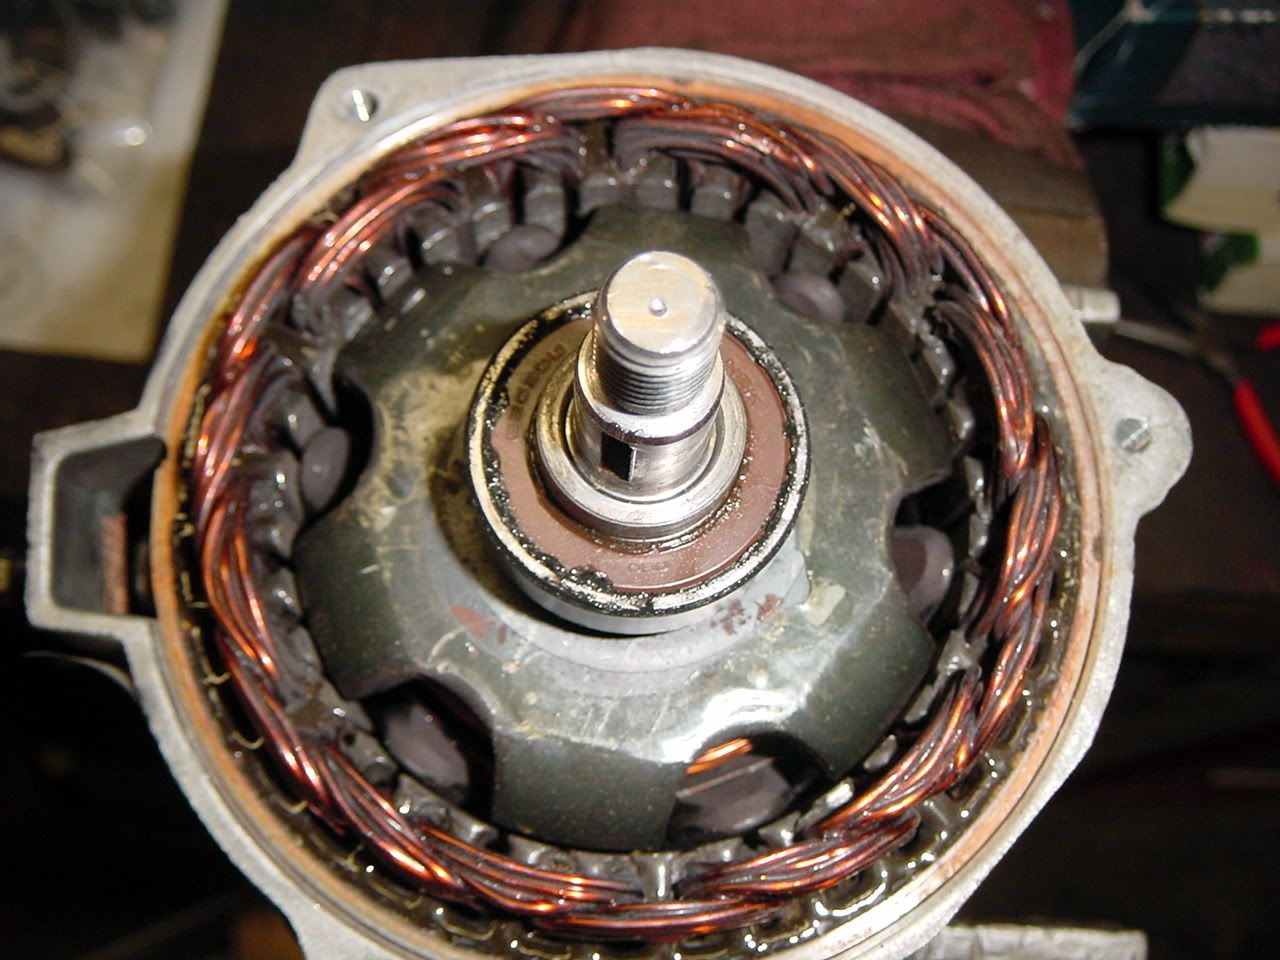
Once the fan is off, here is what's left.
See the little black square with the spade terminal held in by the three screws? Don't touch it... yet. Maybe later, but not yet. Now remove the backing plate by removing the two nuts shown below. The regulator's cries are getting even louder now, we're getting close.
Now you'll need to use a puller to remove the fan hub from the alternator shaft. Like so...
Again, don't loose the woodruff key, the hub or the bushing that is under the hub.
We're really close now. Use your puller to GENTLY remove the back plate from the alternator.
There she is, like a trapped Chilean miner that has waited so very long to see the light of day again.
Out with the old, in with the new.
The wires connect underneath that little black square with the three screws. Depending on the size of your digits, you might be able to attach the wires as-is. Otherwise, remove the three screws so you can lift the square doo-dad out far enough to get the wires attached.
To quote Bentley "assembly is the reverse of the above procedure" or some such BS like that. Seriously, just retrace your steps and it goes back together just as easy (HA! HA! HA!) as it came apart. I replaced the bearings in my alternator since I had it apart. This is optional and since this whole process is one of those things on everyone's "bucket-list", I know you wouldn't want to cheat yourself out of doing this all over again when your bearings fail. If you decide that once is enough, the rear bearing is located in the black rear cover and the front bearing is appropriately located here.
Don't loose the spring-washer doo-dad shown here.
Here's the front bearing ready to be pulled.
BE GENTLE WHEN PRESSING THE NEW BEARINGS ONTO THE SHAFT! Make SURE you support the shaft on the opposite end from the one you're pressing the new bearing. I used a deep socket and hammer to gently press the bearings on to the shaft. The bearings are readily available. I got them at W.W Grainger which is a nationwide industrial supply house. Your FLAPS probably have them too. They're quite common. A co-worker of mine rattled the numbers off the top of his head and he's never owned a Volkswagen. Apparently they are used in alternators of all walks.
In my flair for the dramatic, I may have made this sound harder than it is. On the other hand, I know I've skipped over a lot of details that you'll curse me for later. Take your time and be meticulous. TAKE PICTURES OR WRITE DOWN WHERE EVERYTHING GOES!! Unless you have the time to do this start-to-finish in one day (and even if you do...), you'll never remember it all.
Once it's all back together, your lights will be at their normal luminosity, the wipers will be back to their lazy lope and your ECU and Blaupunkt radio will breath a sigh of relief and thank you for your efforts.