Page 1 of 2
Reupholster front seat
Posted: Mon Feb 04, 2019 3:21 pm
by appetite
Hi Kind Forum,
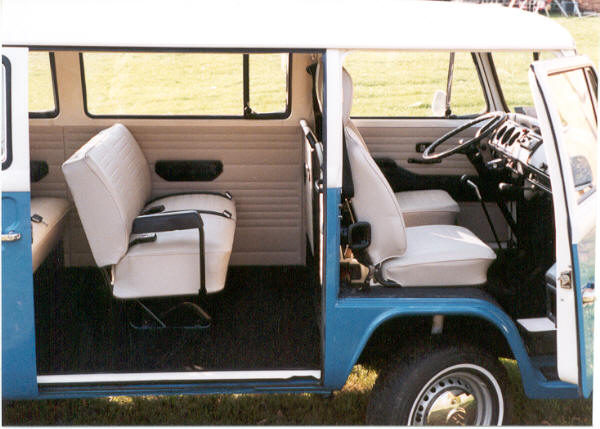
Winter projects galore. Next up: reupholster the driver's seat in my 69 bus.
I searched thesamba for some guidance and found a hodge podge of info. Most people seemed to believe that this is not a DIY job. I dunno; it looks straight-forward to me, but I'm not adverse to getting it professionally done if it doesn't break the bank.
There does seem to be consensus on using Sewfine for the covers and Wolfsburg West for the horsehair pads.
Does anyone have experience or a cautionary tale to share?
Thanks,
James
Re: Reupholster front seat
Posted: Mon Feb 04, 2019 5:16 pm
by TrollFromDownBelow
If you can get the seat covers that are correct for your seats, I would think this is a DIY job. I was going to tackle it (engine rebuild is taking priority) .You may need a set of hog ring pliers. If they need to be custom sewed, then, yes, you will need apro.
Re: Reupholster front seat
Posted: Mon Feb 04, 2019 5:57 pm
by appetite
Oh yes, I hope to get them ready made from TMI or Sewfine.
Re: Reupholster front seat
Posted: Mon Feb 04, 2019 8:00 pm
by asiab3
Please keep us updated with regards to what you end up doing. I hope to redo my seats in the next few years, and a lot of the info on The Internet is aging poorly, with missing pictures and upholstery kit links that dead end.
Robbie
Re: Reupholster front seat
Posted: Tue Feb 05, 2019 10:16 am
by 71whitewesty
I’d say this is a total DIY job. I’ve done a few now and it’s actually pretty easy. I used TMI covers for the stock look with WW horsehair pads. There are a few good threads on the samba you might want to search for.
Re: Reupholster front seat
Posted: Tue Feb 05, 2019 1:52 pm
by appetite
These videos make redoing a bug seat look soooooo simple:
https://www.youtube.com/watch?v=2X81qKEh6Jo
https://www.youtube.com/watch?v=m-Xx5HMjbhw
I'm hoping bus seats are similar.
Re: Reupholster front seat
Posted: Tue Feb 05, 2019 3:06 pm
by zabo
I did mine recently - it really is pretty straight forward. not a tough job.
I used the "Hair seat pads" from Wolfsburg West and TMI Basketweave upholstery
Re: Reupholster front seat
Posted: Tue Feb 05, 2019 3:22 pm
by appetite
71whitewesty and Zabo,
Did you separate the back from the seat before you reupholstered?
Re: Reupholster front seat
Posted: Tue Feb 05, 2019 3:40 pm
by zabo
appetite wrote: ↑Tue Feb 05, 2019 3:22 pm
71whitewesty and Zabo,
Did you separate the back from the seat before you reupholstered?
yes
Re: Reupholster front seat
Posted: Tue Feb 05, 2019 5:59 pm
by appetite
Oh, wait, my bad.
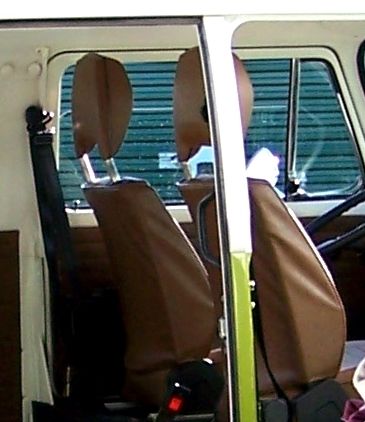
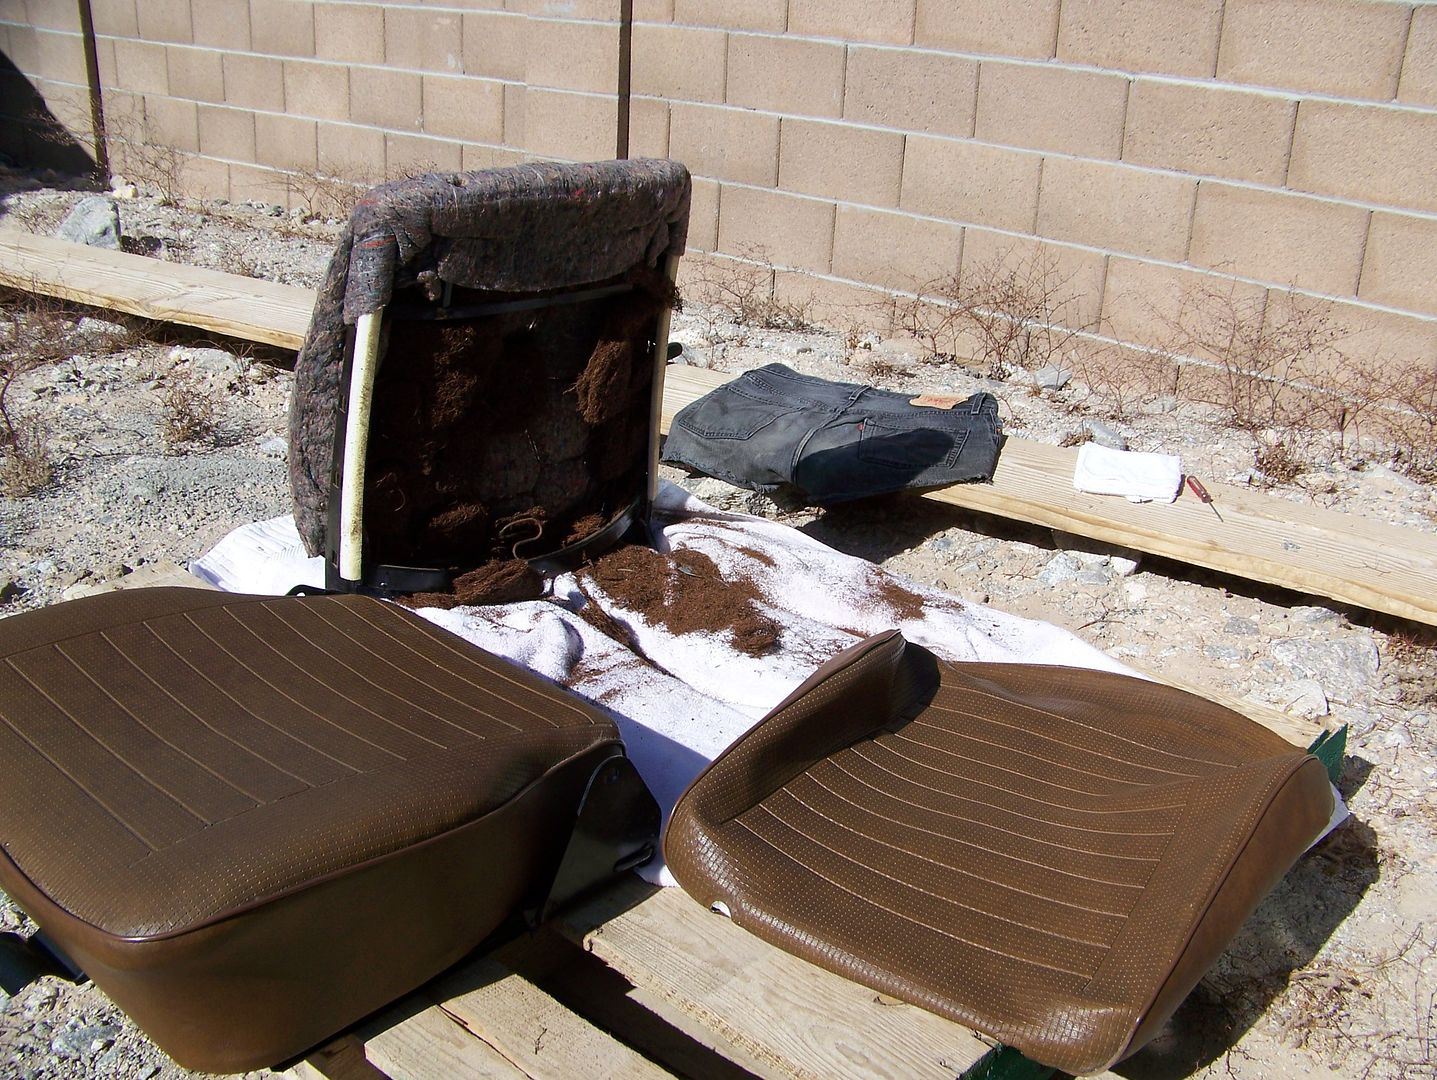
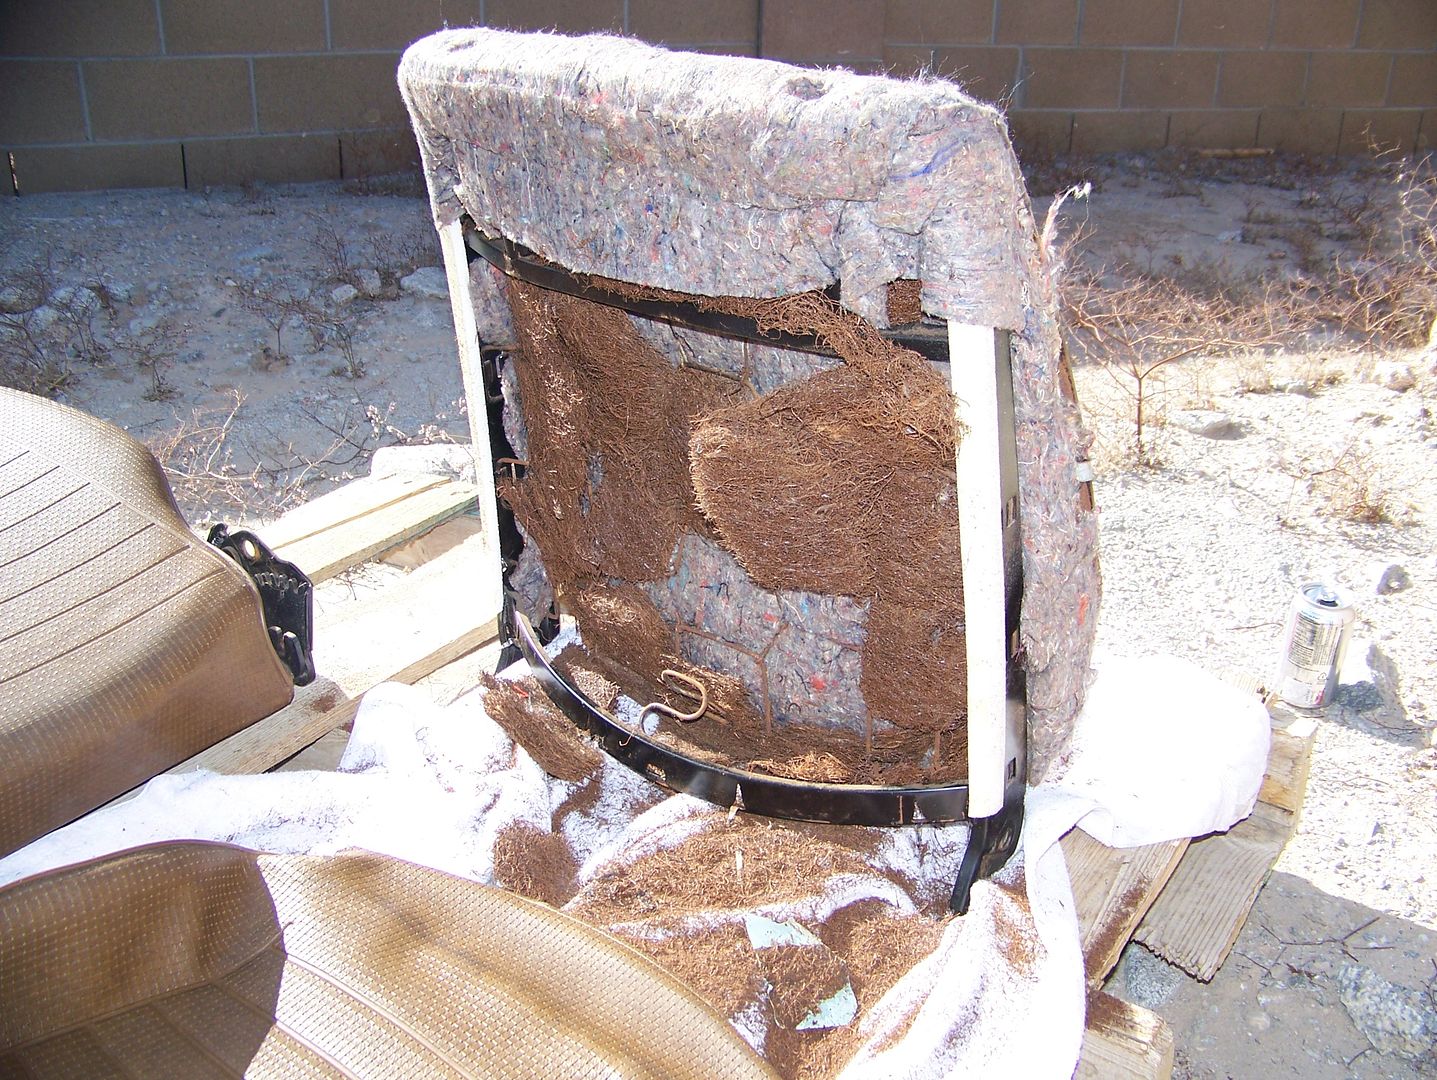
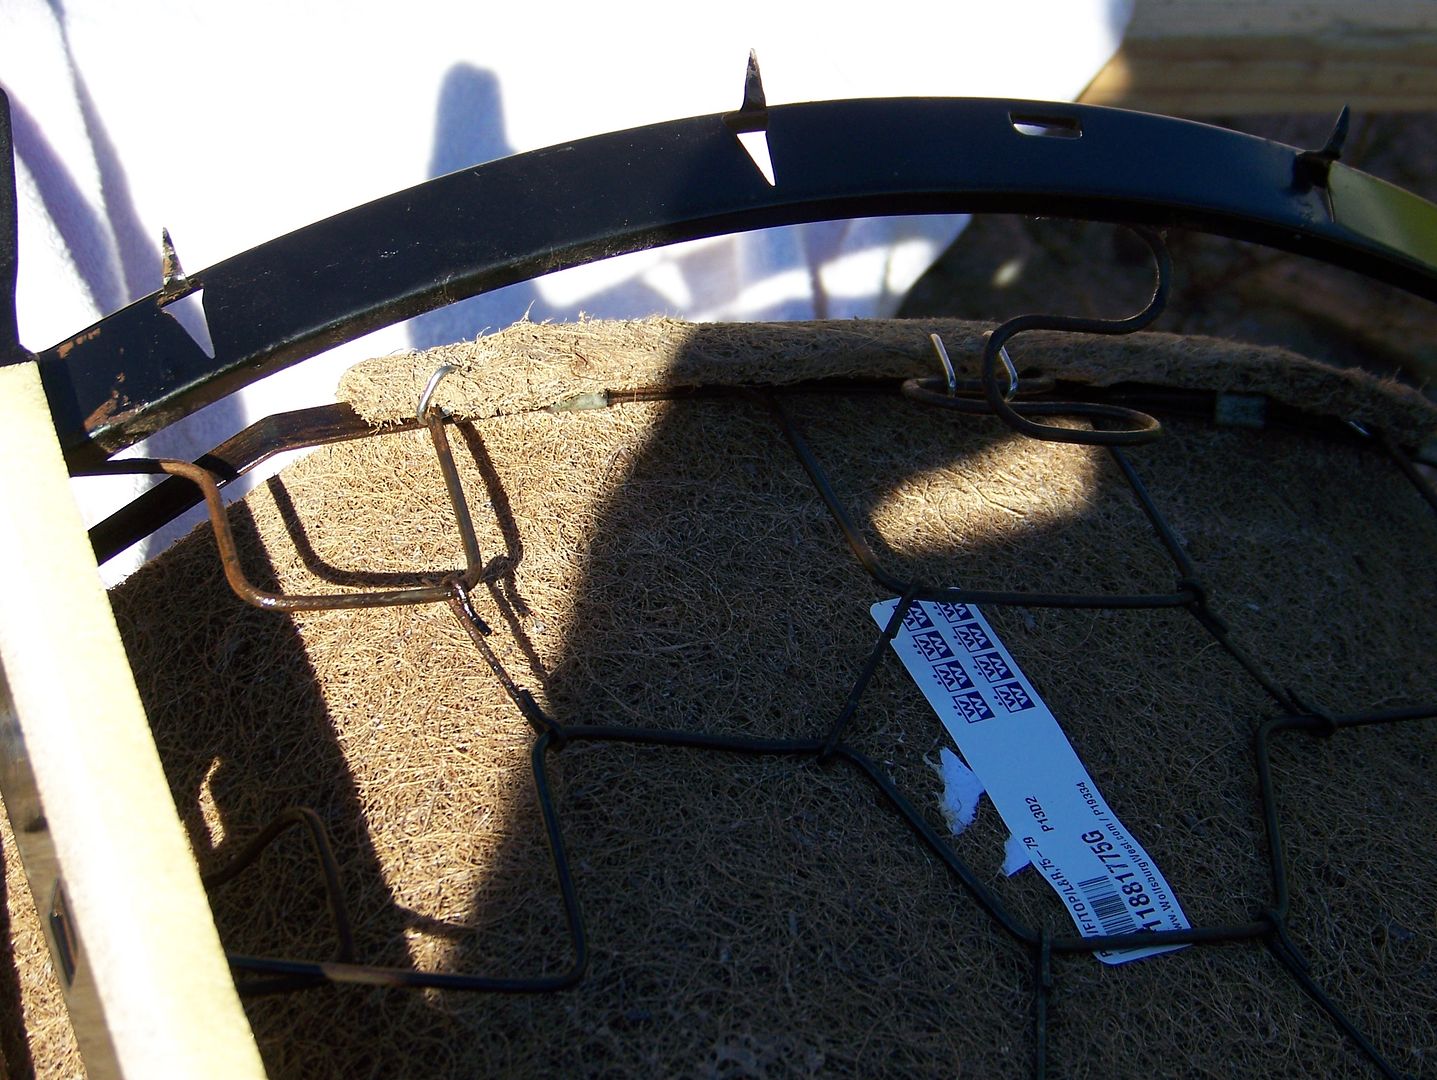
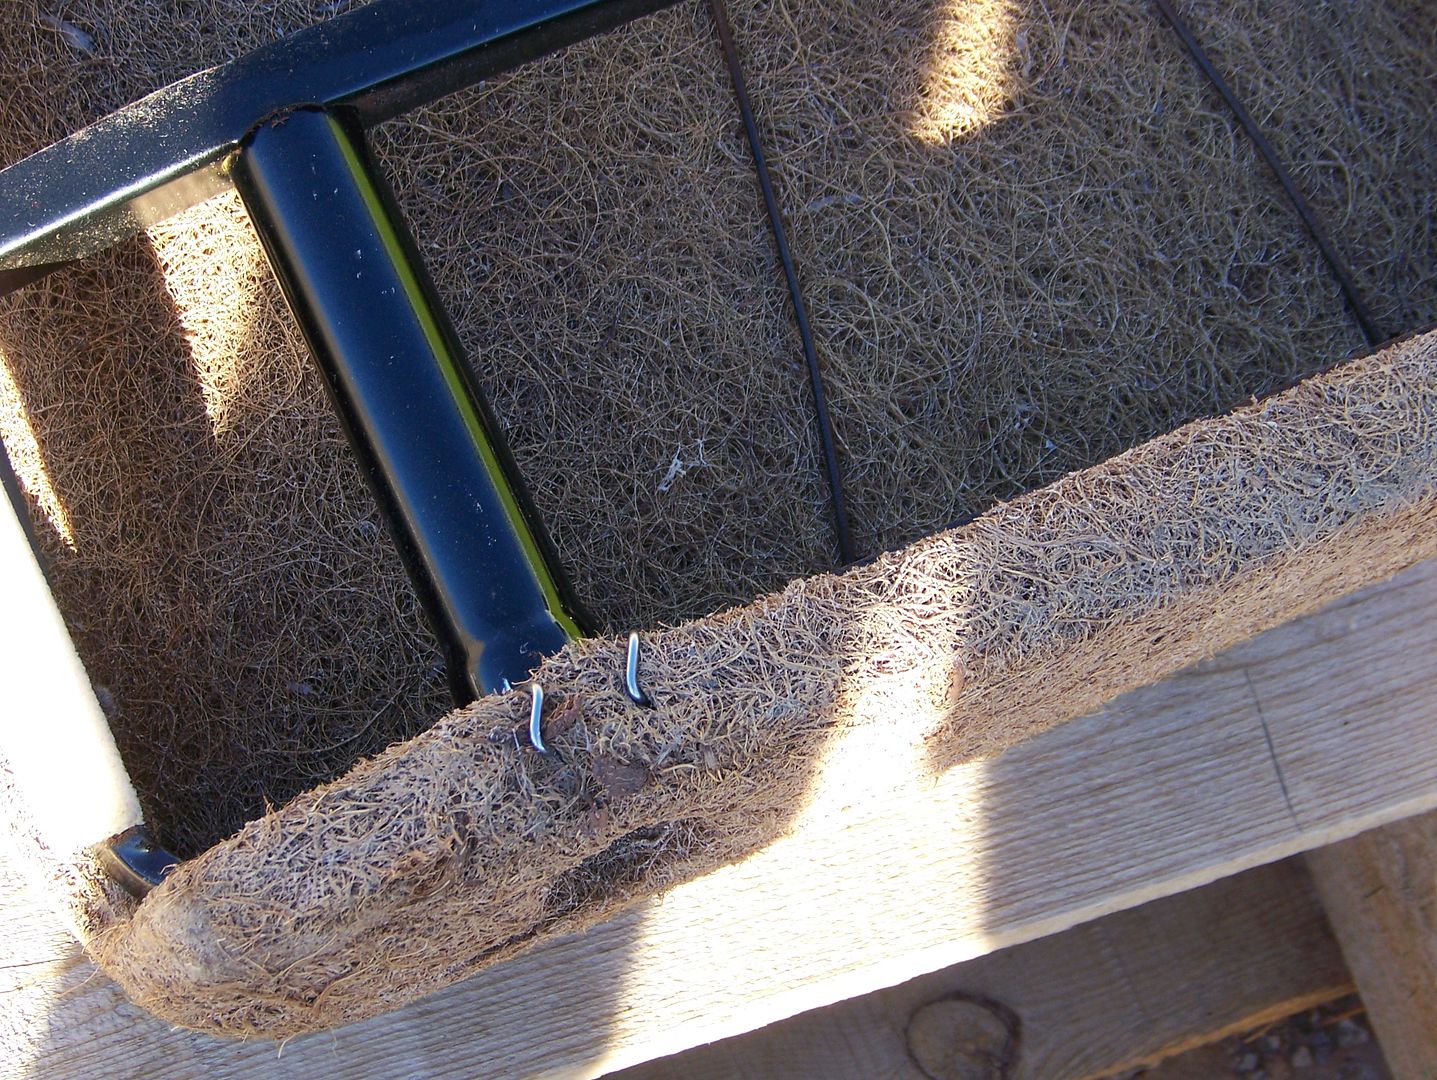
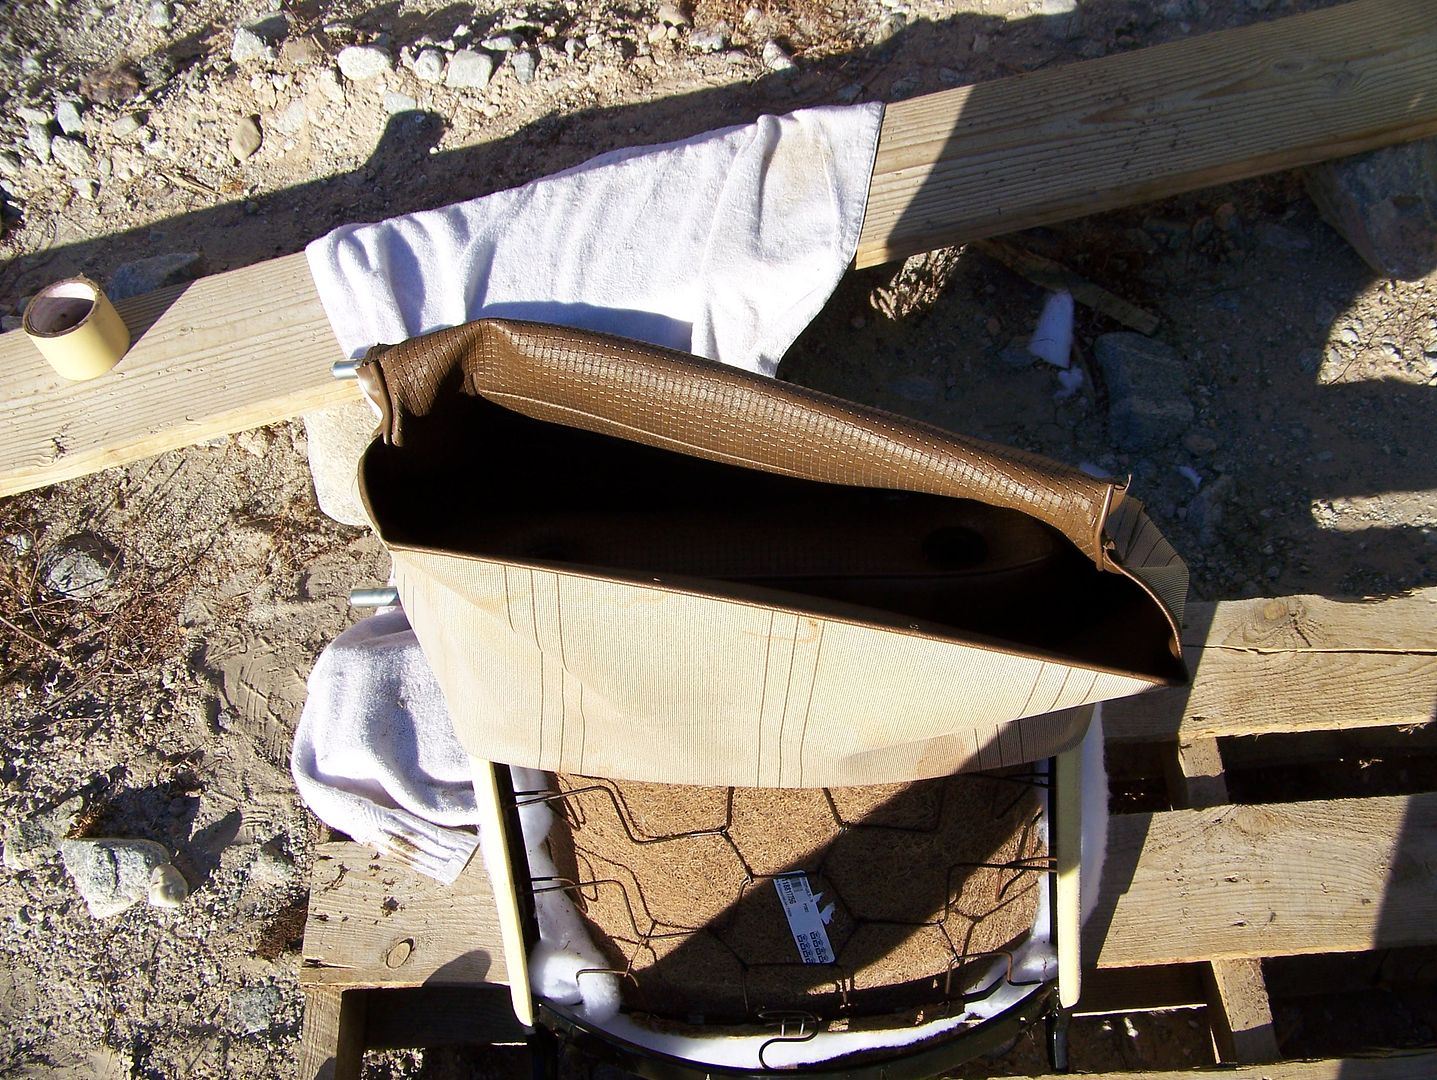
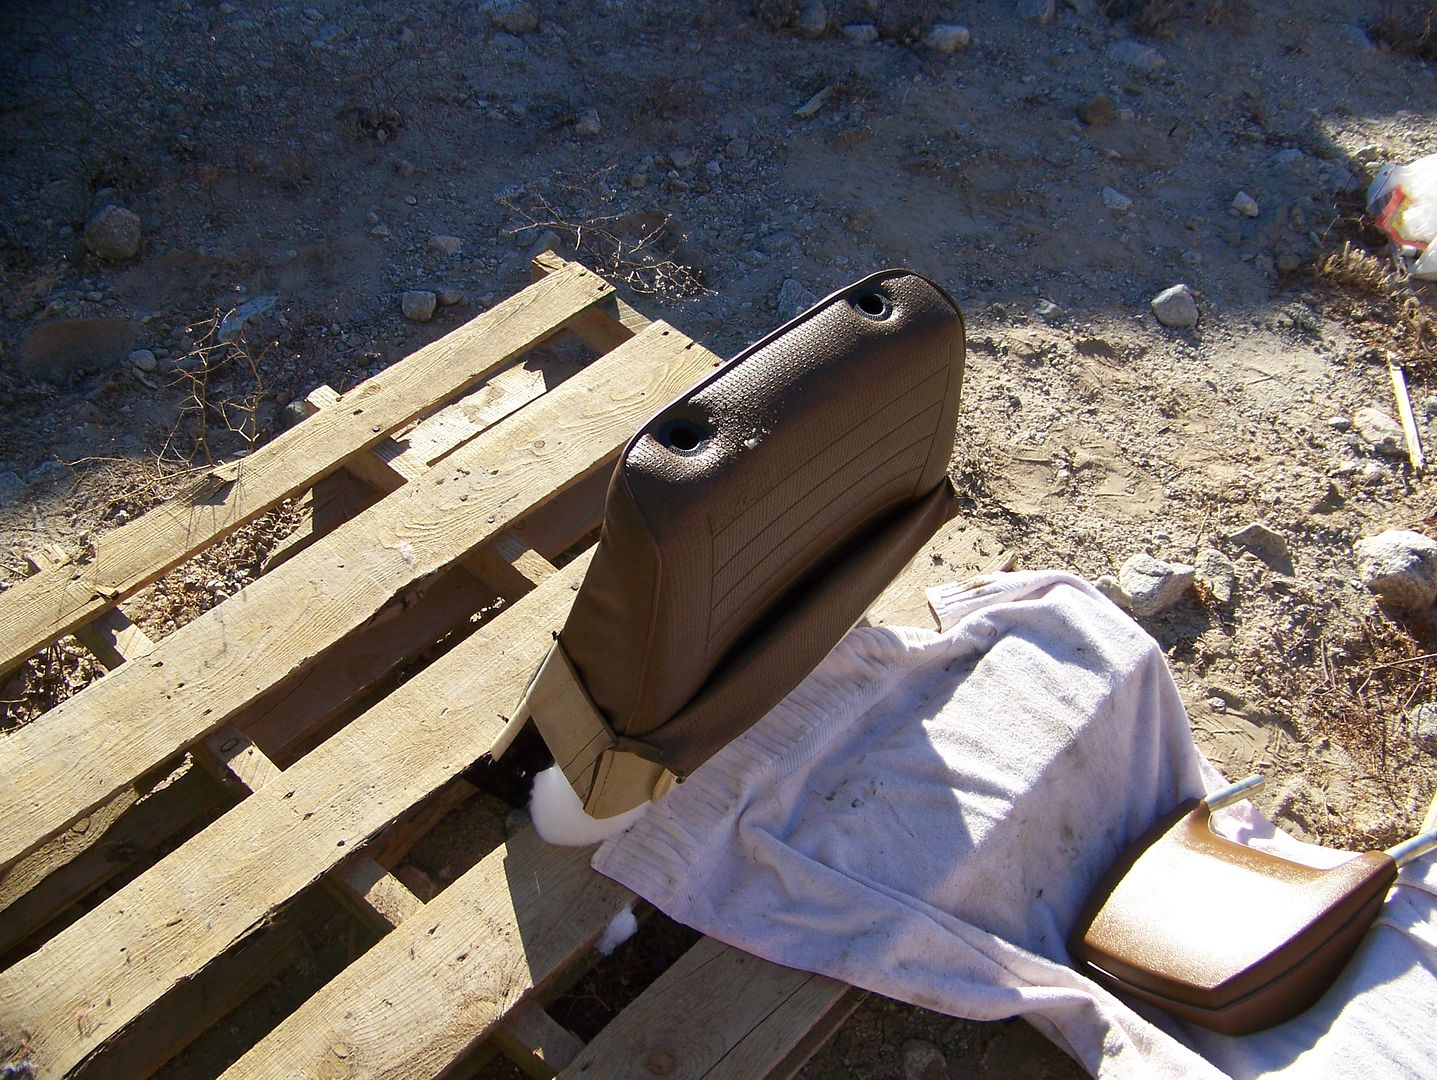
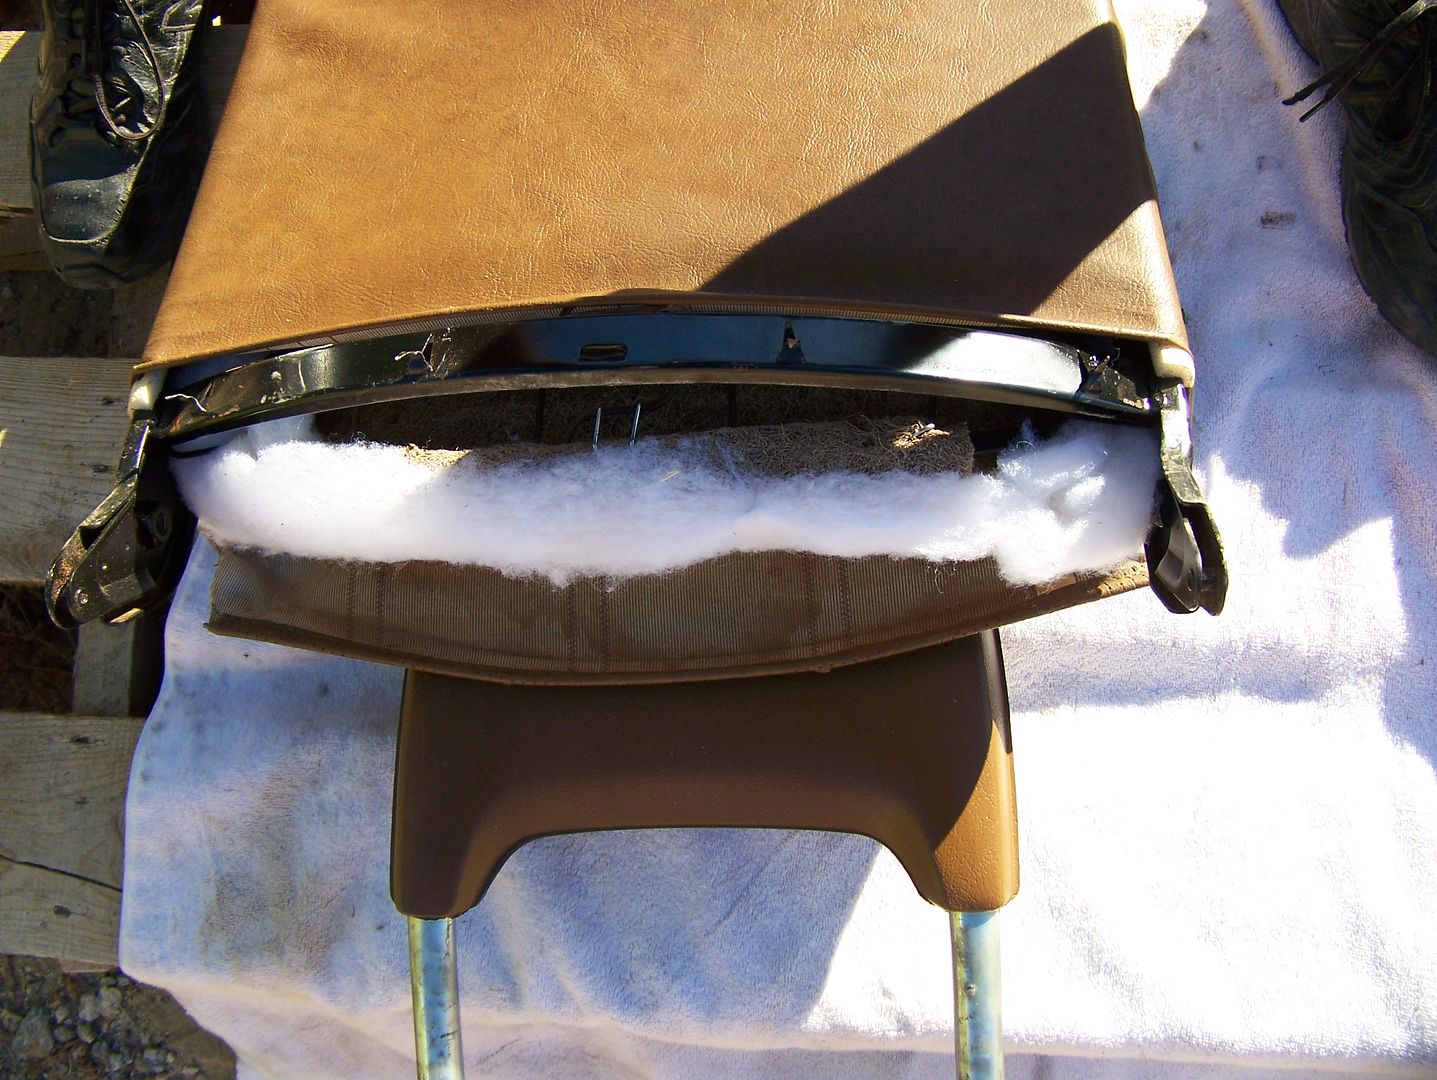
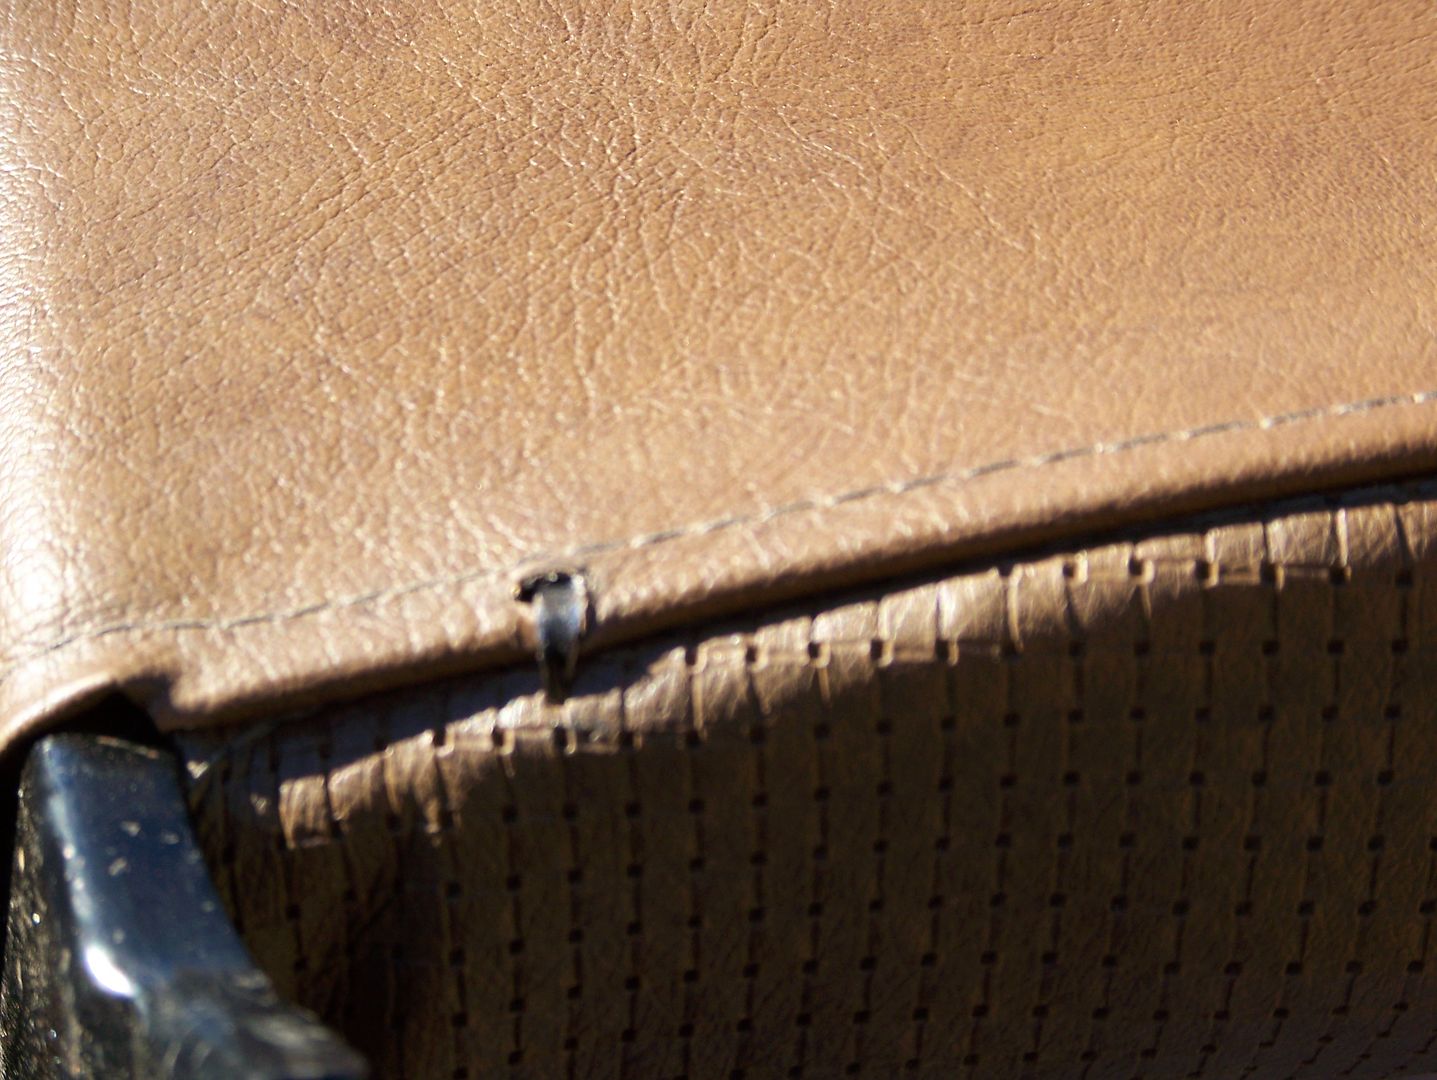
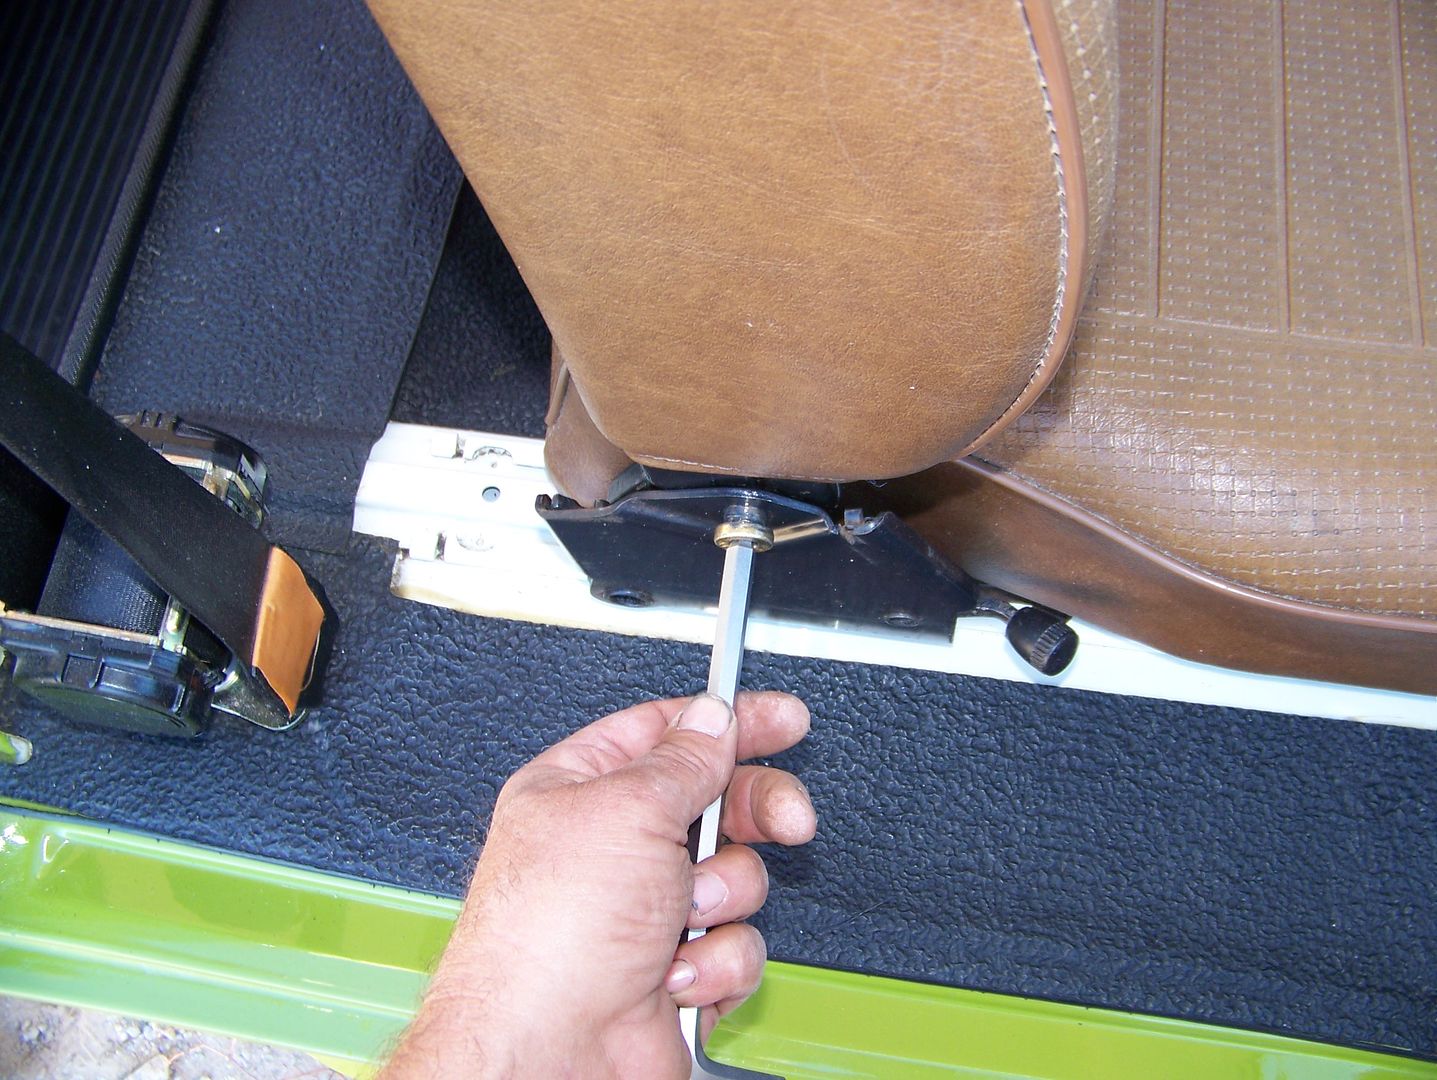
I meant to ask *how* you separated the back from the bottom. Mine seems to be held together with what appears to be a large rivet or something.
I’ll try to get a picture...
Re: Reupholster front seat
Posted: Tue Feb 05, 2019 7:49 pm
by appetite
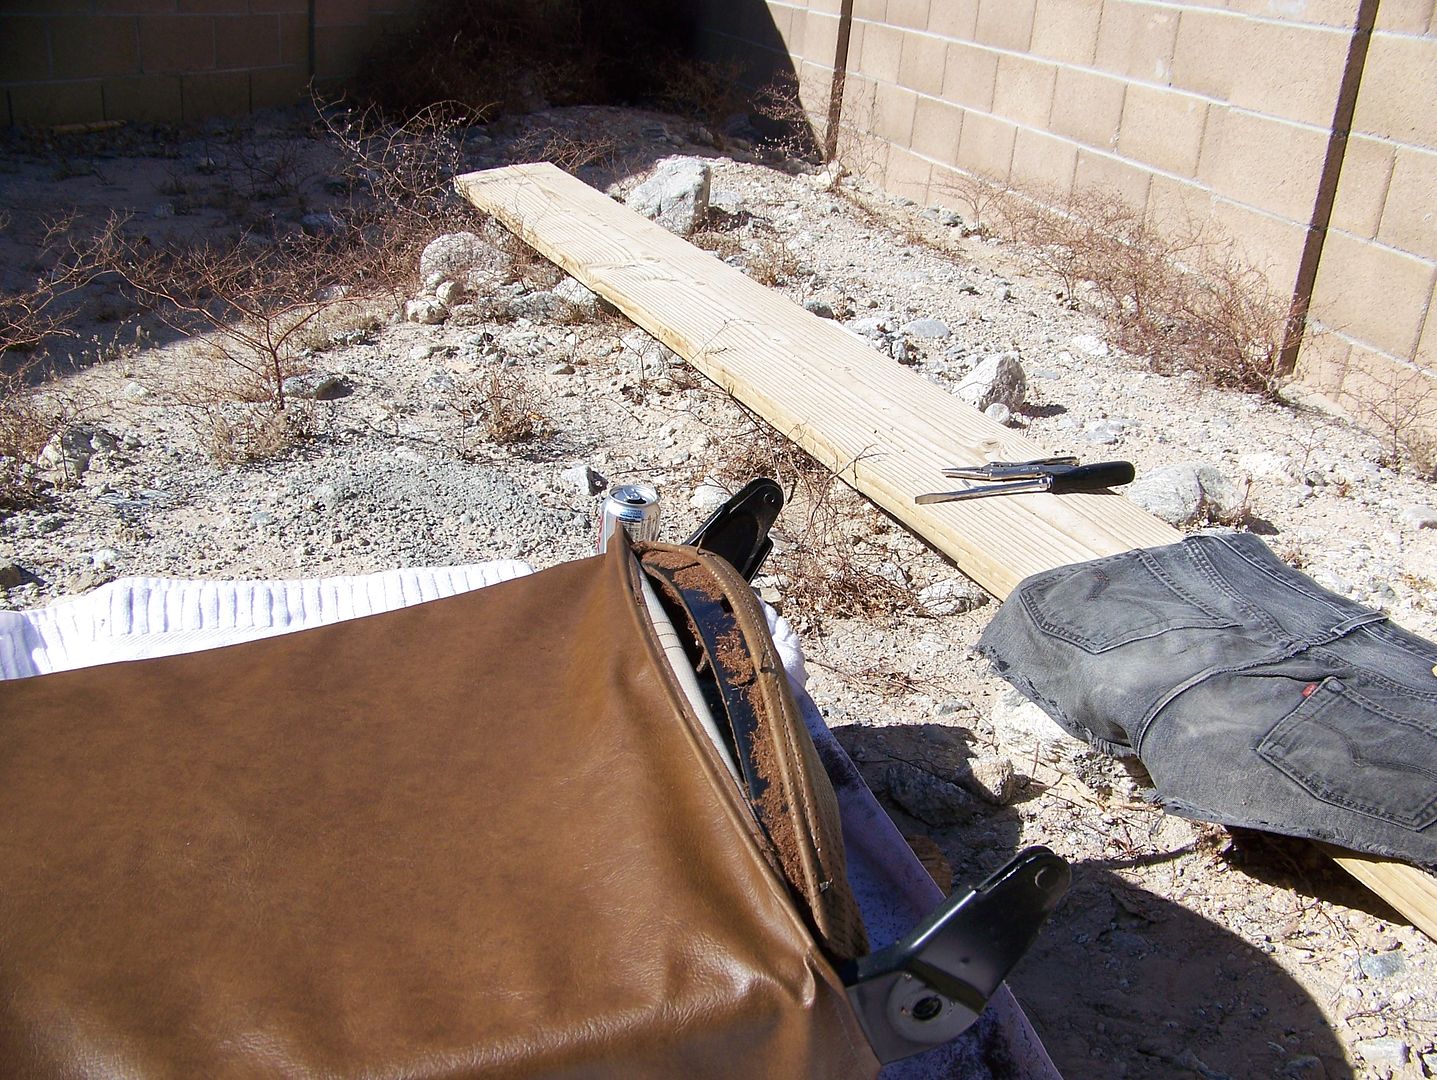
This big boy:
![Image]()
Re: Reupholster front seat
Posted: Wed Feb 06, 2019 8:16 am
by zabo
hmm - I think the later seats are easier to disassemble.
Have you seen this?
http://type2.com/rvanness/caspseat.htm
Re: Reupholster front seat
Posted: Wed Feb 06, 2019 12:37 pm
by appetite
Zabo,
That's great info. I hadn't thought about dipping into the type2 archive. Good call.
Yeah, I think these early seats have to stay together. Bummer.
Thanks again.
Re: Reupholster front seat
Posted: Wed Feb 06, 2019 6:39 pm
by Amskeptic
appetite wrote: ↑Wed Feb 06, 2019 12:37 pm
Zabo,
That's great info. I hadn't thought about dipping into the type2 archive. Good call.
Yeah, I think these early seats have to stay together. Bummer.
Thanks again.
I did my seats in the Road Warrior:
You can see that I screwed up good on the driver's seat with shifted batting.
Then I did the seat pads on the BobD (yes, it was easy to separate the backs from the chairs) in an abandoned subdivision in Yuma 2010 in one day:
BEFORE (no horsehair left, wrinkle city)
DURING
I used only a couple of hog rings to secure the horsehair pad . . . :
Start the new seat cover inside out like putting on a kids sock.
It is critical to get the new seat covers centered as you just begin to fold them back outside-out.
The stitching is under a lot of stress, stay focused and keep seat cover from shifting or it will look like a four year-old's attempt to put on a pillow case.
I have the seat on a headrest, so I can literally sit on it as I draw the lower edge to the hooks in the frame. The tension is critical. You need to have the upholstery under tension as you secure it, so there will be no wrinkles, and it must be centered for a professional look:
Look at how far I have to pull the vinyl to reach those hooks. Eventually, I had the seatback vertical pulling down with all I had to catch the hooks:

Notice how the piping is *below* the seating surface. That is so it doesn't get torn off! So many upholstery shops think the piping describes the edges between vertical and horizontal. It does not. It is always below the horizontal surfaces . . . evenly, I might add.

AFTER
Ten years and 80,000 miles later . . .
Re: Reupholster front seat
Posted: Thu Feb 07, 2019 1:54 pm
by appetite
Colin,
That's an excellent tutorial.
I see that the late bus has an easy way to separate the back from the seat. Not so much for the early bus.The back and seat are riveted together.
Did you add additional padding on top of the Wolfsburg West horsehair?