Fuel Injection Buses EEC Valve Repair
Posted: Sun Aug 14, 2011 10:57 am
This is a commonly overlooked failure in the late fuel injection buses that happens to steal all of your vacuum advance as well as increase the smell of fuel vapors in the engine compartment.
The EEC valve was an evolution of the technology required to trap fuel vapors from the fuel tank. Since 1970 or so, Volkswagen merely plumbed the fuel tank vapors to a charcoal canister that was force-fed fresh air from the fan and dumped its vapors into the air filter any time the engine was running. Unfortunately, the need to reduce hydrocarbons rendered this simple system inadequate, particularly after a heat soak where gas vapors just spiked those HC emissions through the roof and made the car run too rich when first started.
VW decided to meter the fuel vapors into the engine through a valve, the EEC valve, so that these extra HCs would only be added during high airflow periods, and what better time than at full vacuum advance? A tee off the vacuum advance hose pulls the EEC valve diaphragm from its spring-loaded seat, thus allowing fuel vapors from the canister to enter the air filter body.
Problem is that fuel vapors and rubber diaphragms don't get along too well, and the diaphragm gets dried out and brittle. When it leaks, the vacuum advance vacuum signal disappears. To test, remove the vacuum hose to the EEC from the vacuum advance tee and apply vacuum to the hose. This looks odd and unsettling to the passer-by. It should hold, and you can sometimes hear the diaphragm clunk. If it just passes air, well, try this procedure:
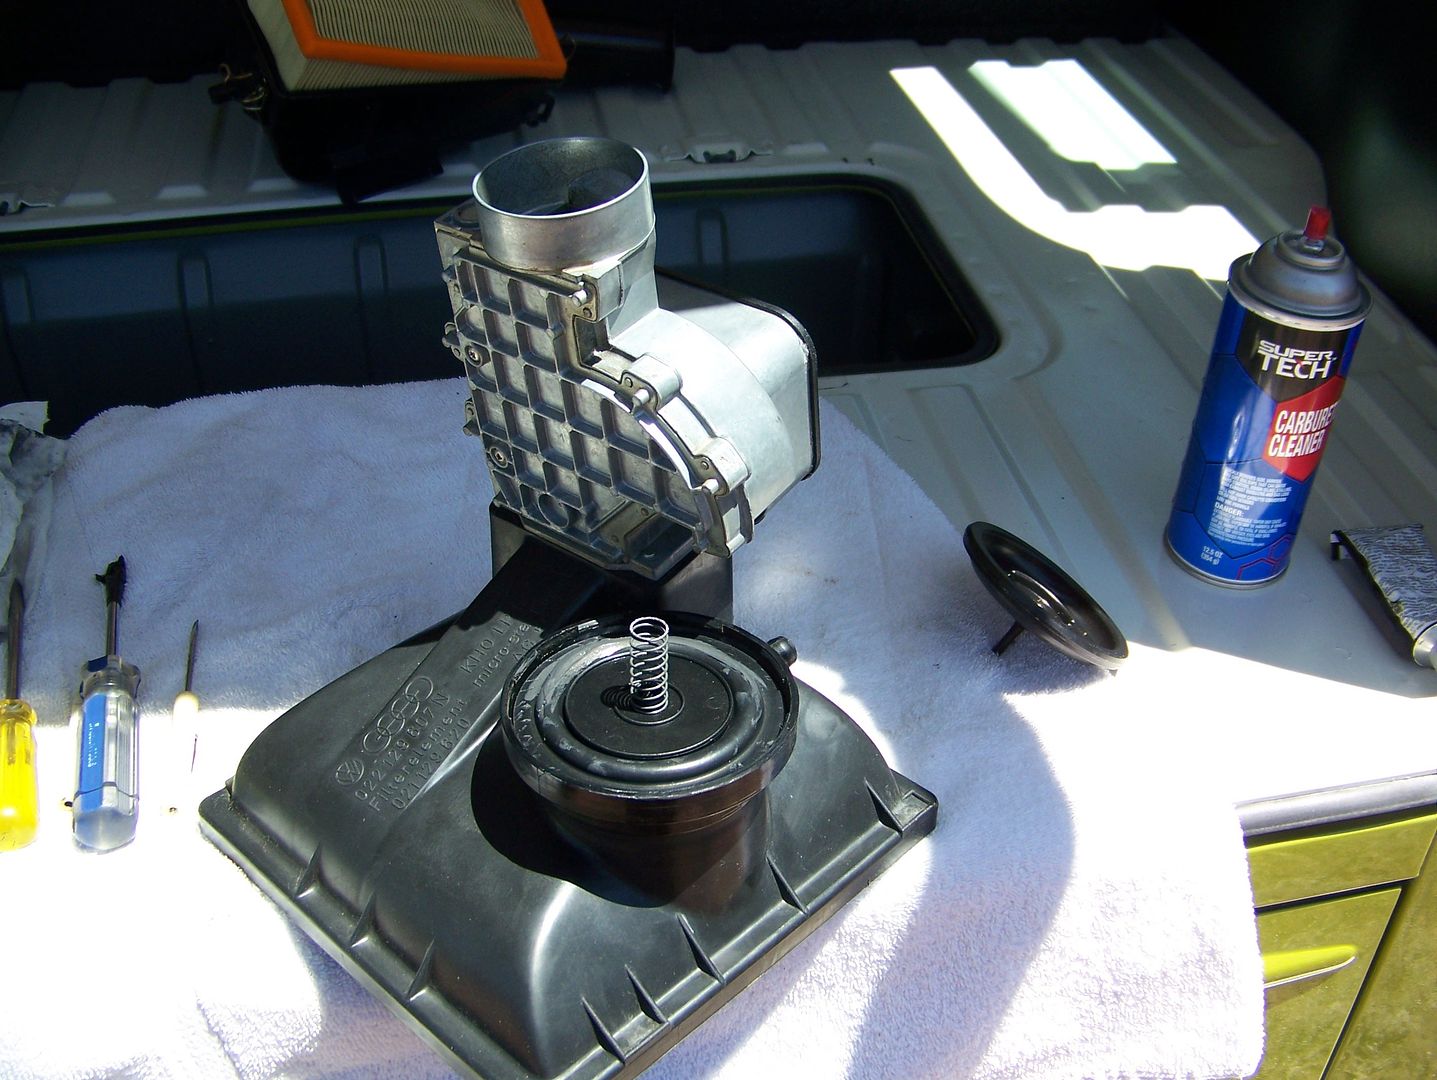
1) Remove air filter cover by releasing the clips and pulling out of the engine compartment. You can leave the AFM side of the air filter in. Place on a counter, VW thoughtfully provides one just above the engine. With several small flat-bladed screwdrivers, gently pry the outside ring of the plastic housing out from the inner circle of the EEC valve, You will see six or so plastic tabs cast into the plastic housing that snap the circle in place. Be nice here. Work it. Pry and pry, just get things loosened up a bit. Do not turn the screwdrivers as this will make it look like beavers have been chewing in there. After you have gotten irritated, focus on one side of the circle and get the screwdrivers all lined up and go for the final snap-out free push. I found three screwdrivers all pried simultaneously on one side finally released the inner circle.
2) Repair the diaphragm:
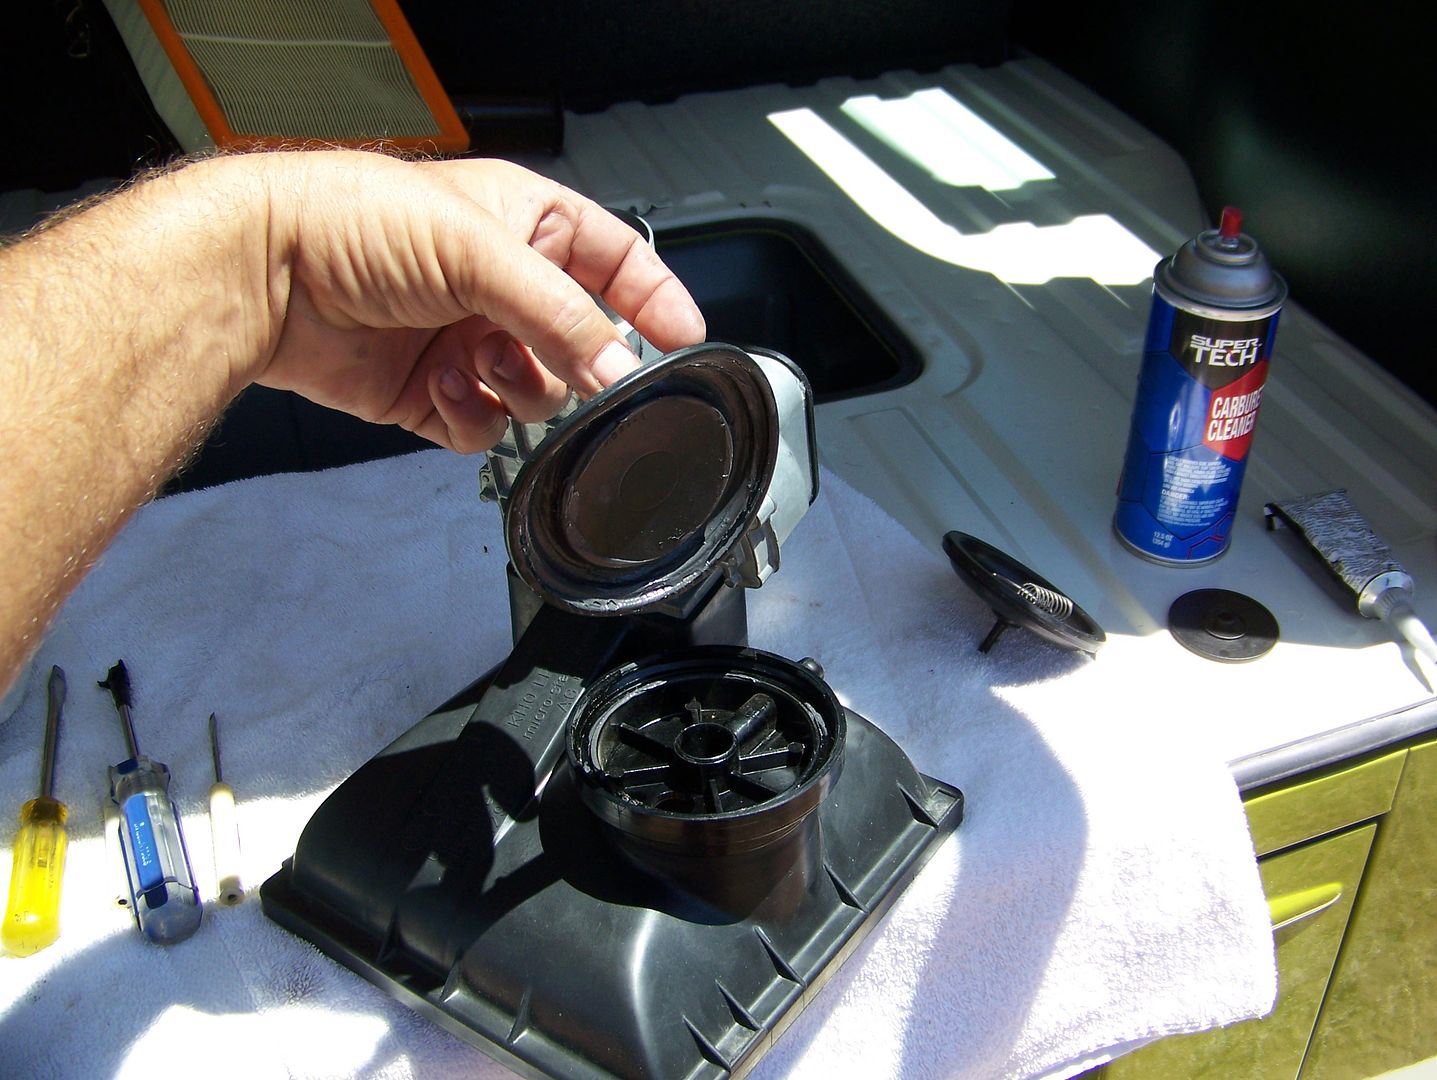
Like a speaker, it has an outer suspension "gutter" where you will find cracks and maybe a split. Clean off the glycerine that VW hoped would protect the rubber. I used carb cleaner and a paper towel. Dry thoroughly. Smear a thin layer of Permatex Ultra-Black RTV into the gutter all the way around the circle. Work quickly so the RTV doesn't start to set and pull up with your finger. Keep it thin but contiguous. Clean any excess RTV off the outer perimeter where it sets in the housing, this is important for a vacuum-tight seal. Allow to set for a full 24 hours. Clean the housing making sure the diaphragm seat is perfectly smooth both where it contacts the openings and at the perimeter.
3) Set in the opening flat center facing down. You can see the repaired area:
4) Place the plastic disk on the diaphram with the spring seat facing up.
Here it is just sitting there, waiting for a spring:
Look, there is the spring, now:
5) Now carefully clean the perimeter of the valve housing where it is going to snap in the air filter housing. Use a patented IAC razor blade technique to make a perfectly square edge that is smooth all the way around the perimeter. Use a light coating of grease on the valve where it will contact the diaphram and along the edge so it will snap under the moulded clips of the air filter housing:

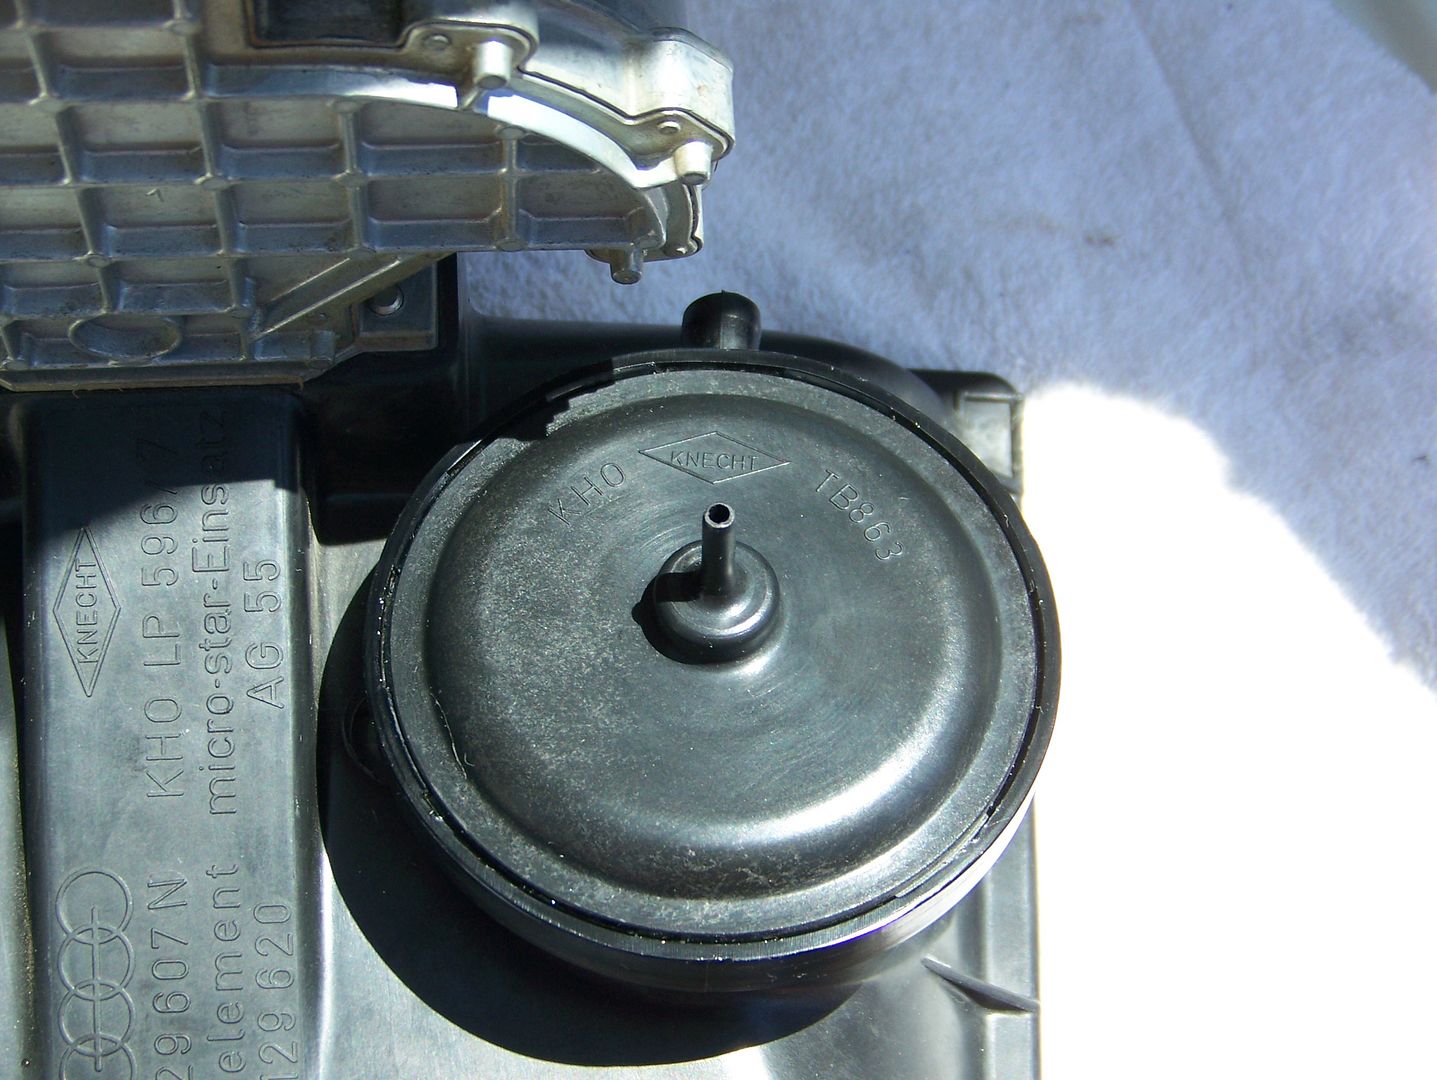
Press the valve housing over the diaphragm/plastic disk/spring (with the word "Knecht" facing directly towards the canister nipple, if you care about such things):
Test for vacuum. It should now hold. Reinstall air filter housing making sure you have a perfect seal between the filter media and the cover as you snap down the four clips. Reinstall the charcoal canister hose and the vacuum hose from the vacuum advance tee. Now you can test with a feathered throttle at 3,000 rpm to see that you get 36-40* vacuum advance.
Colin
The EEC valve was an evolution of the technology required to trap fuel vapors from the fuel tank. Since 1970 or so, Volkswagen merely plumbed the fuel tank vapors to a charcoal canister that was force-fed fresh air from the fan and dumped its vapors into the air filter any time the engine was running. Unfortunately, the need to reduce hydrocarbons rendered this simple system inadequate, particularly after a heat soak where gas vapors just spiked those HC emissions through the roof and made the car run too rich when first started.
VW decided to meter the fuel vapors into the engine through a valve, the EEC valve, so that these extra HCs would only be added during high airflow periods, and what better time than at full vacuum advance? A tee off the vacuum advance hose pulls the EEC valve diaphragm from its spring-loaded seat, thus allowing fuel vapors from the canister to enter the air filter body.
Problem is that fuel vapors and rubber diaphragms don't get along too well, and the diaphragm gets dried out and brittle. When it leaks, the vacuum advance vacuum signal disappears. To test, remove the vacuum hose to the EEC from the vacuum advance tee and apply vacuum to the hose. This looks odd and unsettling to the passer-by. It should hold, and you can sometimes hear the diaphragm clunk. If it just passes air, well, try this procedure:
1) Remove air filter cover by releasing the clips and pulling out of the engine compartment. You can leave the AFM side of the air filter in. Place on a counter, VW thoughtfully provides one just above the engine. With several small flat-bladed screwdrivers, gently pry the outside ring of the plastic housing out from the inner circle of the EEC valve, You will see six or so plastic tabs cast into the plastic housing that snap the circle in place. Be nice here. Work it. Pry and pry, just get things loosened up a bit. Do not turn the screwdrivers as this will make it look like beavers have been chewing in there. After you have gotten irritated, focus on one side of the circle and get the screwdrivers all lined up and go for the final snap-out free push. I found three screwdrivers all pried simultaneously on one side finally released the inner circle.
2) Repair the diaphragm:
Like a speaker, it has an outer suspension "gutter" where you will find cracks and maybe a split. Clean off the glycerine that VW hoped would protect the rubber. I used carb cleaner and a paper towel. Dry thoroughly. Smear a thin layer of Permatex Ultra-Black RTV into the gutter all the way around the circle. Work quickly so the RTV doesn't start to set and pull up with your finger. Keep it thin but contiguous. Clean any excess RTV off the outer perimeter where it sets in the housing, this is important for a vacuum-tight seal. Allow to set for a full 24 hours. Clean the housing making sure the diaphragm seat is perfectly smooth both where it contacts the openings and at the perimeter.
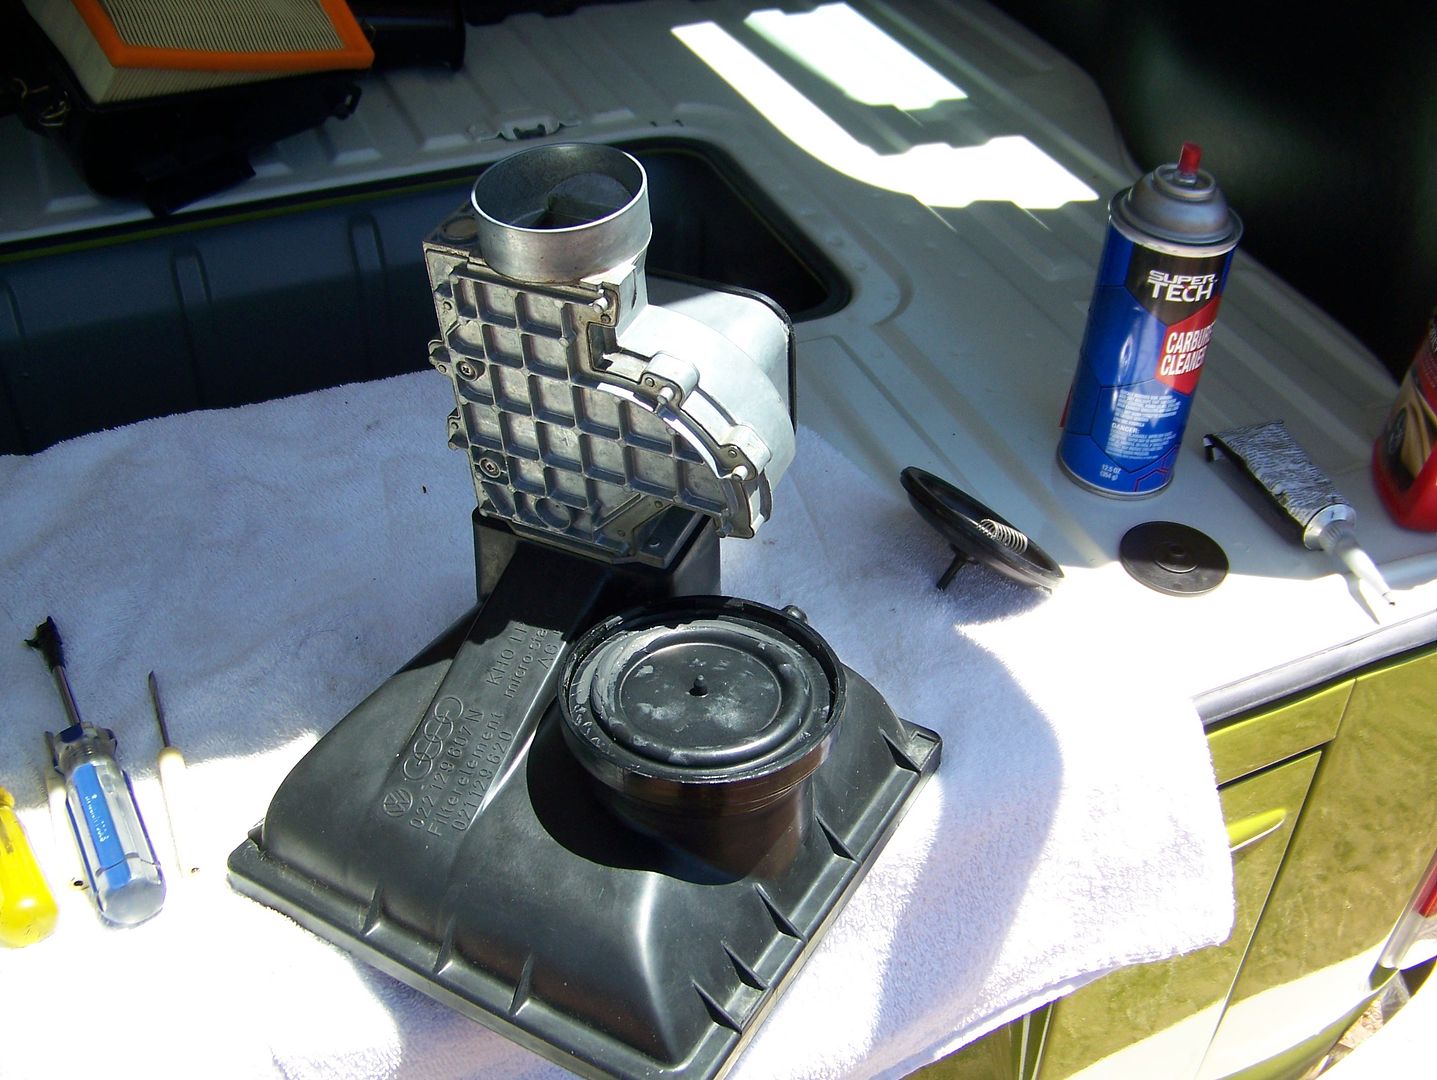
3) Set in the opening flat center facing down. You can see the repaired area:
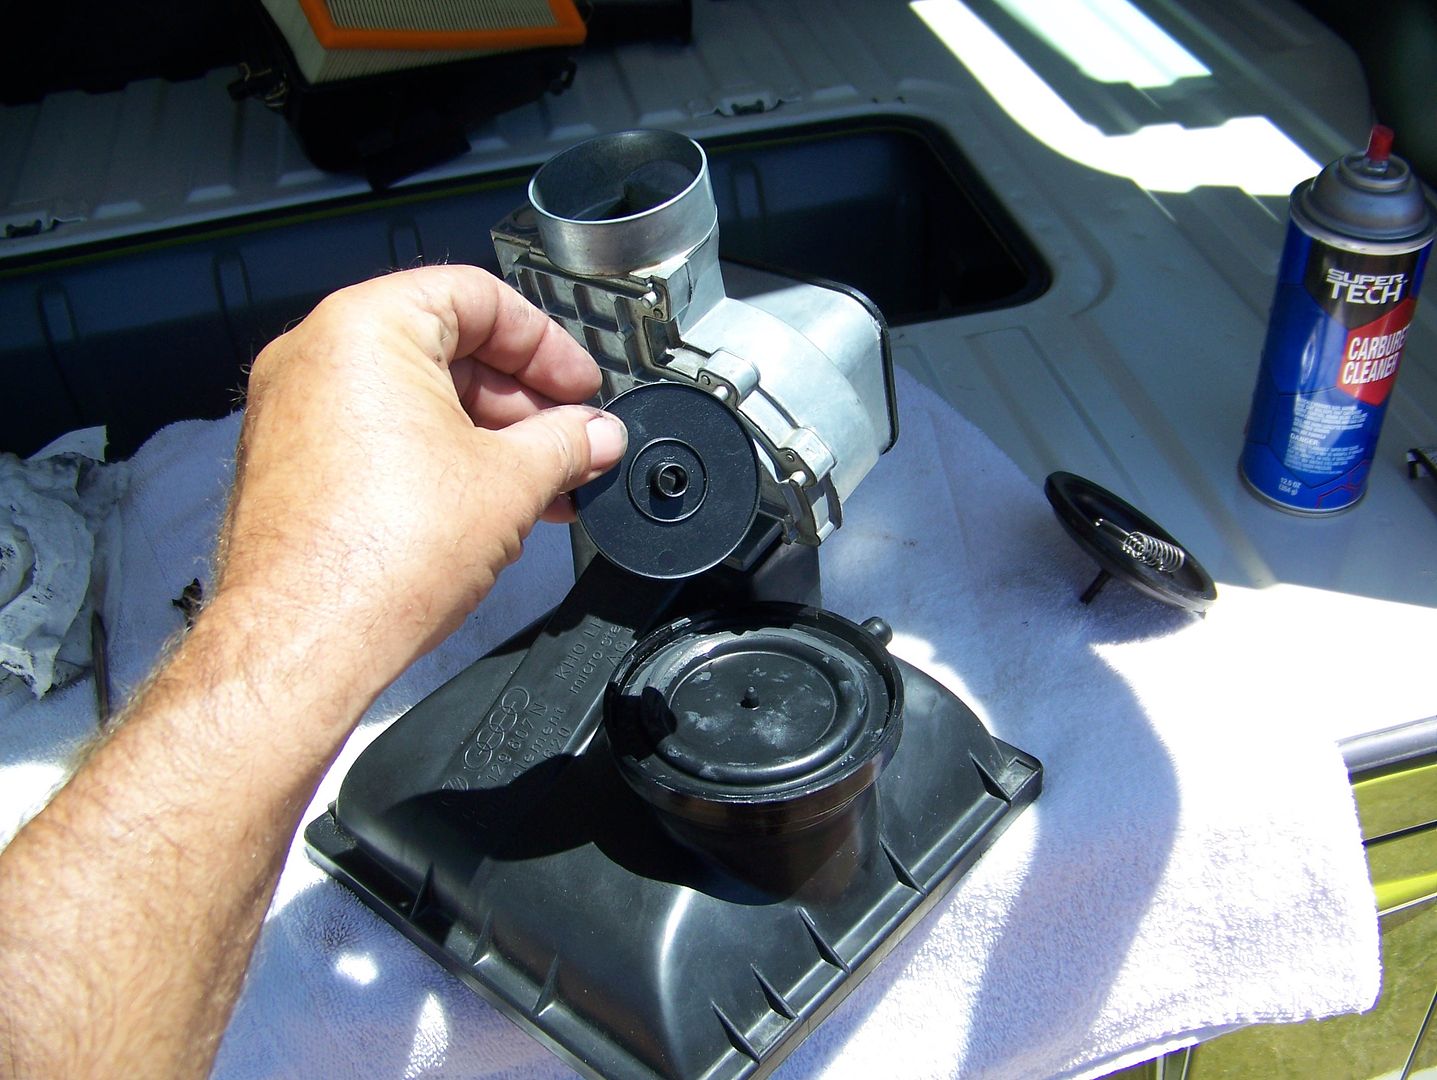
4) Place the plastic disk on the diaphram with the spring seat facing up.
Here it is just sitting there, waiting for a spring:
Look, there is the spring, now:
5) Now carefully clean the perimeter of the valve housing where it is going to snap in the air filter housing. Use a patented IAC razor blade technique to make a perfectly square edge that is smooth all the way around the perimeter. Use a light coating of grease on the valve where it will contact the diaphram and along the edge so it will snap under the moulded clips of the air filter housing:
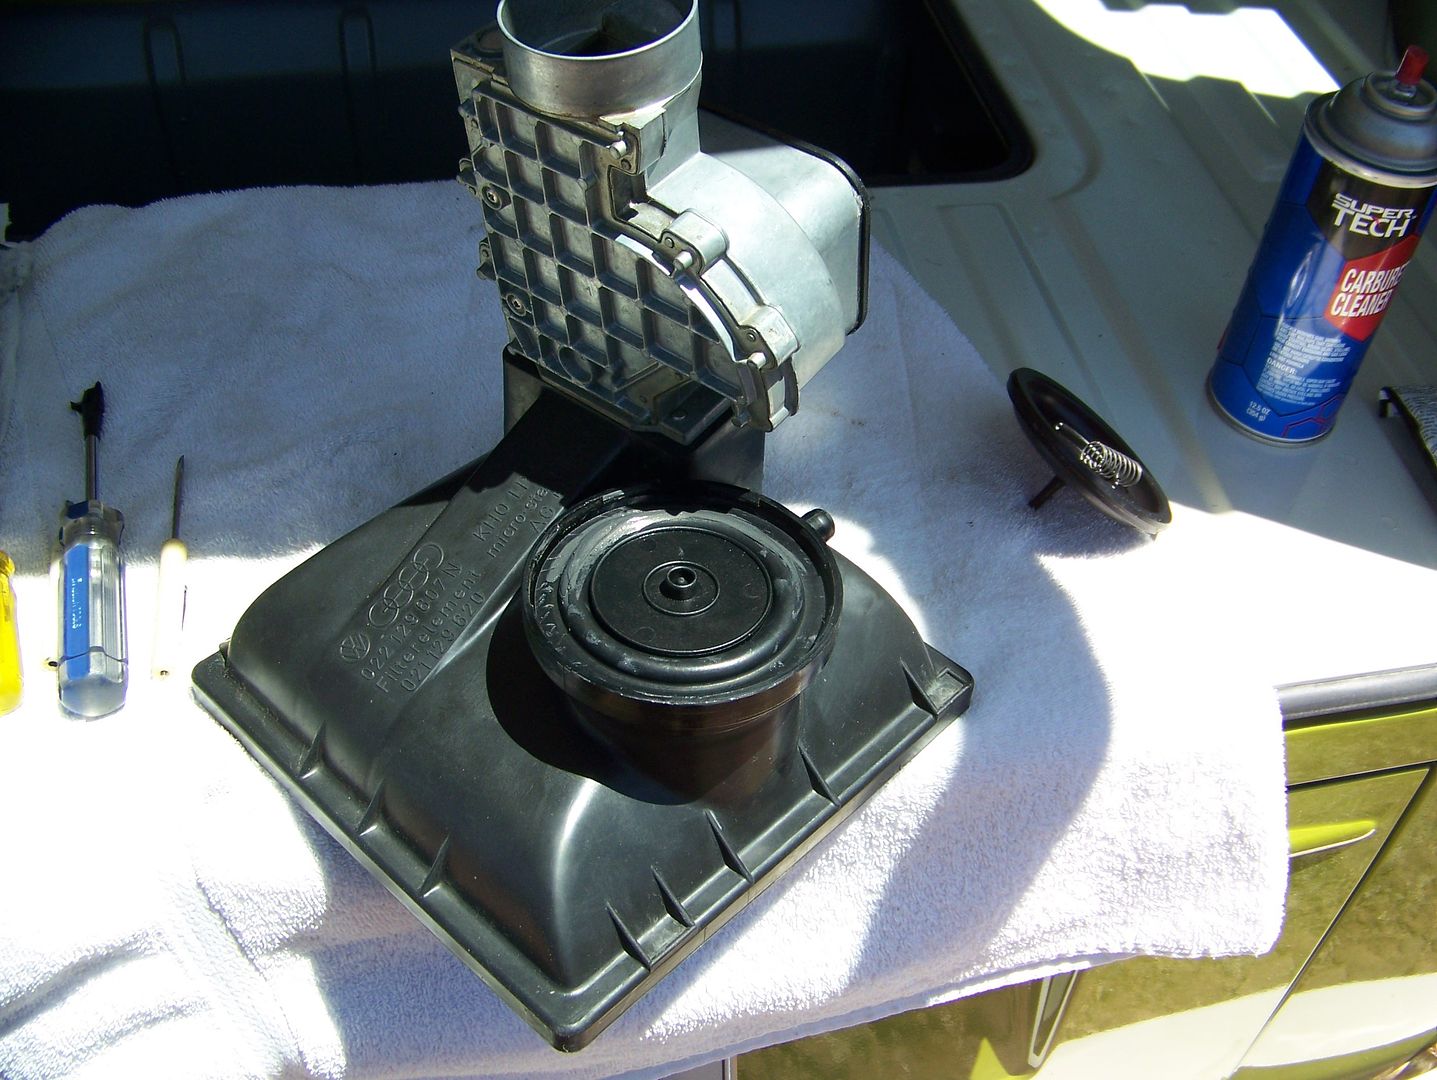
Press the valve housing over the diaphragm/plastic disk/spring (with the word "Knecht" facing directly towards the canister nipple, if you care about such things):
Test for vacuum. It should now hold. Reinstall air filter housing making sure you have a perfect seal between the filter media and the cover as you snap down the four clips. Reinstall the charcoal canister hose and the vacuum hose from the vacuum advance tee. Now you can test with a feathered throttle at 3,000 rpm to see that you get 36-40* vacuum advance.
Colin