
What's the best way (if there is such a thing) of affixing a new battery tray when one doesn't have access to a welder? Is it:
1. Chop off all the rust.
2. Treat with POR-15 (or equivalent)
3. JB-Weld new tray in.
...or is this method (or one like it) just too gruesome a hack to contemplate?
1974 Bus battery tray replacement
-
whc03grady

- IAC Addict!
- Location: Livingston Montana
- Contact:
- Status: Offline
1974 Bus battery tray replacement
Ludwig--1974 Westfalia, 2.0L (GD035193), Solex 34PDSIT-2/3 carburetors.
Gertie--1971 Squareback, 1600cc with Bosch D-Jetronic fuel injection from a '72 (E brain).
Read about their adventures:
http://www.ludwigandgertie.blogspot.com
Gertie--1971 Squareback, 1600cc with Bosch D-Jetronic fuel injection from a '72 (E brain).
Read about their adventures:
http://www.ludwigandgertie.blogspot.com
-
Amskeptic

- IAC "Help Desk"

- Status: Offline
Re: 1974 Bus battery tray replacement
Depends on your courage and engineering prowess. If the old tray has enough of a lip around the perimeter to provide sufficient weight-bearing capacity, you might be able to fashion a suitable drop-in that would necessitate grinding the new tray's lip down. You would be responsible for ensuring correct water drainage and proofing. . . ?whc03grady wrote:What's the best way (if there is such a thing) of affixing a new battery tray when one doesn't have access to a welder? Is it:
1. Chop off all the rust.
2. Treat with POR-15 (or equivalent)
3. JB-Weld new tray in.
...or is this method (or one like it) just too gruesome a hack to contemplate?
BobD - 78 Bus . . . 112,730 miles
Chloe - 70 bus . . . 217,593 miles
Naranja - 77 Westy . . . 142,970 miles
Pluck - 1973 Squareback . . . . . . 55,600 miles
Alexus - 91 Lexus LS400 . . . 96,675 miles
Chloe - 70 bus . . . 217,593 miles
Naranja - 77 Westy . . . 142,970 miles
Pluck - 1973 Squareback . . . . . . 55,600 miles
Alexus - 91 Lexus LS400 . . . 96,675 miles
-
satchmo

- Old School!
- Location: Crosby, MN
- Status: Offline
Re: 1974 Bus battery tray replacement
One no-weld option, among the many, is to cut most of the old tray out leaving a lip around the perimeter large enough to support/attach the new tray. Cut off the bent edges of the new tray so it fits flat on the lip of the old tray. Coat any bare metal with paint or POR. Then drill some holes through the lip/new tray and attach with sheet metal screws or pop rivets. When you do have access to a welder, you can take the screws or rivets out and use the holes for spot weld points.
If you want to make things water tight around the edges after the above procedure, use automotive seam sealer or fibered roof cement on both the top and bottom seam. Make sure there is a hole at the lowest point in the tray for water to drain.
Tim
If you want to make things water tight around the edges after the above procedure, use automotive seam sealer or fibered roof cement on both the top and bottom seam. Make sure there is a hole at the lowest point in the tray for water to drain.
Tim
By three methods we may learn wisdom:
First, by reflection, which is noblest;
second, by immitation, which is easiest;
and third, by experience, which is bitterest. -Confucius
First, by reflection, which is noblest;
second, by immitation, which is easiest;
and third, by experience, which is bitterest. -Confucius
-
Oregon72

- IAC Addict!
- Location: Sherwood, Oregon
- Status: Offline
Re: 1974 Bus battery tray replacement
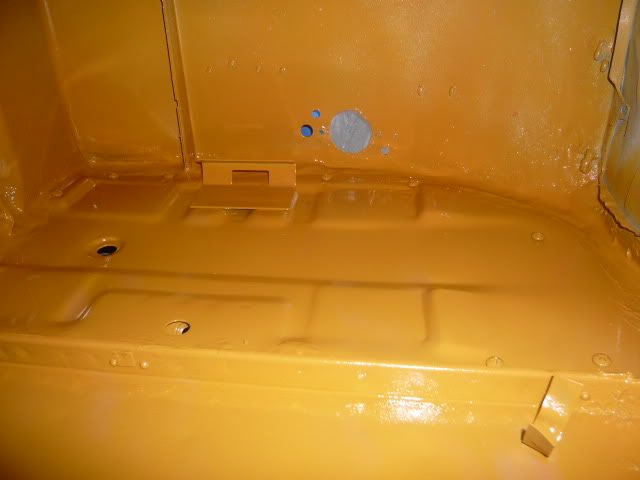
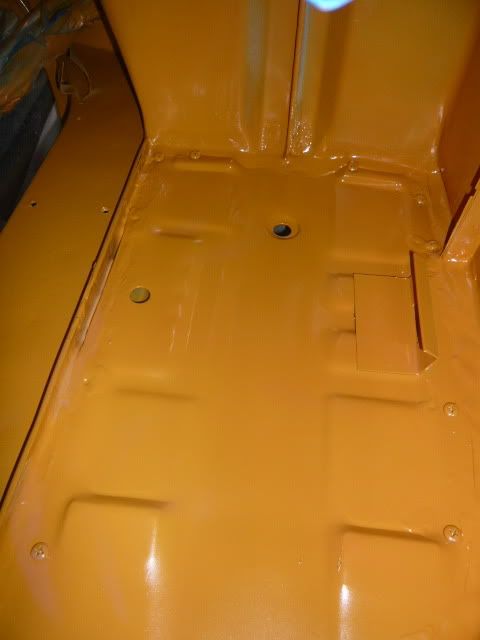
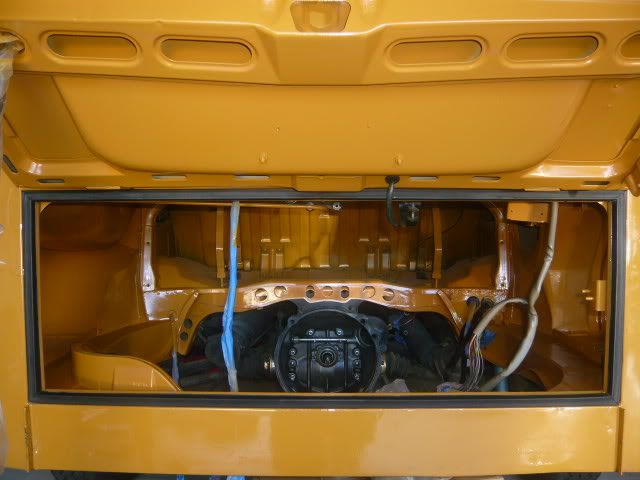
I did exactly satchmo's suggestion - as you can see this method can save even the worst looking tray.
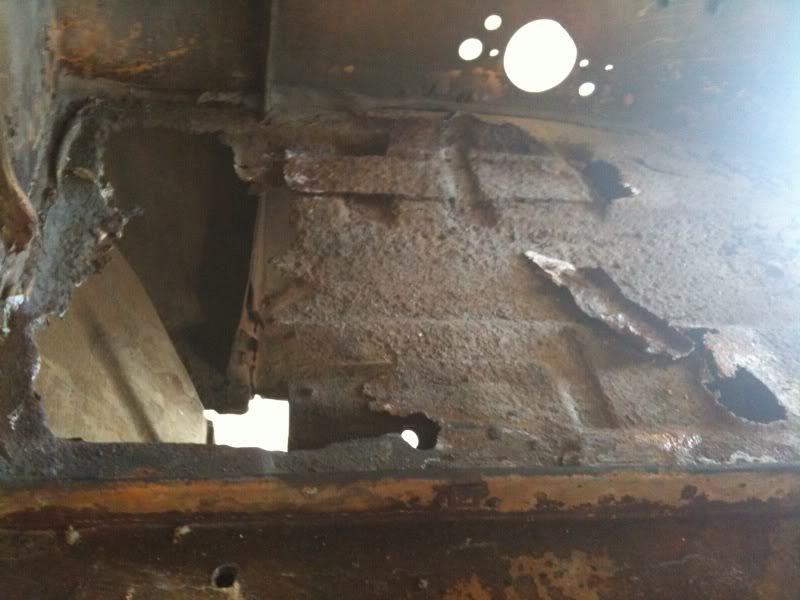
cut out a lip
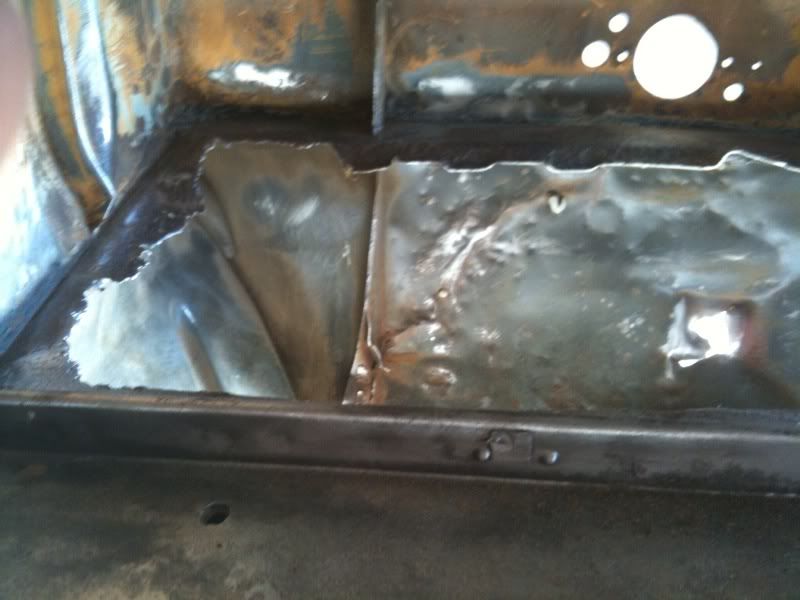
prime and paint the entire area, scabbed in the new tray, sheet metal screwed, and auto body sealer (this photo is a view of the underside of the battery tray
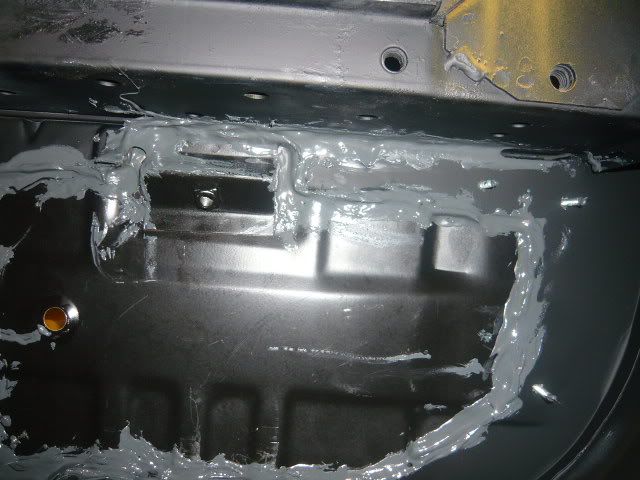
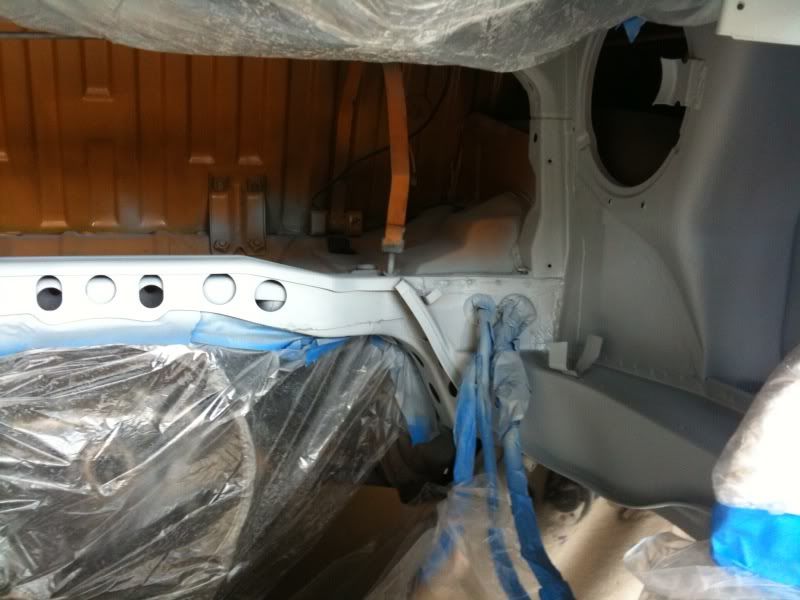
finished
cut out a lip
prime and paint the entire area, scabbed in the new tray, sheet metal screwed, and auto body sealer (this photo is a view of the underside of the battery tray
finished
-'72 Westy-
-
Bleyseng

- IAC Addict!
- Location: Seattle again
- Contact:
- Status: Offline
Re: 1974 Bus battery tray replacement
if ya go to that much trouble to make it nice why not weld it in.
Geoff
77 Sage Green Westy- CS 2.0L-160,000 miles
70 Ghia vert, black, stock 1600SP,- 139,000 miles,
76 914 2.1L-Nepal Orange- 160,000+ miles
http://bleysengaway.blogspot.com/
77 Sage Green Westy- CS 2.0L-160,000 miles
70 Ghia vert, black, stock 1600SP,- 139,000 miles,
76 914 2.1L-Nepal Orange- 160,000+ miles
http://bleysengaway.blogspot.com/
-
Hippie

- IAC Addict!
- Location: 41º 35' 27" N, 93º 37' 15" W
- Status: Offline
Re: 1974 Bus battery tray replacement
Probably could solder it in if you don't have a welder and didn't want screws. Flux and tin both sides, lay it in, and kiss it with a torch.
But that looks nice. I think it's great work and think screws are fine and not really noticeable anyway.
But that looks nice. I think it's great work and think screws are fine and not really noticeable anyway.
