Baywindow Windshield R & R
Posted: Fri Apr 08, 2011 5:28 pm
**locate a replacement windshield before undertaking this operation**
Quick Leak Repair If You Like Your Seal
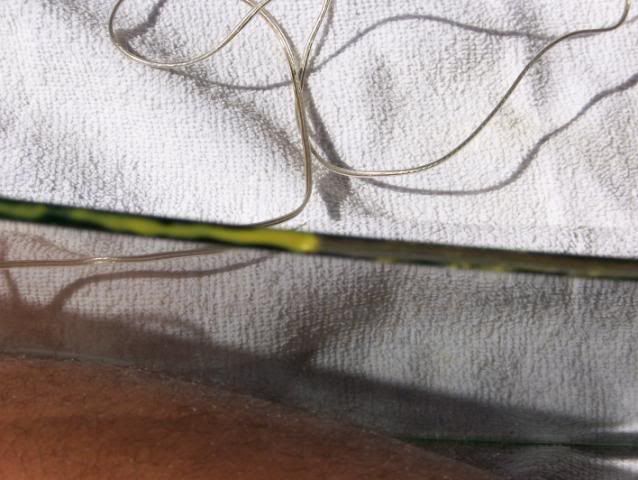
Glue 22ga speaker wire around the perimeter of the glass to swell the seal out just enough to stop leaks. I used 3M weatherstrip adhesive going about a foot at a time. Cut to length at your last glue run.
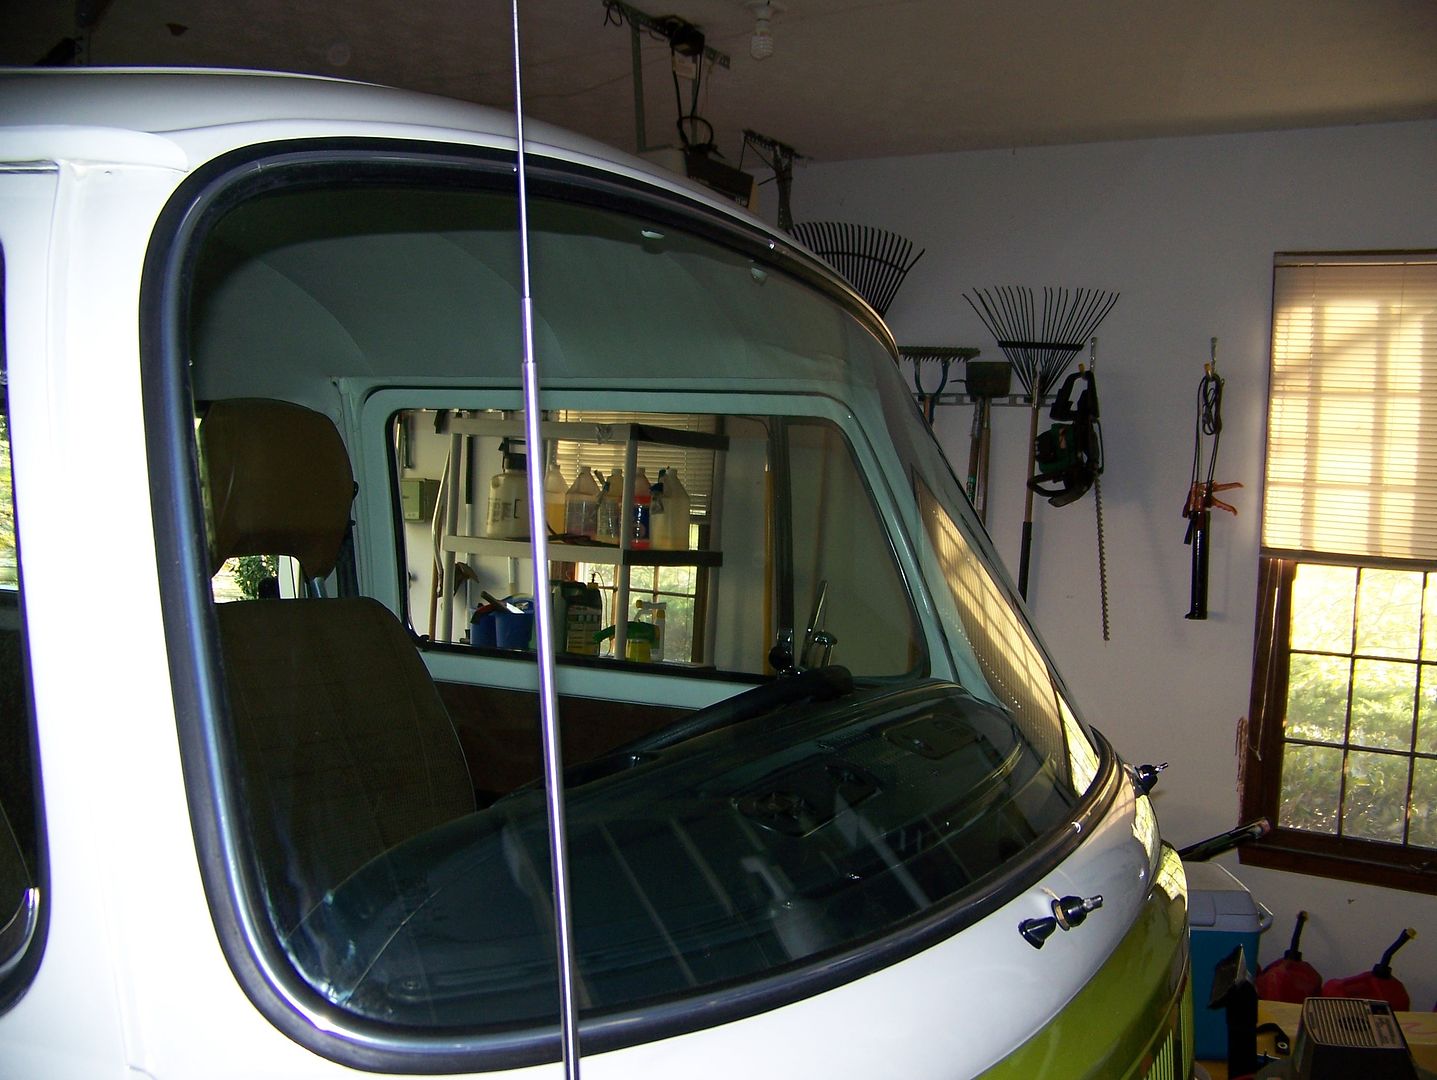
a) remove wipers, visors and pull inside rear view mirror right out. Get your lanolin (Go-Jo) waterless hand cleaner out and pry the inside rubber back so you can run a lubrication lap around the inside edge of the windshield seal. Start at the upper corner where you can pull the rubber back with a finger. Slather along the headliner! Push carefully at the top right of the windshield distributing as much force broadly as your two hands will allow. All you want is to see the seal move. Work the movement towards the center of the car and down towards the dash. Do the same on the left side. The lanolin will work in a bit. Now push the windshield out at the top corner and along the side and the top towards the center with both hands and see if you can find a spot to push the inside bead of the seal past the pinch weld. Push and pry simultaneously across the top. Once the windshield has released the seal along the top, you will note that the seal sides are holding the windshield just fine so you can hop out and pull the glass outwards at the sides and pick up off the car. Set aside.
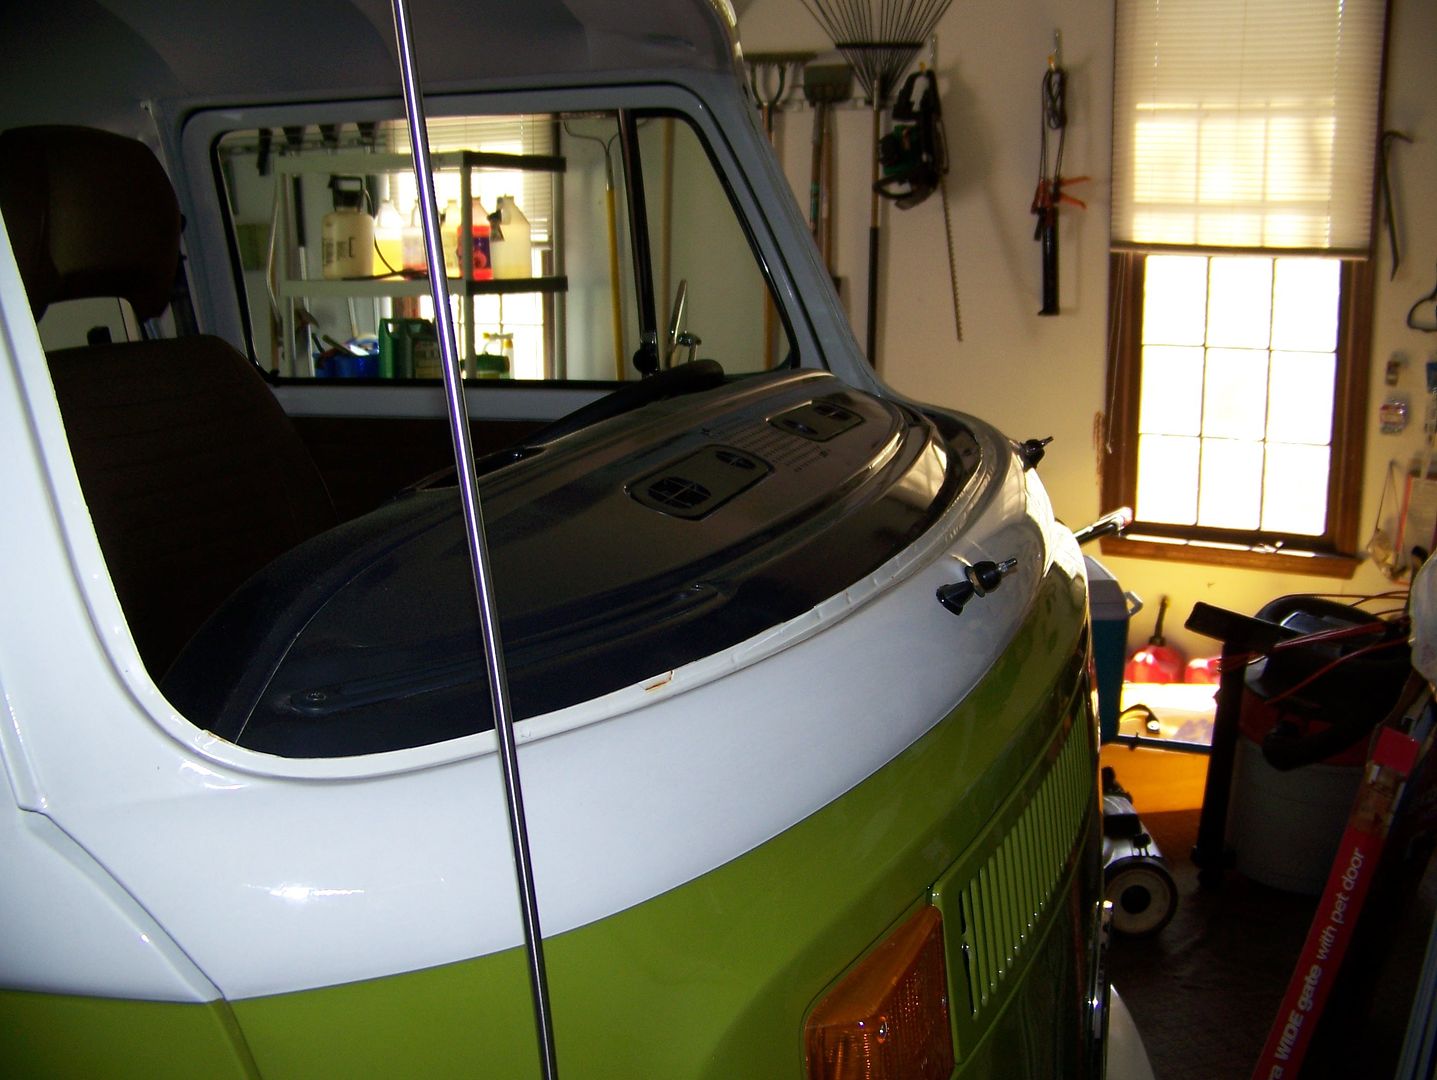
b) Clean the windshield channel, or replace if horrendous. BobD's had two minor rust spots at spot welds (this car was poorly put together! I don't think the assembly line was giving half a damn at the end of the model run, the spot weld divots were razor sharp, the channel was wavy as all get out and it looks like the metal edges were not correctly aligned when the spot welder came slamming through) :
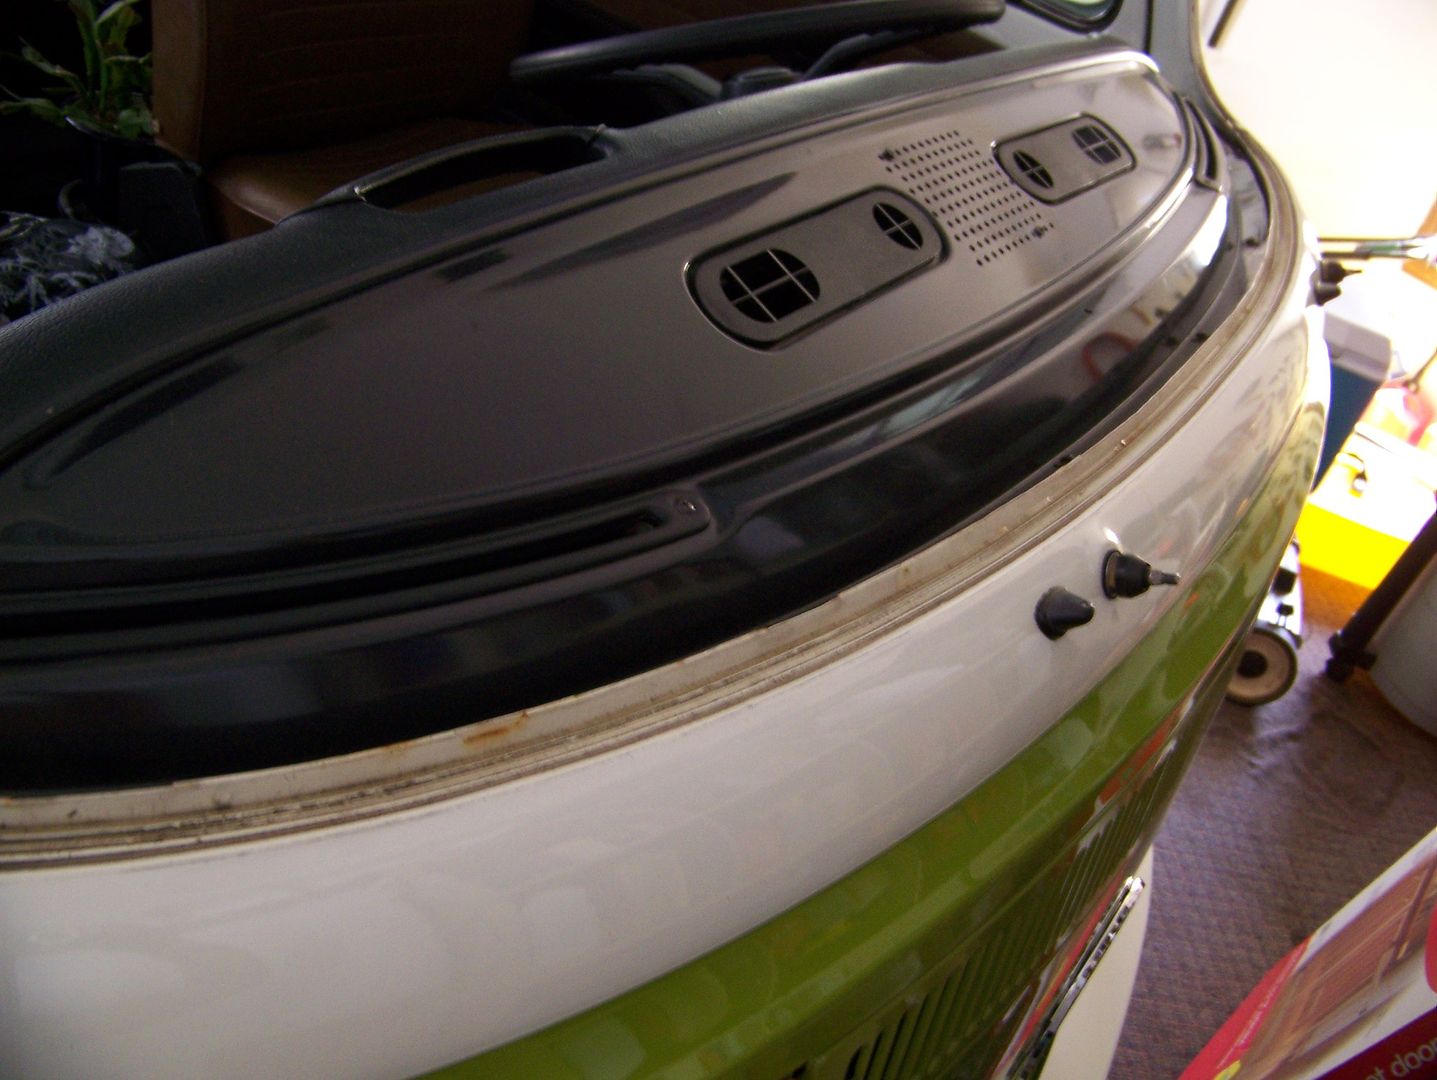
c) Clean off any old rough splatter of headliner glue and wax the upper surround, then rust-catalyzer prime any rust spots and the lower channel along the pinchweld (both sides) and give it 24 hours to cure. Topcoat with either vehicle's paint or anything else if you are keeping it hidden under the seal. Apply carnauba wax to help the seal find its home during installation:
d) Remove seal from glass, carefully if you have the deluxe trim. Only glue 22ga speaker wire along the perimeter of the windshield if you are reusing an otherwise nice supple seal that has indeed leaked already. It is a laborious task with lots of glue/set/wait-ing, but no more leaks is fun, too.
e) Clean seal! The reason these seals leak other than contraction due to exposure, is that the seal grooves slowly fill up with dirt. Eventually, like bald tires hydroplaning in the rain, the unit pressure of seal against body drops below water's ability to wick. By cleaning the grooves, you regain some pressure/traction. I scrubbed the seal squeaky clean inside and out and through each groove. Let dry in the sun where warmth will help keep it supple.
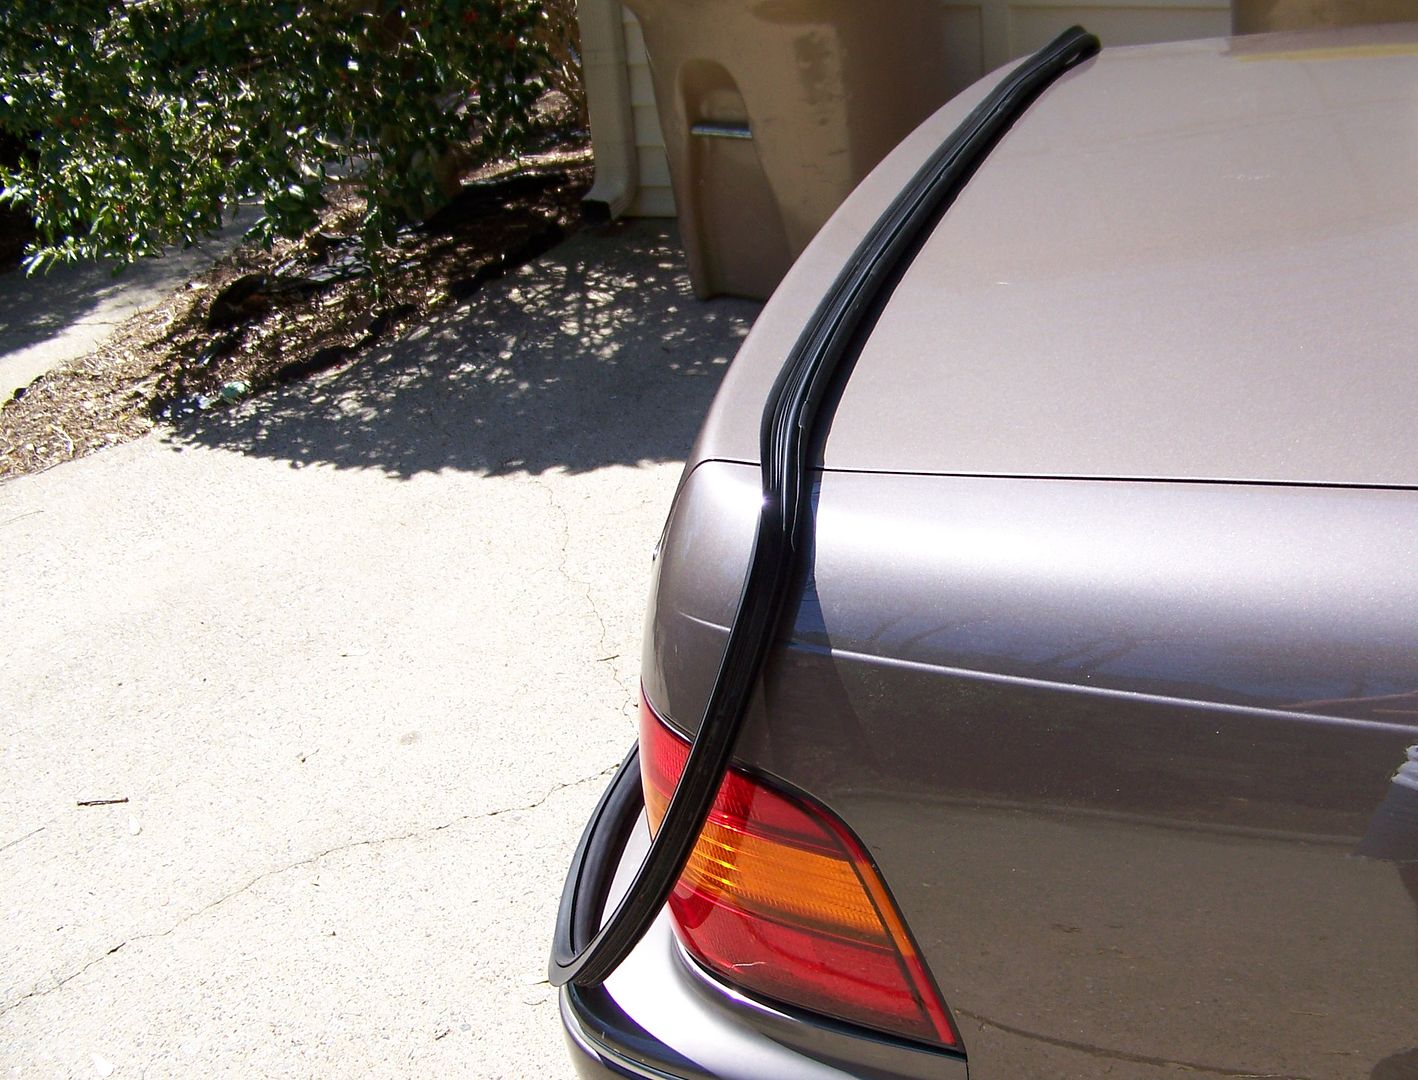
f) Install trim in seal groove if you have deluxe model. Be very careful not to twist the trim. Blob on lanolin hand cleaner inside the glass groove of the seal. Start the seam of the seal at the exact center of the upper run of glass and work it around equally. The last corner requires gentle strong persistance (especially when you are baby-sitting the chrome moulding). Now set the rest of the speaker wire in the body channel of the windshield seal along the top and down the sides. Run it around the bottom corners about 2" and tape the speaker wire to the glass where you can reach from inside the car. Do NOT criss cross the wire and run it all the way across the bottom. We want the bottom channel free.
g) From the outside, set the windshield on the bottom pinchweld and find the groove. The windshield will settle into the groove. Center in the opening by test pushing the sides. You can reach in the door openings and feel the rubber at the bottom edge of the windshield from inside, pull it with your finger and slide the seal edge up over the pinchweld and up the sides towards the headliner as you gently remind the windshield to stay put with your other hand on the outside. I got an easy foot up the left side, walked over to the right and pulled the seal edge up the right pinchweld run a good 8". Now the windshield is in place save for the top. Stand on the bumper and firmly push the seal/glass down and in. It will likely say no. Go back to each side from inside the car and pull the rubber up with a finger under the edge, yes it will pinch you a bit as it pulls over the pinchweld, but endeavor to reach the headliner on both sides. Now go push the seal/glass in along the top again as much as you can.
h) Pull both sides of the speaker wire simultaneously towards the inside rear view mirror and watch that headliner! The glass will suck in as the seal finally makes it entirely over the inside of the pinchweld.
i) Push the entire outside of the seal in towards the body firmly. You are trying to get the grooves of the seal to slip towards the "seat' of the windshield channel. Reinstall the wipers, visors, and inside rear view mirror, clean the glass, and check weather proofing at the car wash.
This work is worth the pain and the cost just to see out a clear windshield and to know that the front of the car will stay dry.
Colin
Quick Leak Repair If You Like Your Seal
Glue 22ga speaker wire around the perimeter of the glass to swell the seal out just enough to stop leaks. I used 3M weatherstrip adhesive going about a foot at a time. Cut to length at your last glue run.
a) remove wipers, visors and pull inside rear view mirror right out. Get your lanolin (Go-Jo) waterless hand cleaner out and pry the inside rubber back so you can run a lubrication lap around the inside edge of the windshield seal. Start at the upper corner where you can pull the rubber back with a finger. Slather along the headliner! Push carefully at the top right of the windshield distributing as much force broadly as your two hands will allow. All you want is to see the seal move. Work the movement towards the center of the car and down towards the dash. Do the same on the left side. The lanolin will work in a bit. Now push the windshield out at the top corner and along the side and the top towards the center with both hands and see if you can find a spot to push the inside bead of the seal past the pinch weld. Push and pry simultaneously across the top. Once the windshield has released the seal along the top, you will note that the seal sides are holding the windshield just fine so you can hop out and pull the glass outwards at the sides and pick up off the car. Set aside.
b) Clean the windshield channel, or replace if horrendous. BobD's had two minor rust spots at spot welds (this car was poorly put together! I don't think the assembly line was giving half a damn at the end of the model run, the spot weld divots were razor sharp, the channel was wavy as all get out and it looks like the metal edges were not correctly aligned when the spot welder came slamming through) :
c) Clean off any old rough splatter of headliner glue and wax the upper surround, then rust-catalyzer prime any rust spots and the lower channel along the pinchweld (both sides) and give it 24 hours to cure. Topcoat with either vehicle's paint or anything else if you are keeping it hidden under the seal. Apply carnauba wax to help the seal find its home during installation:
d) Remove seal from glass, carefully if you have the deluxe trim. Only glue 22ga speaker wire along the perimeter of the windshield if you are reusing an otherwise nice supple seal that has indeed leaked already. It is a laborious task with lots of glue/set/wait-ing, but no more leaks is fun, too.
e) Clean seal! The reason these seals leak other than contraction due to exposure, is that the seal grooves slowly fill up with dirt. Eventually, like bald tires hydroplaning in the rain, the unit pressure of seal against body drops below water's ability to wick. By cleaning the grooves, you regain some pressure/traction. I scrubbed the seal squeaky clean inside and out and through each groove. Let dry in the sun where warmth will help keep it supple.
f) Install trim in seal groove if you have deluxe model. Be very careful not to twist the trim. Blob on lanolin hand cleaner inside the glass groove of the seal. Start the seam of the seal at the exact center of the upper run of glass and work it around equally. The last corner requires gentle strong persistance (especially when you are baby-sitting the chrome moulding). Now set the rest of the speaker wire in the body channel of the windshield seal along the top and down the sides. Run it around the bottom corners about 2" and tape the speaker wire to the glass where you can reach from inside the car. Do NOT criss cross the wire and run it all the way across the bottom. We want the bottom channel free.
g) From the outside, set the windshield on the bottom pinchweld and find the groove. The windshield will settle into the groove. Center in the opening by test pushing the sides. You can reach in the door openings and feel the rubber at the bottom edge of the windshield from inside, pull it with your finger and slide the seal edge up over the pinchweld and up the sides towards the headliner as you gently remind the windshield to stay put with your other hand on the outside. I got an easy foot up the left side, walked over to the right and pulled the seal edge up the right pinchweld run a good 8". Now the windshield is in place save for the top. Stand on the bumper and firmly push the seal/glass down and in. It will likely say no. Go back to each side from inside the car and pull the rubber up with a finger under the edge, yes it will pinch you a bit as it pulls over the pinchweld, but endeavor to reach the headliner on both sides. Now go push the seal/glass in along the top again as much as you can.
h) Pull both sides of the speaker wire simultaneously towards the inside rear view mirror and watch that headliner! The glass will suck in as the seal finally makes it entirely over the inside of the pinchweld.
i) Push the entire outside of the seal in towards the body firmly. You are trying to get the grooves of the seal to slip towards the "seat' of the windshield channel. Reinstall the wipers, visors, and inside rear view mirror, clean the glass, and check weather proofing at the car wash.
This work is worth the pain and the cost just to see out a clear windshield and to know that the front of the car will stay dry.
Colin
