Bodywork On The Fly
Posted: Thu Dec 23, 2010 11:14 pm
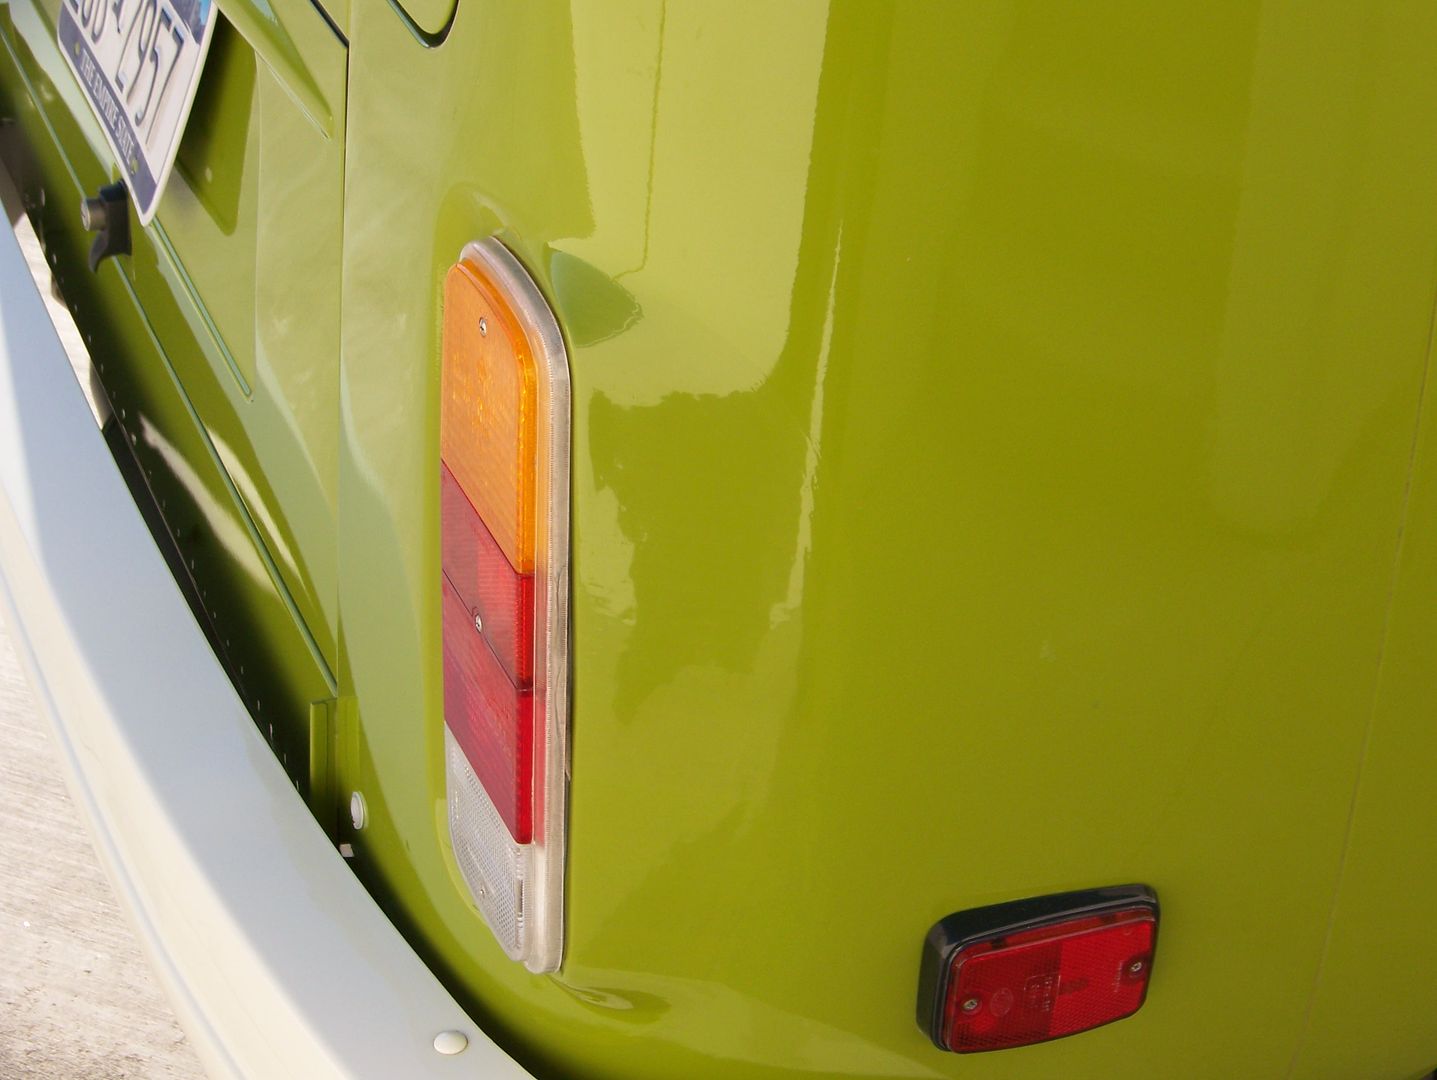
Let's say you have evidence of prior bodywork done when your beloved objet d'arte was just a VW bus. On the BobD, both front doors were nibbled by small hits that were very poorly repaired, so I had to re-do both sides with the promise to stay within the "footprint" of the repair's poorly matched paint. These are do-it-yourself anywhere you want instructions:

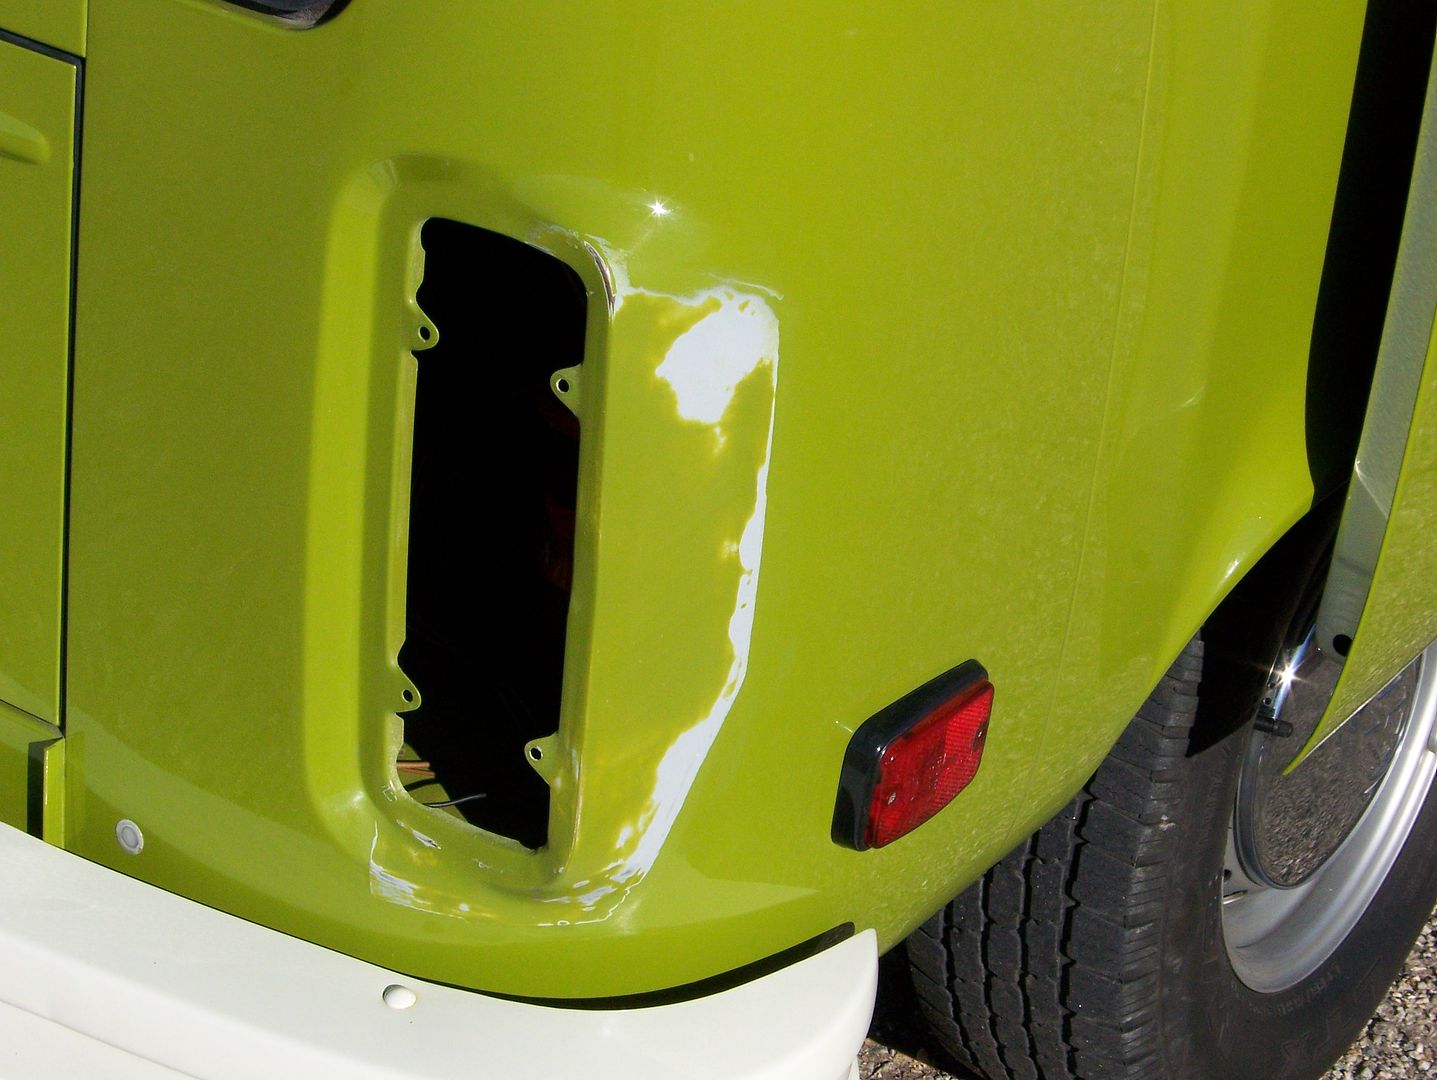
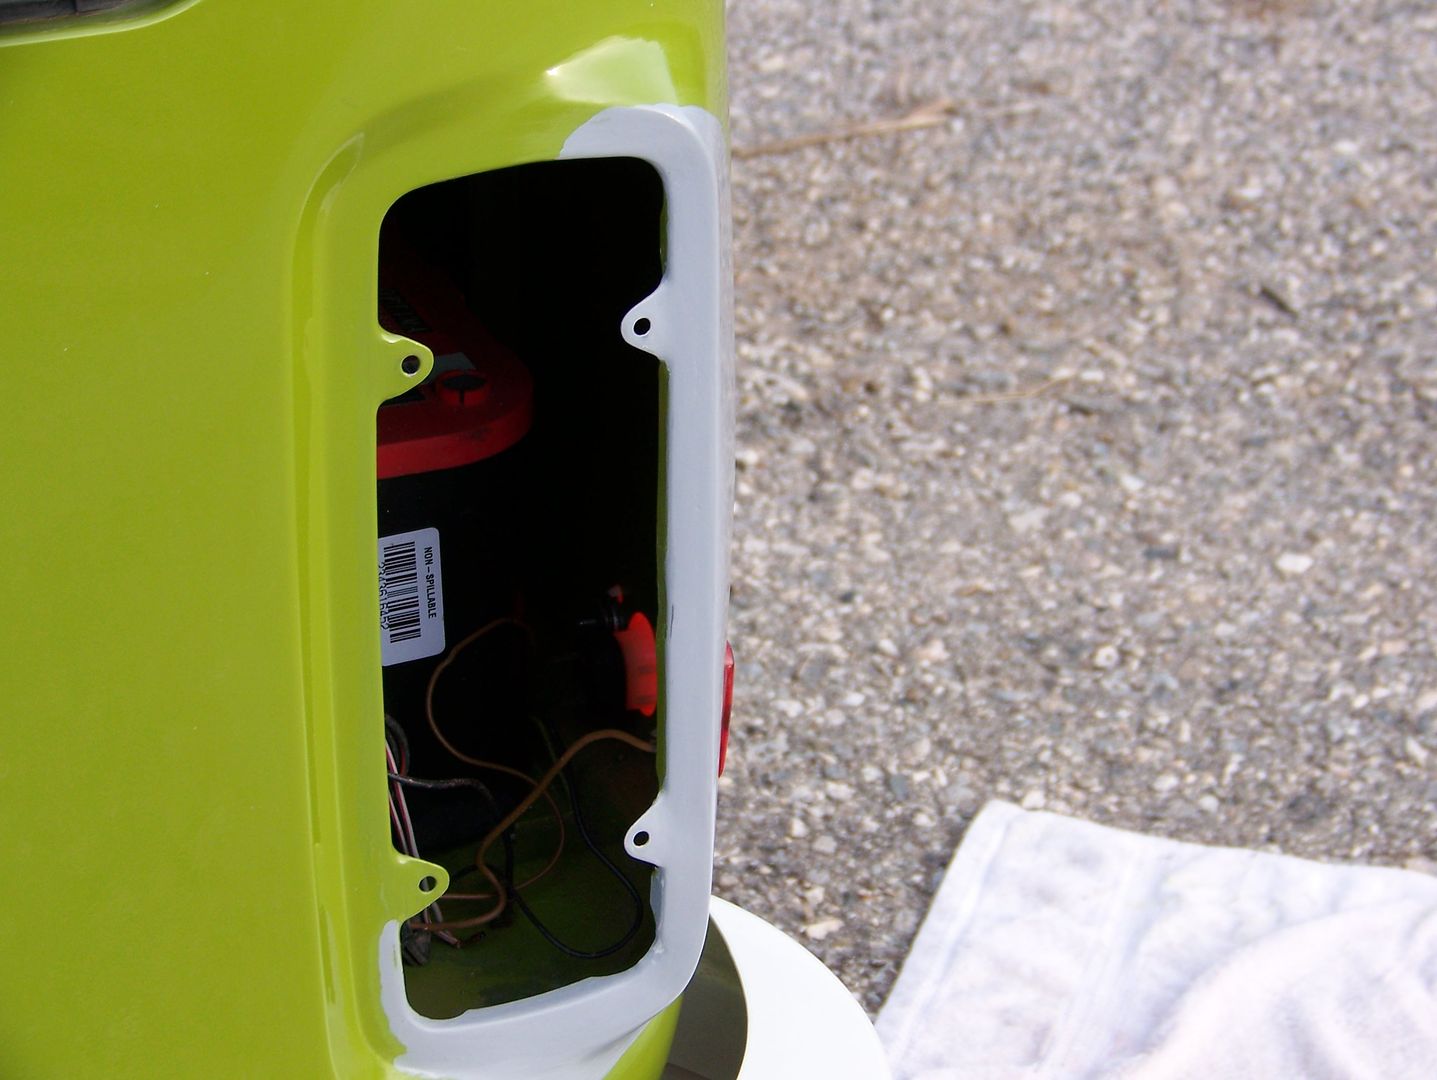
Step 1. Sand the damaged area to the edge where damage is not evident. In my case, I chose not to repair the slightly botched metalwork beyond the original repair because the original paint is so nice. Use 140 to get past the respray paint then 320 grit to smooth. Stay within the damaged area only, no drifting out of the boundary, so later you have some room to transition your repair work/paint towards the undamaged area. You can see a little feathering just past my sanding. Uncovered secrets include holes used to pull the sheetmetal:
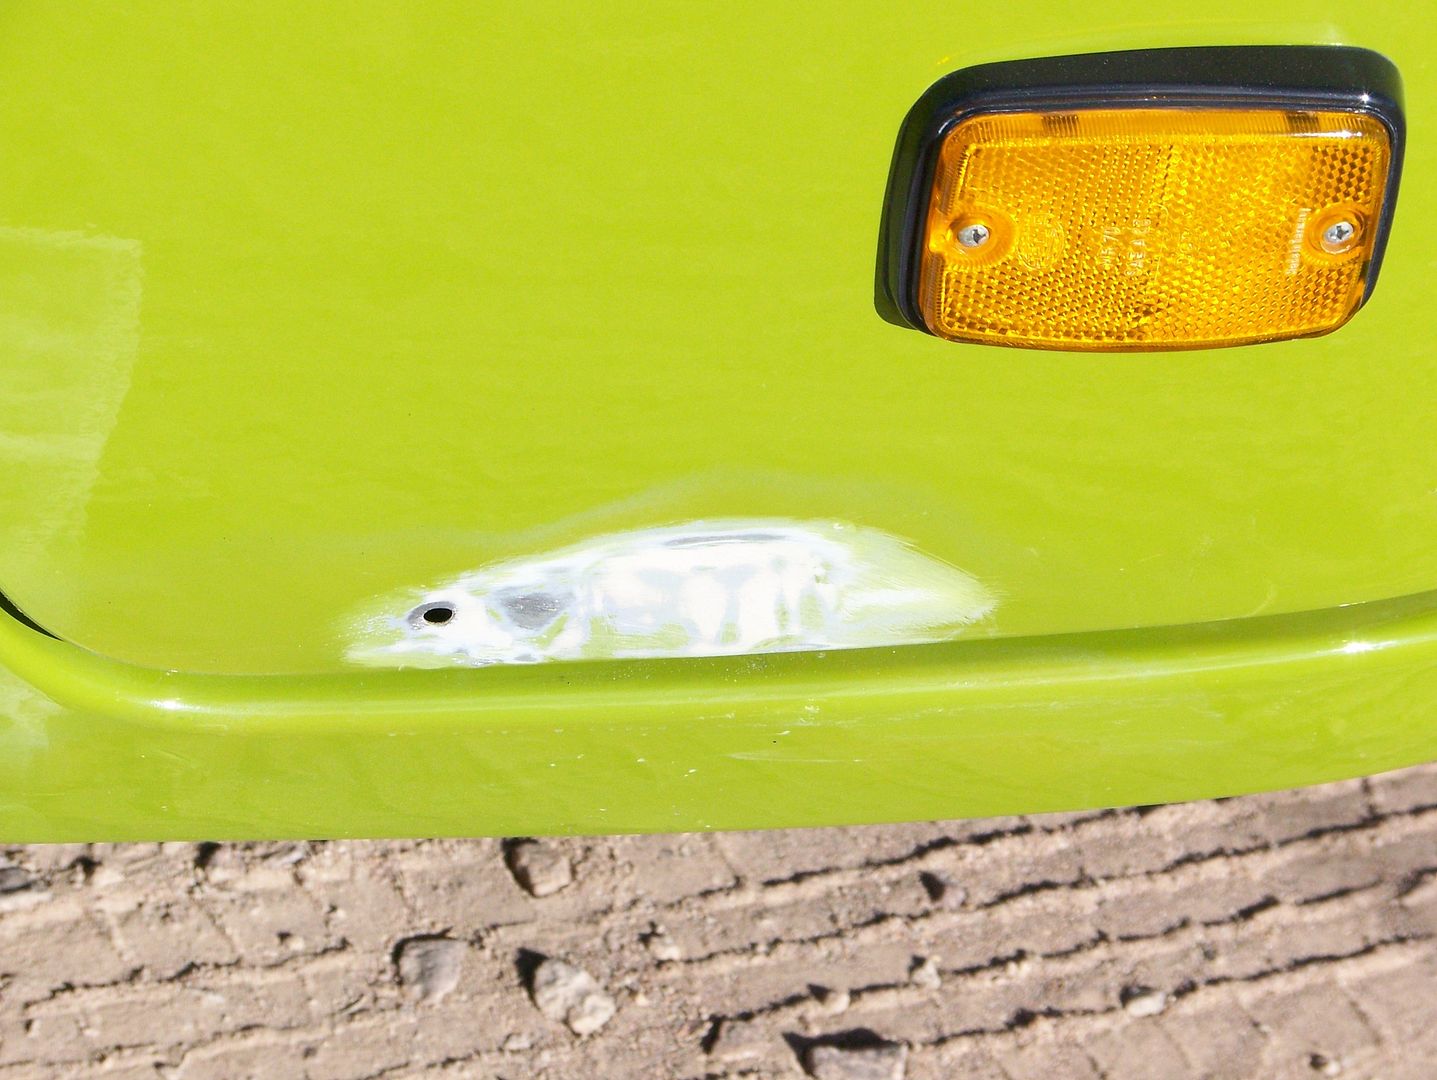
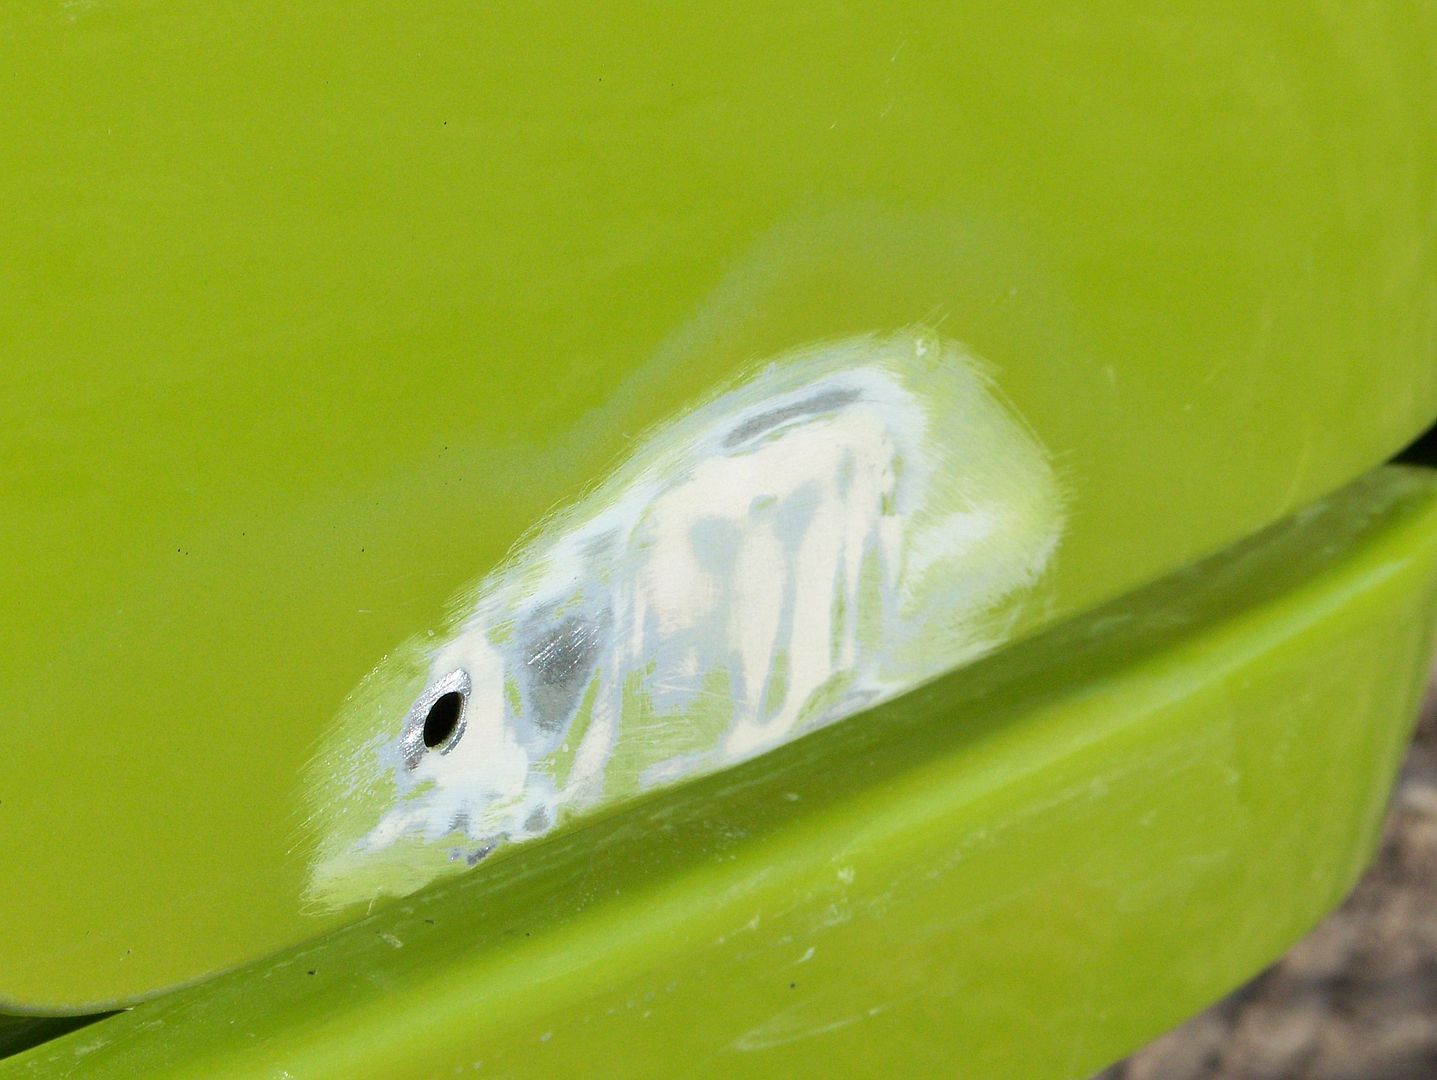
The sanding is to see what you are dealing with, it is forensic, not repair. Here you can see a couple of high spots, around the drilled hole, just to the right of the hole and a little arc further up. I tried to tap the hole in a little bit, but you can't get carried away, a bonk might just cave the whole area in (these high spots make for later annoyance because you have to build up the surrounding surface to "bury" them).
Step 2. Apply filler. I used only spot putty, bondo is the usual filler when you need to fill potholes and canyons. Because spot putty behaves poorly when you cake it on deep like I did (it lifts off as you try to smooth and sand it), you might have to come up with a street solution. Mine was to apply it with . . . GumOut! to help it lay down. Use pressure to knead it down and bond. Keep your finger wet with GumOut to help lay it down densely without lifting and sticking to your finger. Build it up in thin layers and allow to dry over night. I am sure that California will tell you that putty on your skin kills. Apply just past your sanding edge so it can fill the minor sanding scratches that occurred in the your initial sanding-to-old-respray boundary area. Here I have just begun to dry sand the first application of spot putty with 800 grit sandpaper wrapped around a popsicle stick to see if the surface was raised high enough. Use a wire brush to clean out any stuck-on putty in the sandpaper so it will last. Sand very lightly. Let the grit do its work, no pressure. By the time I was down to smooth, I had a couple of small craters and one crescent metal edge around the aforementioned raised edge of that stupid drilled hole which must have puckered when the original repair chimp slide-hammered the dent out:
. . . so I had to lay down a new layer of GumOut wetted spot putty and lay it slightly past my first putty job since I had to raise the entire surface a little bit. Luckily, still within the poorly matched respray area, I had to contour the putty in a slight "swell" around the rim of the puckered hole. Allow to dry for at least several hours.
Step 3. Sand very lightly, starting with 320 if it looks like a moonscape, 600 grit if it is pretty smooth. Switch to 800 as soon as you have a decent level. The popsicle stick allows you to find the greatest "average elevation" for the largest surface area, but still allows you to customize the landscaping a bit to cover problems. Here, the final dry sanding with 1000 grit shows the double layer of putty as tree rings, it shows you how I now am closer to the very edge of the original repair respray boundary, and it shows just the bare beginning of hitting the rim of the hole, and it shows a new high spot just about to peek out along the bottom. Barely got a smooth surface in time to stop:
Step 4. Personally, I recommend a nice brush application of sandable primer on small repairs. Spray application means a lot of masking and primer dust will still envelop your car. Instead, I spray primer into a can cap, and use a stupidly small brush very quickly starting at the top right and working my way down to lower left in horizontal strokes taking advantage of gravity to help the paint creep down. I go right to the boundary of the original respray. After the first layer, my second layer is applied almost immediately, the interval is determined by how long it takes to clean the brush and the cap with . . . what else, GumOut. You do NOT want any first coat paint drying in the cap and brush to contaminate the second application, even if a simple respray in the cap seems to reliquify things, don't do it. Apply second layer slightly past the boundary of the first. This helps you feather the repair at the edges. Apply at a slight tilt to the first, like 20* from horizontal to reduce stripes. Apply third layer in a reverse tilt. Allow to dry for two or three hours or overnight:
Step 5. Now you want to wet-sand. Stick a little water in a little dish with a drop of detergent. Use only 1000 grit wet-or-dry sand paper wrapped around your popsicle stick endlessly. Grey soup will be generated. Dry with a clean damp terrycloth washcloth. You will feel stripes under your popsicle stick. Do not be inspired to speed up the process. It will magically melt away in due time. Each time you dry the area, you will see your progress, flat finish where the sandpaper has hit, shiny in the valleys. If you accidentally hit the putty/bondo/metal, just keep going. Finally, do a flat hand sanding with your open palm with plenty of water. Your nerve endings will point out any imperfections underhand. You may need to repeat the primer application and sanding. Use the wet surface to see how nicely you got the surface built up and see where any imperfections may lay. You can try a wide sweeping sanding that botches everything up if you have raised areas. Low areas may need a repeat of the entire process. Here is a completed primer application and finish sanding. Allow to dry for at least 24 hours:
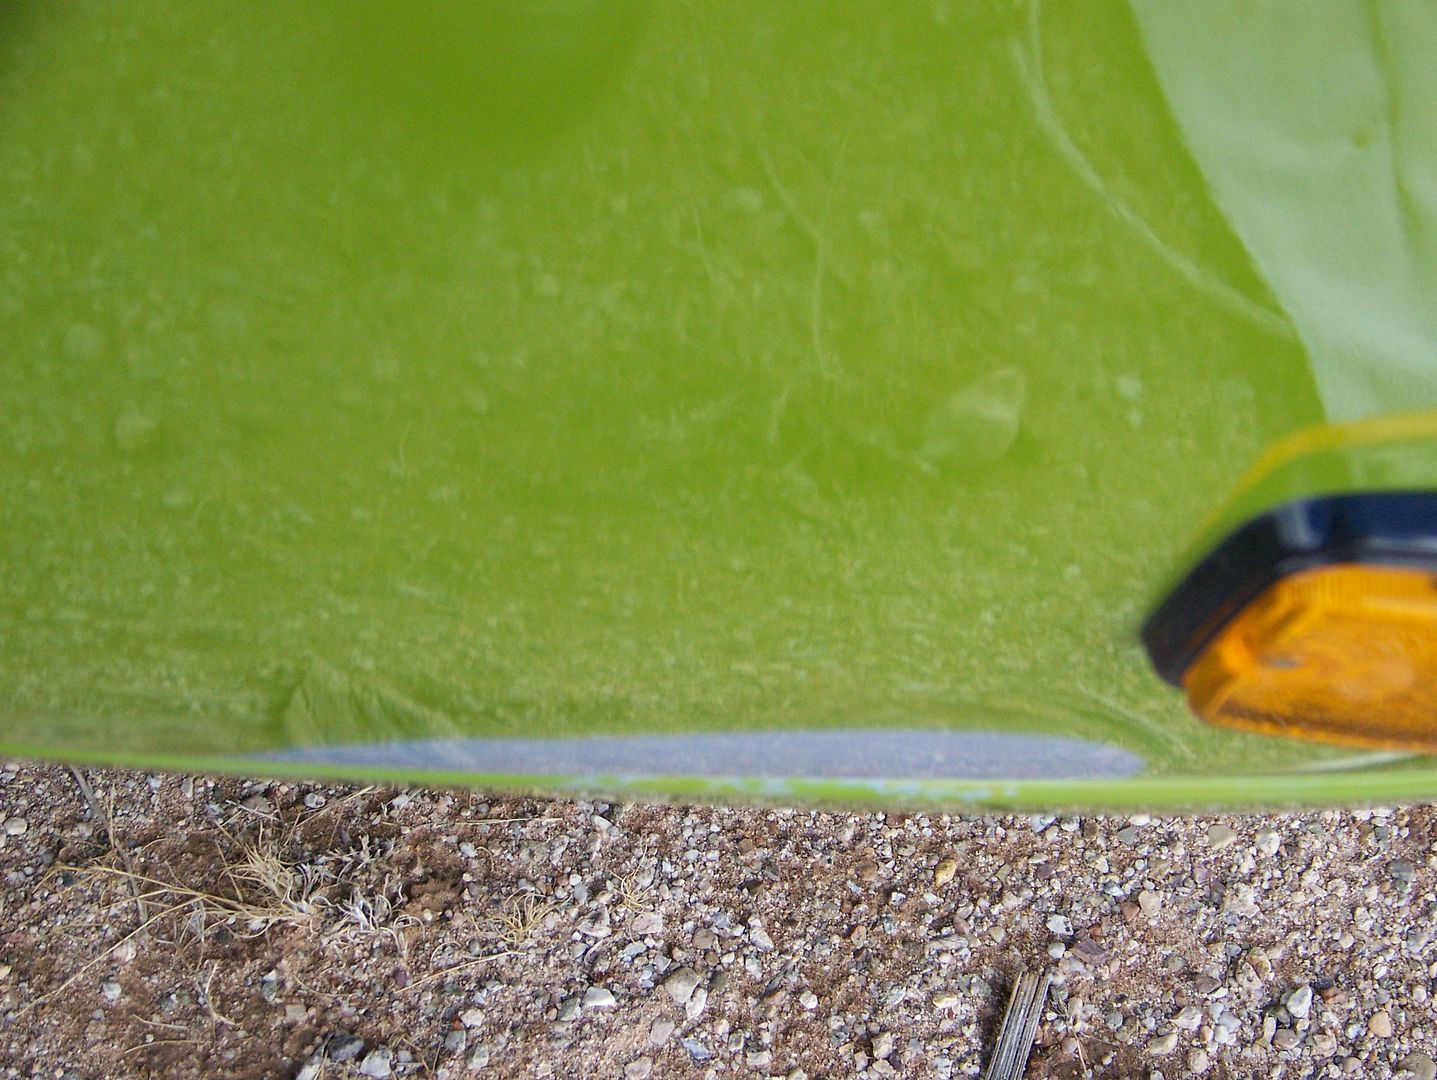
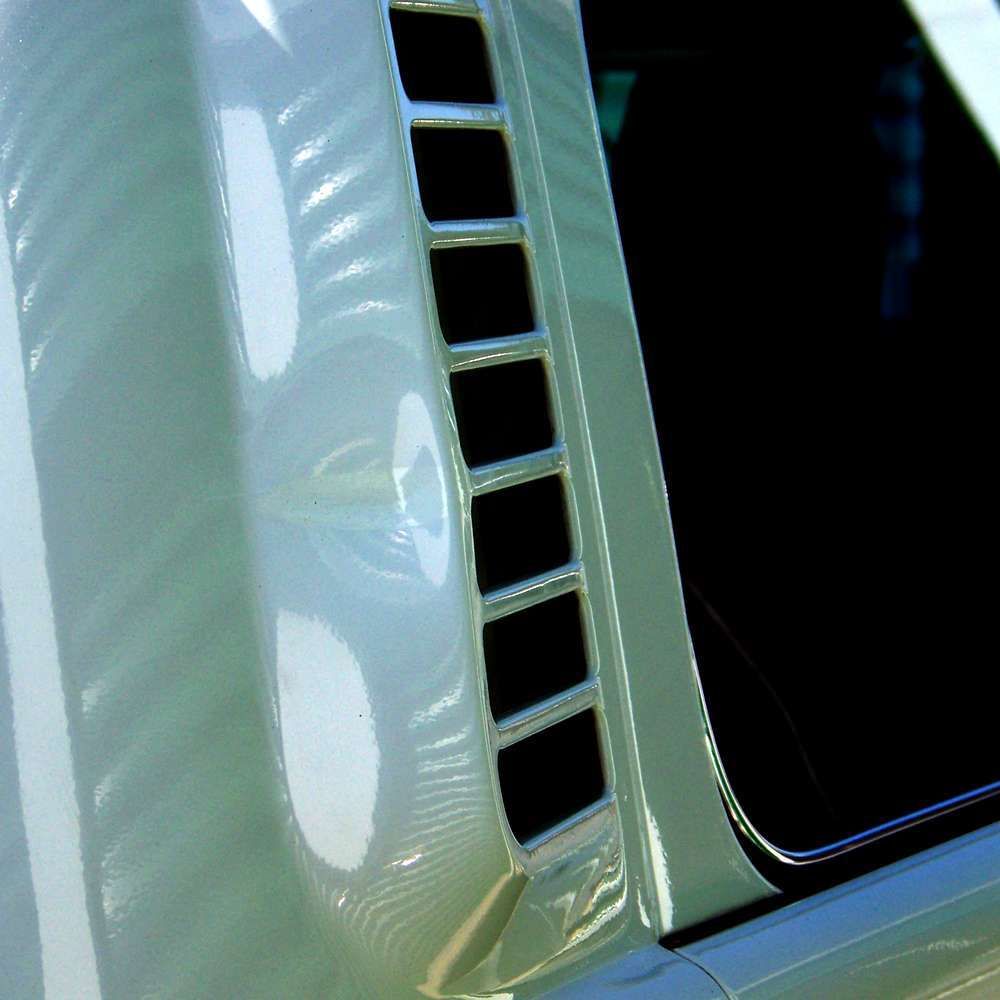
Step 6. Finish coat I applied the same as primer to allow me to final-color-match right in the cap, since the touch-up paint was a typically lousy match from the supplier. In my case, I had to match the paint in the sun to catch that luminescent power yellow that recedes in the shade (where all of these paint guys do their Taigagrun matching indoors). Here you finally apply the paint past the boundary right onto the original paint by 1/2" or so.
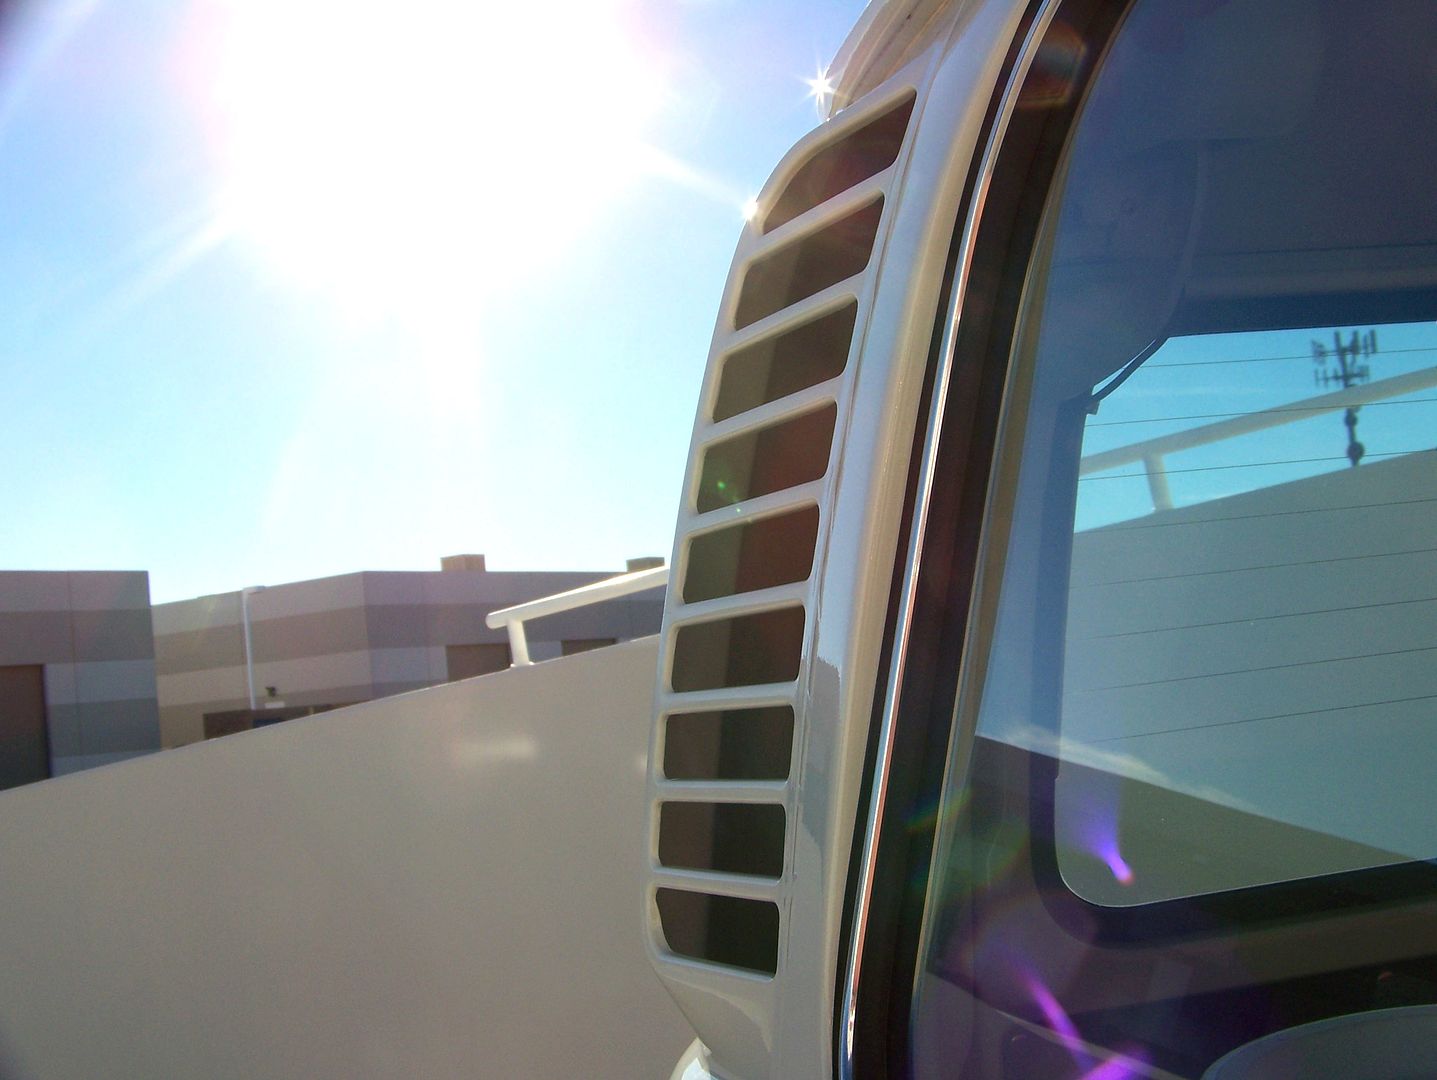
In the sun:
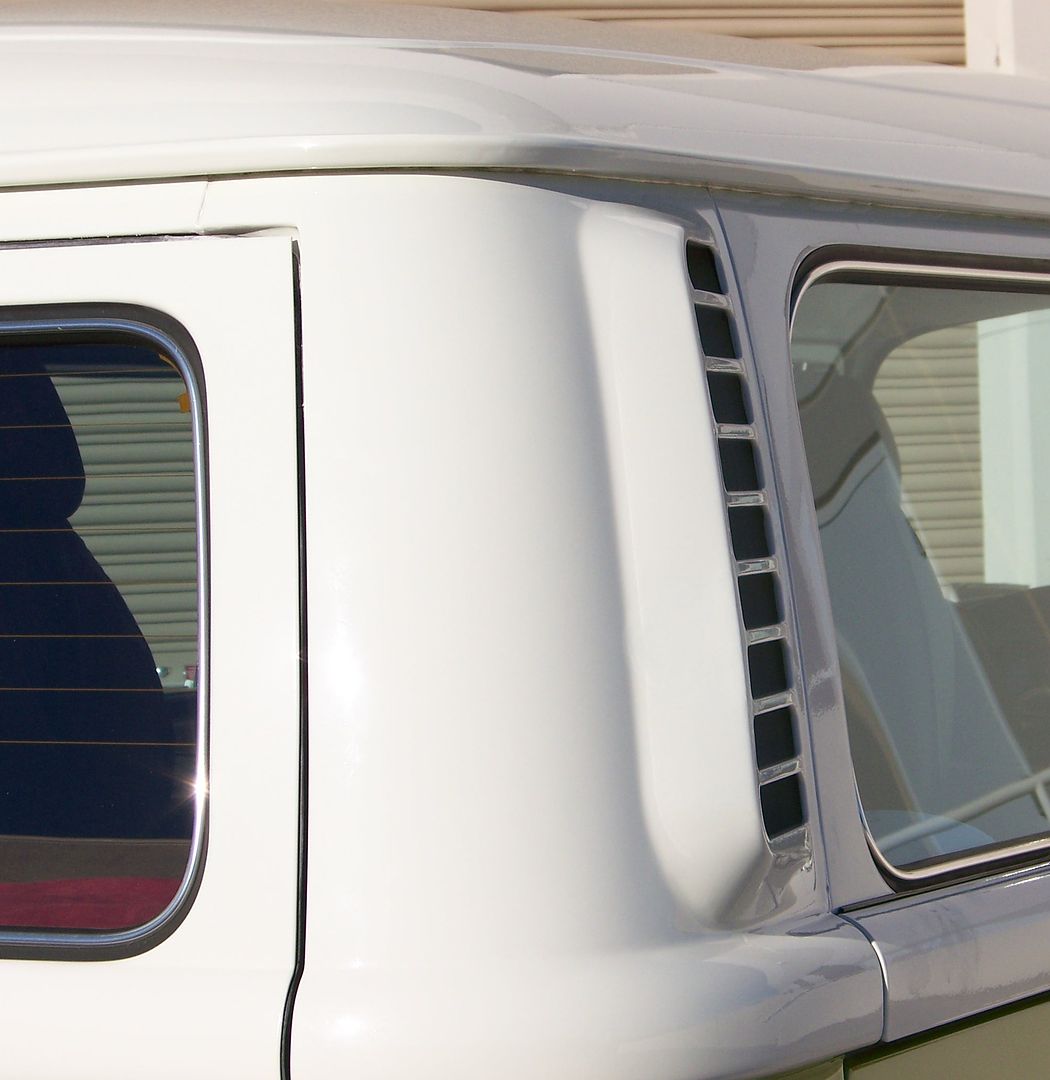
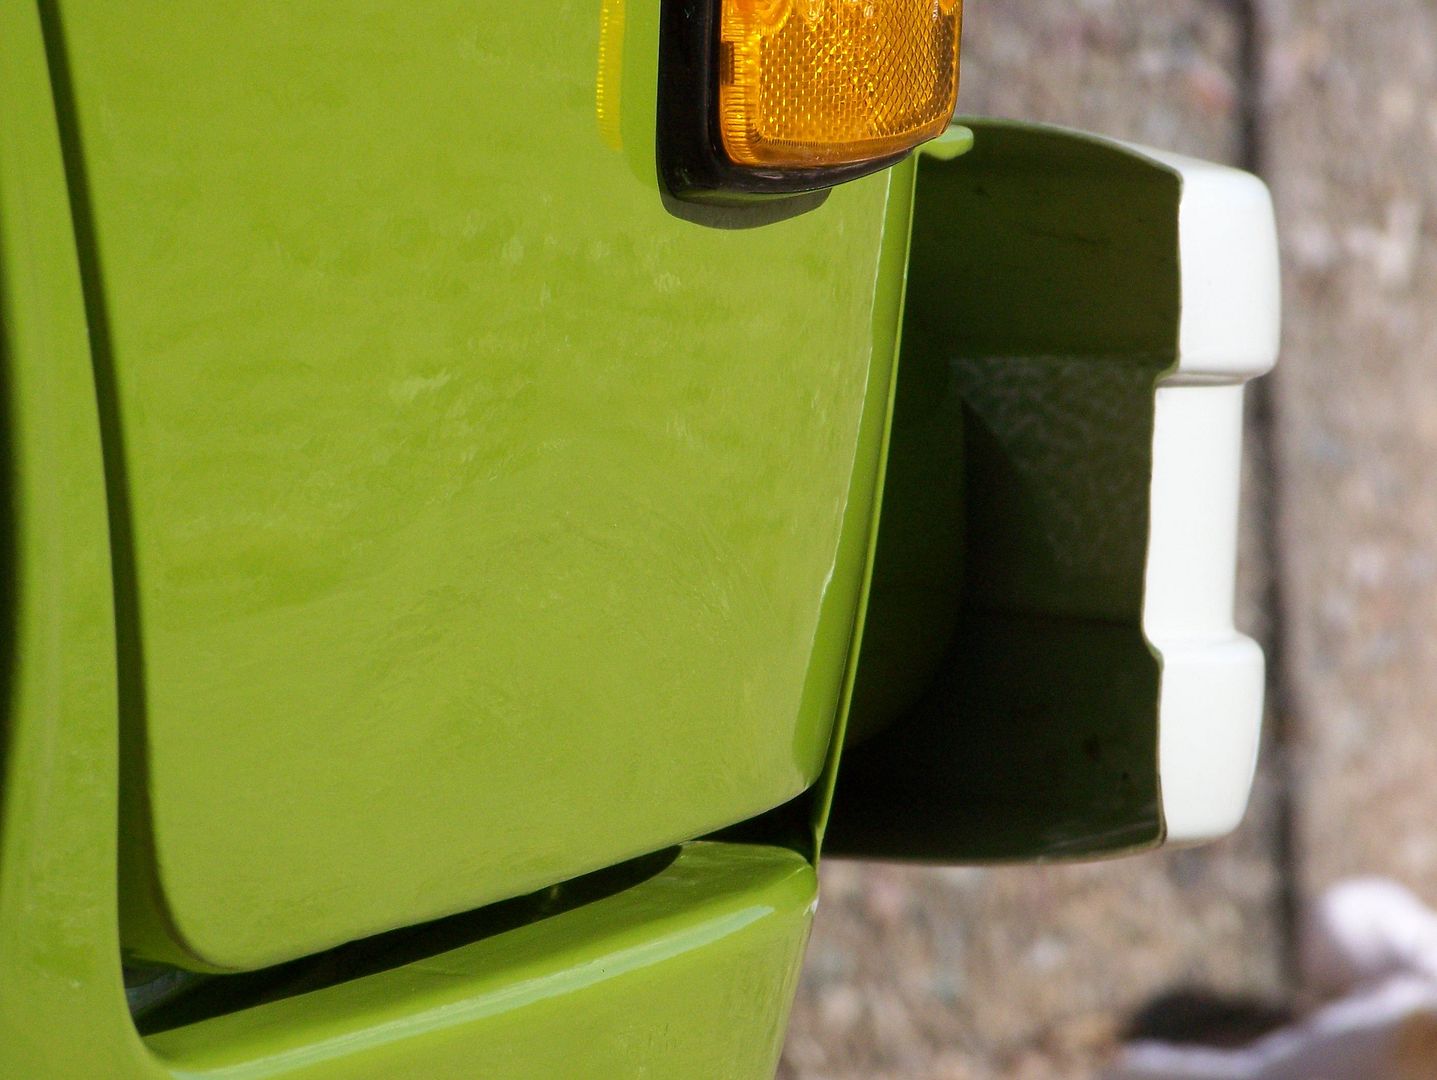
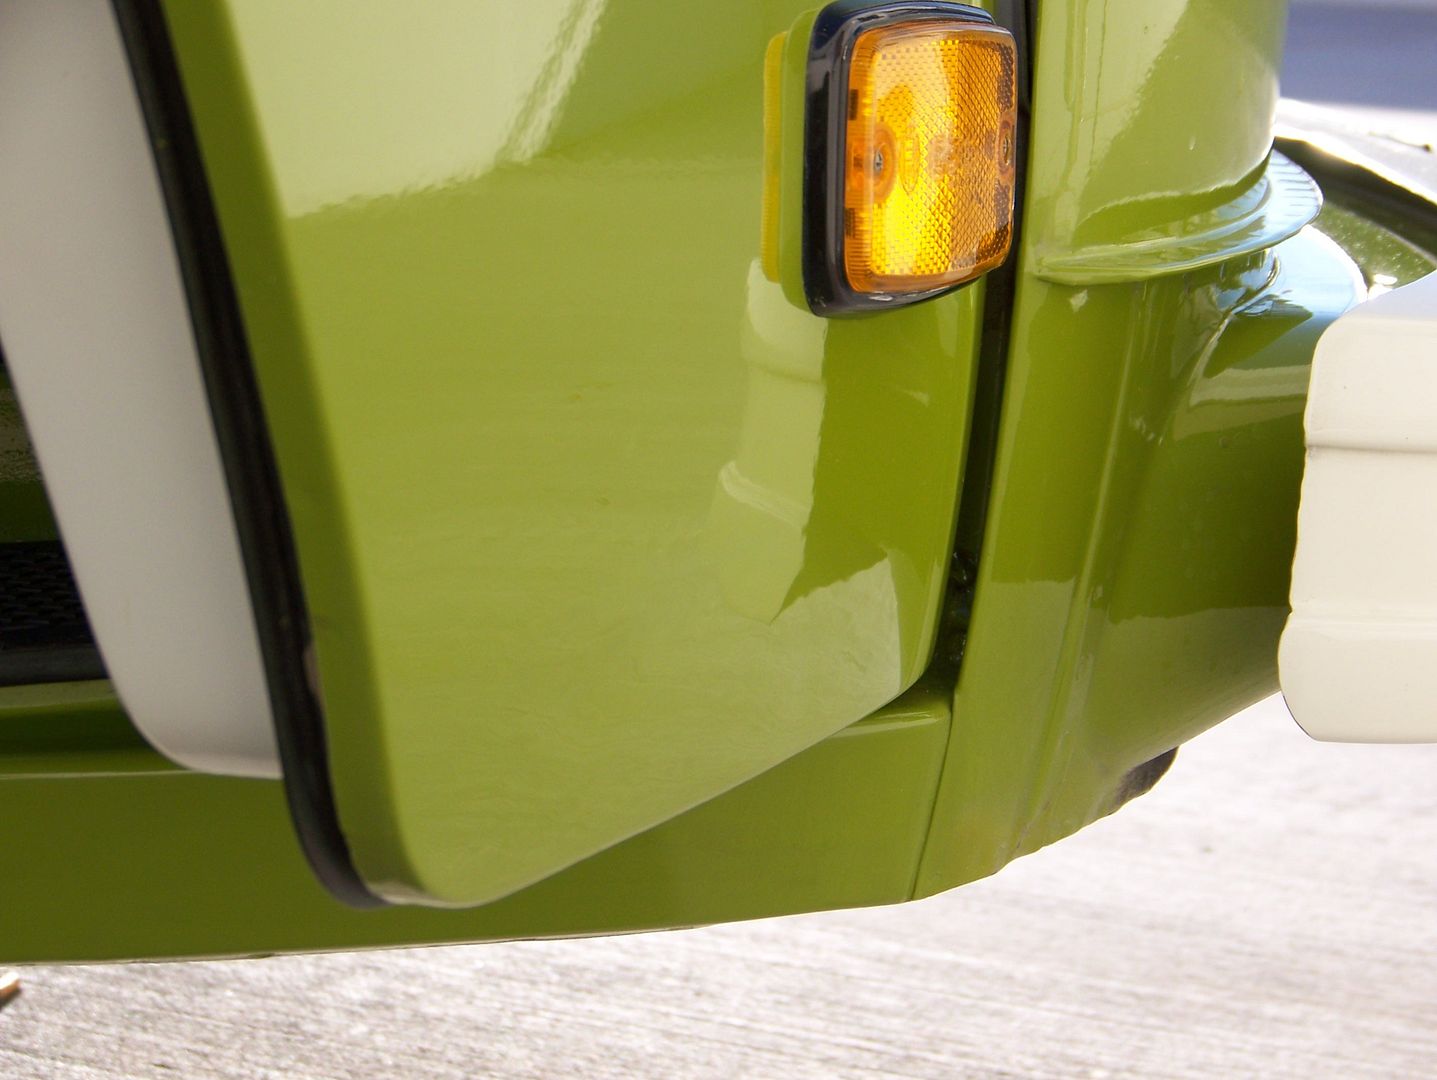
Sort of in shade:
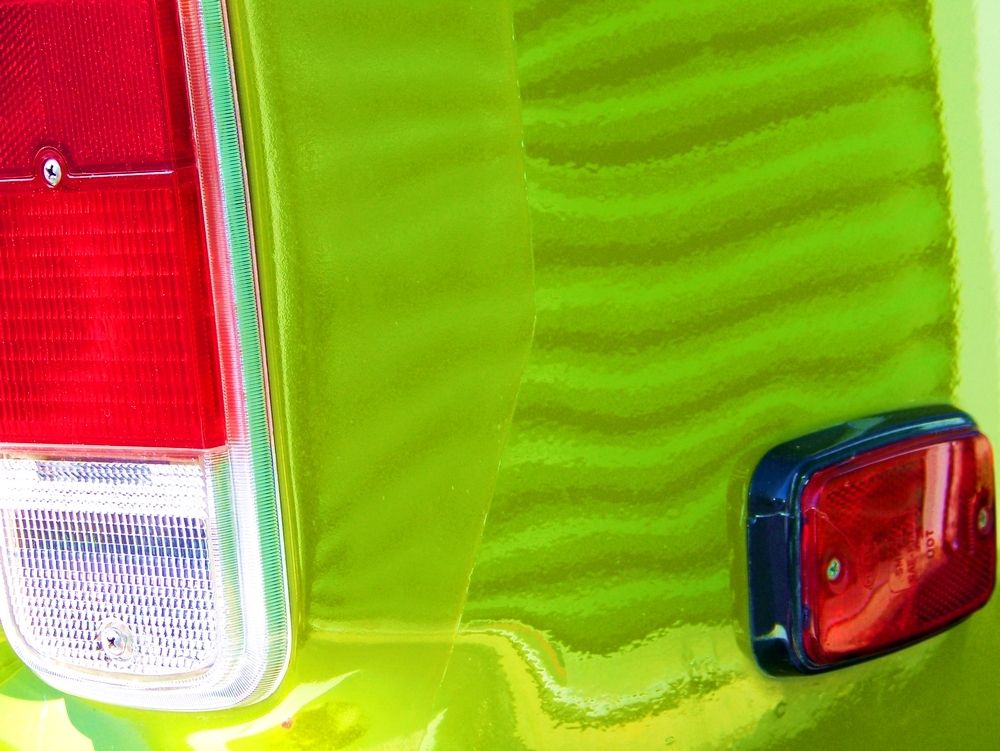
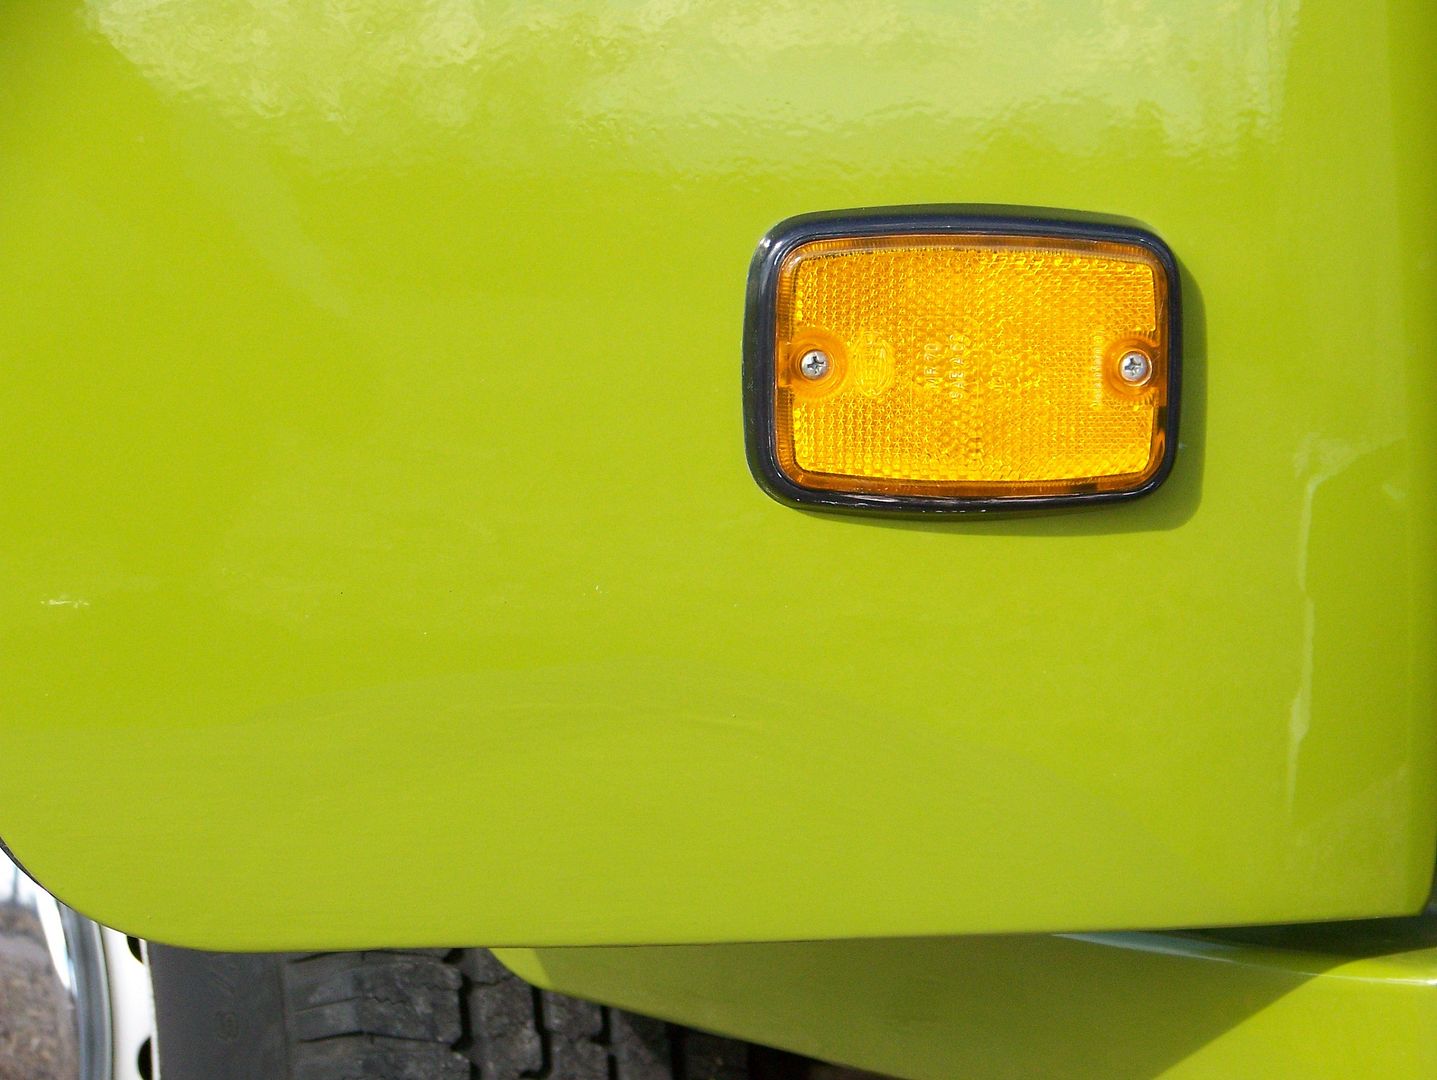
Step 7. Last step is to wet color sand with 1000 grit wet dry, open palm hand sand. And here it is, one week after letting the paint cure, the final 2000 grit color sand followed by a rigorous 3M Polishing Compound, followed by a Mothers California Gold wax job.
Very satisfying to do it yourself and exceed the "professional".
Colin
Step 1. Sand the damaged area to the edge where damage is not evident. In my case, I chose not to repair the slightly botched metalwork beyond the original repair because the original paint is so nice. Use 140 to get past the respray paint then 320 grit to smooth. Stay within the damaged area only, no drifting out of the boundary, so later you have some room to transition your repair work/paint towards the undamaged area. You can see a little feathering just past my sanding. Uncovered secrets include holes used to pull the sheetmetal:
The sanding is to see what you are dealing with, it is forensic, not repair. Here you can see a couple of high spots, around the drilled hole, just to the right of the hole and a little arc further up. I tried to tap the hole in a little bit, but you can't get carried away, a bonk might just cave the whole area in (these high spots make for later annoyance because you have to build up the surrounding surface to "bury" them).
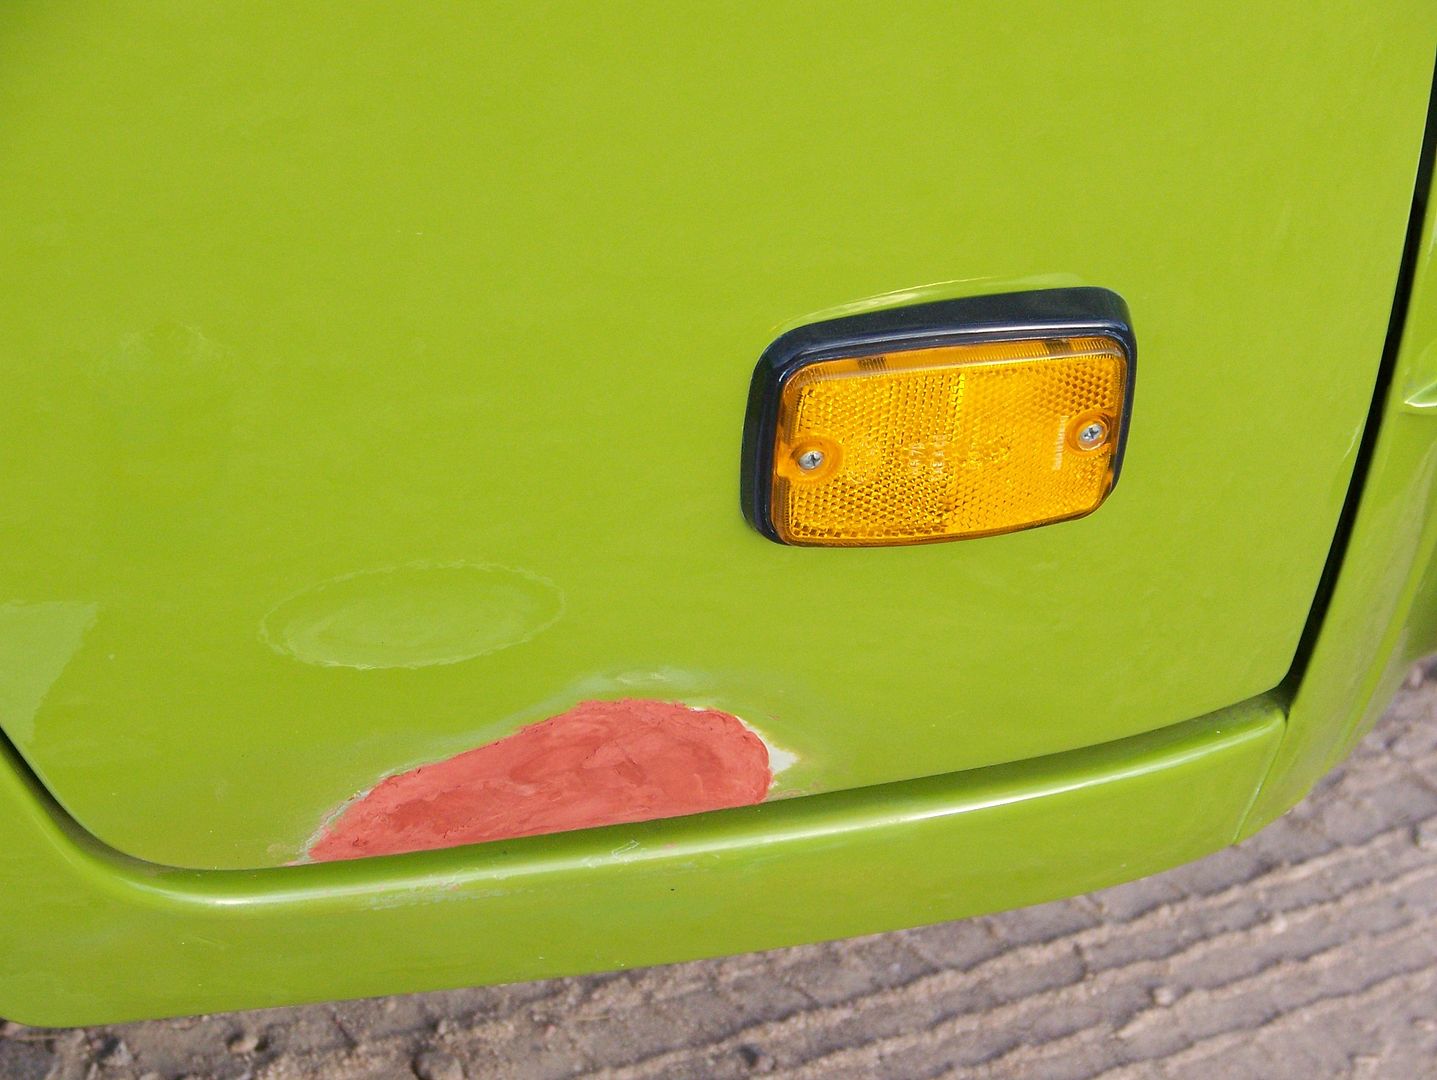
Step 2. Apply filler. I used only spot putty, bondo is the usual filler when you need to fill potholes and canyons. Because spot putty behaves poorly when you cake it on deep like I did (it lifts off as you try to smooth and sand it), you might have to come up with a street solution. Mine was to apply it with . . . GumOut! to help it lay down. Use pressure to knead it down and bond. Keep your finger wet with GumOut to help lay it down densely without lifting and sticking to your finger. Build it up in thin layers and allow to dry over night. I am sure that California will tell you that putty on your skin kills. Apply just past your sanding edge so it can fill the minor sanding scratches that occurred in the your initial sanding-to-old-respray boundary area. Here I have just begun to dry sand the first application of spot putty with 800 grit sandpaper wrapped around a popsicle stick to see if the surface was raised high enough. Use a wire brush to clean out any stuck-on putty in the sandpaper so it will last. Sand very lightly. Let the grit do its work, no pressure. By the time I was down to smooth, I had a couple of small craters and one crescent metal edge around the aforementioned raised edge of that stupid drilled hole which must have puckered when the original repair chimp slide-hammered the dent out:
. . . so I had to lay down a new layer of GumOut wetted spot putty and lay it slightly past my first putty job since I had to raise the entire surface a little bit. Luckily, still within the poorly matched respray area, I had to contour the putty in a slight "swell" around the rim of the puckered hole. Allow to dry for at least several hours.
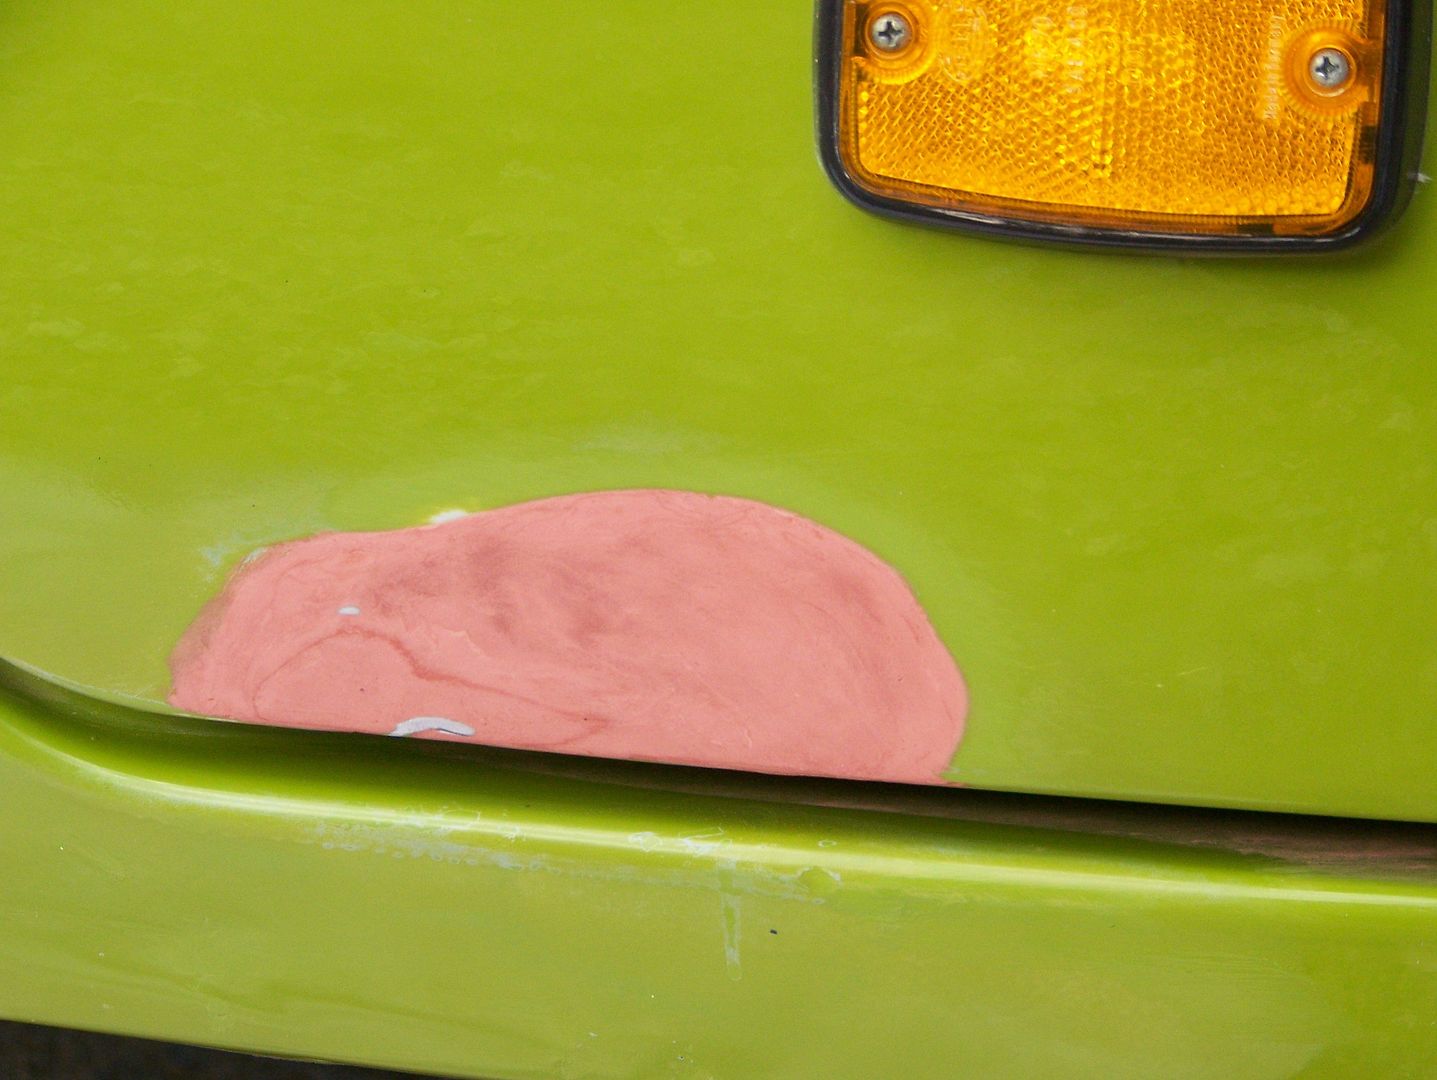
Step 3. Sand very lightly, starting with 320 if it looks like a moonscape, 600 grit if it is pretty smooth. Switch to 800 as soon as you have a decent level. The popsicle stick allows you to find the greatest "average elevation" for the largest surface area, but still allows you to customize the landscaping a bit to cover problems. Here, the final dry sanding with 1000 grit shows the double layer of putty as tree rings, it shows you how I now am closer to the very edge of the original repair respray boundary, and it shows just the bare beginning of hitting the rim of the hole, and it shows a new high spot just about to peek out along the bottom. Barely got a smooth surface in time to stop:
Step 4. Personally, I recommend a nice brush application of sandable primer on small repairs. Spray application means a lot of masking and primer dust will still envelop your car. Instead, I spray primer into a can cap, and use a stupidly small brush very quickly starting at the top right and working my way down to lower left in horizontal strokes taking advantage of gravity to help the paint creep down. I go right to the boundary of the original respray. After the first layer, my second layer is applied almost immediately, the interval is determined by how long it takes to clean the brush and the cap with . . . what else, GumOut. You do NOT want any first coat paint drying in the cap and brush to contaminate the second application, even if a simple respray in the cap seems to reliquify things, don't do it. Apply second layer slightly past the boundary of the first. This helps you feather the repair at the edges. Apply at a slight tilt to the first, like 20* from horizontal to reduce stripes. Apply third layer in a reverse tilt. Allow to dry for two or three hours or overnight:
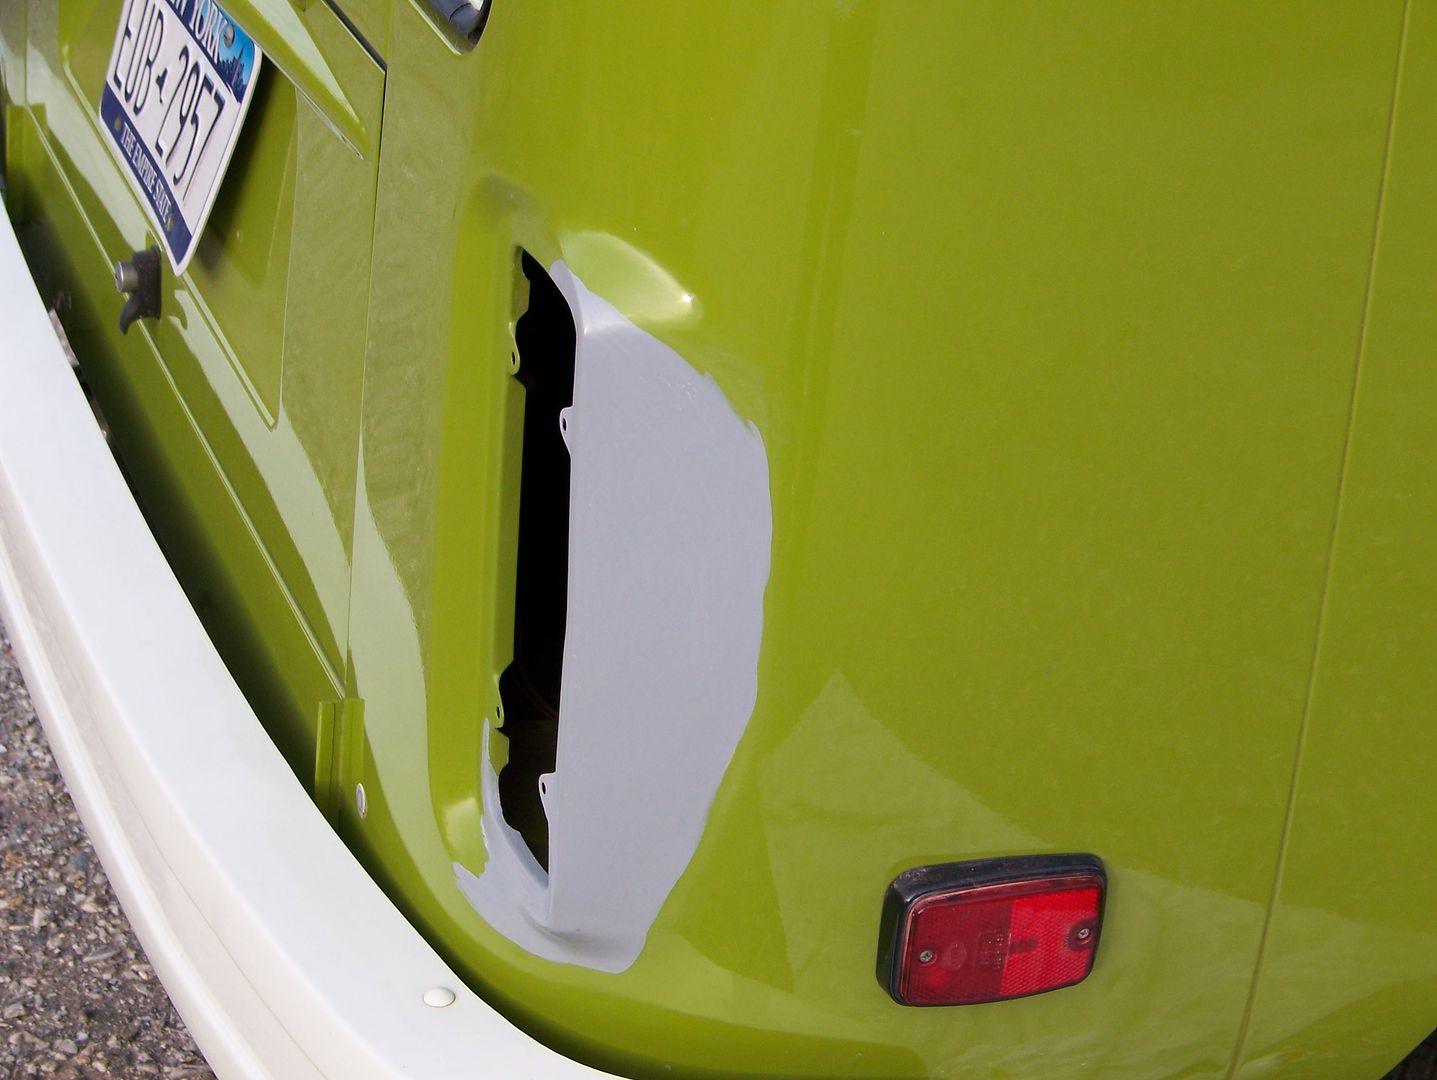
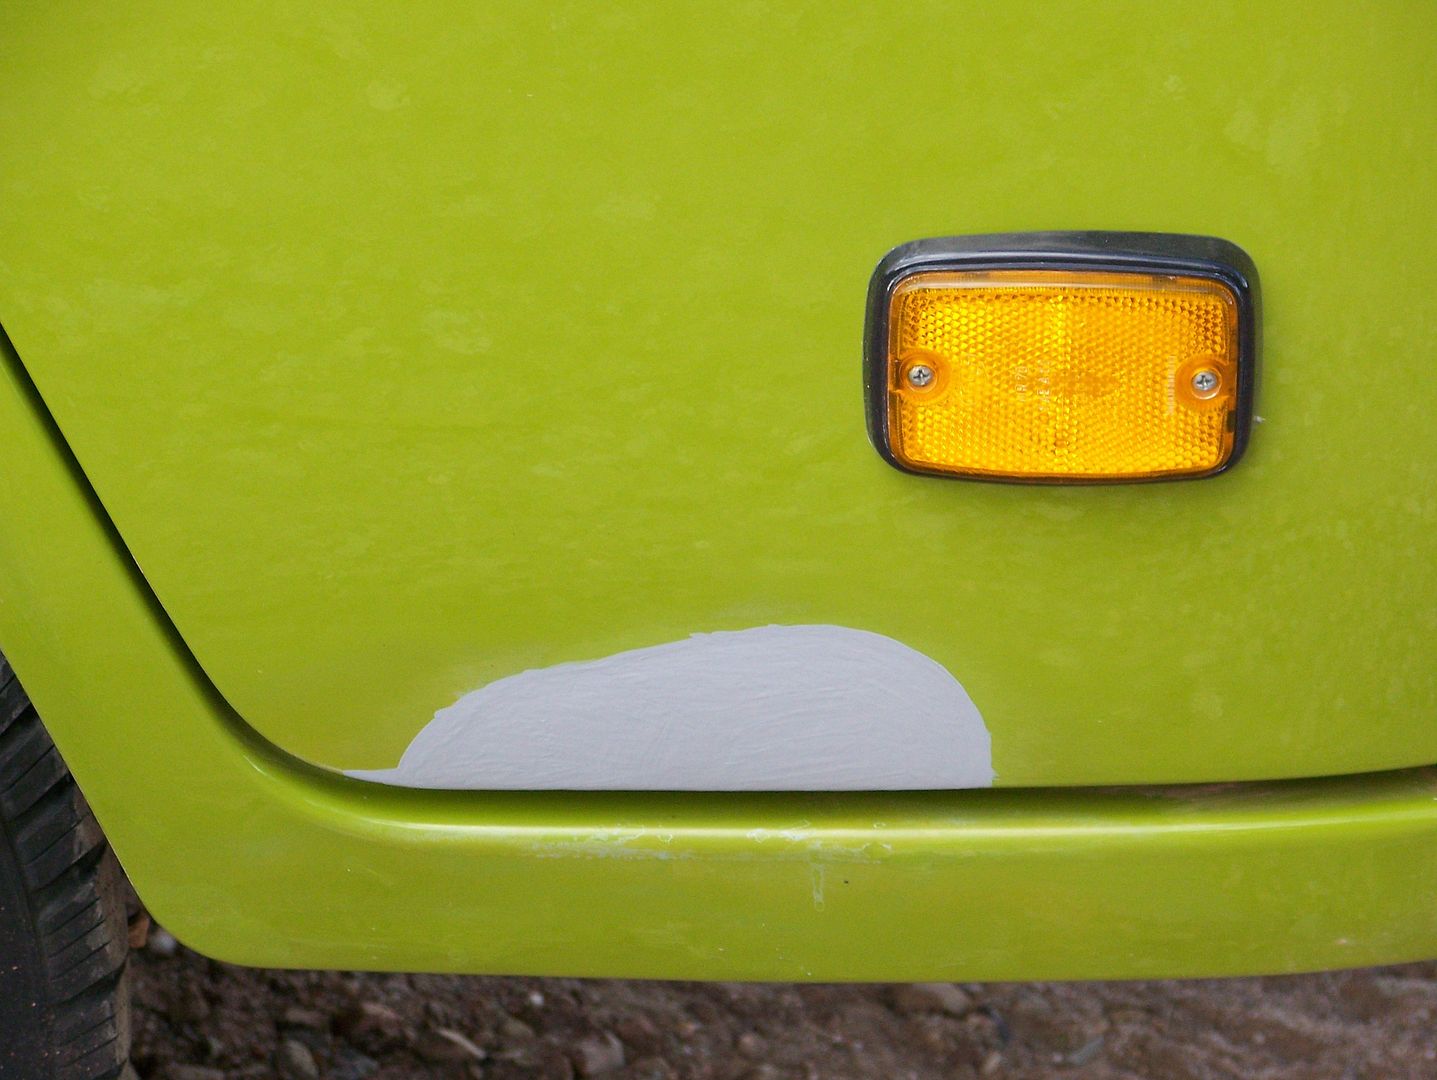
Step 5. Now you want to wet-sand. Stick a little water in a little dish with a drop of detergent. Use only 1000 grit wet-or-dry sand paper wrapped around your popsicle stick endlessly. Grey soup will be generated. Dry with a clean damp terrycloth washcloth. You will feel stripes under your popsicle stick. Do not be inspired to speed up the process. It will magically melt away in due time. Each time you dry the area, you will see your progress, flat finish where the sandpaper has hit, shiny in the valleys. If you accidentally hit the putty/bondo/metal, just keep going. Finally, do a flat hand sanding with your open palm with plenty of water. Your nerve endings will point out any imperfections underhand. You may need to repeat the primer application and sanding. Use the wet surface to see how nicely you got the surface built up and see where any imperfections may lay. You can try a wide sweeping sanding that botches everything up if you have raised areas. Low areas may need a repeat of the entire process. Here is a completed primer application and finish sanding. Allow to dry for at least 24 hours:
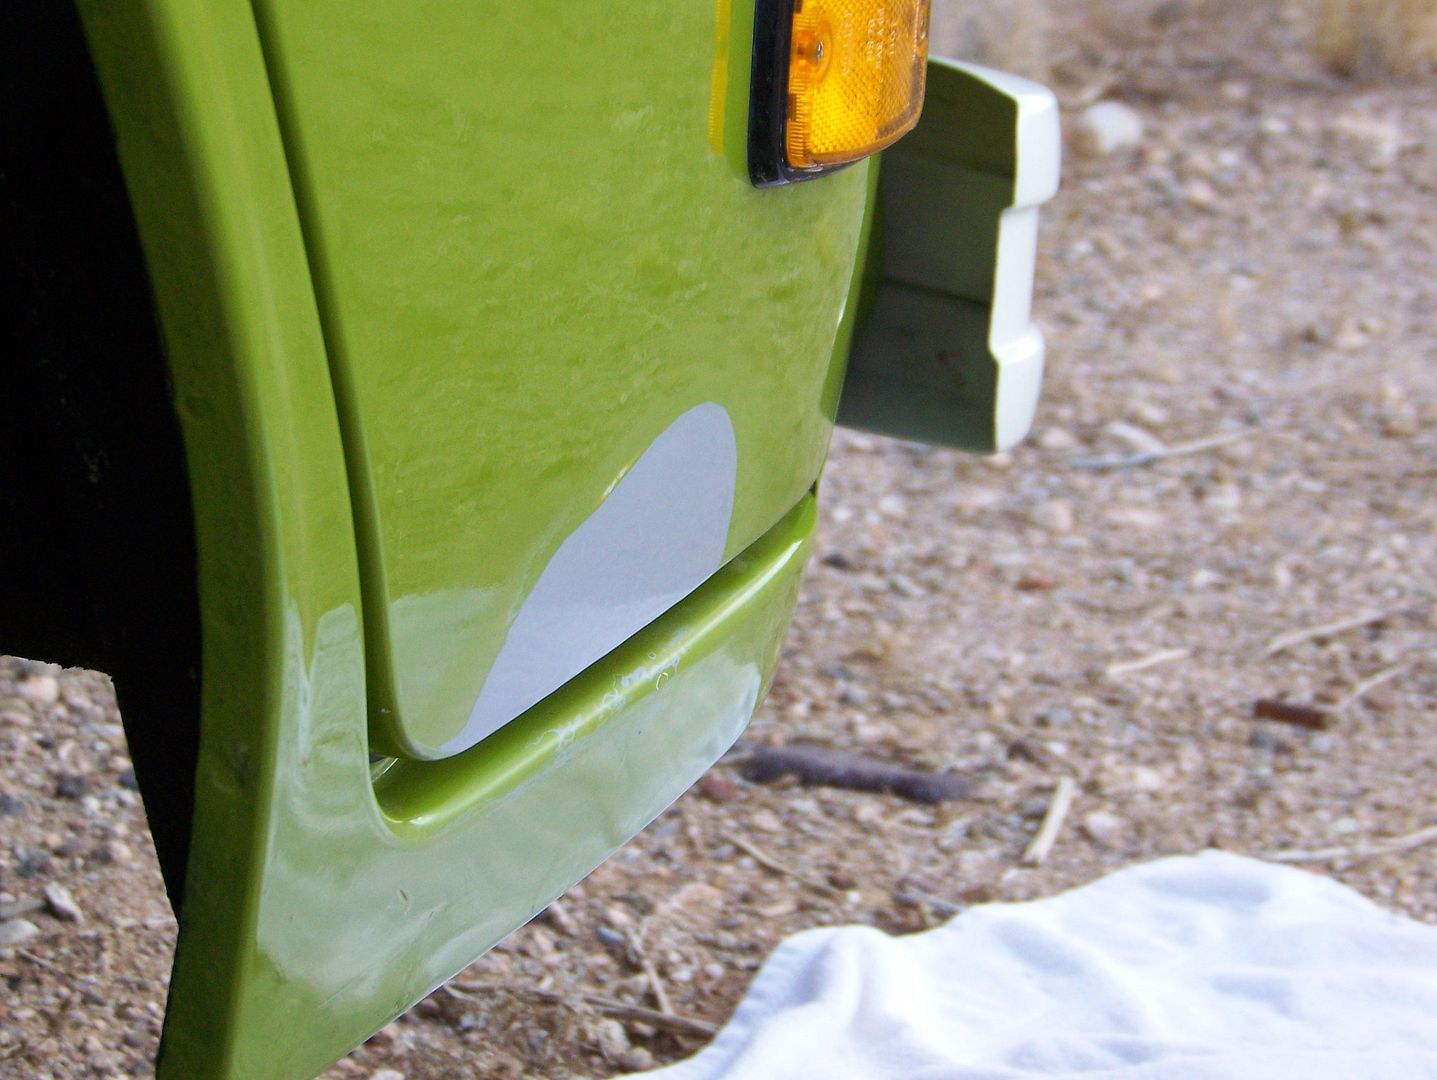
Step 6. Finish coat I applied the same as primer to allow me to final-color-match right in the cap, since the touch-up paint was a typically lousy match from the supplier. In my case, I had to match the paint in the sun to catch that luminescent power yellow that recedes in the shade (where all of these paint guys do their Taigagrun matching indoors). Here you finally apply the paint past the boundary right onto the original paint by 1/2" or so.
In the sun:
Sort of in shade:
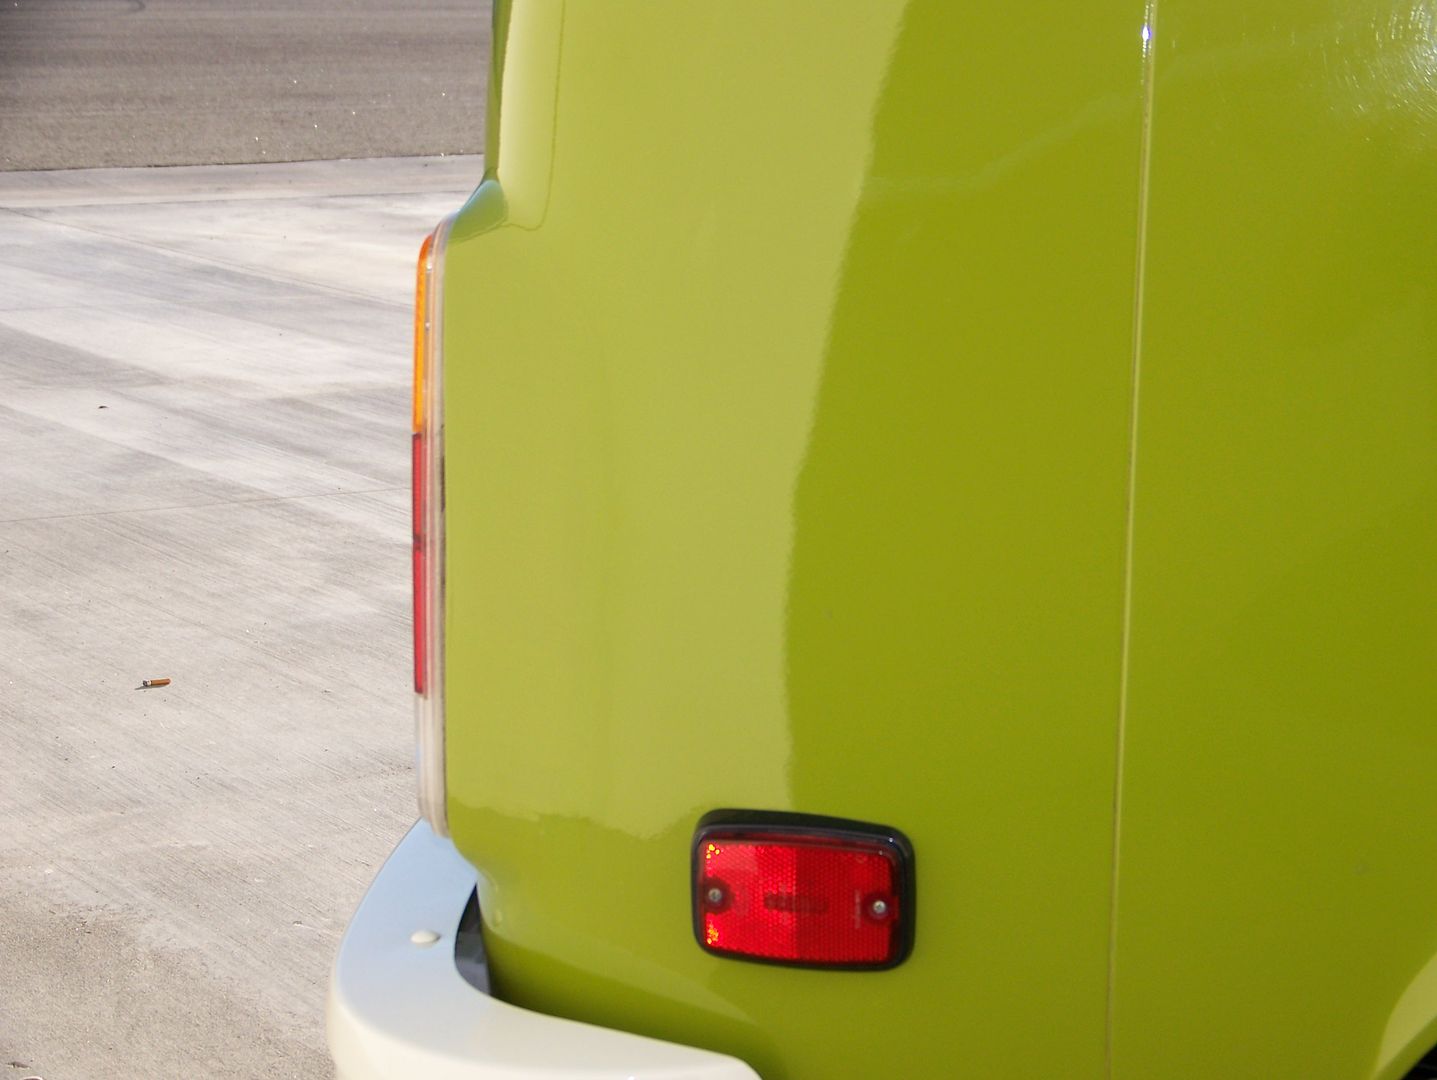
Step 7. Last step is to wet color sand with 1000 grit wet dry, open palm hand sand. And here it is, one week after letting the paint cure, the final 2000 grit color sand followed by a rigorous 3M Polishing Compound, followed by a Mothers California Gold wax job.
Very satisfying to do it yourself and exceed the "professional".
Colin