
I feel horrible for doing this to my VW van. but I wasn't aware that I needed to use anti-seize compound, nor change spark plugs every other oil change, nor that the euro auto store sold me plugs that were too long.
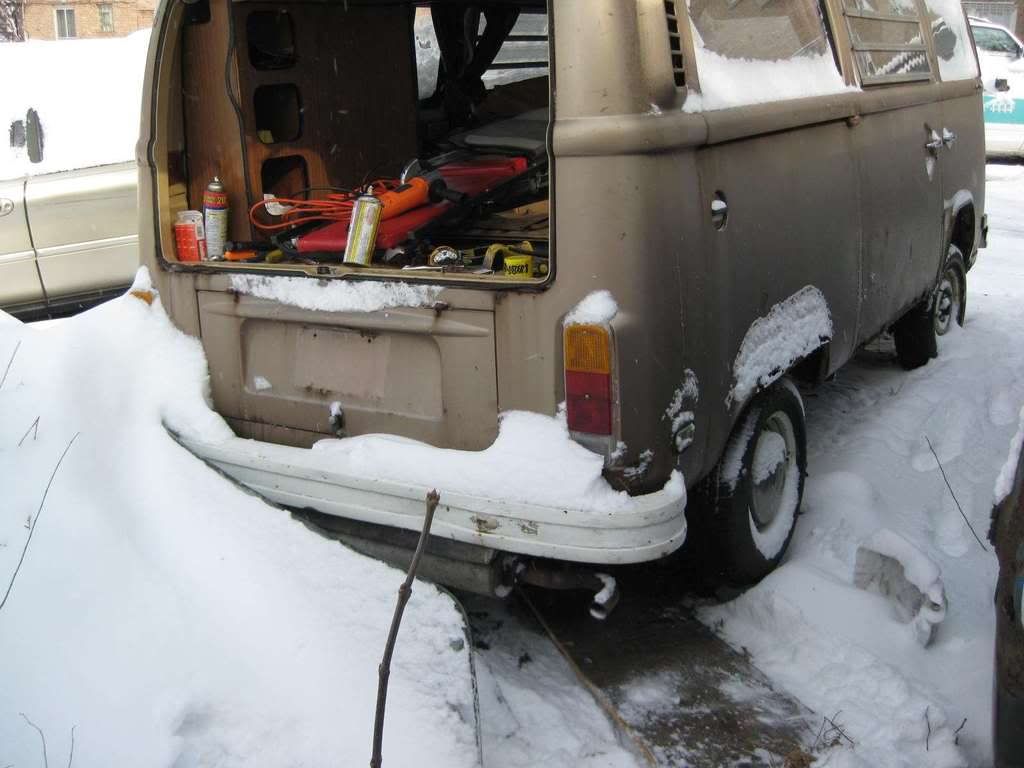
I am an artist that works part time at starbucks, and I bought the bus as part of a lifetime dream to take it camping and landscape painting across the southwest, so I really don't want to give it up.
QUESTION:
Do I absolutely have to remove the motor? can the heat shield be removed from within? if so, how do I ensure aluminum shavings don't fall into the piston chambers? its 2 and 4, so I'd have to remove both cylinder heads if that's the best way. Mainly, I don't want to ruin the van just from shavings falling down into the piston chambers. I have inserts (NOT helicoils), and the tap from bus-boys.com they were very nice and made sure I was getting the right thing.
thanks in advance!!
Cecil
stripped spark plug sockets 1979 transporter 2.0L carburated
-
aletheus

- I'm New!
- Location: North Texas
- Contact:
- Status: Offline
stripped spark plug sockets 1979 transporter 2.0L carburated
the invisible self becomes the invisible god through the visible universe
-
vwlover77

- IAC Addict!
- Location: North Canton, Ohio
- Status: Offline
Hi Cecil, and welcome. What a great dream you're putting into action!
By far, the safest thing to do would be to remove the engine and pull off the heads. This would give you an opportunity to check valve and head health if this Bus is new to you.
The heads can also be removed with the engine in place, but I'm not familiar with exactly what needs to be done. Some say for the small extra effort, just pull the engine.
I have done threaded inserts on a Beetle with the engine in, but not a Bus. But, if you don't want to pull the heads, you should be able to go through the tin with the tap. If you go this route....
1. Make sure the piston is at the bottom of its stroke before starting in with the tap.
2. Coat the tap liberally with grease to catch as many chips as you can..
3. When you're finished threading the hole, turn the engine so the exhaust valve is open for the cylinder you're working on and blow compressed air in through the sparkplug hole to motivate any debris to exit the cylinder via the exhaust valve.
(If it were my Bus, I'd pull the engine.)
Don
---------------------------
78 Westy
71 Super Beetle Convertible Autostick
"When we let our compassion go, we let go of whatever claim we have to the divine." - Bruce Springsteen
---------------------------
78 Westy
71 Super Beetle Convertible Autostick
"When we let our compassion go, we let go of whatever claim we have to the divine." - Bruce Springsteen
-
busman78
- Getting Hooked!
- Location: Albuquerque, NM
- Status: Offline
On Vwlover77 list, make #3 to get a soda straw, tape it to the end shop vac nozzel, closing off as much of the nozzel as possible, insert straw into chamber and move around, it will suck up any remaining pieces. Also using the vac while tapping helps clear away chips, definitely grease the tap.
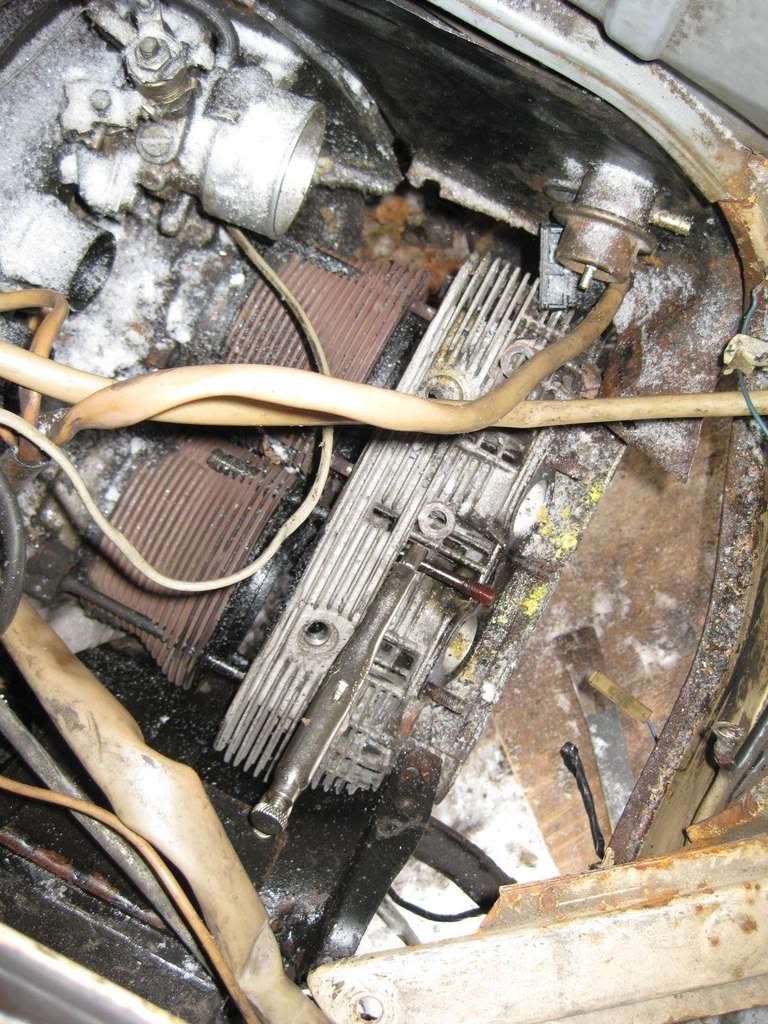
You really should remove the tin since it is #2 & #4 due to the depth.
You really should remove the tin since it is #2 & #4 due to the depth.
-
aletheus
- I'm New!
- Location: North Texas
- Contact:
- Status: Offline
the problem is....
i'm totally broke, but I have the tap, grease, and inserts. a starbucks customer has offered to tow and help pull the engine at his garage free of charge. this is probably my best option to ensure the life of the engine, but he's a busy man with a family and a job, and if I could do it by myself, id rather. just need to figure out if I can pull the heat shield off with the engine in. because I have no jacks for raising the thing high enough to pull it. if I can get it running just so I could find a better job you know? if it could last me 6 months, I could feasibly replace the engine all together. also, how do I ensure the exhaust valves are open? I hate doing this seat-of the pants, but that's how I bought the vehicle, replaced the clutch with the help of my brother, and by myself I've changed the clutch cable, replaced the fuel pump, and reattached the fuel pedal cable. I bought the vehicle partially out of sentimentality, and partially out of practicality, it seemed it would be easier to fix on my own, and i've bonded more deeply with it every time I get it running again. eventually it will require a few thousand dollars of wiring and body work, but I'd rather spend the money than trade it in for a different bus... is this bonding normal??? to want to keep him alive instead of trade him in for another? I try to say I'm resisting our modern disposable culture and such.. but ... anyway, I'm rambling, I hope I'm at least entertaining.... i couldn't find stripped spark plug posts anywhere else on here so...
p.s. thanks alot for the encouragement and the advice. will talk to customer about that offer to pull the engine before I proceed. but if worse come to worst, removing the heat shield with engine in is my hang-up right now, and it's not in the VW official service manual.
p.s. thanks alot for the encouragement and the advice. will talk to customer about that offer to pull the engine before I proceed. but if worse come to worst, removing the heat shield with engine in is my hang-up right now, and it's not in the VW official service manual.
the invisible self becomes the invisible god through the visible universe
-
aletheus
- I'm New!
- Location: North Texas
- Contact:
- Status: Offline
excellent, THANKS.busman78 wrote:On Vwlover77 list, make #3 to get a soda straw, tape it to the end shop vac nozzel, closing off as much of the nozzel as possible, insert straw into chamber and move around, it will suck up any remaining pieces. Also using the vac while tapping helps clear away chips, definitely grease the tap.
You really should remove the tin since it is #2 & #4 due to the depth.
any ideas on removing heat shield with engine in?
the invisible self becomes the invisible god through the visible universe
-
vdubyah73
- IAC Addict!
- Status: Offline
it is not in the manual because the job is much easier with the engine out. The reason there are posts on how to do it with the engine in, is because of the inordinate fear some people have of pulling the engine out. The amount of contortions and limited room to work in just don't make sense when messing with something as critical as tapping new threads in an expensive part like a head. You may however only need to chase the threads with the appropriate tap to save the head. if the threads aren't completely munged up and the first few threads are making it difficult to start the plug into the hole a simple cleanup of the threads may be all you need to do. That could be done without removing anything, as long as you have a feel for chasing threads vs creating new misaligned threads.
1/20/2013 end of an error
never owned a gun. have fired a few.
never owned a gun. have fired a few.
-
Vdubtech

- IAC Addict!
- Location: East Syracuse, NY
- Status: Offline
You can easily remove the cylinder head tins with the engine in place and then use the appropriate sized tap FIRST before tyring to go with the insert and see if the threads just need to be cleaned up. Having the cylinder tin out of the way is key, then you're right on top of the head. I really don't see the need to pull the engine to do this, and I'm certainly not afraid of pulling the engine.
First things first, make sure you have a Bentley manual. If you don't, get one, NOW. It will show you diagrams and procedures on how all of the tin goes together and how it comes apart. Work methodically, piece by piece and you will have the tin off in no time and be staring right at your problem.
First things first, make sure you have a Bentley manual. If you don't, get one, NOW. It will show you diagrams and procedures on how all of the tin goes together and how it comes apart. Work methodically, piece by piece and you will have the tin off in no time and be staring right at your problem.
My '79 Westy Rebuild Thread:
http://itinerant-air-cooled.com/viewtopic.php?t=6073
http://itinerant-air-cooled.com/viewtopic.php?t=6073
-
busman78
- Getting Hooked!
- Location: Albuquerque, NM
- Status: Offline
Aletheus, what was the part number of the plug they sold you? There is a very good chance you can "chase" the threads and just clean them up. Local parts place should have a thread chaser tool, KD makes one, it can be used just like a spark plug to clean the threads, make sure you grease it and go slow.
http://www.kd-tools.com/730.htm
http://www.kd-tools.com/730.htm

-
aletheus
- I'm New!
- Location: North Texas
- Contact:
- Status: Offline
-
aletheus
- I'm New!
- Location: North Texas
- Contact:
- Status: Offline
I have the bently service manual, will look again for cylinder head tin removal, didn't find it under engine...Vdubtech wrote:
First things first, make sure you have a Bentley manual. If you don't, get one, NOW. It will show you diagrams and procedures on how all of the tin goes together and how it comes apart. Work methodically, piece by piece and you will have the tin off in no time and be staring right at your problem.
oh DUH. I found it... its a tiny diagram in the bottom left corner of figure 7-2.... was looking right past it all along.... will figure out how to pull it today, and update on progress as posted earlier.
again thanks ALOT guys, I love how old style vw's bring people together.
people always comment, honk, etc. people love it. I don't even need or want the attention, but its nice that people just assume your cool for keeping the thing on the road.... i try to live up to that expectation, and you guys have certainly shown me that you do too.
the invisible self becomes the invisible god through the visible universe
-
Gypsie

- rusty aircooled mekanich
- Location: Treadin' Lightly under the Clear Blue!
- Status: Offline
Head off is best.
That said, I have chased plugs and installed timecerts in place.
I like the shop vac trick but I use a bit of fuel line instead of a straw. It is flexible enough to get all around the inside of the cylinder without crimping.
blow the chamber out with compressed air, suck, blow, suck.
This will probly bring admonishment but I ended with a healthy squirt of wd 40 into the cylinder to loosen any stuck pieces and followed with a final suck.
Try chasing first, get a good look at threads and 'feel' the plug torque in place to assure that the threads are solid, you could chase a great hole yet have compromised threads.
(I am imagining John coming out of his skin cause he has to be restrained in tech forums. ).
).
What exactly has happened? Did you pop a plug? Why do you feel you need a chase or insert?
That said, I have chased plugs and installed timecerts in place.
I like the shop vac trick but I use a bit of fuel line instead of a straw. It is flexible enough to get all around the inside of the cylinder without crimping.
blow the chamber out with compressed air, suck, blow, suck.
This will probly bring admonishment but I ended with a healthy squirt of wd 40 into the cylinder to loosen any stuck pieces and followed with a final suck.
Try chasing first, get a good look at threads and 'feel' the plug torque in place to assure that the threads are solid, you could chase a great hole yet have compromised threads.
(I am imagining John coming out of his skin cause he has to be restrained in tech forums.
What exactly has happened? Did you pop a plug? Why do you feel you need a chase or insert?
So it all started when I wanted to get better gas mileage....
-
aletheus
- I'm New!
- Location: North Texas
- Contact:
- Status: Offline
popped one plug, didn't realize what was happeneing, then decided I might as well change them all.... but one of them was "stuck".... so I pulled harder... would have just left the damn thing in there until it popped too had I known..... ugghhh... like I said, going to look today to see what all is invovled in pulling the tin off. will go with the fuel line hose intead of straw.Gypsie wrote: What exactly has happened? Did you pop a plug? Why do you feel you need a chase or insert?
the invisible self becomes the invisible god through the visible universe
-
Gypsie
- rusty aircooled mekanich
- Location: Treadin' Lightly under the Clear Blue!
- Status: Offline
I am thinking that with a popped plug the insert is the way to go.
Anyone have success with chasing the plug after it pops out?
In an effort to sweeten' the lemonade you are making, I will say that it is better to discover this now rather than out in the outback.
I have recently had some of the same lemonade with a discovered trashed thrust bearing ready to detonate at any moment. The cosmos led me to find it while in pursuit of better mileage rather than find out about it in the deep woods with a family in tow...
Mmmmmm, lemonade....
Another thought, I presume you confirmed the plug length issue. would that mean that the piston pounded it out? If so It may be worth the extra effort to get the heads off for inspection. If your willing to chance it skip it but you may want to confirm.
Another potential is that they got cross threaded on installation. For reference: When the plug is first installed you should be able to thread it all the way with your fingers on the socket. If not, back it out and try again. Don't keep going until you are certain it is not cross threaded. Even if you put the ratchet on it 'feel' for proper threading. It should not be hard to turn until it seats.
So it all started when I wanted to get better gas mileage....