Page 2 of 3

Re: Naranja Westy Road Trip Two

Posted: Thu Jan 07, 2016 8:53 am
by Amskeptic
phaedrus76 wrote:Nice work on those front side markers. Turned out great!
Thank-you. Can you hear the:

"But WHY spend two hours on them, new ones are only eight dollars!"


Did you successfully flatten / keep flat your broad white plastic strip at the bottom of the upper bunk?
Colin

Image

Re: Naranja Westy Road Trip Two

Posted: Thu Jan 07, 2016 8:31 pm
by phaedrus76
Yeah, doesn't matter how cheap a part is that doesn't fit right.

You know, about the only part of the rear interior I didn't touch is that strip under the top bed/rear ceiling. I don't think mine is too bad, but still plan to give it the whole heat treatment (boil/blow dryer/stretch) to see if it could become flatter. Sorry, wish I could be more help there.

Re: Naranja Westy Road Trip Two

Posted: Fri Jan 08, 2016 8:32 am
by Amskeptic
phaedrus76 wrote:Yeah, doesn't matter how cheap a part is that doesn't fit right.

You know, about the only part of the rear interior I didn't touch is that strip under the top bed/rear ceiling. I don't think mine is too bad, but still plan to give it the whole heat treatment (boil/blow dryer/stretch) to see if it could become flatter. Sorry, wish I could be more help there.
My desktop has the photograph I wanted to share here regarding the one replacement side marker lens I am forced to use. The replacement lenses do *not* follow the curve of the car body (which has the same radius front and rear). So you stick your $8.00 new lens on and it mashes into the body at the center. I got a sharpie marker out at this point, and made a perimeter stripe with the plastic edge of the marker at the felt interface following the car's lines. Then I slow-speed dremelled the edge of the reflector to match the sharpie line. A quick wipe with WD-40 followed by wax got rid of the permanent marker track.
The benefit of all of this is a superior sealing surface at very little screw tension (which prevents the most significant cause of cracked lenses).
ColinObsessivenessISFun

Re: Naranja Westy Road Trip Two

Posted: Sat Jan 09, 2016 7:18 am
by Amskeptic
Yesterday . . . a surprising four or so hours to remove the paint from the engine hatch seal and do a little refreshing of the fuel evaporative lines:

Image

Worthy of an old manuscript restoration was this q-tip cleaning of the left rear tin to bring out the outlines of "Inspector Otto". I will be painting this tin, and will probably use the vaseline method of "taping" Inspector Otto. This has worked in the past to avoid tape ridges and intricate corners:

Image


There was, of course, rust damage from the poor body work back here:

Image


Image


Found that the evaporative fuel vapor system has a restrictor hidden in the ceiling lines. Mine was clogged with varnish, which explains why I had fuel vapor aroma in the cabin. The rubber tee had blown at a seam. I had a NOS rubber tee from the Road Warrior, now finally being pressed into service 14 years after I bought it:

Image


Fresh-looking hatch seal with talcum powder rubbed into it:

Image


Now that the rear of the car has no more overspray evidence, it is looking more like a nice real Volkswagen:

Image

Today? At the Guinea Hen Haus? Chassis rust eradication!
Colin

Re: Naranja Westy Road Trip Two

Posted: Sun Jan 10, 2016 11:15 am
by phaedrus76
Amskeptic wrote:My desktop has the photograph I wanted to share here regarding the one replacement side marker lens I am forced to use. The replacement lenses do *not* follow the curve of the car body (which has the same radius front and rear). So you stick your $8.00 new lens on and it mashes into the body at the center. I got a sharpie marker out at this point, and made a perimeter stripe with the plastic edge of the marker at the felt interface following the car's lines. Then I slow-speed dremelled the edge of the reflector to match the sharpie line. A quick wipe with WD-40 followed by wax got rid of the permanent marker track.
The benefit of all of this is a superior sealing surface at very little screw tension (which prevents the most significant cause of cracked lenses).
ColinObsessivenessISFun
I've become a little confused as to how well these originally fit. All 4 of the side markers on my '76 were original Hella, but had a variety of problems. I polished up the fronts and replaced the bases with NOS ones, but saw that even when firmly tightened down, there was a level but still fairly large gap between the lens body and the door. In the rear, I tried repro ones (base and lens body) and the fit was terrible. They didn't follow the sheet metal contours and there was a big gap between the lens body and the bus. So I swapped out the marker bases with NOS Hella ones. The gap was markedly improved, but the contour problem remained. Figuring it was just the poorly reproduced lens body, I thought to see how my damaged but original Hella markers would now fit. They were virtually identical - virtually no gap at the center of the curve, visibly more on the ends. "Well, there's late 70's VW quality for ya" was the conclusion. So I reinstalled the repro lens bodies. I like your idea to grind them down to the right contours though. Will need to revisit.

So when these buses were new, do you think the marker bodies originally sat flush against the bus sheet metal, or was there a small gap? It sure seems like there should be a gap, else the marker body would cut into the paint. It's surprising the seal wasn't designed to project past the perimeter of the marker body so as to both seal out water and protect the paint.

Re: Naranja Westy Road Trip Two

Posted: Mon Jan 11, 2016 7:01 pm
by vistacruzer
Even without working heater cables you should have heat when you drive. say tie wrap or bailing wire ???

Re: Naranja Westy Road Trip Two

Posted: Wed Jan 13, 2016 10:53 am
by Amskeptic
phaedrus76 wrote:
when these buses were new, do you think the marker bodies originally sat flush? It's surprising the seal wasn't designed to project past the perimeter of the marker body so as to both seal out water and protect the paint.
There has to be a gap. I am at 1-2mm and that is FINE. You of course do not want to gouge the paint.

What I was running into was that the centers of the reflector edges *were* contacting the paint before the gaskets could compress.
Colin

Re: Naranja Westy Road Trip Two

Posted: Wed Jan 13, 2016 11:58 am
by Amskeptic
It has been a fierce few days at the Weisswurst Wattle Wonderland. Cold as hell at night, mouse scurrying, mouse eradications, three-wheeled shopvac tipovers, exploding halogen lamp bulbs, extension cord tangles galore, dust and more dust, sand, and vicious toulene/acetone/benzine headaches through-out the undercoating process, many avalanches of crap and spilling tools and stepped-into buckets of gasoline, huddling at the halogen lamps for warmth, tape, there has been tape, and meals wafting in under covering dishes. What did I, dressed in clothes that would embarrass a coal miner after a double-shift, ever *do* to deserve pork roast on a platter?

Image


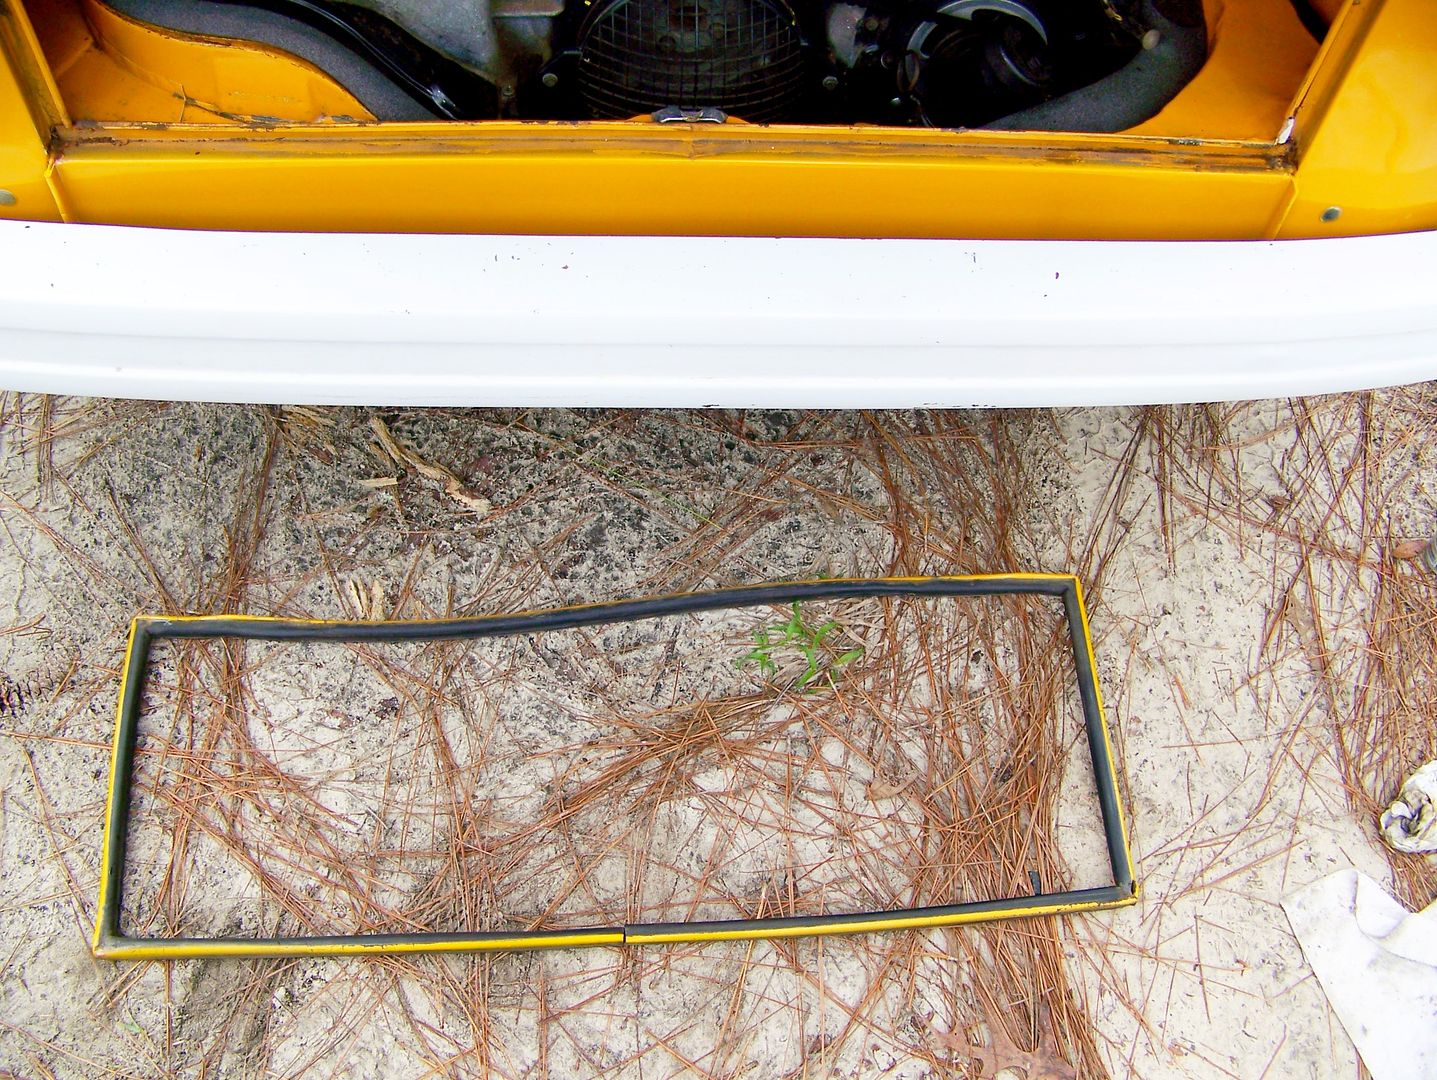
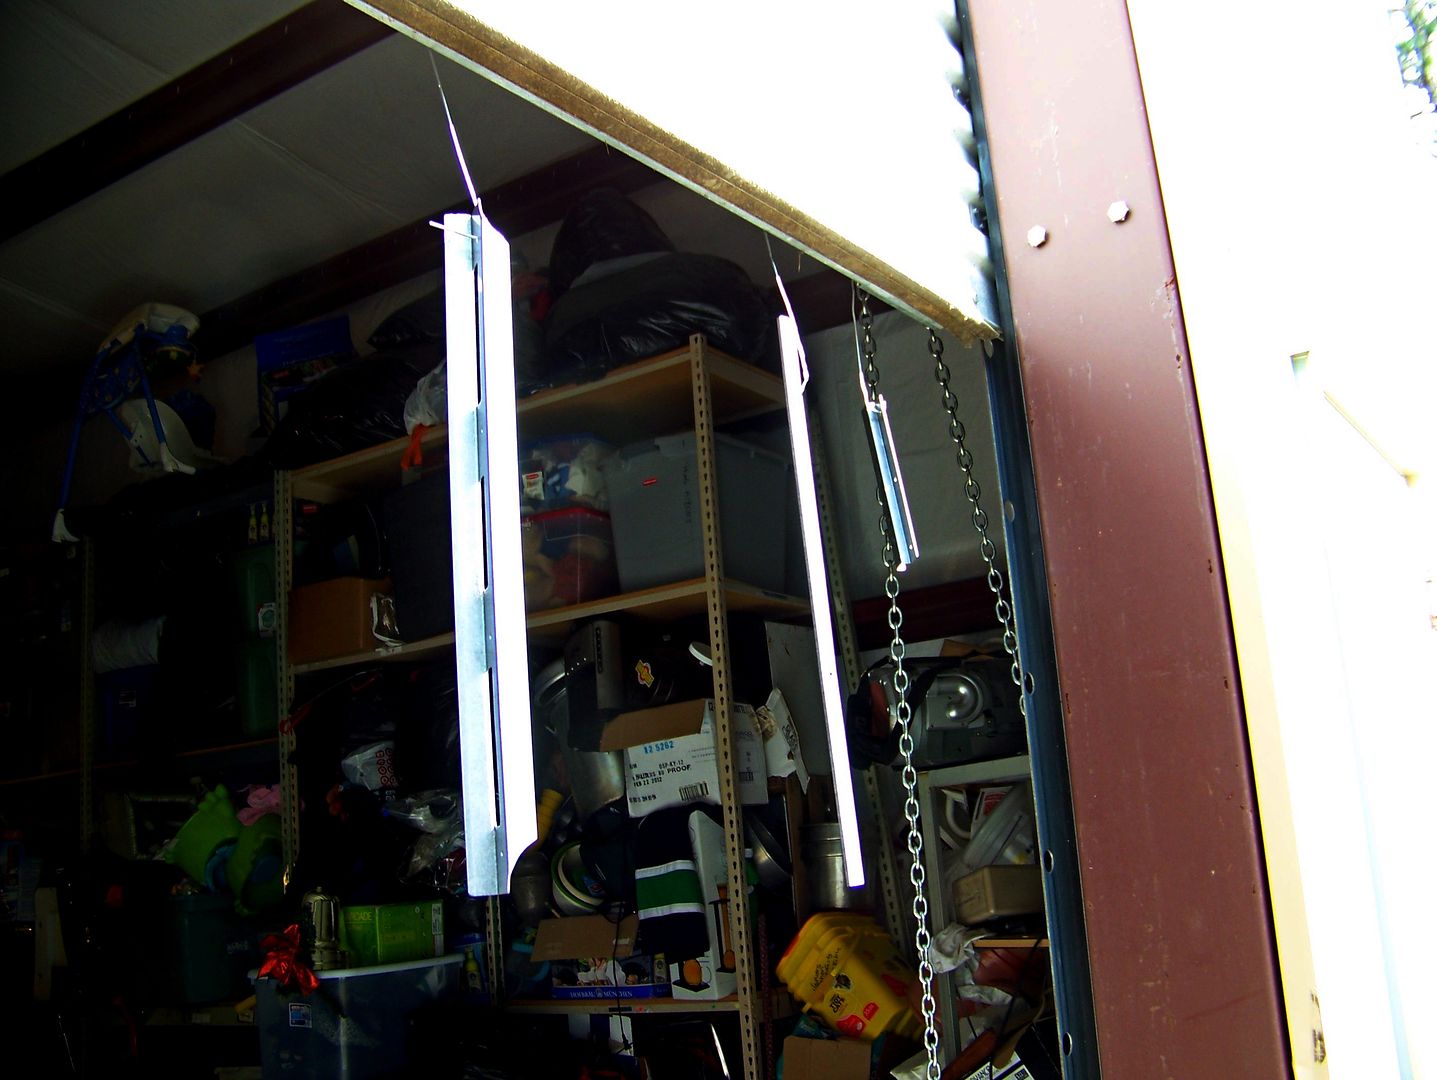
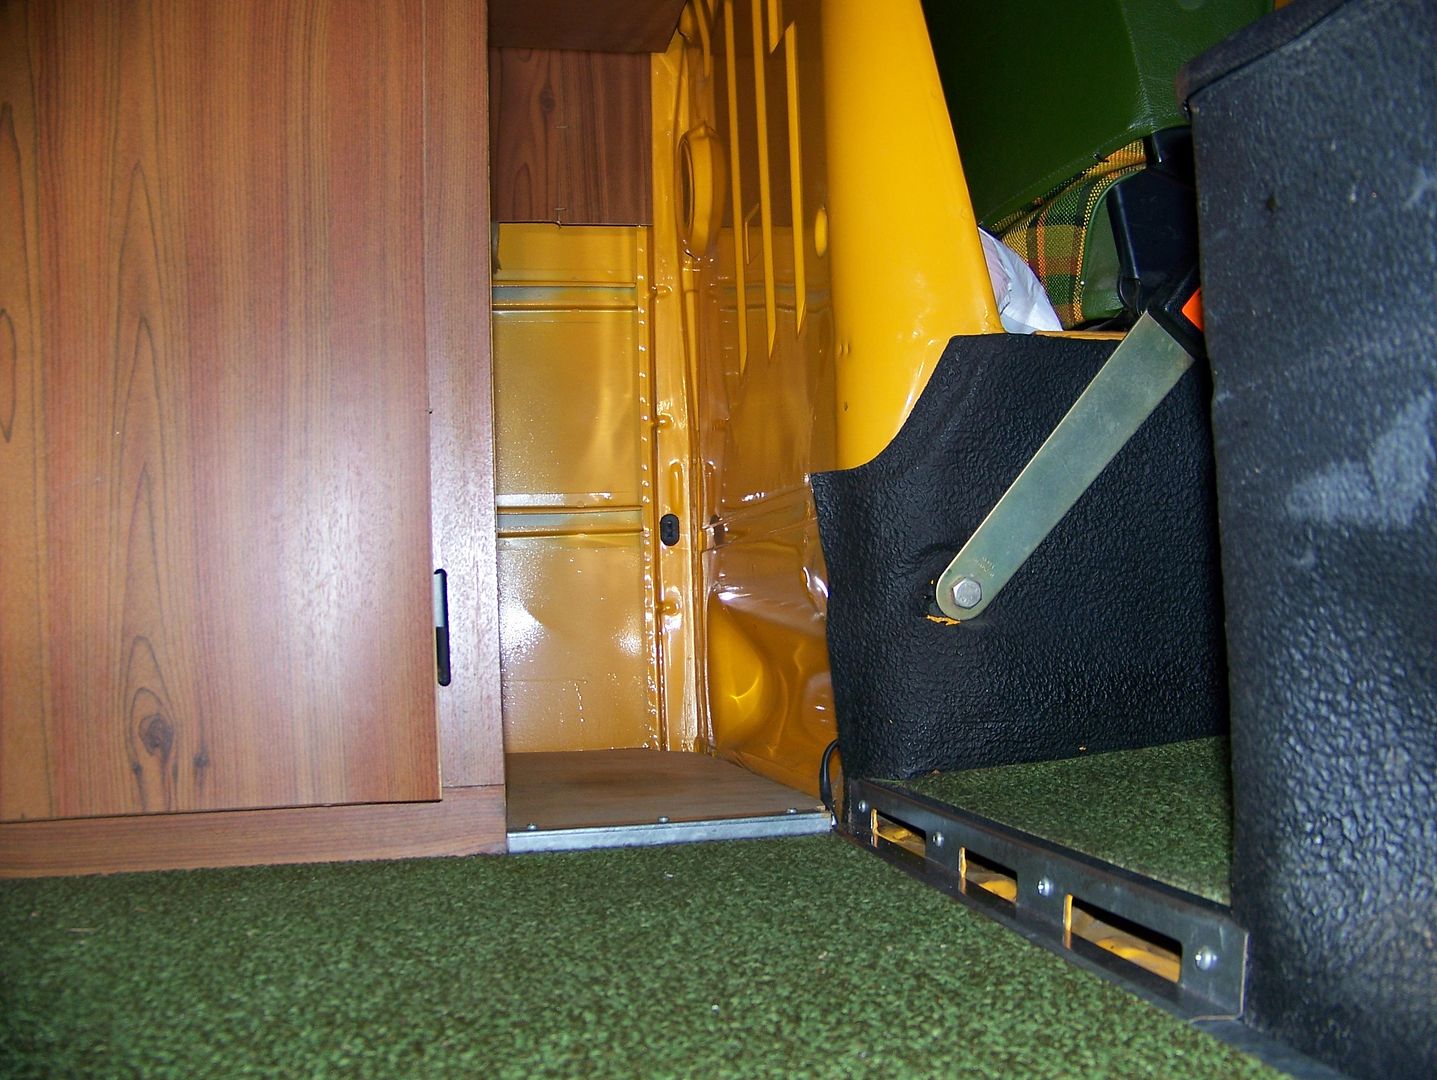
As an aside, I took out all floor galvanized strips. They had developed a white rust and some real rust underneath:

Image


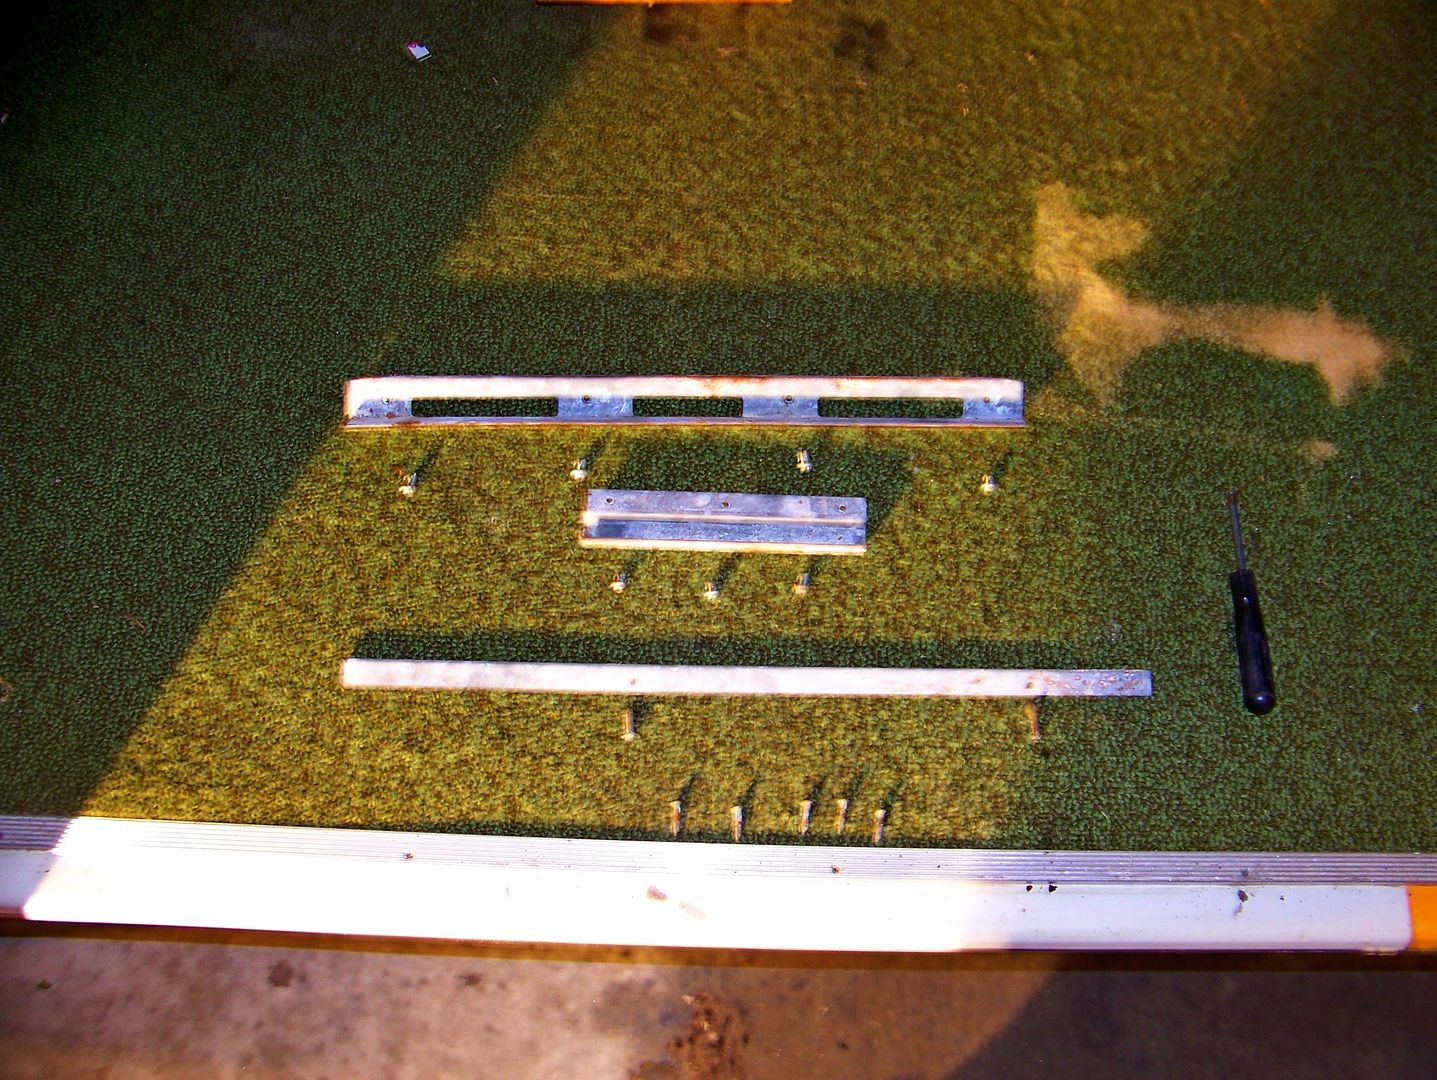
Sanded, followed by a very light coat of aluminum engine enamel, followed by three coats of clear engine enamel, and they still look galvanized, but fresh, and I hope, seriously protected:

Image

Yes, yes I did, in fact, wax the paint inside the spare tire compartment, and I sanded the floor plywood to look more fresh I did:

Image


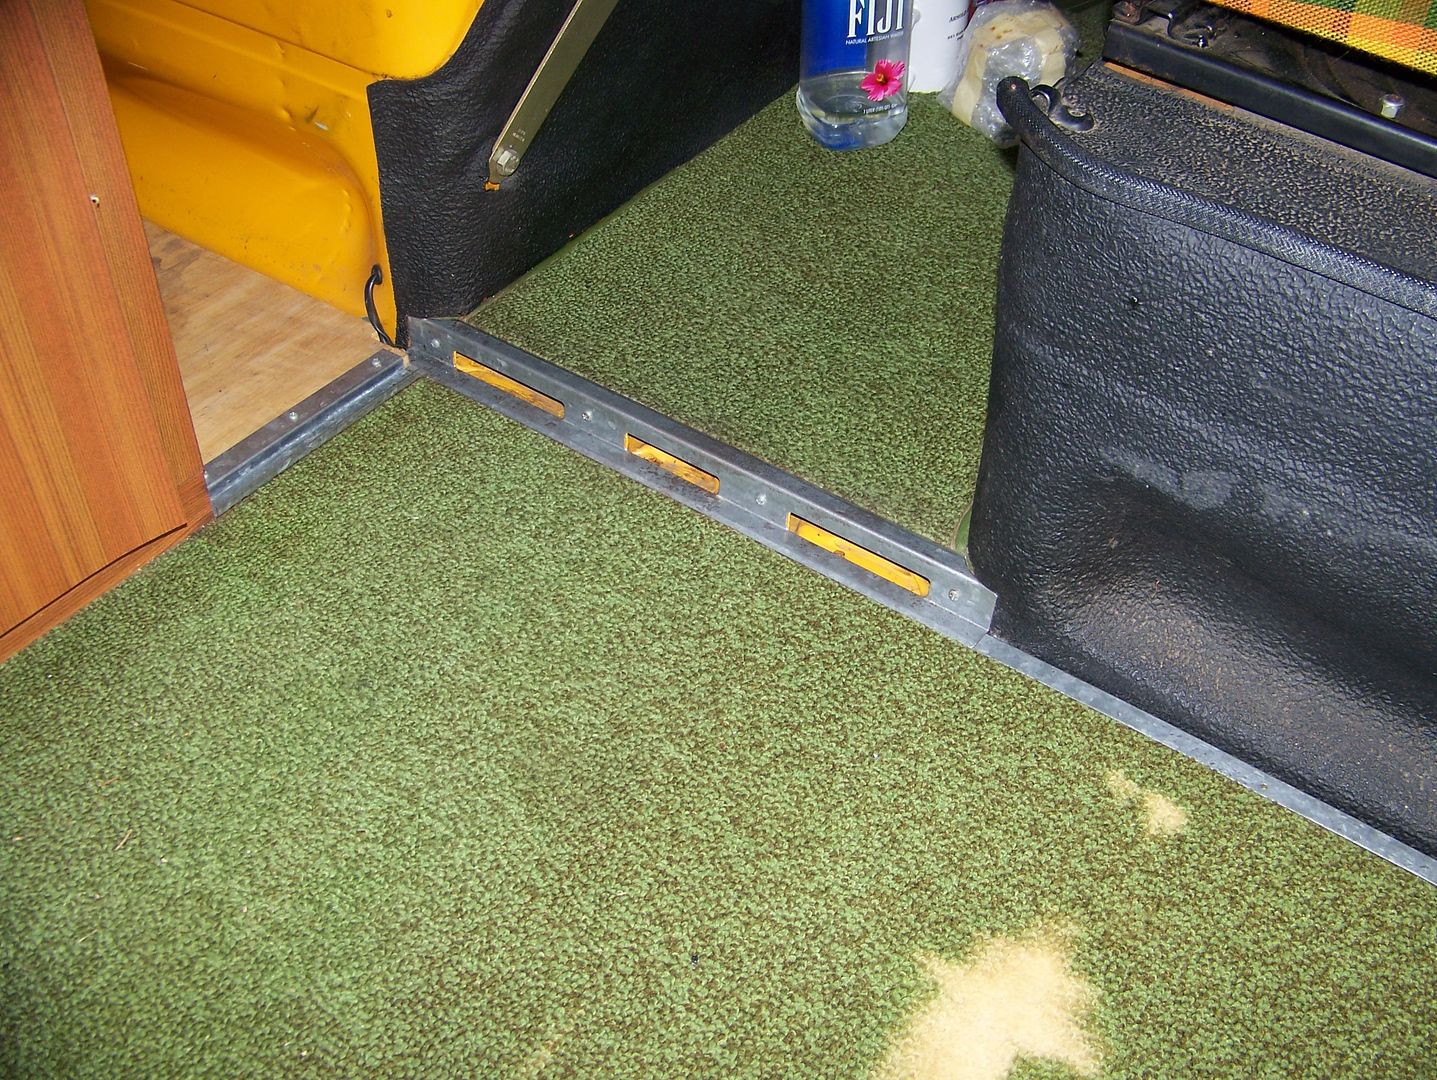
The galvanized strips, nice, yes?

Image


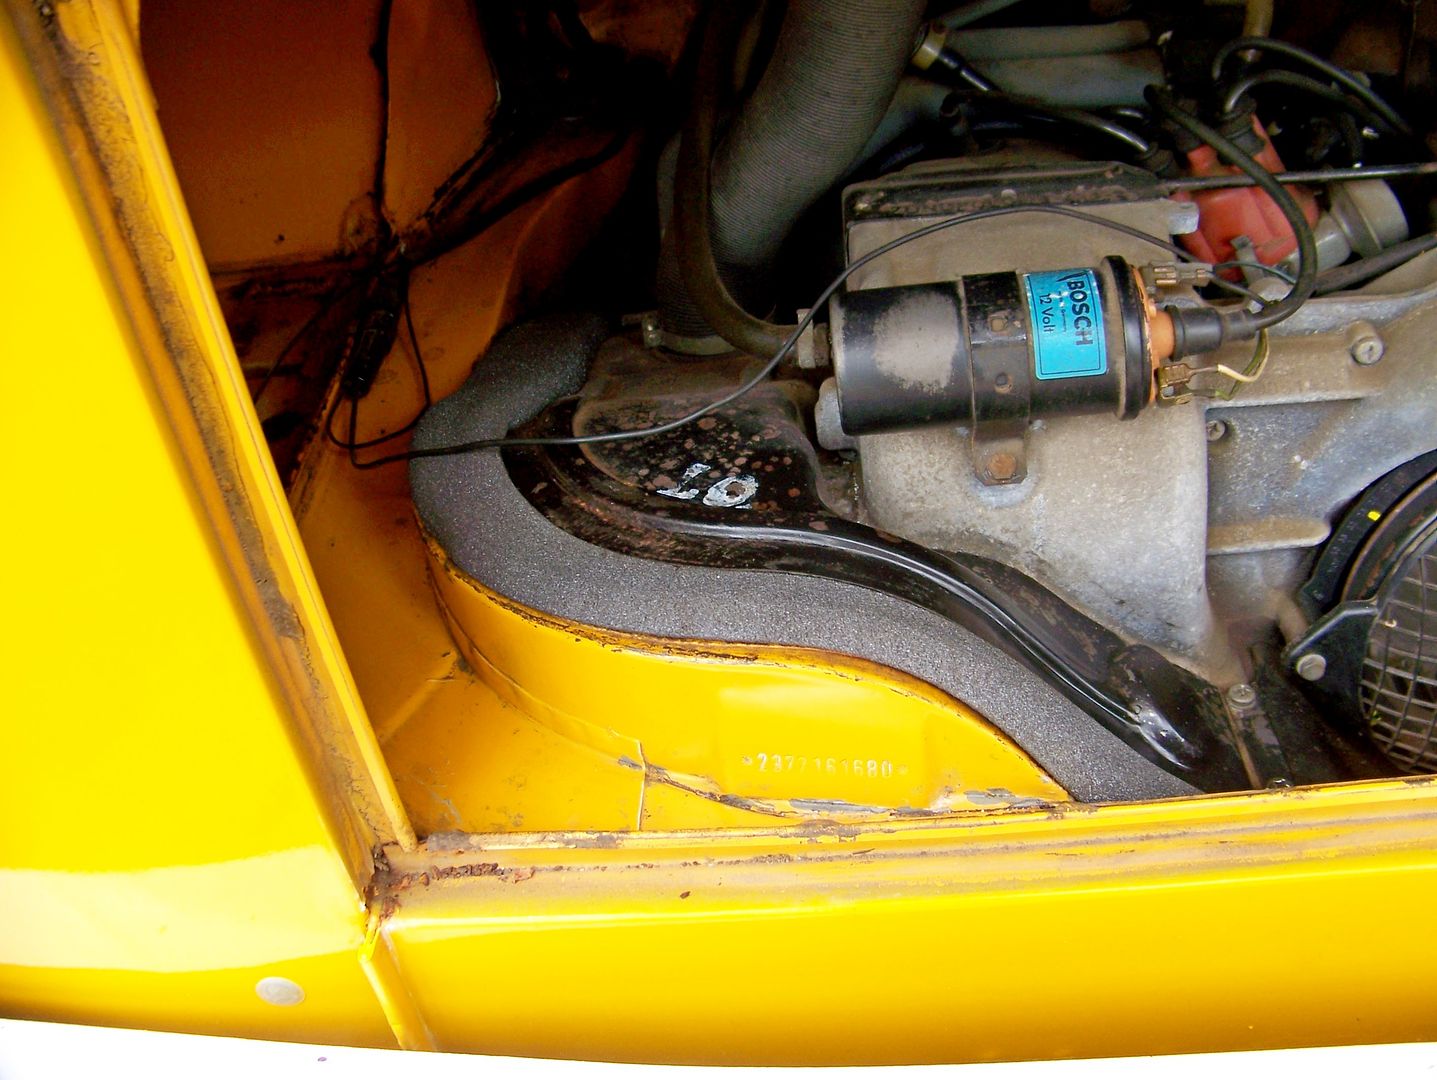
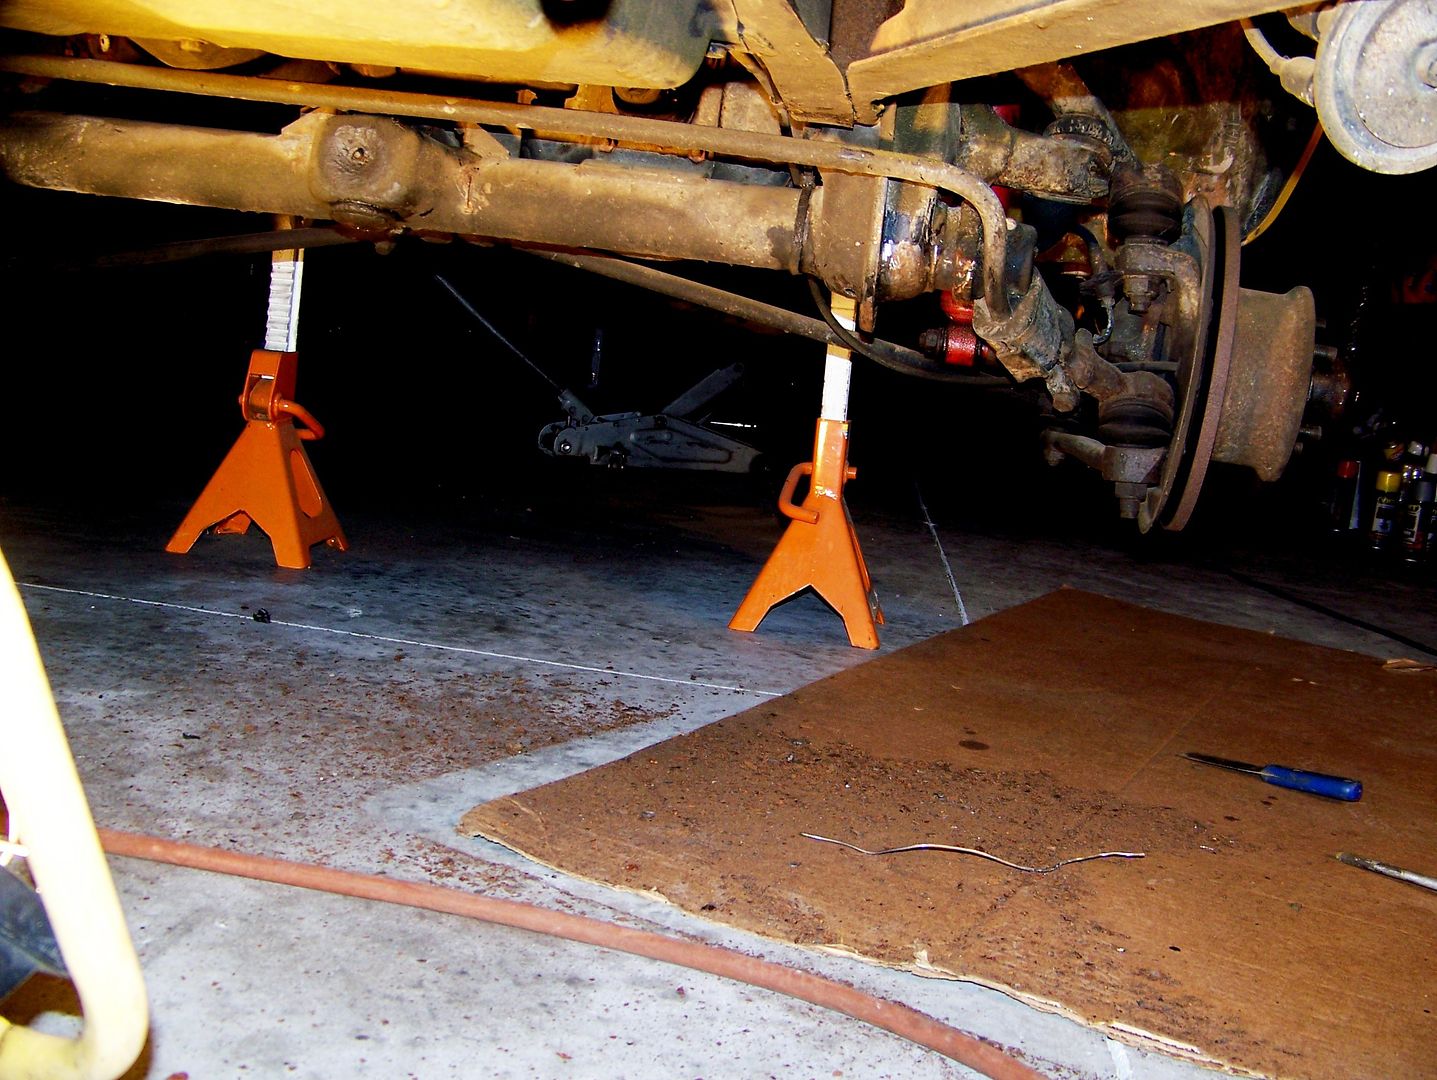
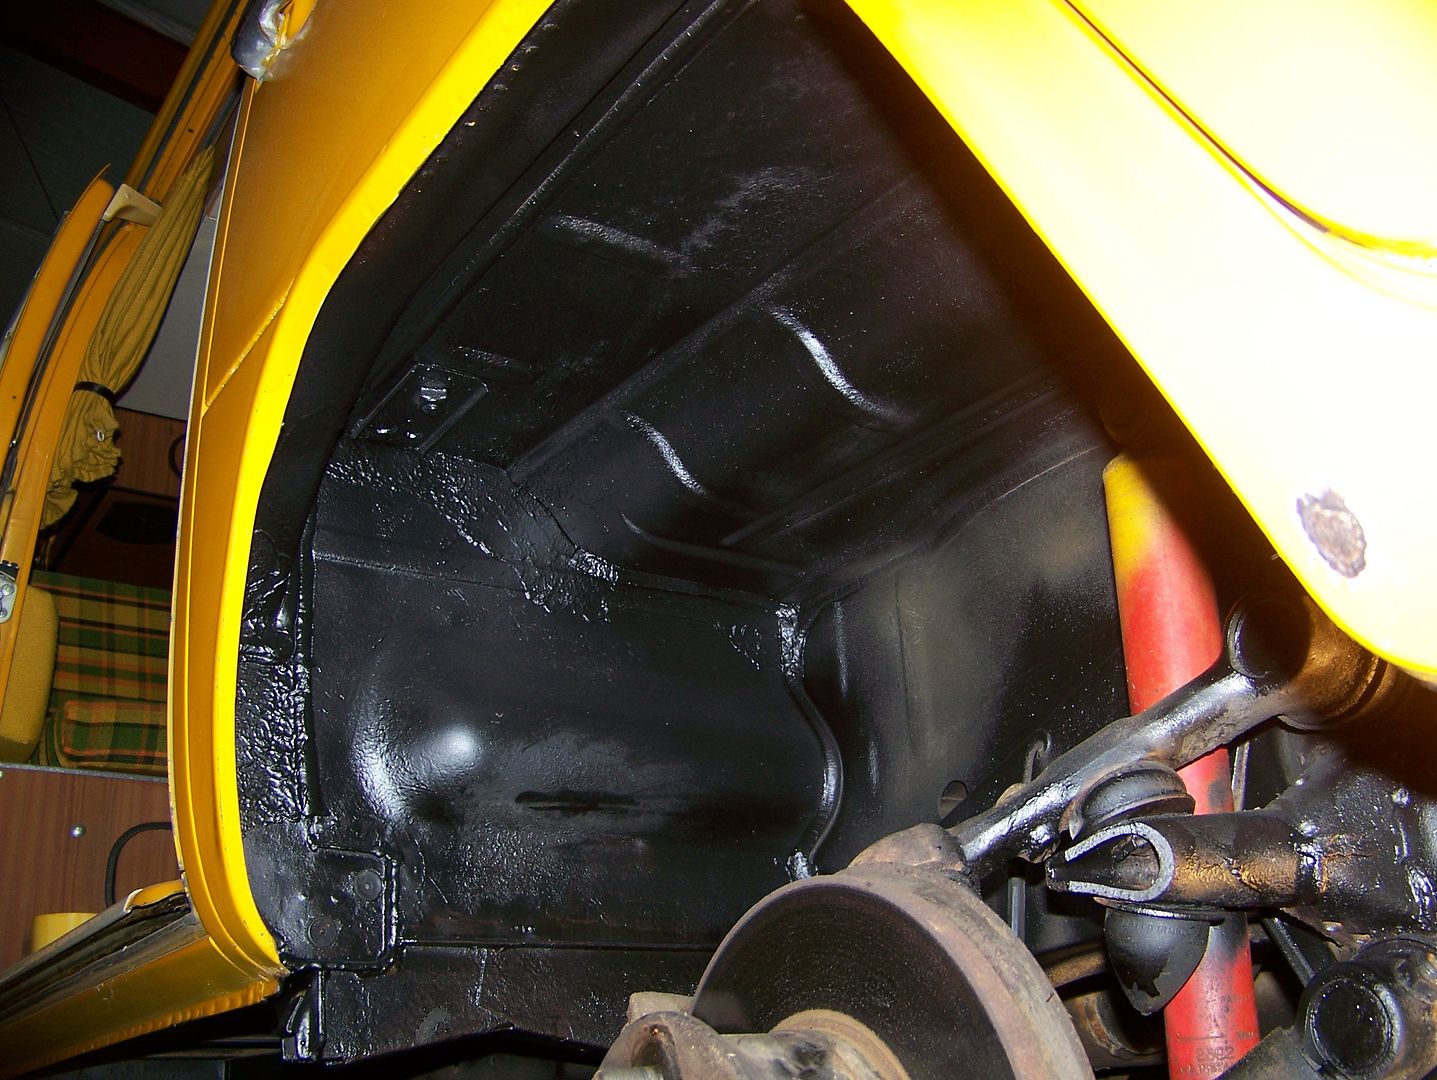
I was terribly slowed by the nastiest secrets under the car. The road salt was CAKED on the entire undercarriage then lazily painted over with asphalt undercoating (I hate the stuff), then it was subjected to a build-up of silt covered over by overspray. Every inch of the underneath of this car had to be scrubbed, scraped, blasted with air, then brushed and air-blasted again:

Image


Image


Image


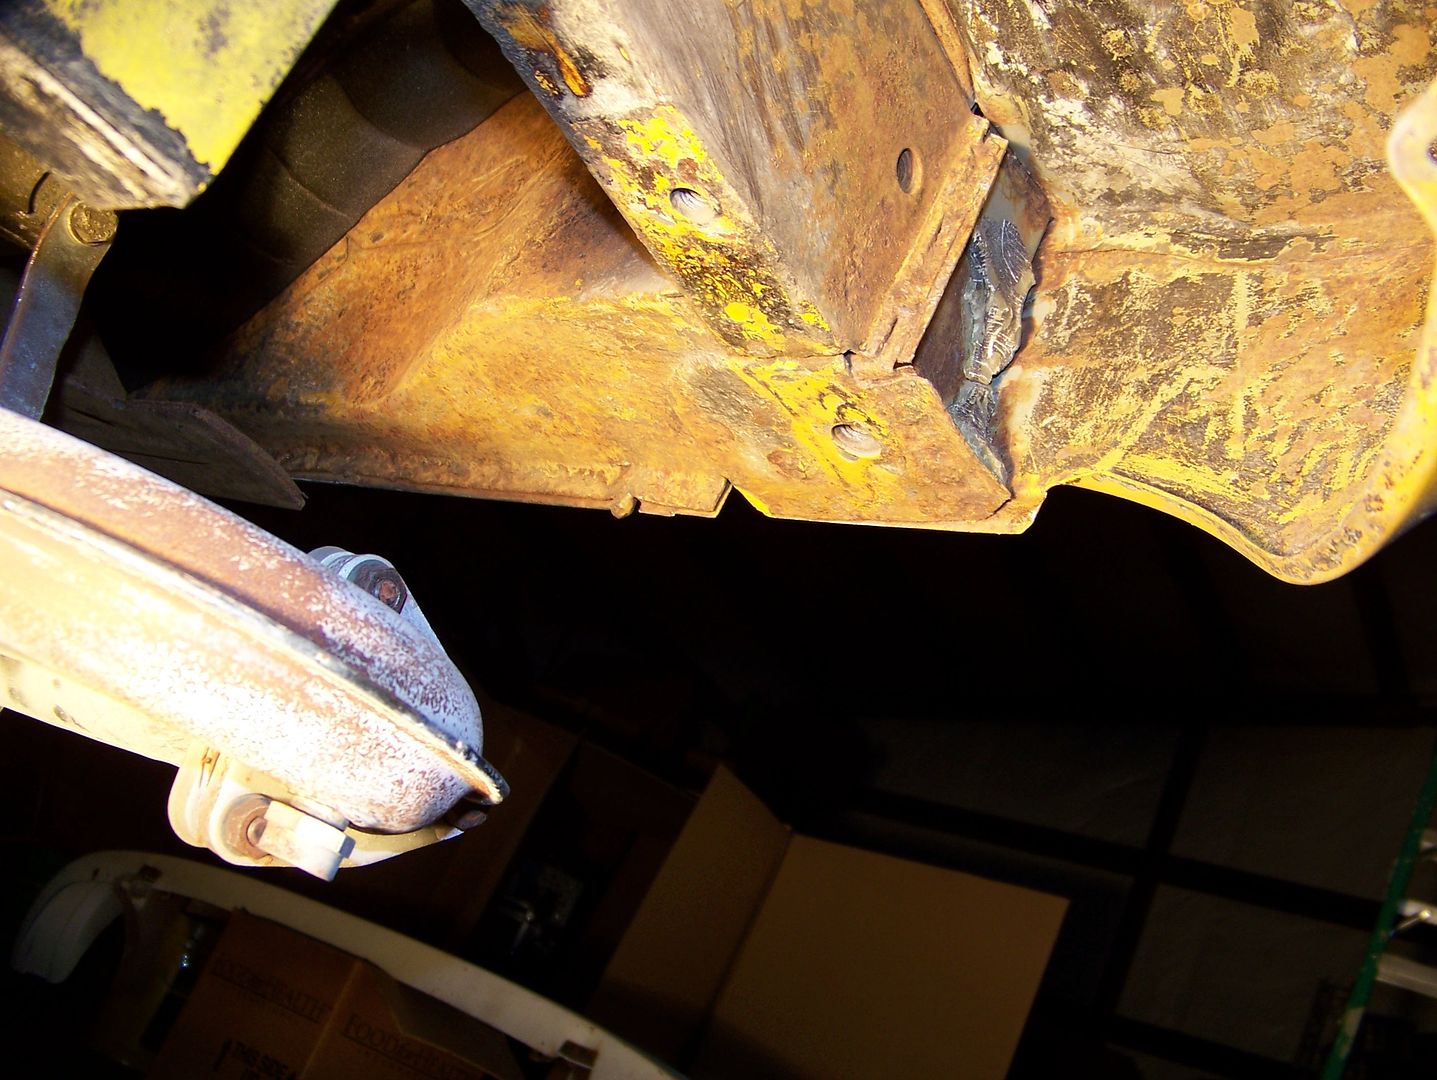
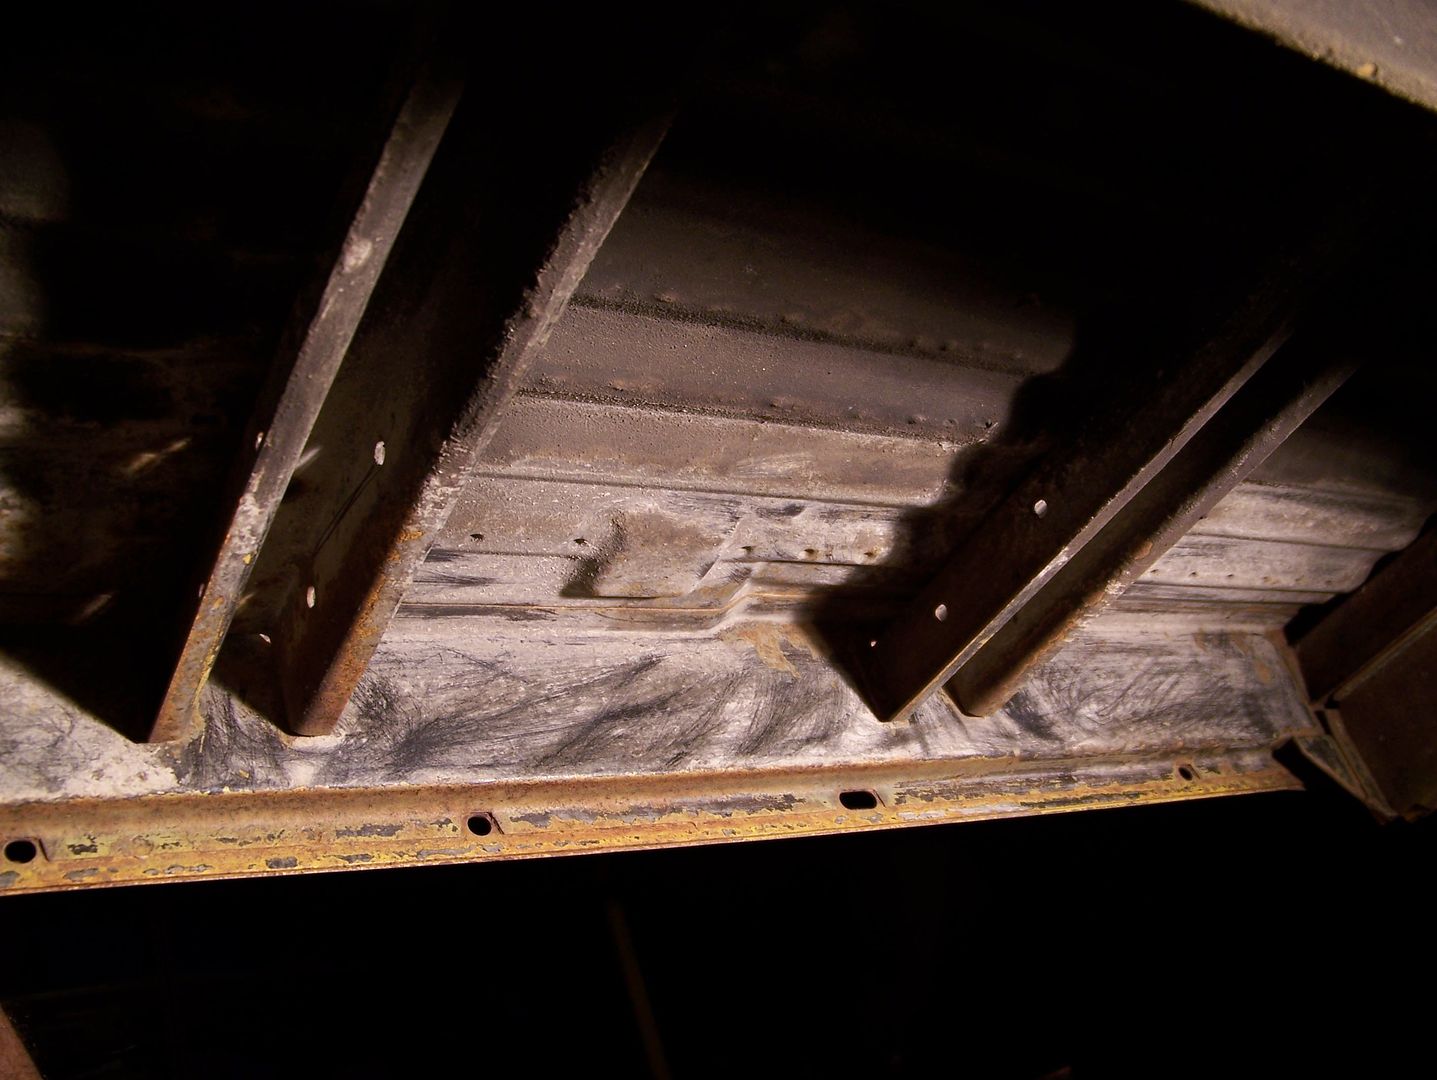
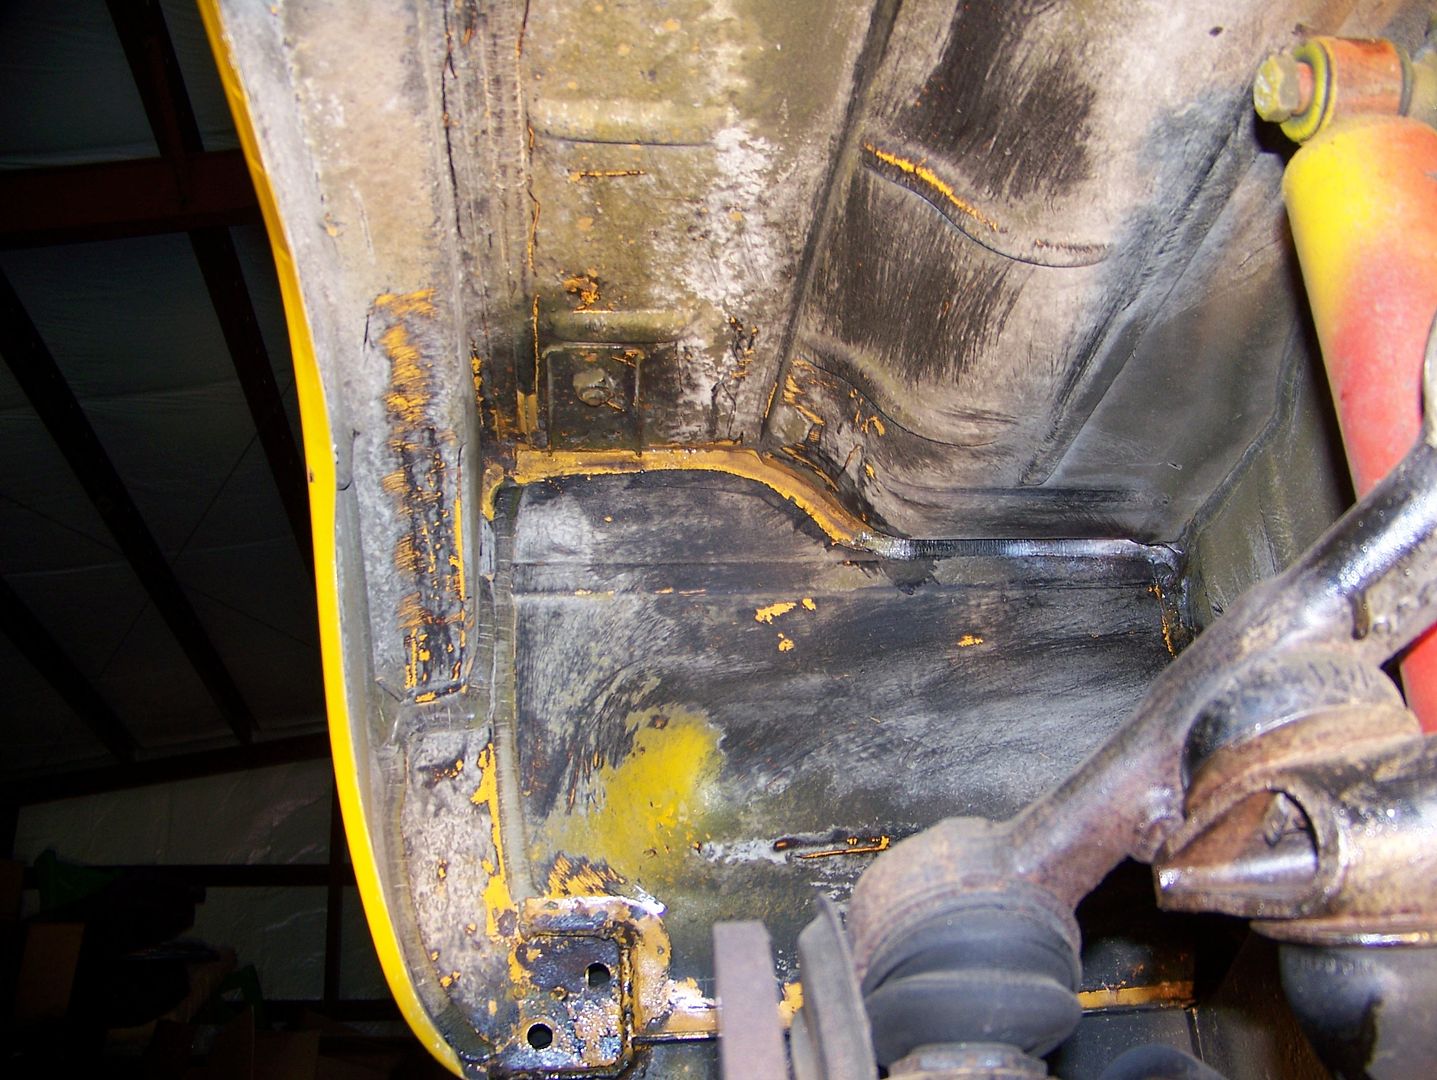
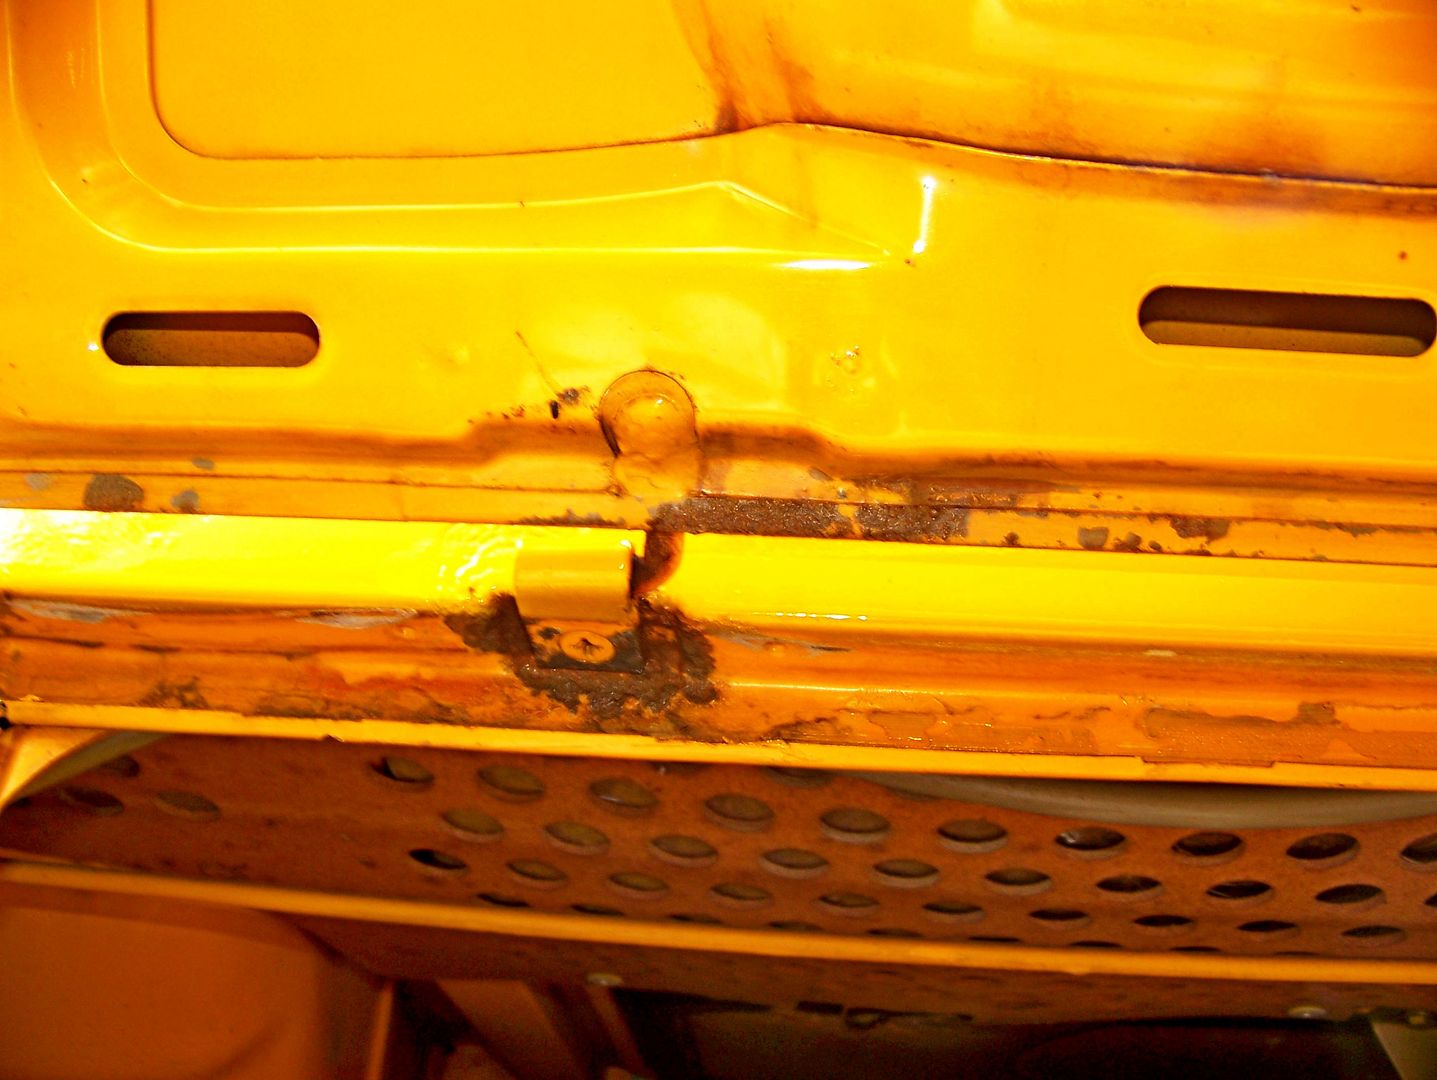
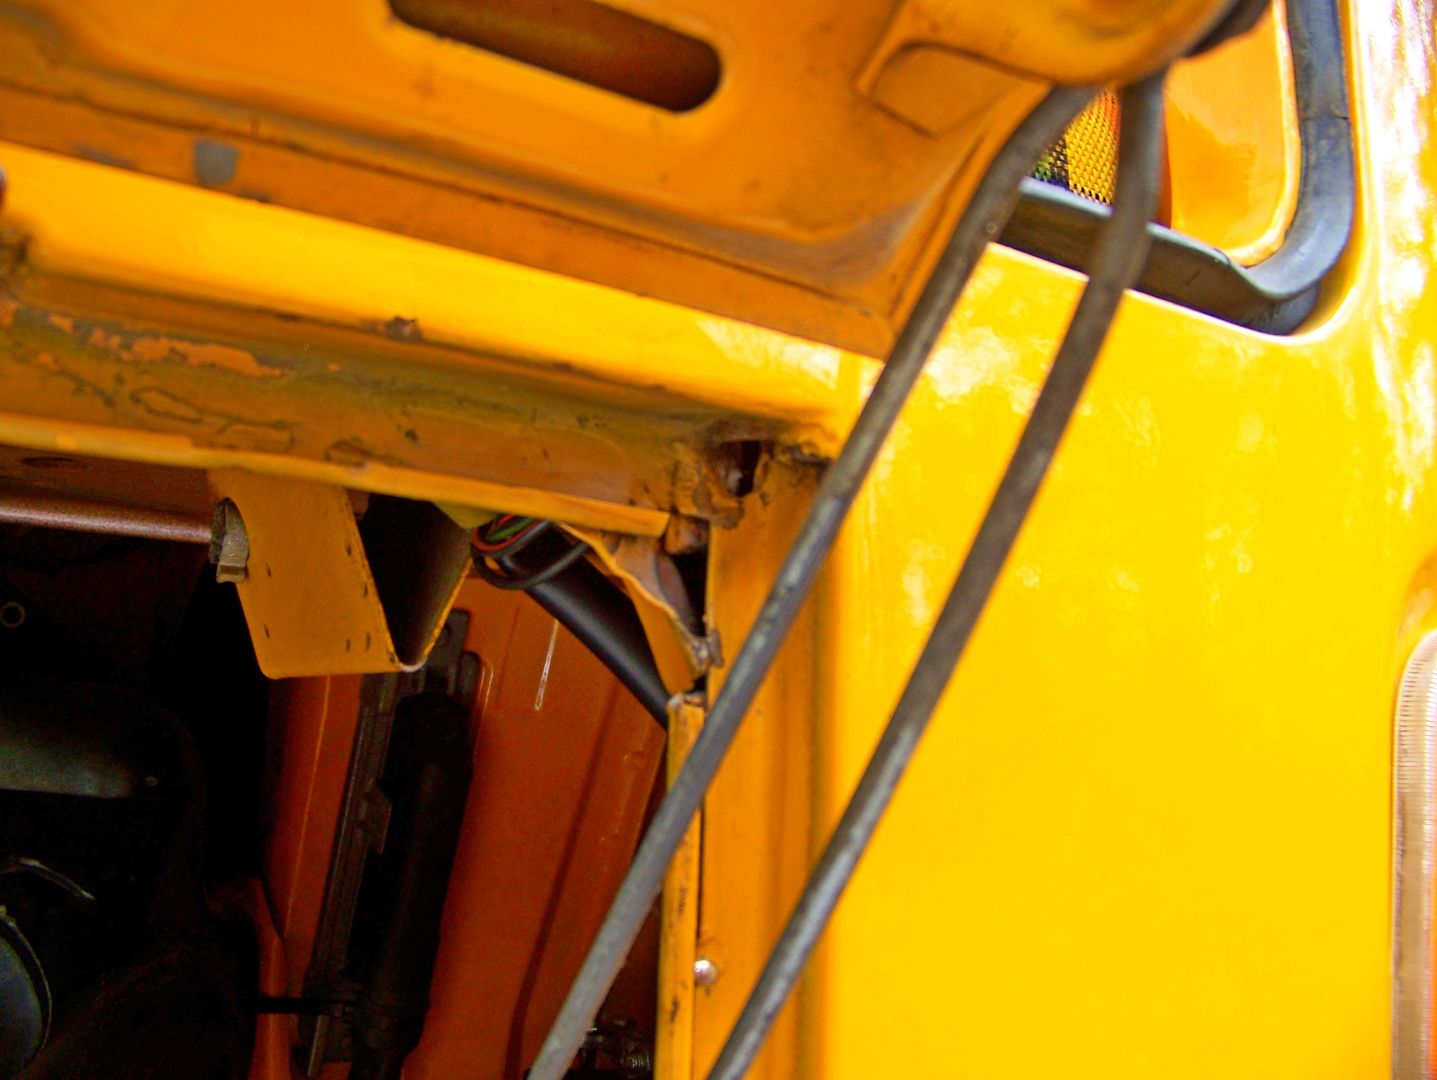
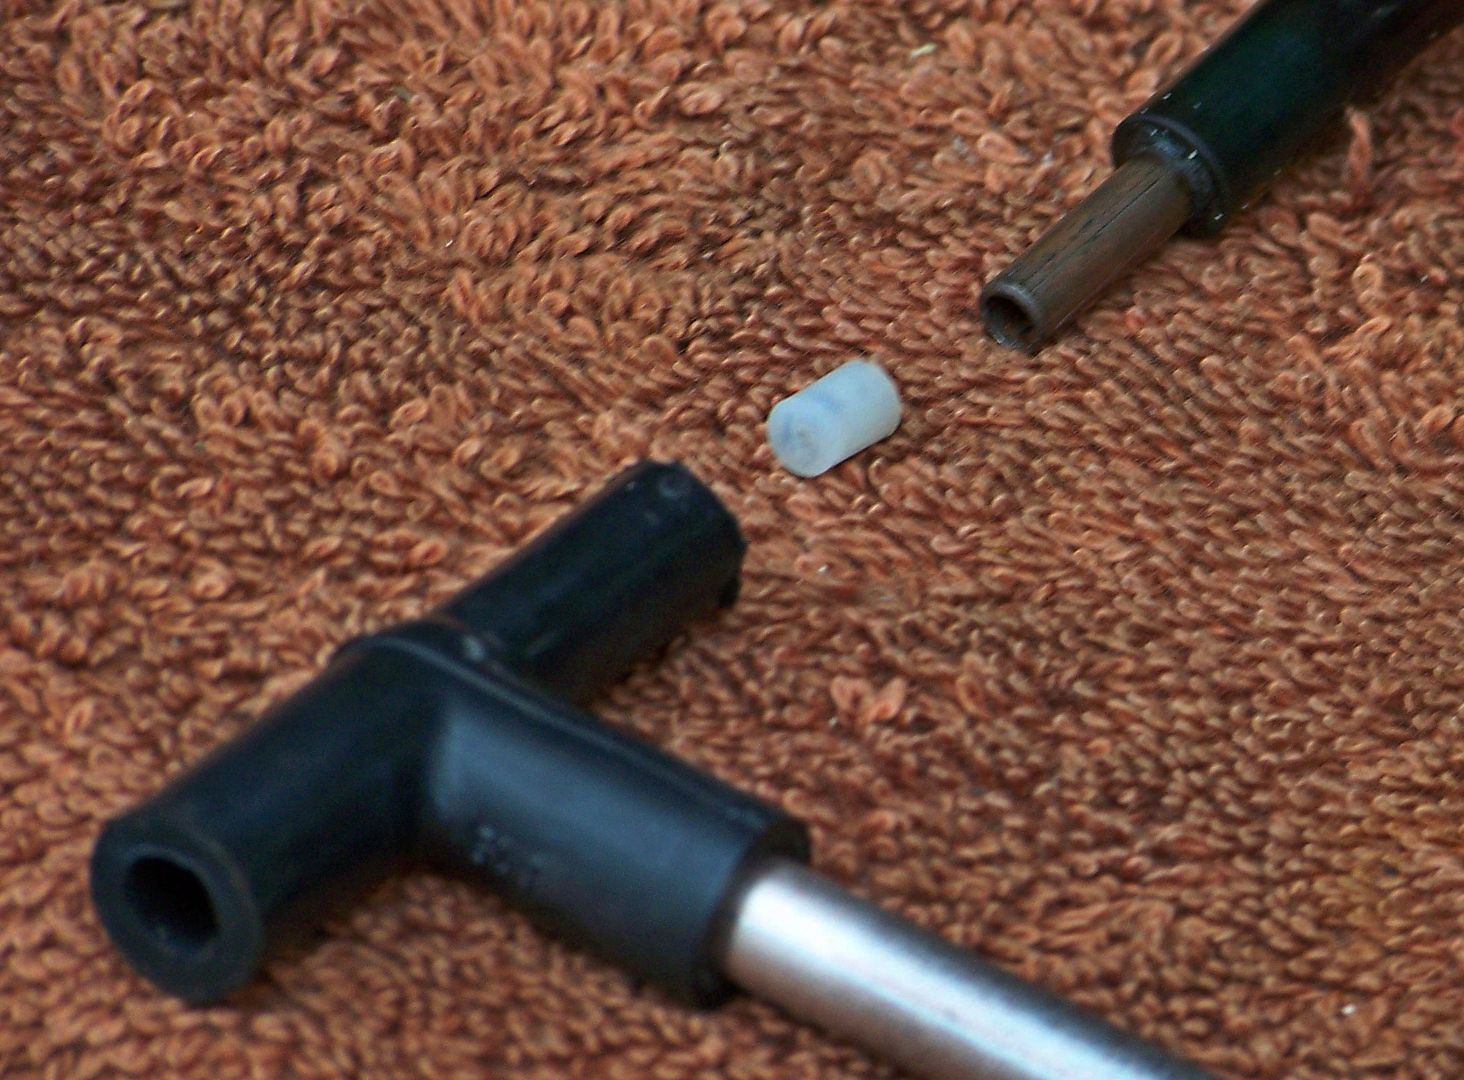
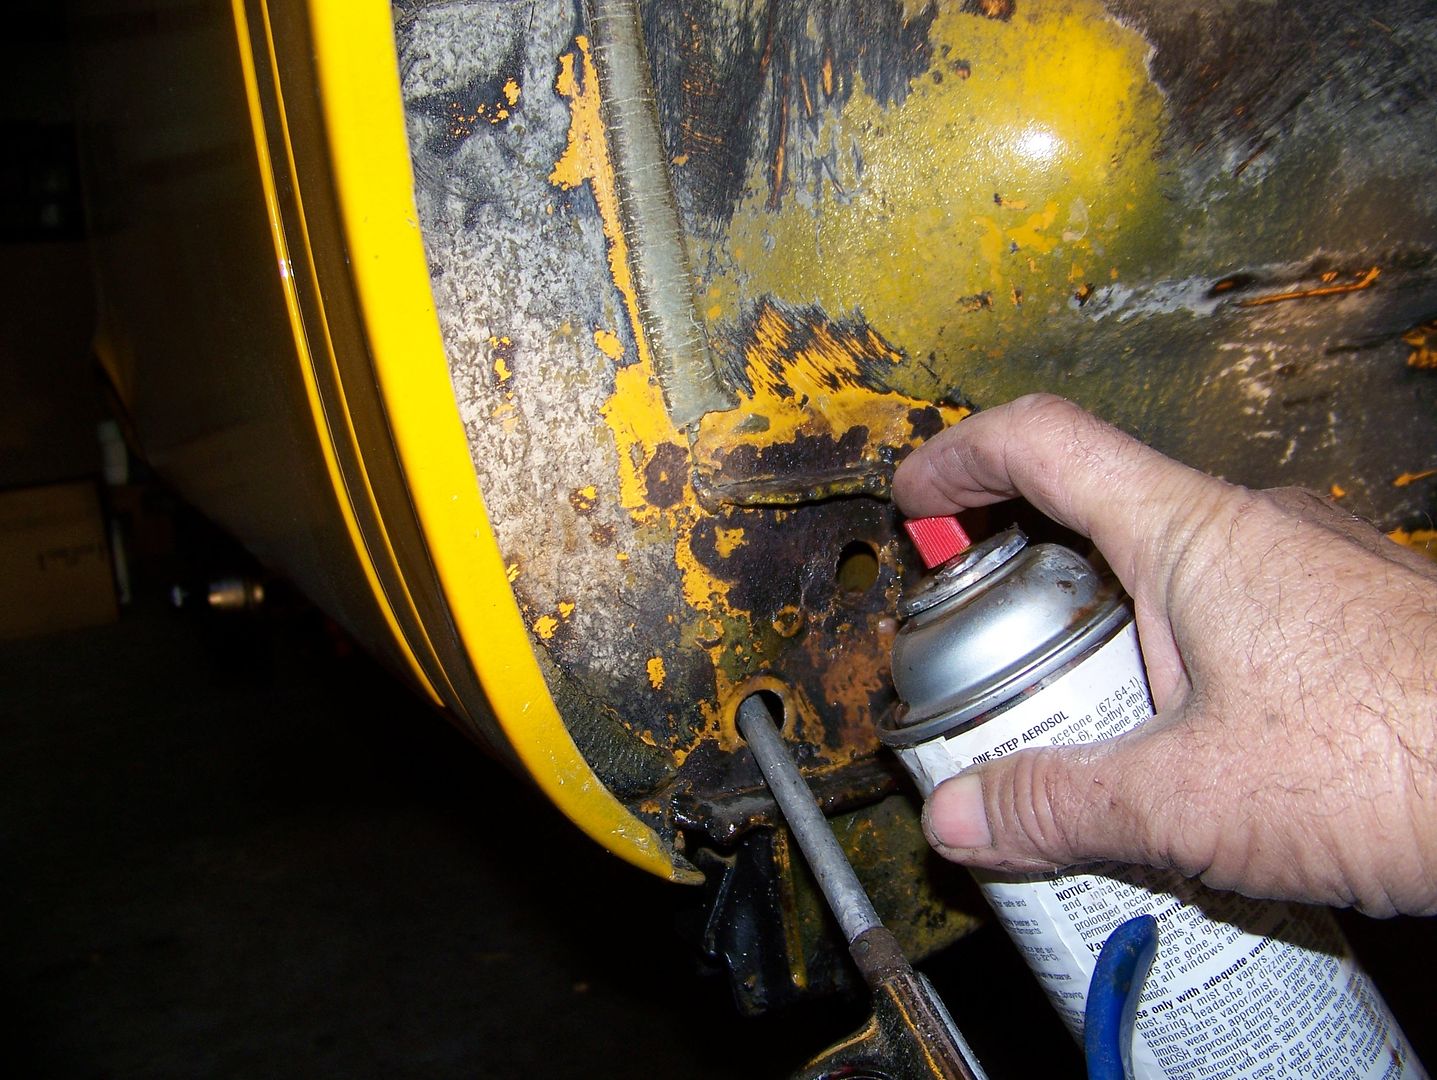
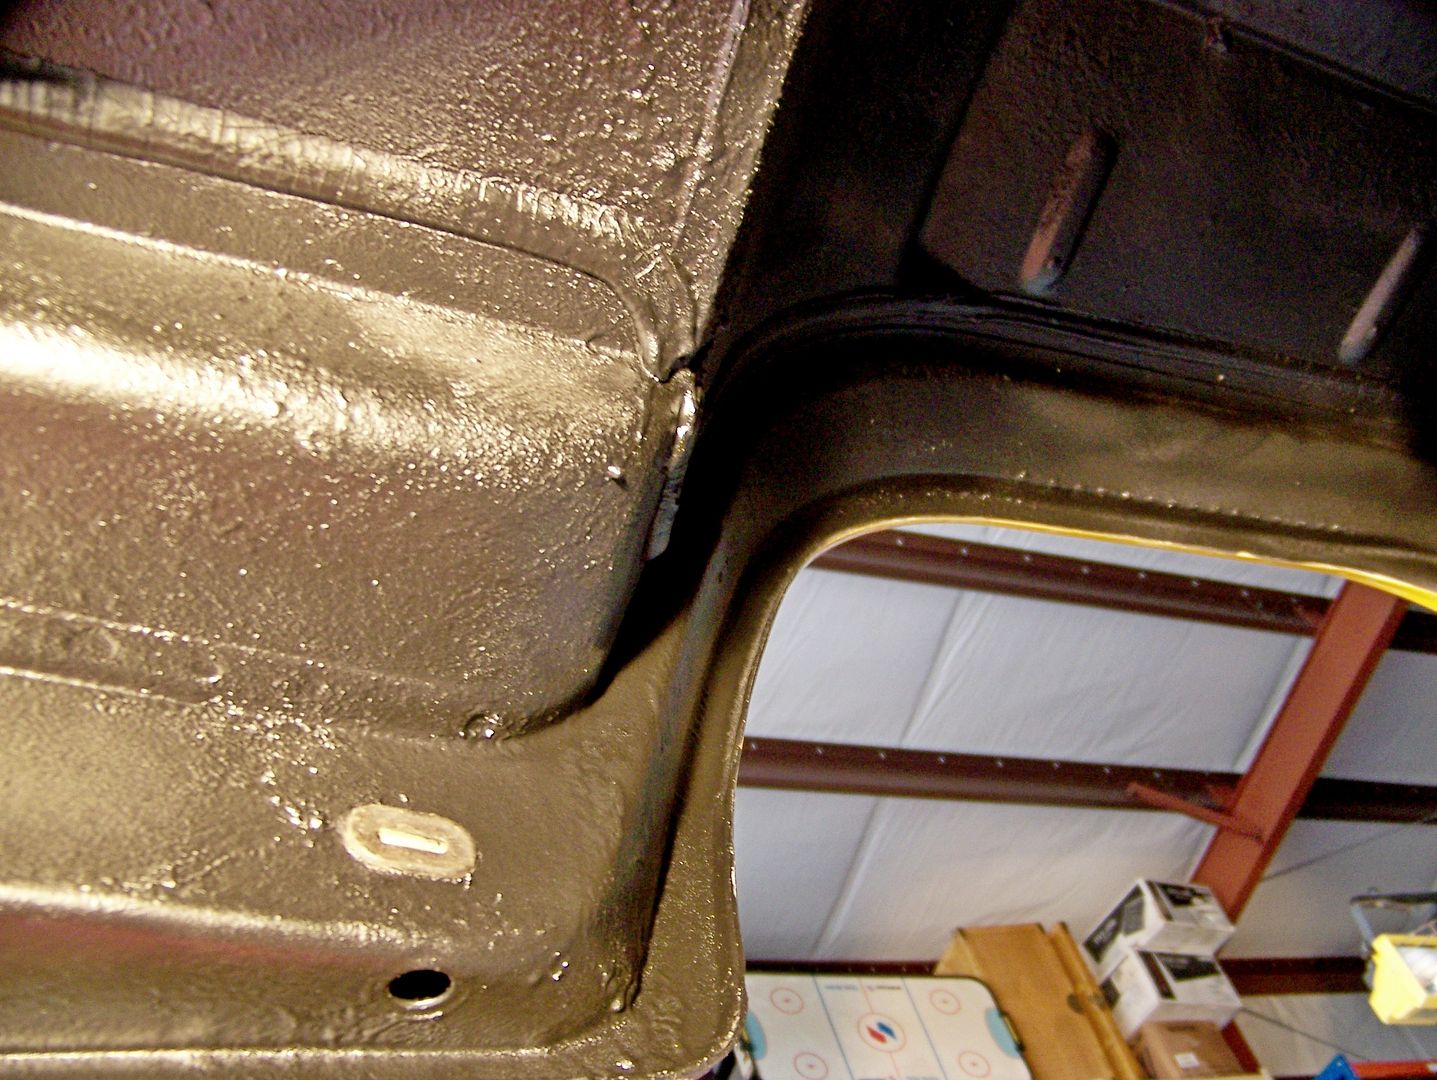
The salt was everywhere, everywhere. It was "easier" inside the frame rails only by virtue that the overspray didn't reach in that far, but inside of each out-rigger, inside of the boxed frame sections, inside of the torsion tube collars at the rear and inside the front beam, salt had enjoyed a twenty year head-start against my rust eradication efforts. I modified the rust catalyzing paint nozzle to accept a carb spray straw and drenched/air-blasted every drain hole and every hidden corner of the entire chassis/body.Took out all (and they were all beautifully present and still pliable) rubber plugs and compressed-air/rust-catalyzing primed the rocker panels and dog legs:

Image


Each corner of the car took a full ten hours:

Image


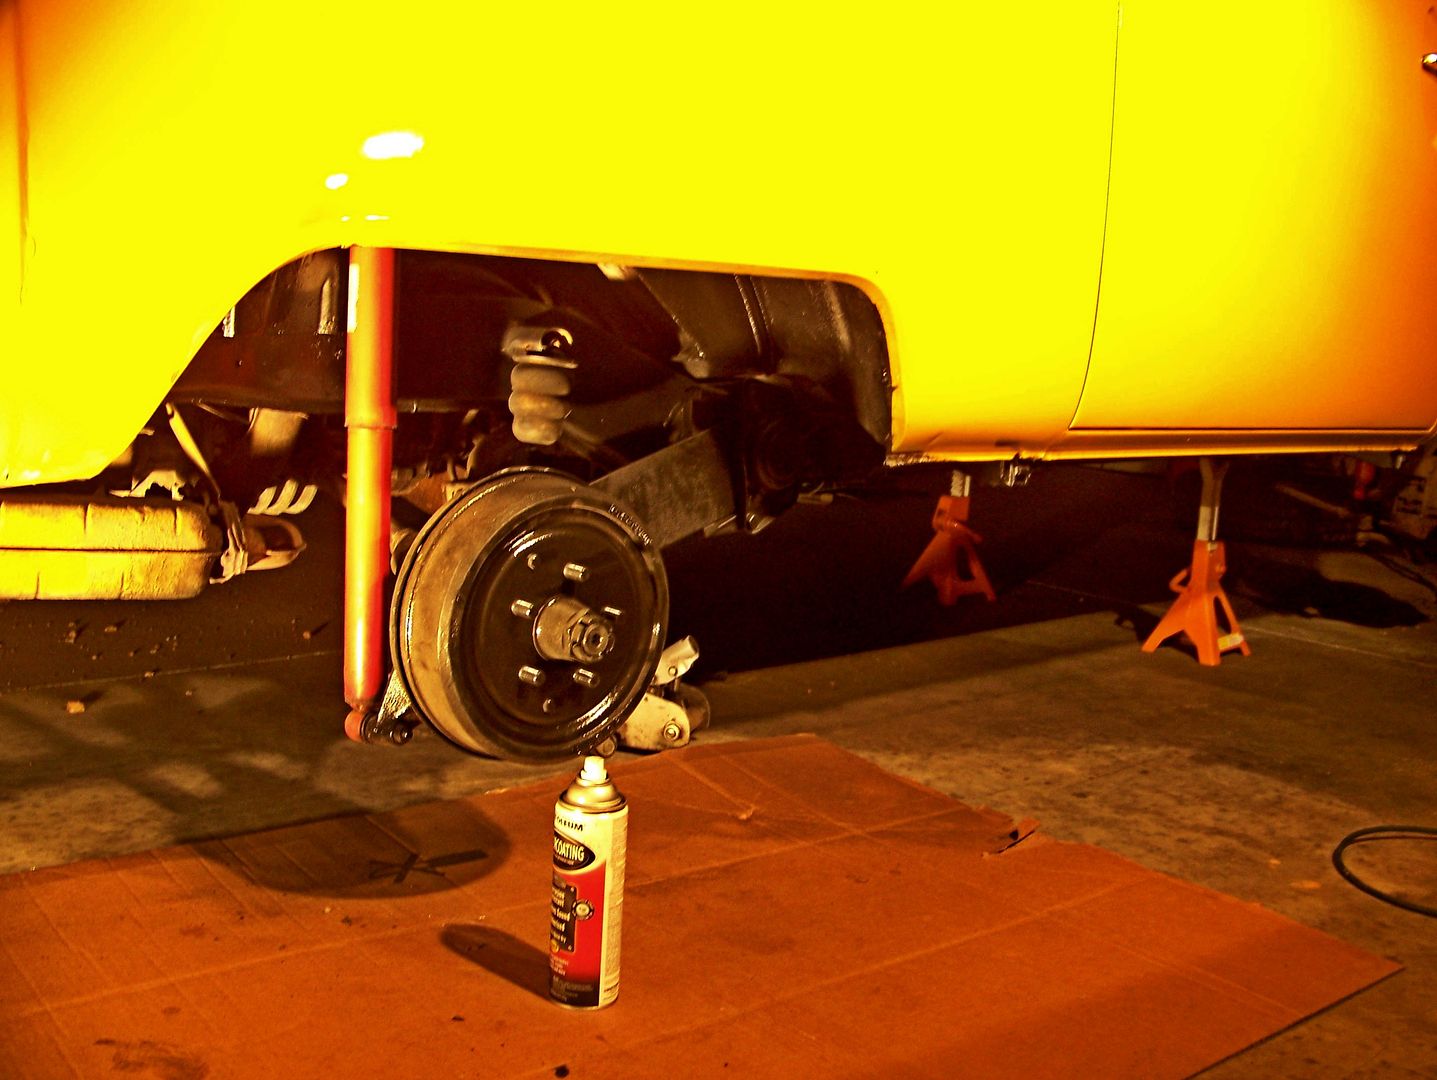
What The Heck painted the rear drums, and wheel bearing housings and backing plates. Looks like a bored weekend teenager job, but too bad! I figured each inch of coverage against oxidation as a victory:

Image


Drilled holes in the front beam to help drainage. Right side here, a few rust particles, not too bad:

Image


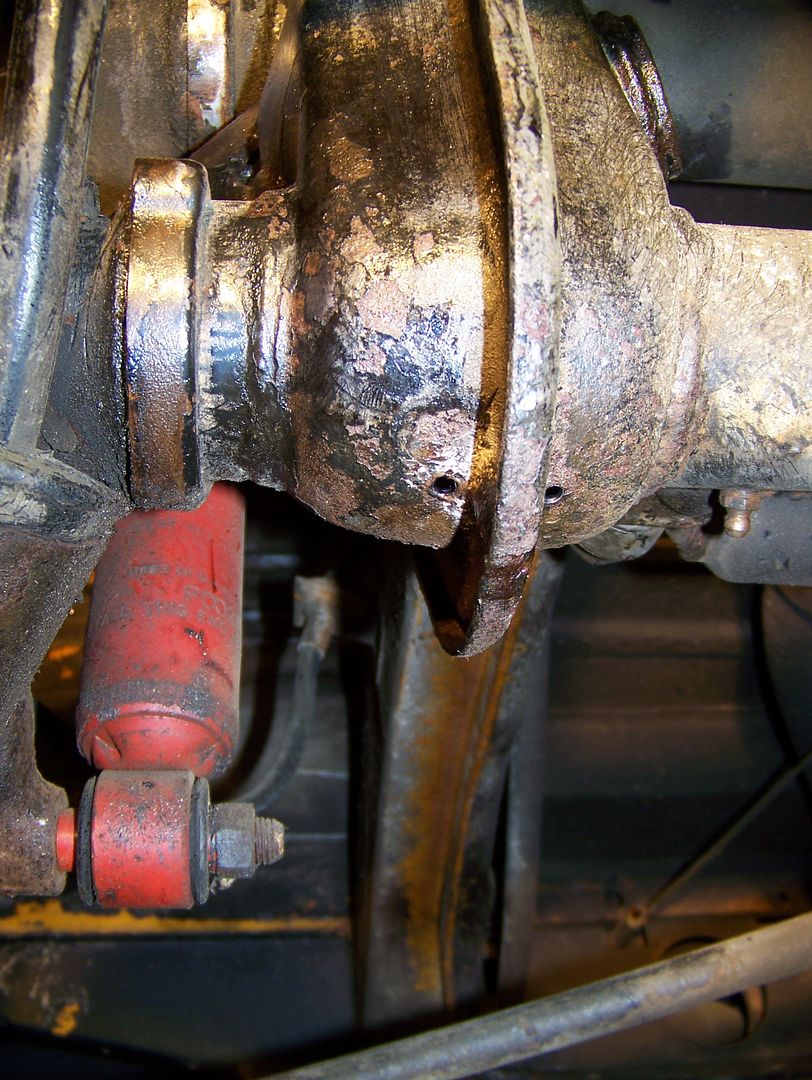
The left side was a horror. I knew I was in trouble when I drilled through the bottom of the stamping that holds the tubes together, and saw a red ooze drip out, water! This, five days after the last precipitation?? When I surface-scuffed the stamping, I almost didn't find good base shiny metal along the bottom, there were rust spots that never cleaned up. Had to drill a big hole on the inside to be able to remove the larger chunks of rust with my hooked hanger wire. I think it was the end of Day Two at 11:30PM when I found this disheartening destruction from sloppily applied asphalt undercoating clogging the drain hole on the left side of the beam.

Image


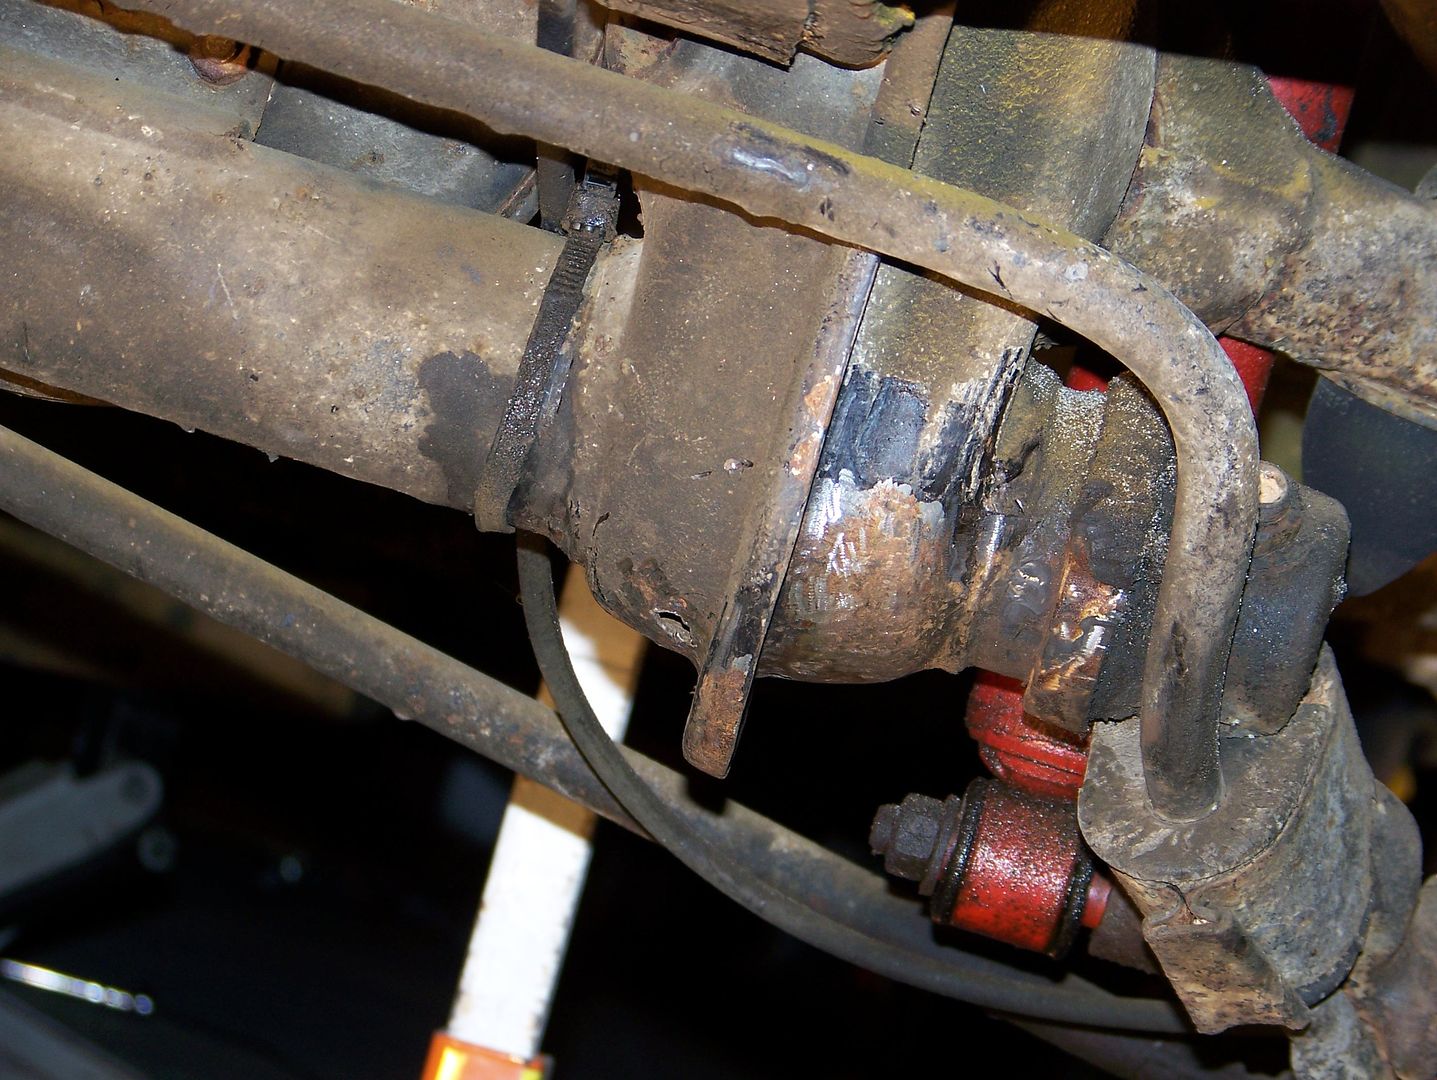
I swore to the car that I was going to get every last piece of loose rust out of that beam no matter how long it took. I ran that hanger around in both of my new drain holes there and switched the air nozzle from hole to hole and got peppered with hours of metal flakes and chunks that had to be broken up before they would clear the larger hole. At 1:50AM, I could not get another flake to fall out of the front beam, not one:

Image


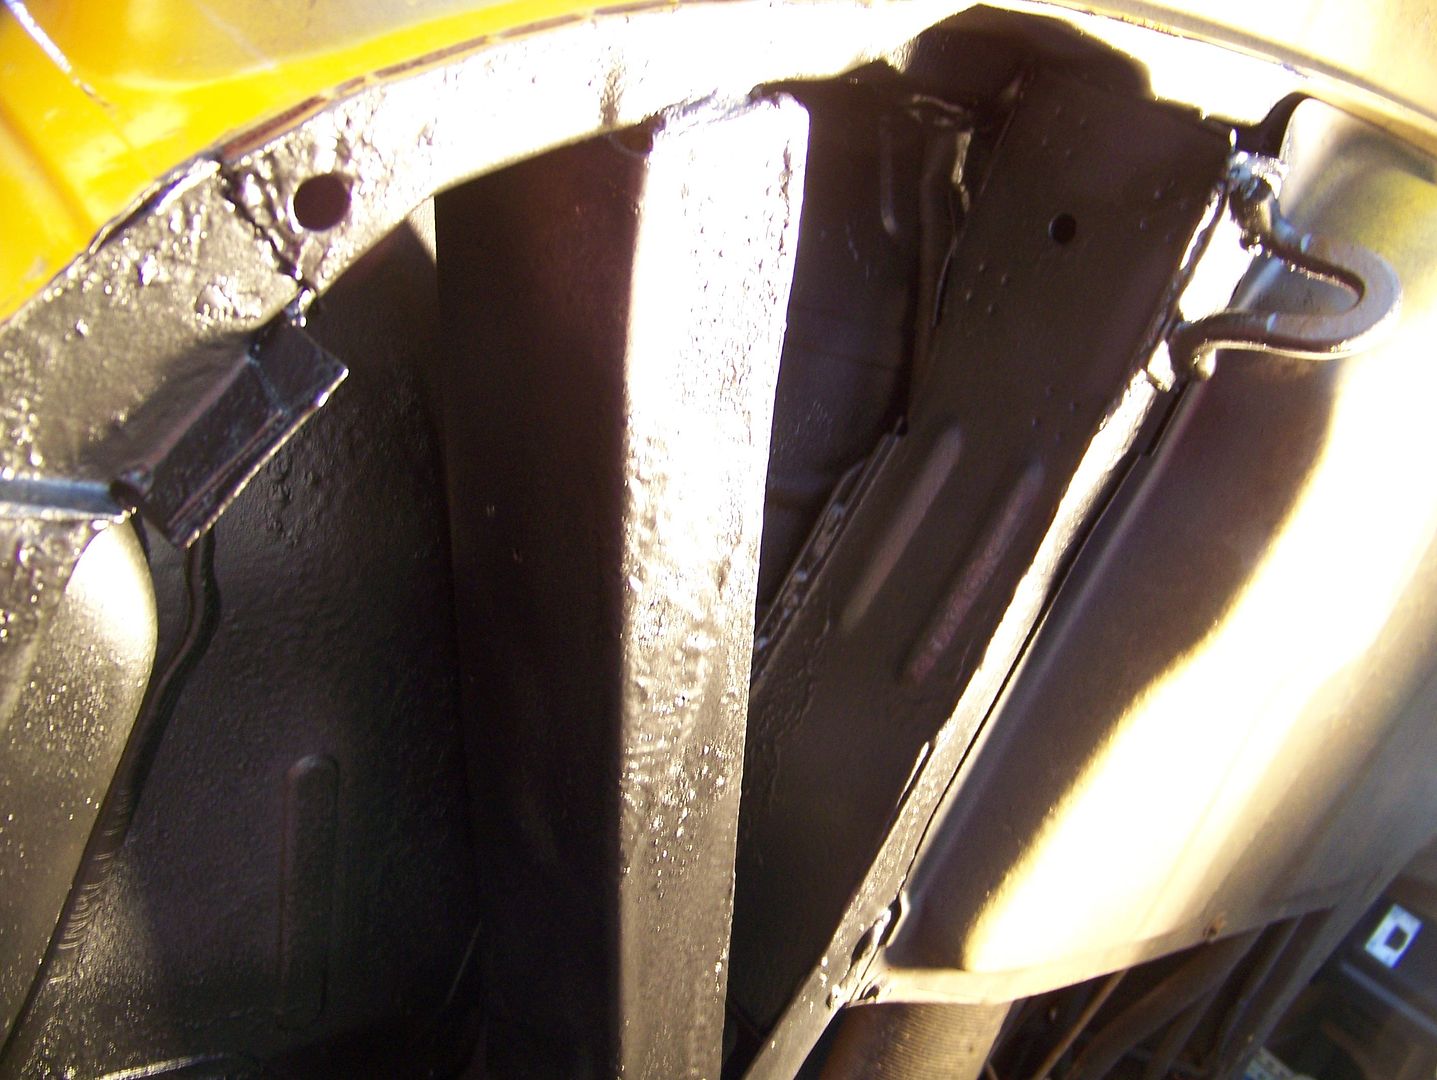
I drenched the inside of the beam, my hands, the air nozzle, and my eyeballs ( to protect the clarity of my safety glasses from any muriatic acid drips, I took them off ) with rust-catalyzing primer. It flooded out of the carb spray straw and blasted deep into the front beam stampings with that compressed air. I prayed and sprayed. Finally! The underside of the car looks like the BobD:

Image


Image


Image


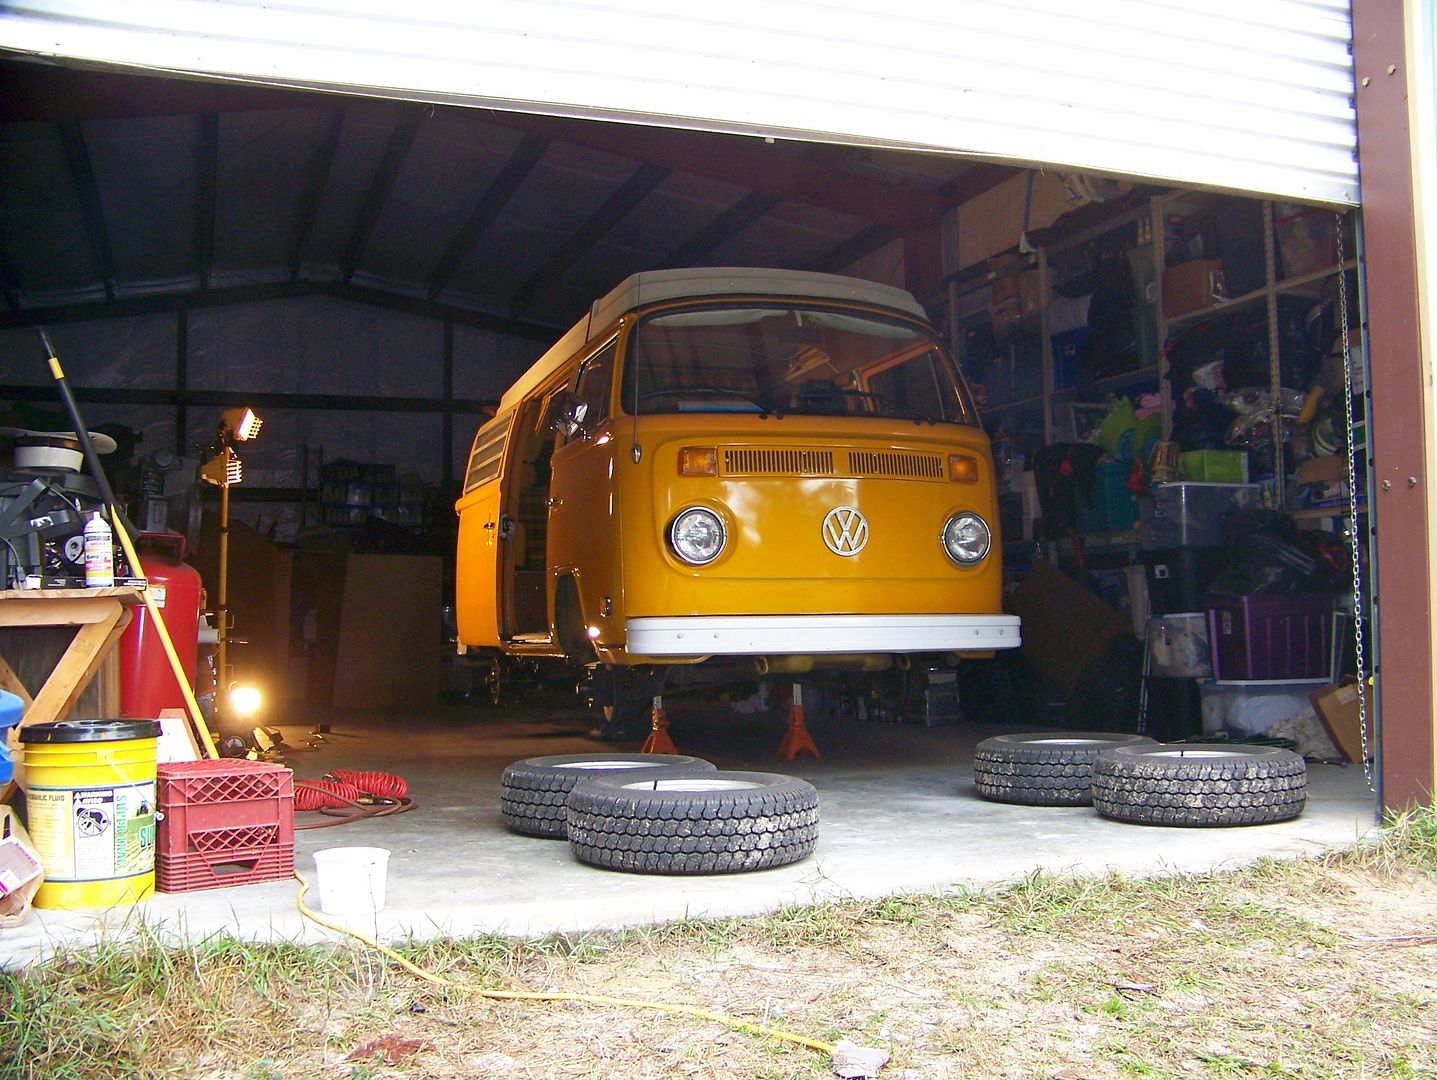
There is so much more, but I have to get to Walmart for plastic sheeting for the front door vapor barriers. I am embarrassed and grateful at how accommodating the Florida Flapping Fowl Farm has been:

Image

Re: Naranja Westy Road Trip Two

Posted: Wed Jan 13, 2016 5:10 pm
by Mr Blotto
Nice work! Man, that is one job that I should have done to my Westy. Your transformation of this bus has stirred up my interest once again.....

Re: Naranja Westy Road Trip Two

Posted: Wed Jan 13, 2016 6:53 pm
by weisswurst
Amskeptic wrote: What did I, dressed in clothes that would embarrass a coal miner after a double-shift, ever *do* to deserve pork roast on a platter?
Ha! Coal miner Colin? you bet here he is.... :geek:
BTW I heard that turkey in your last pic wants to make you an "offer" on your bus! :pirate:
Jeff

Re: Naranja Westy Road Trip Two

Posted: Thu Jan 14, 2016 8:28 am
by THall
What do you use for the undercoating?
Amskeptic wrote: I prayed and sprayed. Finally! The underside of the car looks like the BobD:

Image


Image


Image

Re: Naranja Westy Road Trip Two

Posted: Thu Jan 14, 2016 11:56 am
by Jivermo
Beautiful work...sure is great of Jeff to host this shindig! Cook up a few of them Guinea fowl...they are pretty tasty, slathered with butter, and a side of grits.

Re: Naranja Westy Road Trip Two

Posted: Sat Jan 16, 2016 11:50 am
by luftvagon
Looking good Colin. My undercarriage needs a scrub, and a paint job too. When are you free next?

Re: Naranja Westy Road Trip Two

Posted: Sat Jan 16, 2016 1:31 pm
by Jivermo
Man, I just dug out my 3-D glasses and looked at the pic of Naranja in Jeff's barn, above. It jumps right off the screen! Brought back memories of "Bwana Devil"!

Image

A lion in your lap, a lover in your arms, and a Westy in the Florida swamps!

Re: Naranja Westy Road Trip Two

Posted: Tue Jan 19, 2016 7:59 am
by Hobug
THall wrote:What do you use for the undercoating?
Amskeptic wrote: I prayed and sprayed. Finally! The underside of the car looks like the BobD:

Image


Image


Image
X 2