A whole new adventure in Pensacola FL after the marathon windshield channel repair at the Weisswurst Volkswagen Petting Zoo and Animal Showroom.
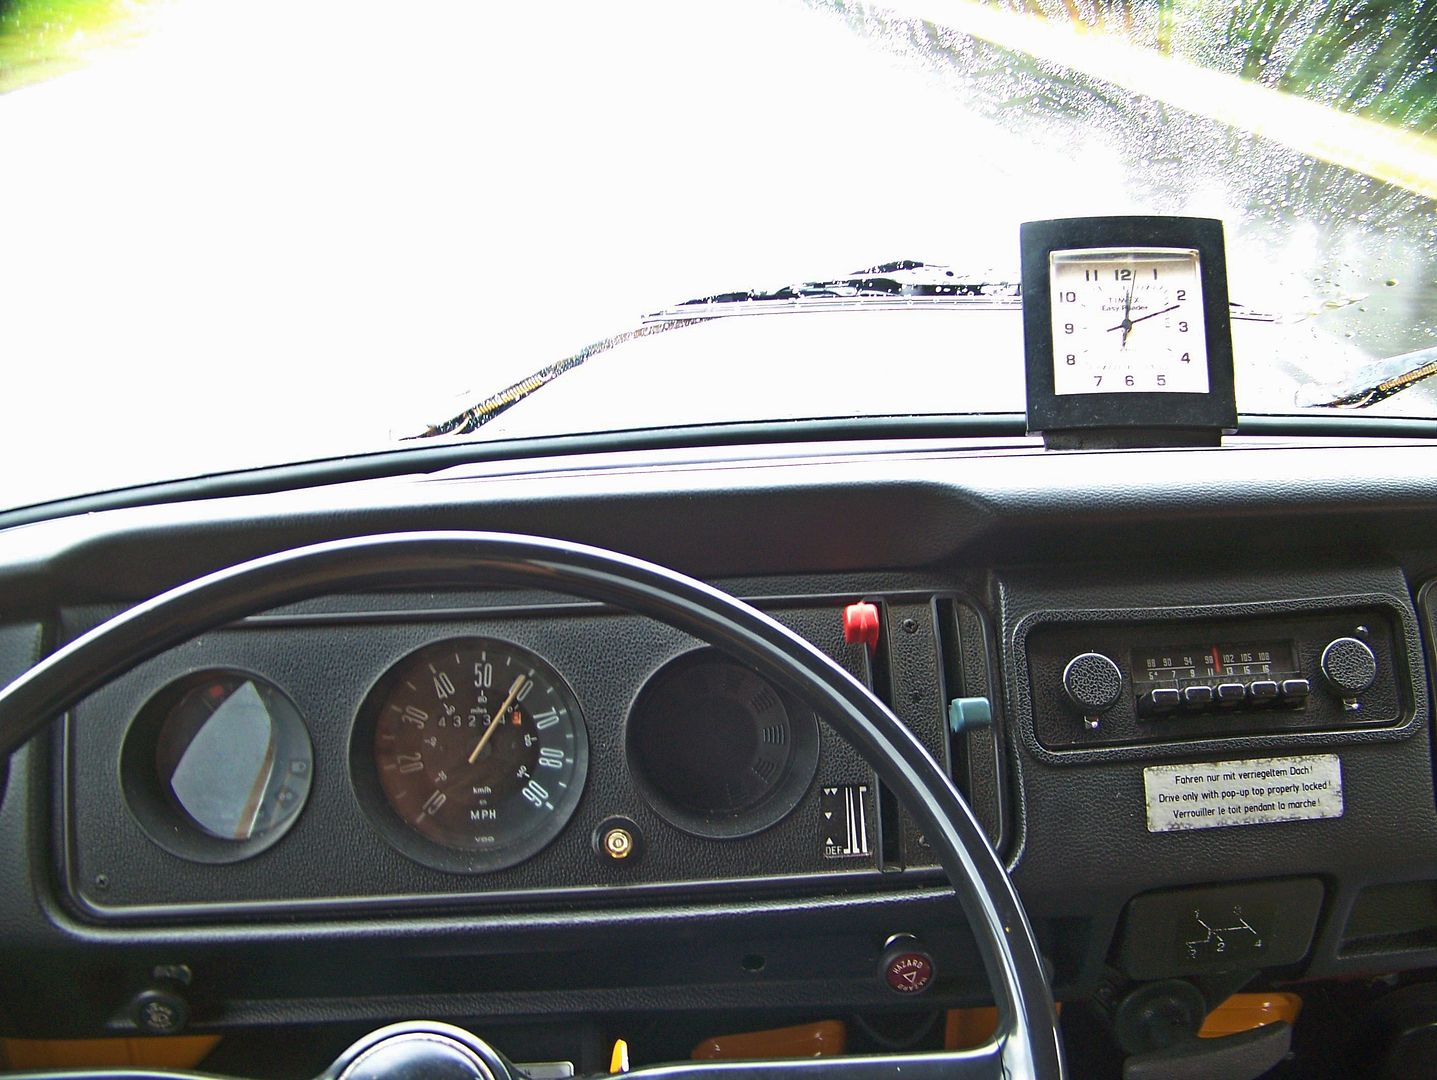
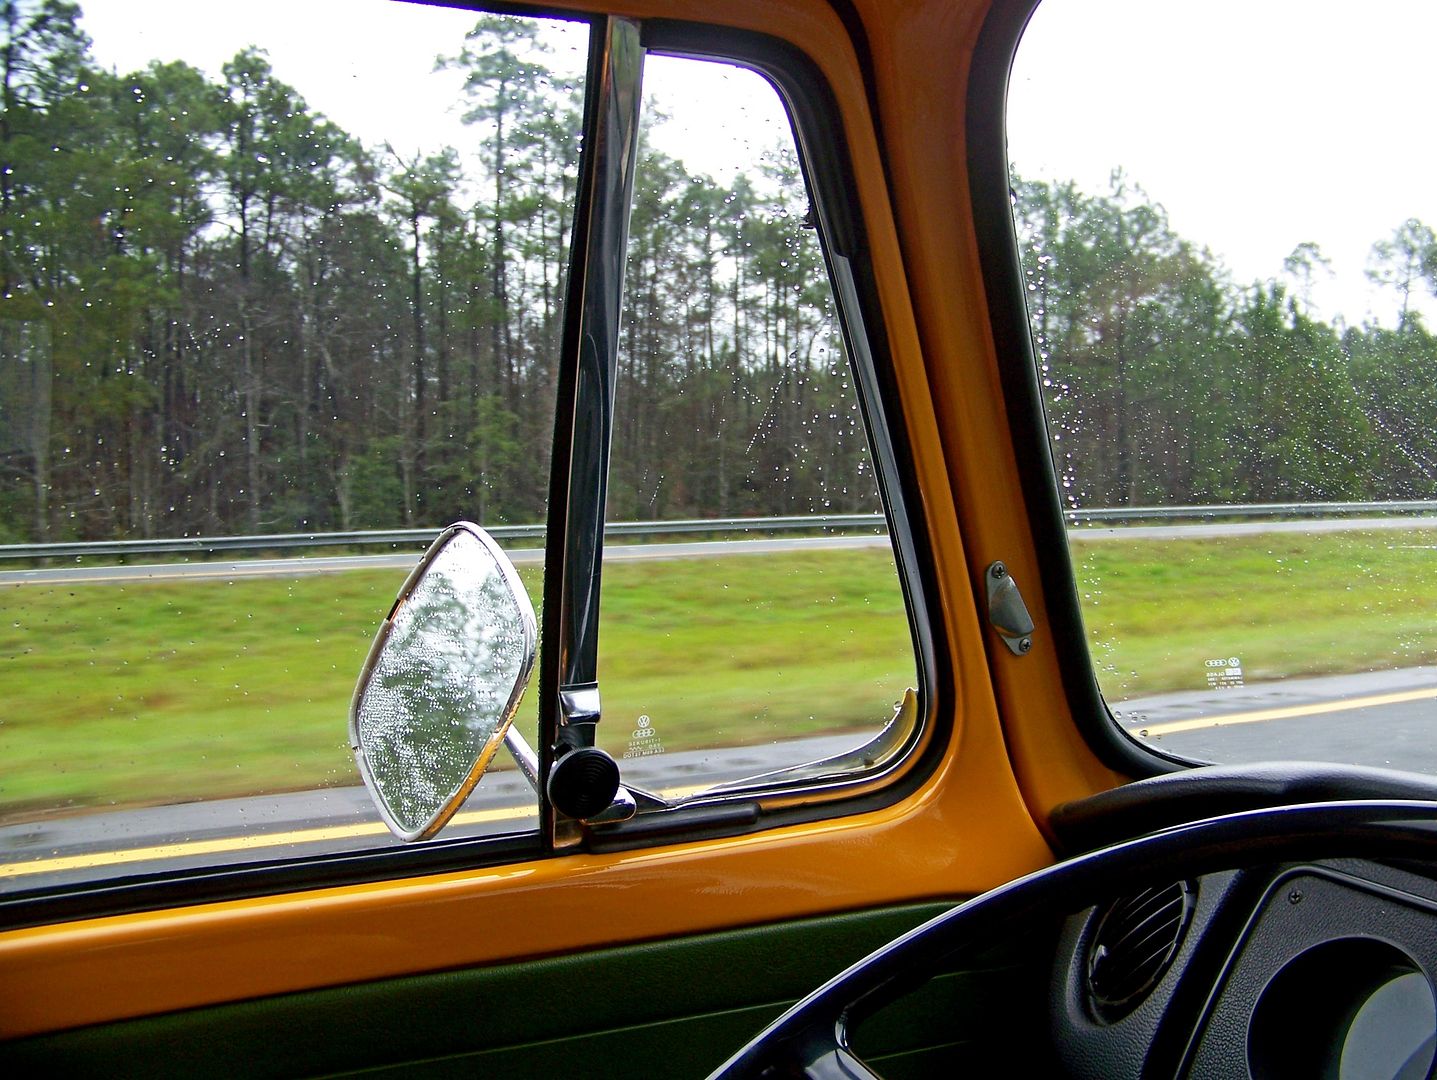
Naranja Westy had driven the 400 or so miles from Homosassa Fl with aplomb, averaging 18 mpg at 60-65 mph, brakes getting a little pulsy and a little swervy, engine beginning to backfire on deceleration (with my new exhaust??), and the temperatures had dropped severely enough to require pulling down on the heater cables with two fabricated coat hanger hooks that held the heater valves open hooked against the frame channels. I ran a wire from the ground spade station on the intake plenum that I stuck into the brown and white wire that leads back to the blower fan relay when I needed additional heat. Good heat too . . . :

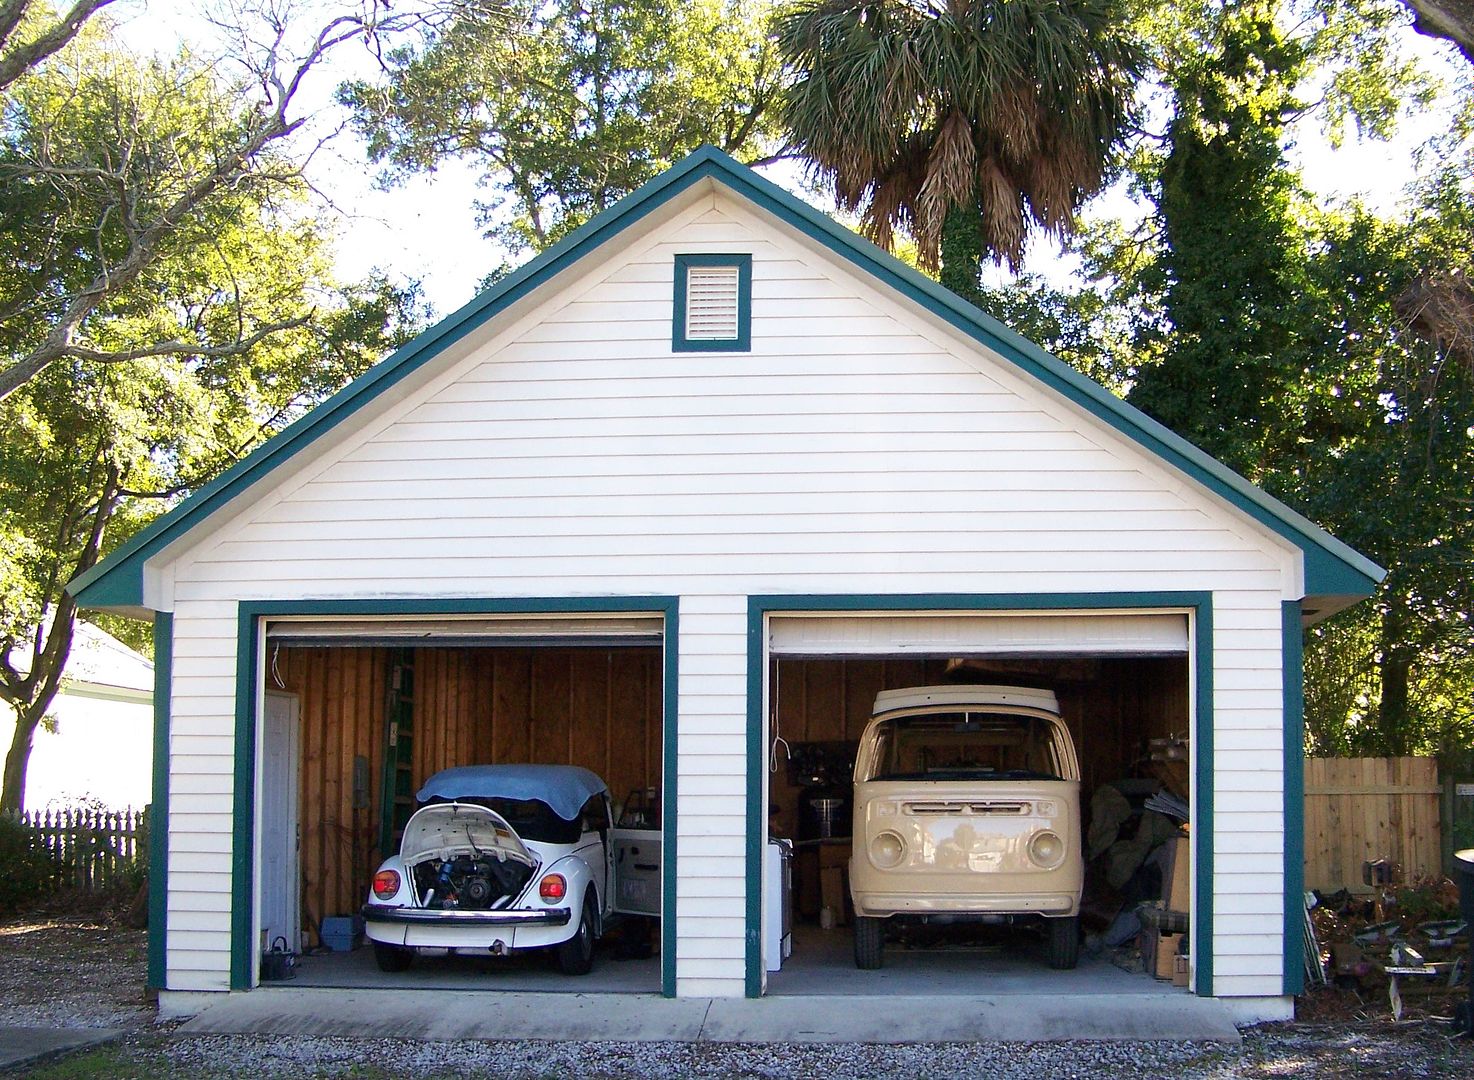
The timelessness of the Law Firm is an anchor for the traveling itinerant. There's the cats. There's the outside painting table. There's the garage. There's the lawyer, Jack (jackstar on the forum), there's the utterly perfect shell of a 1979 Westy in flawless Dakota Beige showing me with stark relief the extent of the catastrophes unleashed by dumb collision damage and dumb repairs on Naranja, and looky there, why there's the 1979 Cabriolet! refusing to move out of the bay until we clean and gap its plugs:
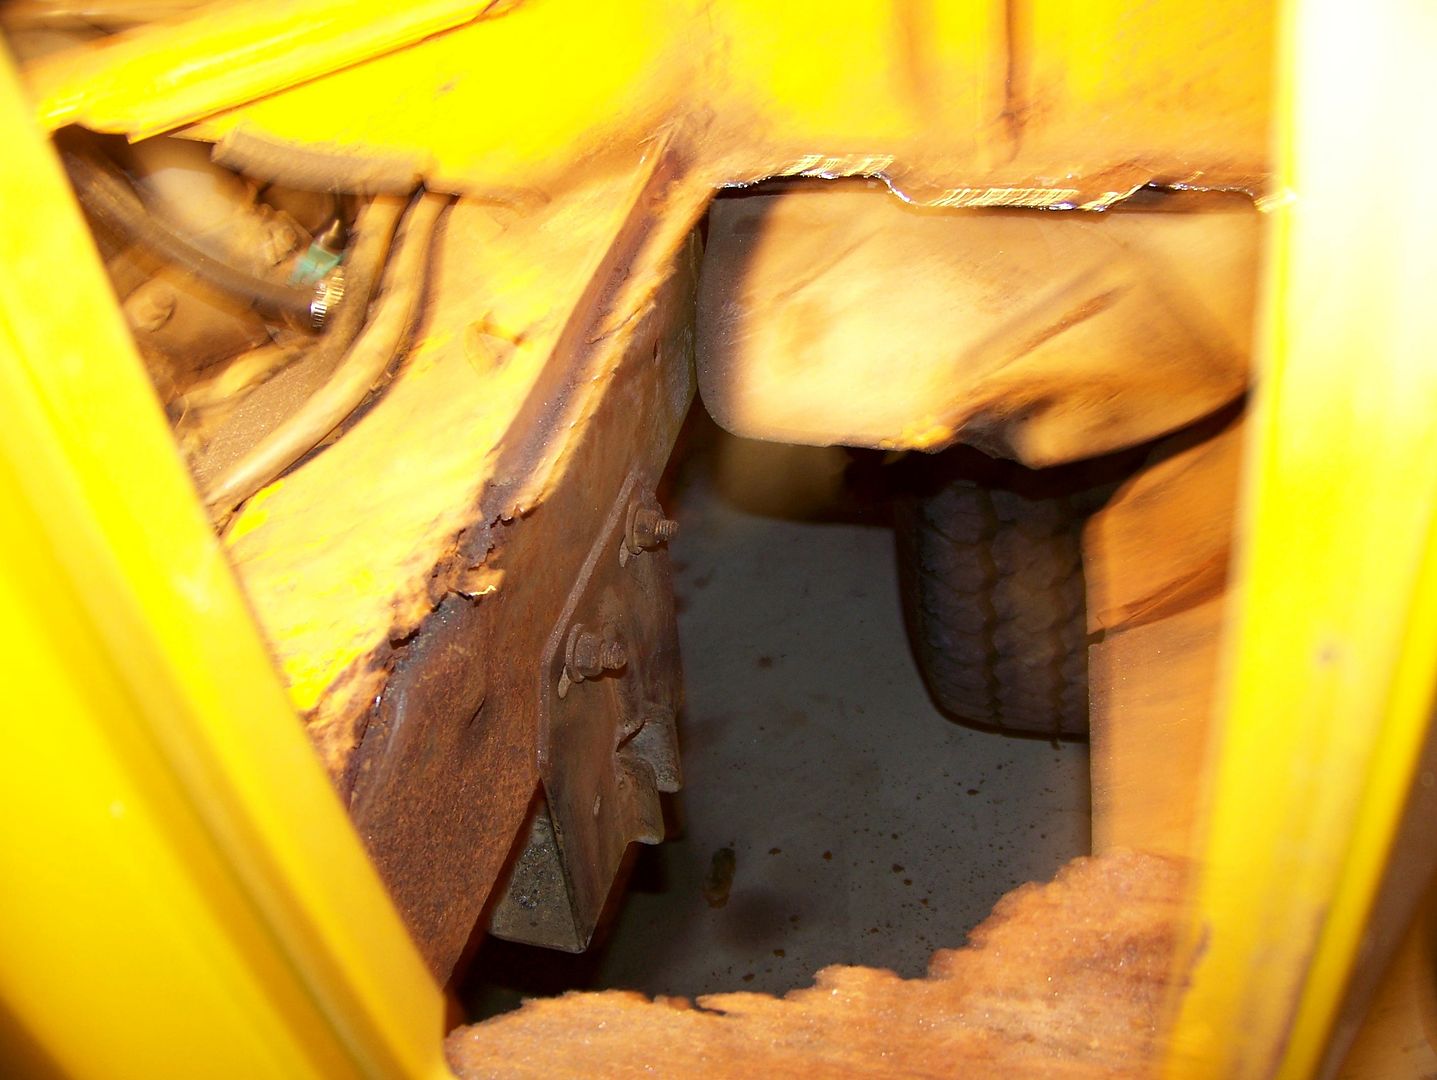
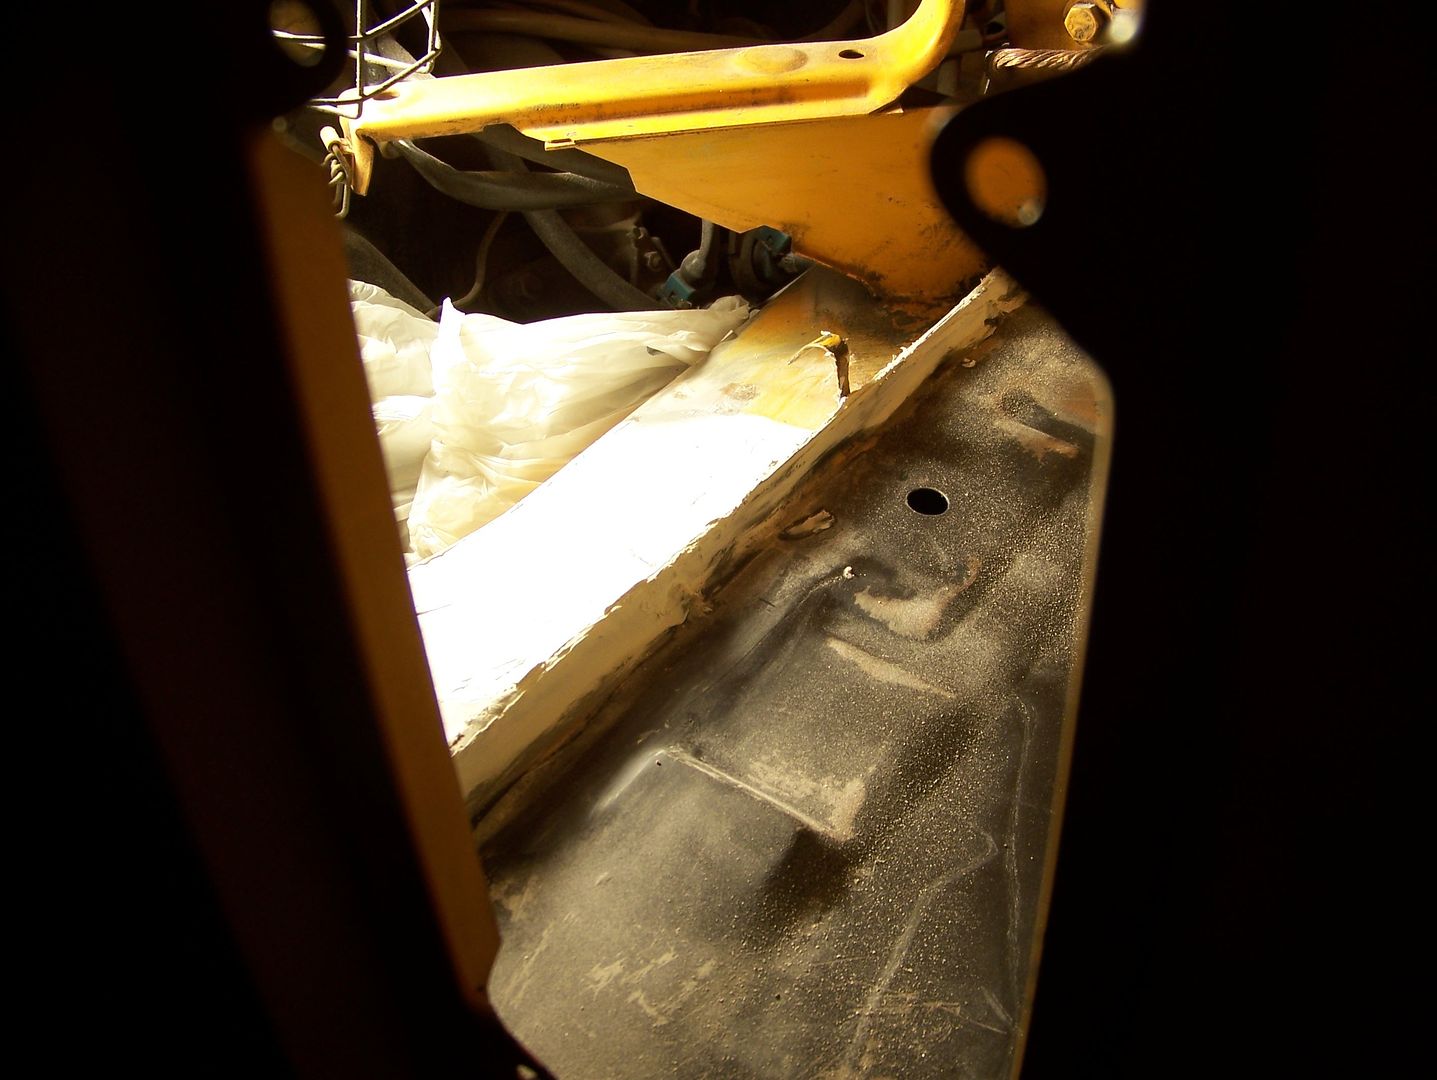
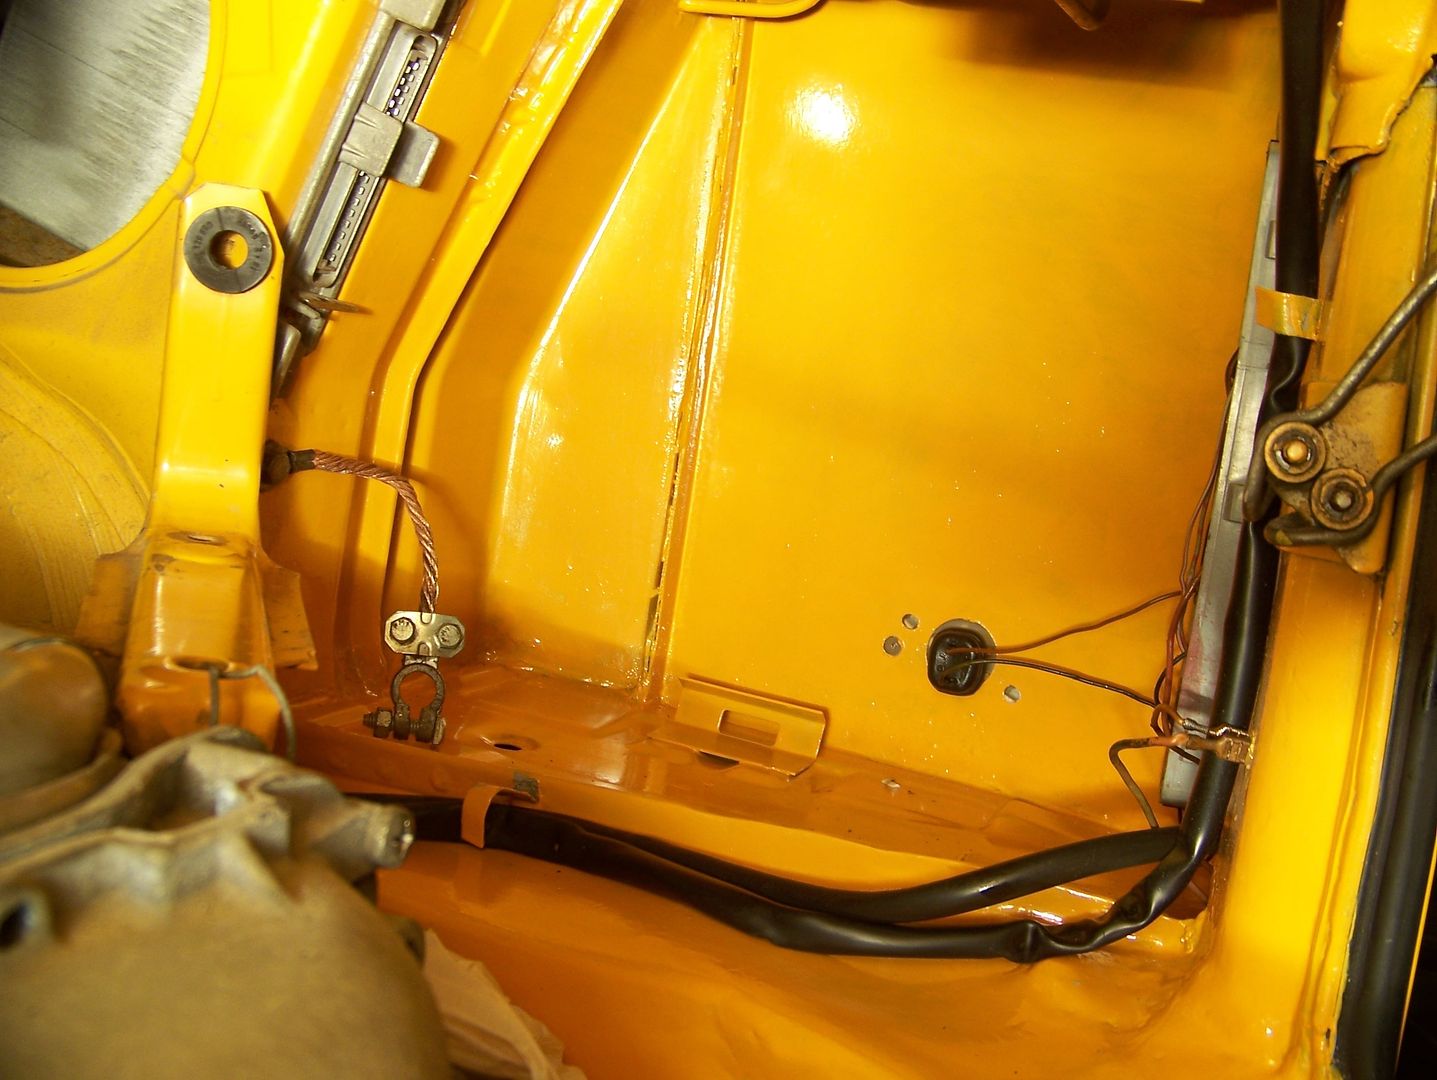
Pulled Naranja into the bay and removed the battery. There is more damage here than I realized:
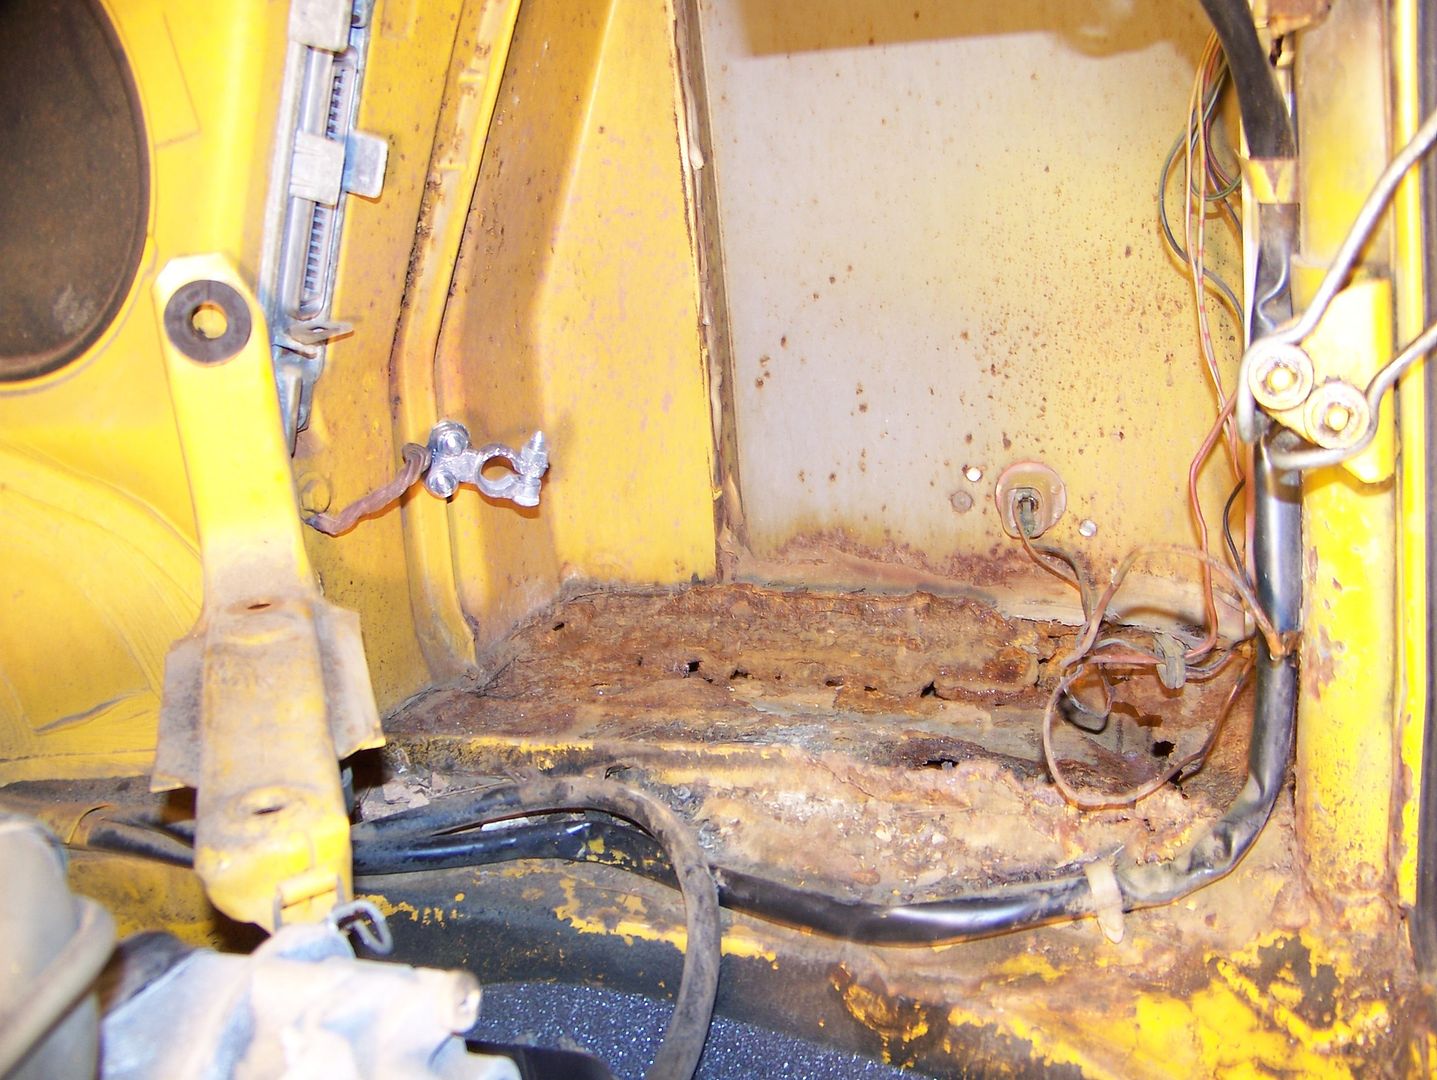
This car was hit on the right rear. The frame was duly shortened. The body work including the hatch/tailgate cross piece, the vertical support alongside the hatch, and the entire quarter panel are all *detached* from the frame. This car was repaired only to look sort of acceptable on the outside. The bumper was up against the body because the shortened frame houses the bumper bracket bolts.
God, I was feeling so bitter about the surfacey shiny fakery "work" done on this car. All of this hidden damage was just secretly eating the car alive. See the fiberglass over the frame channel hole? See the bondo dots? See the shortened frame with the captive bumper nut rusting in a depression on the frame rail? Did I mention that the bumper was being held on with dinky little 1/2" bolts and nuts with split washers that barely bridged the holes in the bracket? Appallingly indifferent, incompetent, and lazy shoddy work . . . .


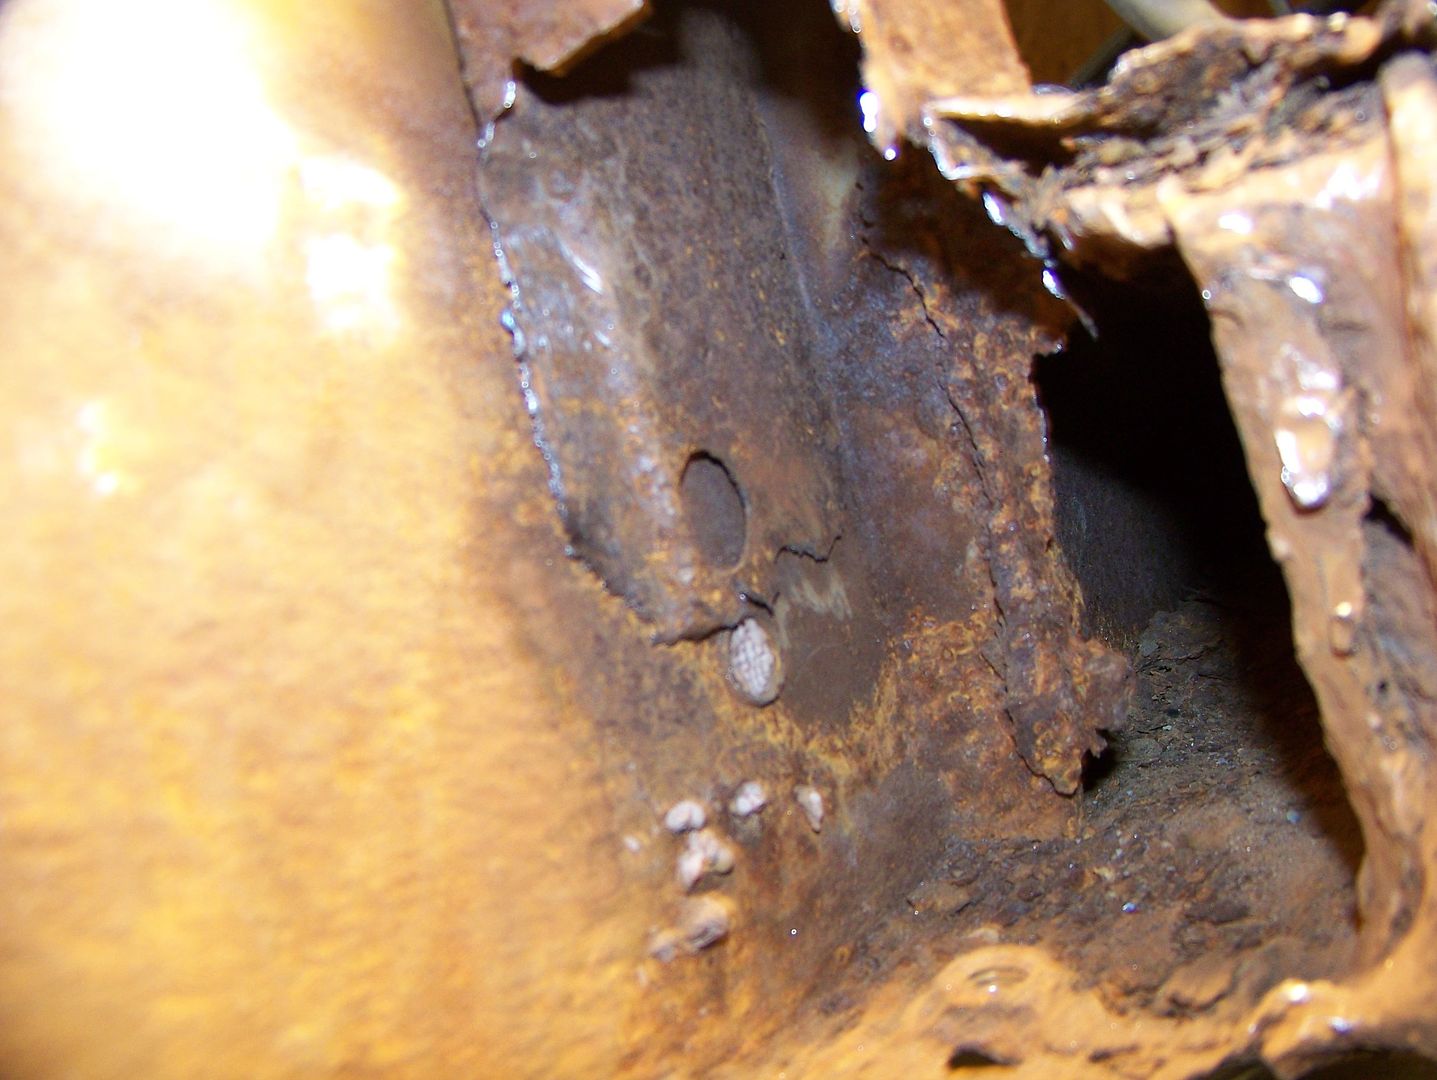
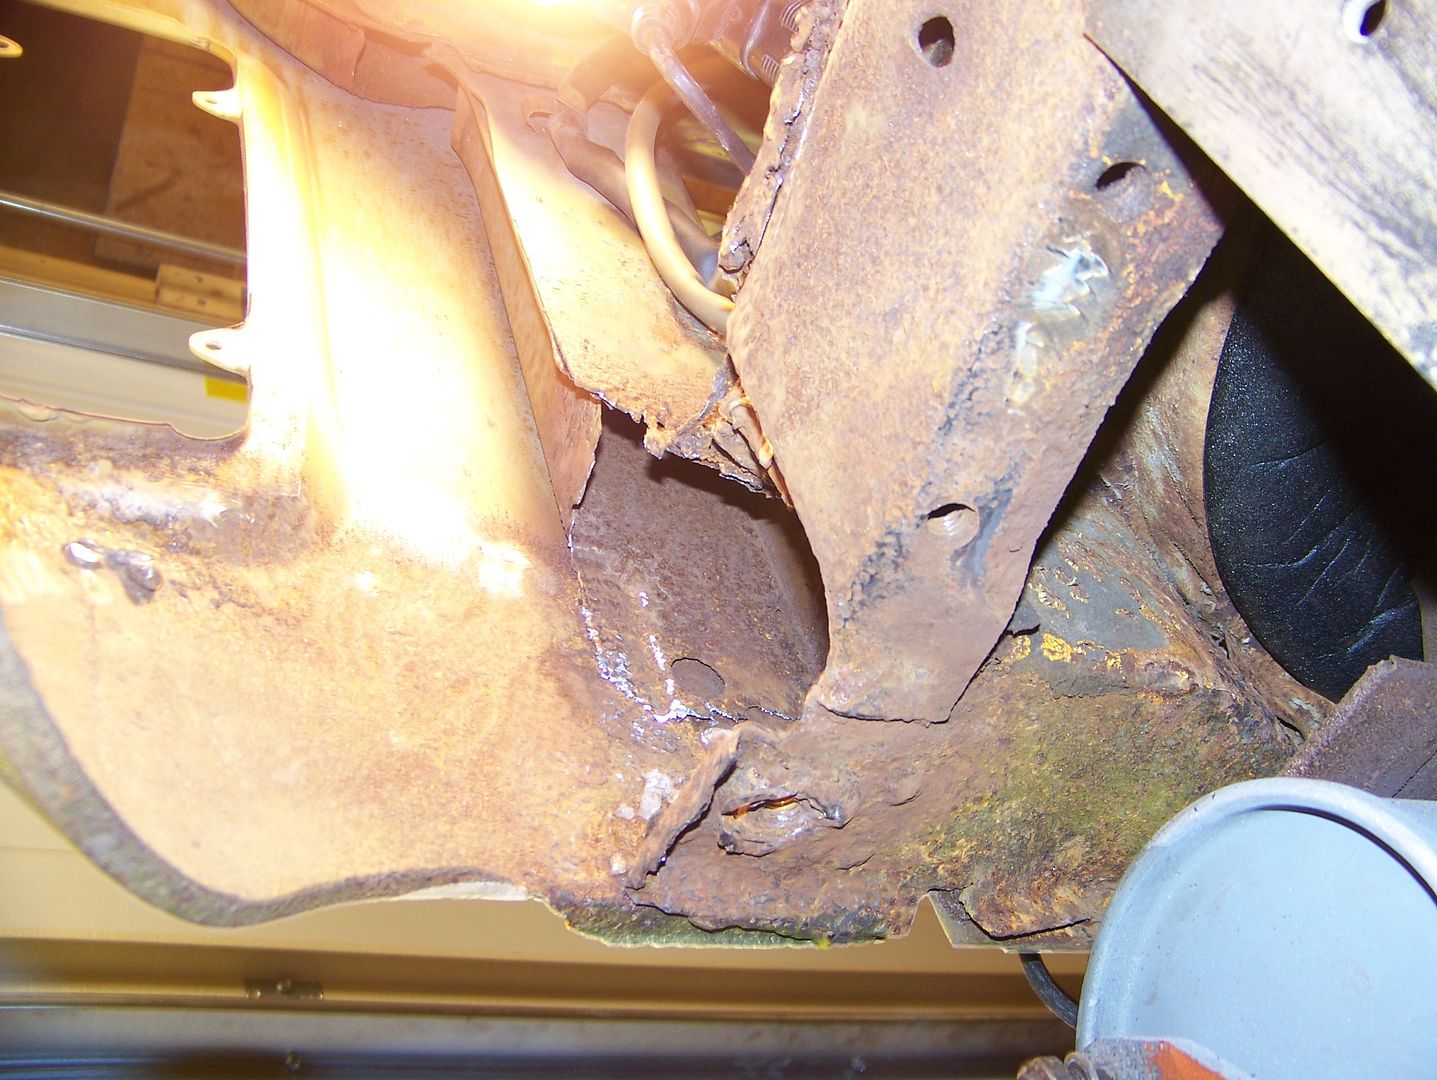
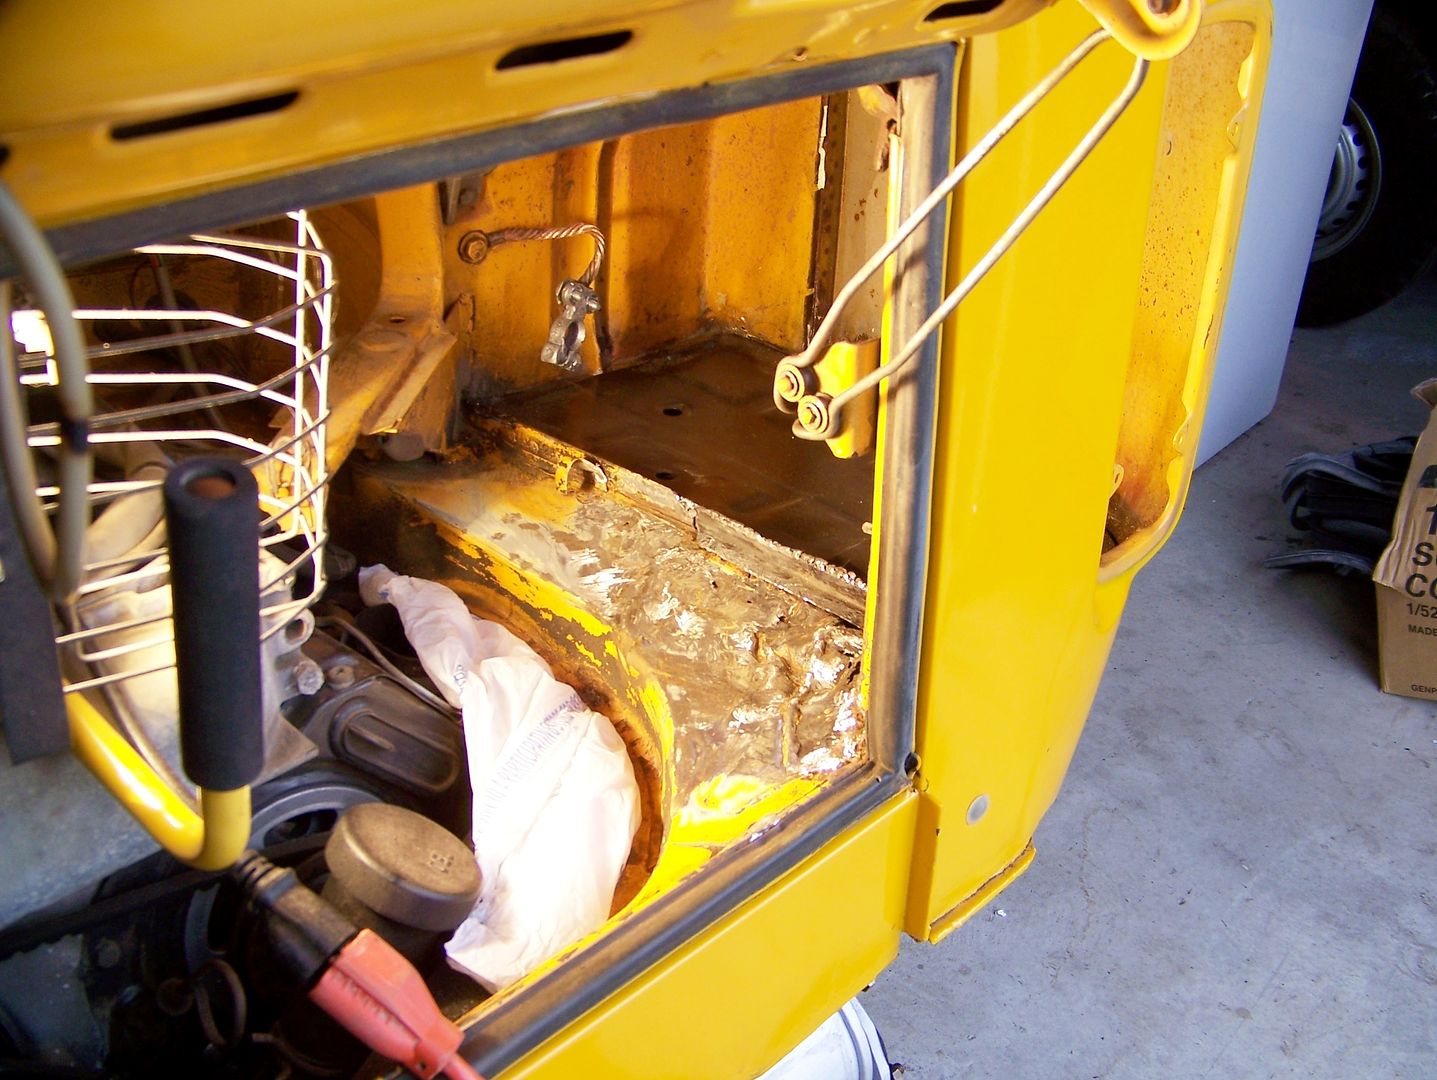
The pinch weld is a mess of tig-welded burnt metal fragments. The unprotected metal under the fiberglass and bondo and shiny paint, exposed since 1995 at the latest, has been rusting away:
A horrendous glob of silicone "caulking" has made a den of hidden rust along the replaced rear quarter panel which has rusted enough to be almost perforated:
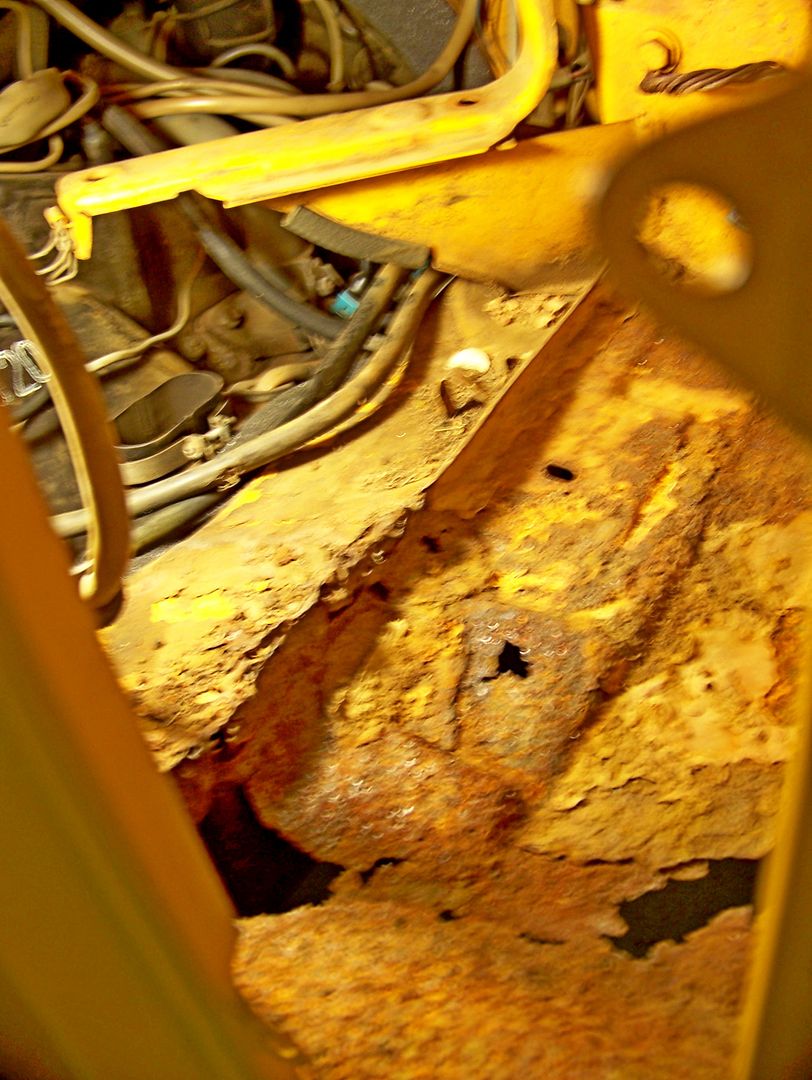
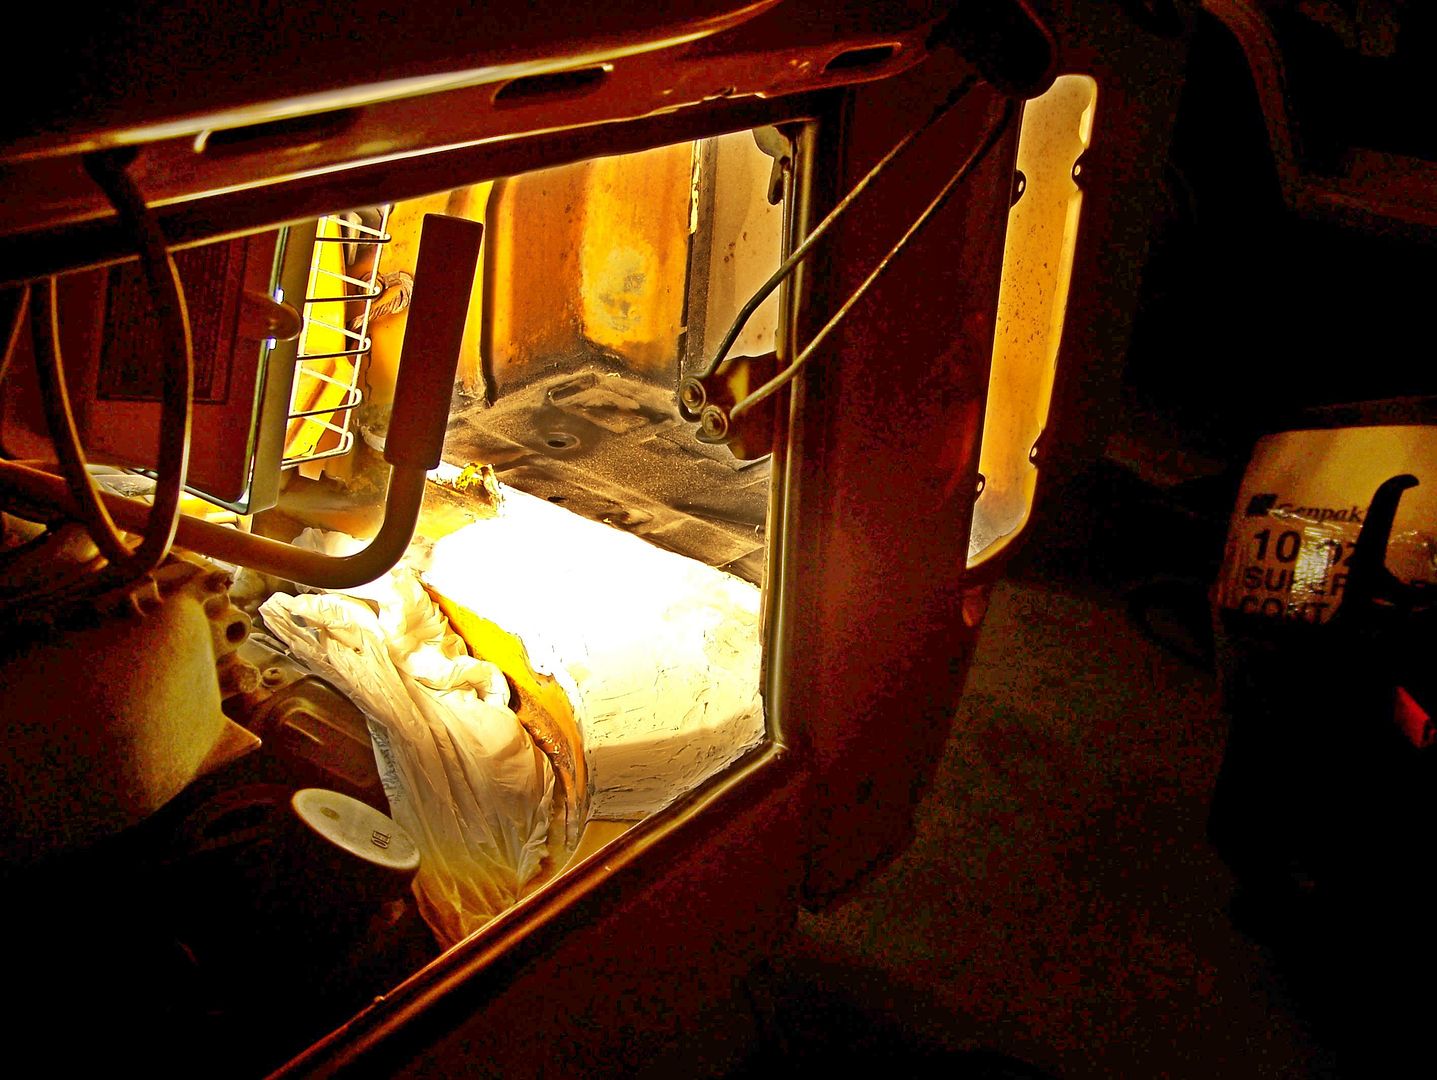
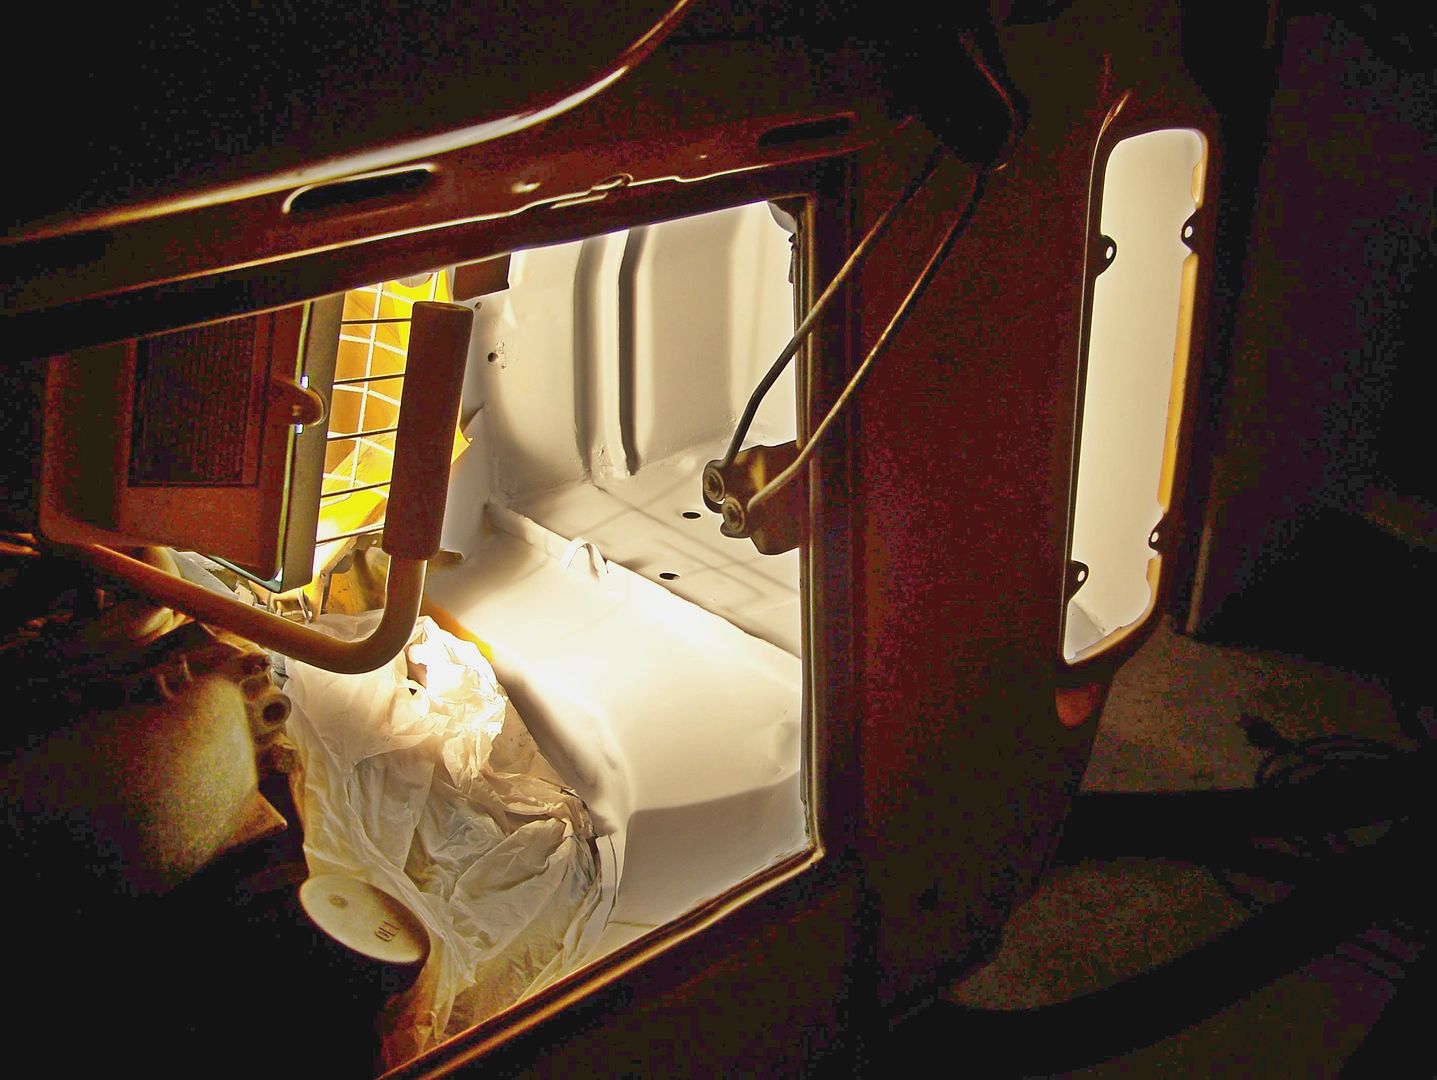
After I cut out the battery tray, leaving a support shelf at the front and partially along the side, I was able to access the splash shield that had been crushed by a boulder strike or something:
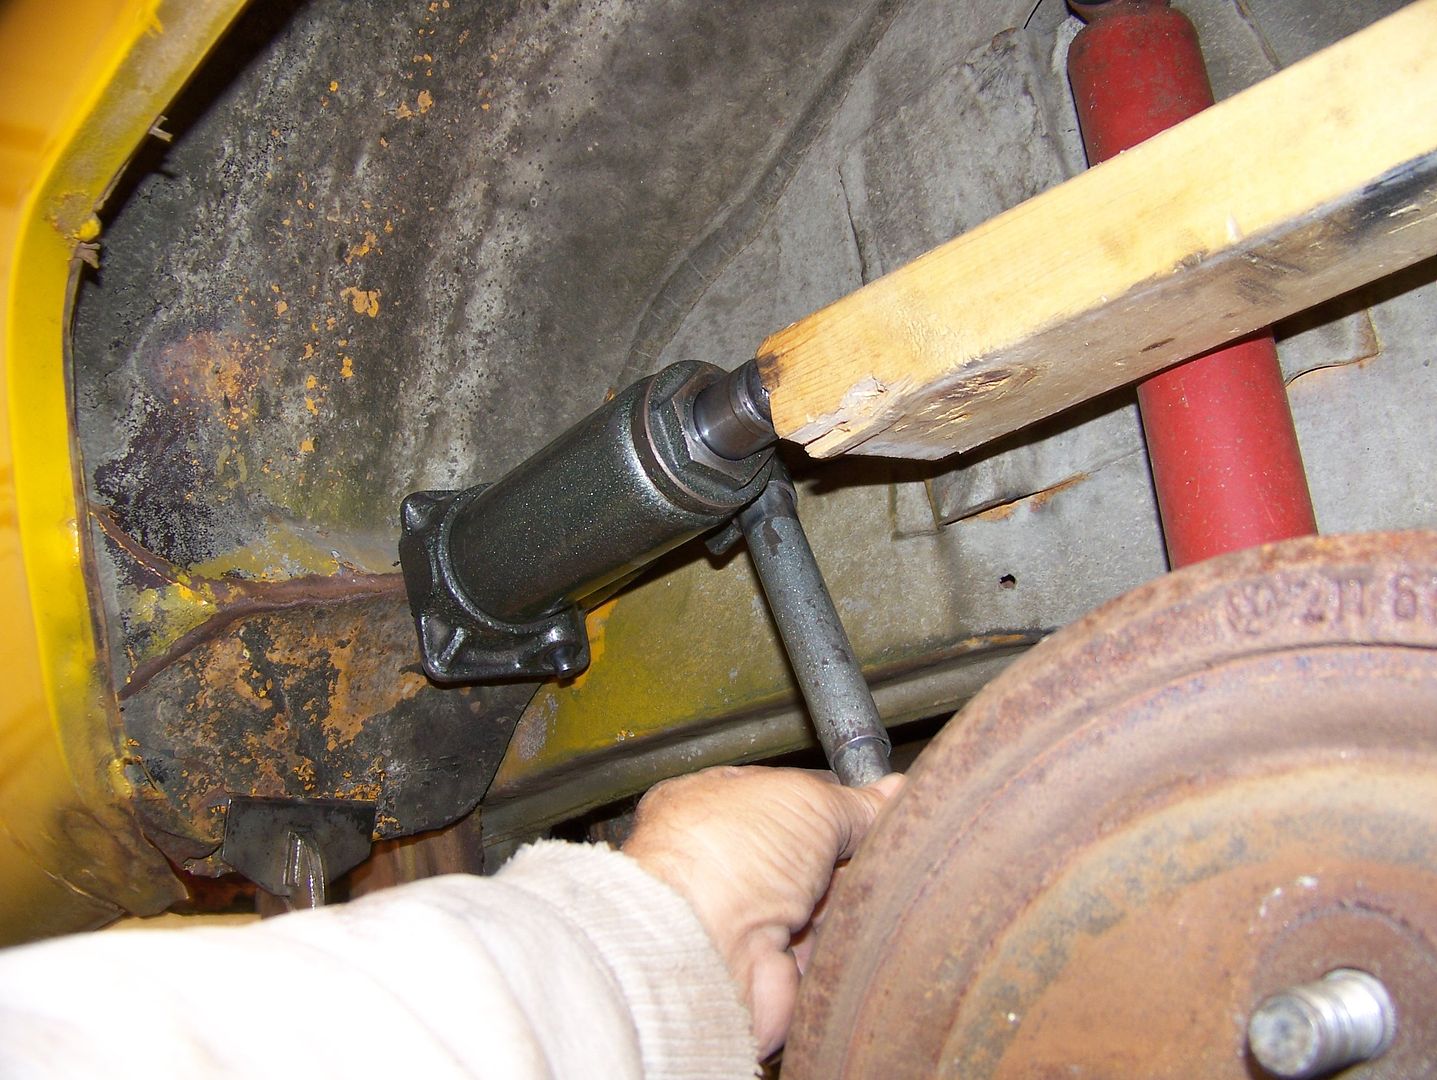
It was bashed up against the rusted out battery tray and had buckled into a "z". This hit was severe enough to also pull the rear fender in and up. I used a 2X4 to bash it back a little, but needed to haul out my bottle jack to press and keep the wheel well from bowing forward. Some serious pressure going on and the bottle jack push also managed to push the front wheel well metal forward a bit as I pushed back on the splash shield. Under tension, I hammered the buckled metal above the splash shield and pulled down on the fender just behind the wheel opening. Eventually, it "latched" into position and stopped springing the h%@! back up. Every hammer blow released a shower of metal chunks and rust. Poor car:
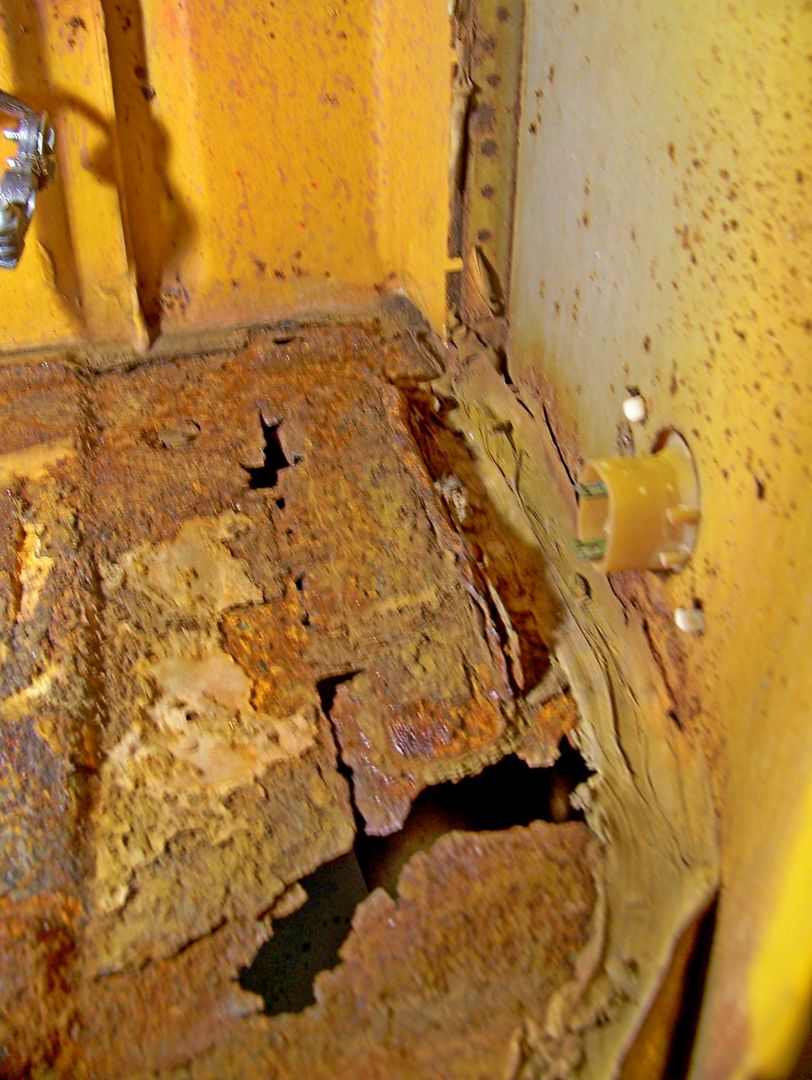
That is bondo under the taillight, you can see the rear brace eaten away, and you can see the devastated bumper bolt holes, but you can also see how we are working our way in like archaeologists puffing away the dirt (rust, dammit) to uncover the artifacts (metal, dammit) underneath:
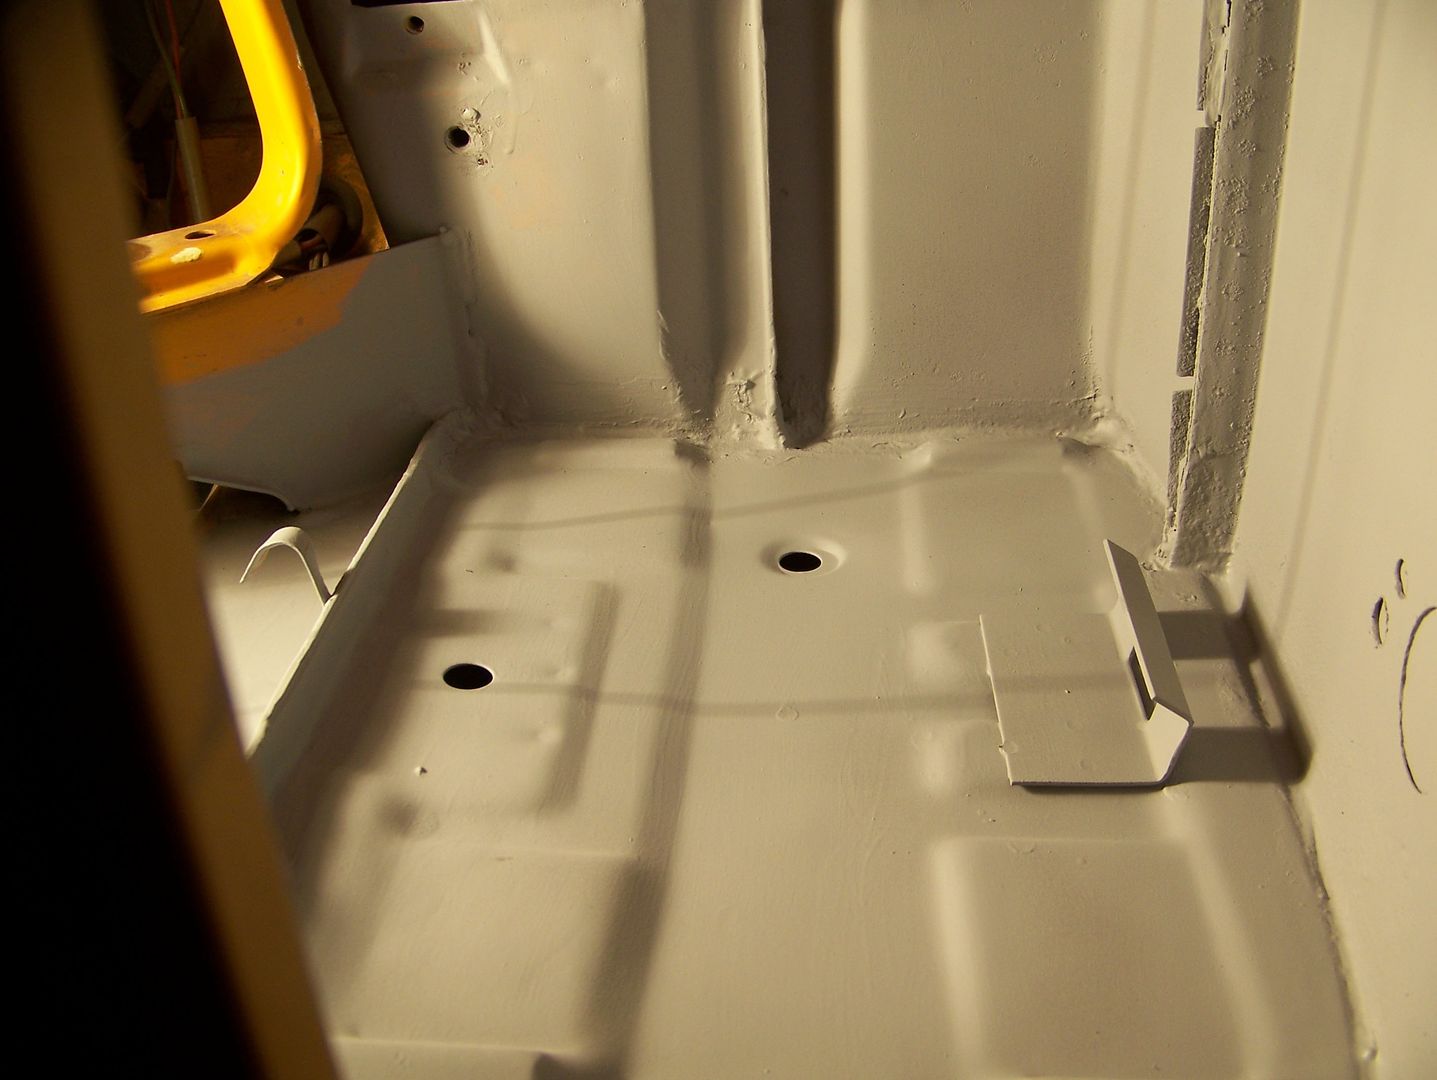
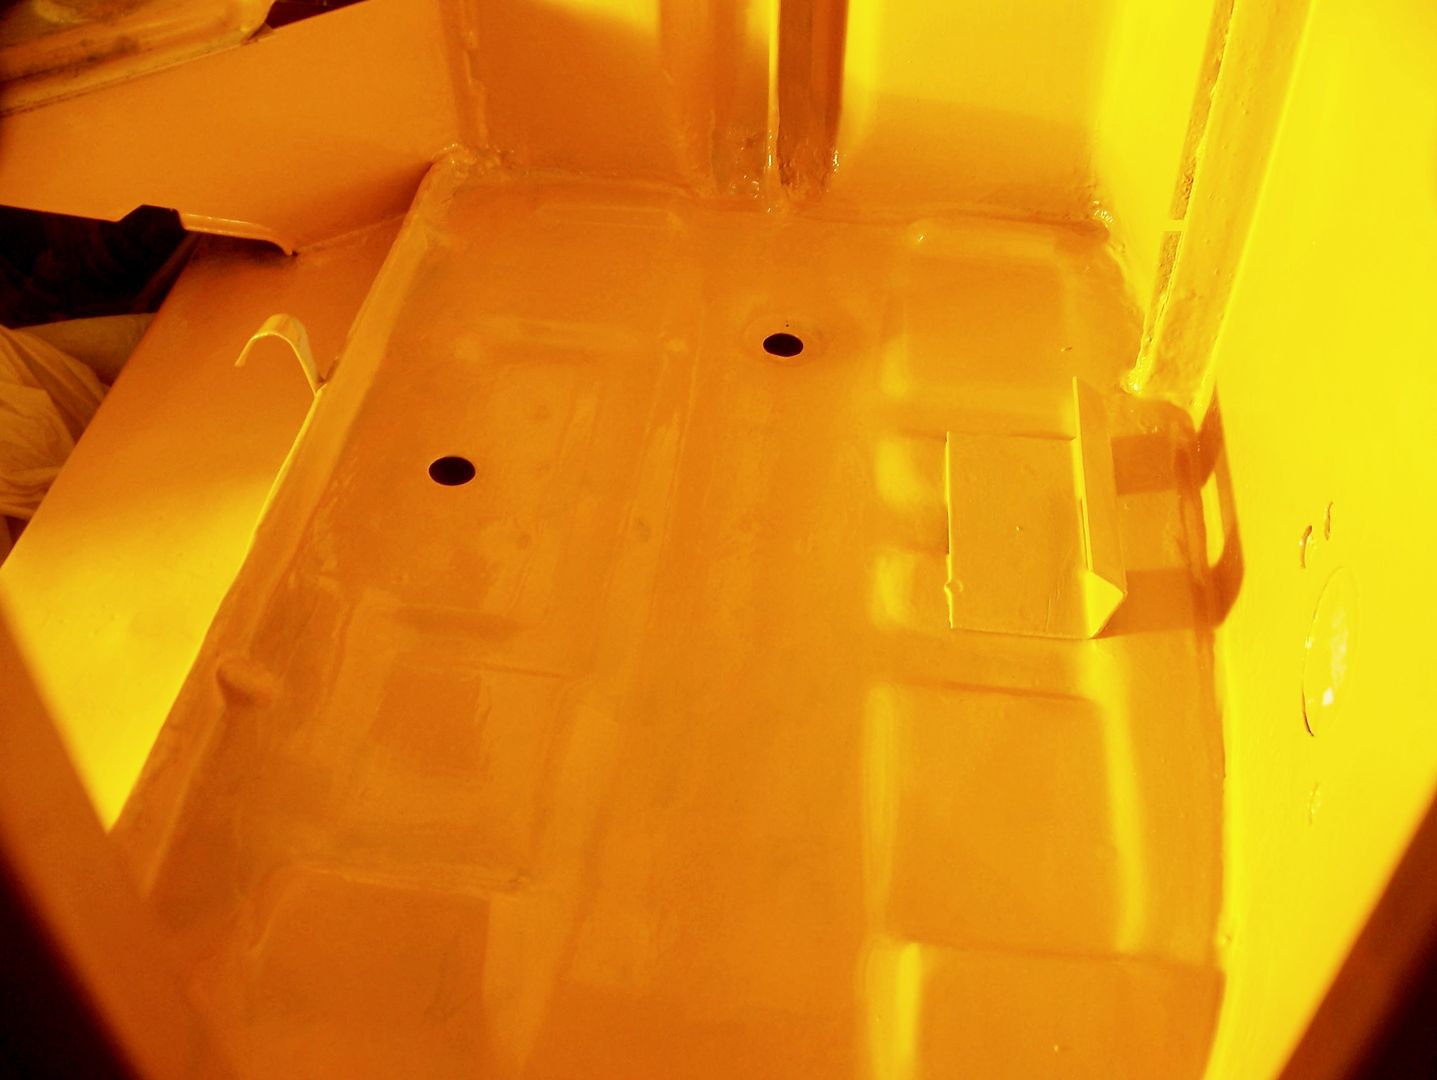
I spent the night cleaning away any friable rust, trying to scope out and clean remaining good metal. I had the old battery tray "support shelf" in place, and I straightened it to as factory like as possible so it would meet the new flimsy piece of work from Bus Depot for $27.00 battery tray's profile as closely as possible. Then I brushed and applied 120 psi air to the entire right rear of the car all passages, caverns, hidden compartments, drain holes, support pieces, frame channels, rear apron, brushed some more, tapped and tapped, blew more air, brushed and cleared debris, then painted with the good Marhide One Step Rust Catalyzing primer, every exposed bit of metal, every hidden area, every seam, every crevasse, paint was driven up the internal bracing with air pressure. The thoroughness of this effort was matched only by my desperation to stop this surprisingly advanced cancer. I knocked off at 1:00AM.
Here is our Clint Eastwood-Meets-Atticus Finch Criminal Defense Lawyer in Japanese Rice Rocket Wannabe headgear checking out how much metal we have to work with to weld in the new battery tray.
Jack did a test weld with some fragments from the new battery tray. It looked easy. Didn't look too good, though. I wanted to try my hand, but there was no more test pieces.
Jack heard me a little later declare, "hey! I think I can JB Weld this battery tray in place!" (that was because I was thinking to myself, "I will be DAMNED if we are going to touch this car with that infernal metal killing welder")
"Oh, sure, suit yourself, it looks like it might work, need a ride to get some?"
Then I looked at the whole unsupported rear of the battery tray, and miserably concluded that we HAD to weld the damn thing in. So, I backtracked a little. What could he practice on without me puking?
"Hey Jack, can you weld the cut off piece of new battery tray to the side here?" (it was new metal to new metal and it matched the profile of the pinch weld seam beautifully, and if it turned out to be the disaster I was anticipating, well, it is only a $27.00 tray . . . . )
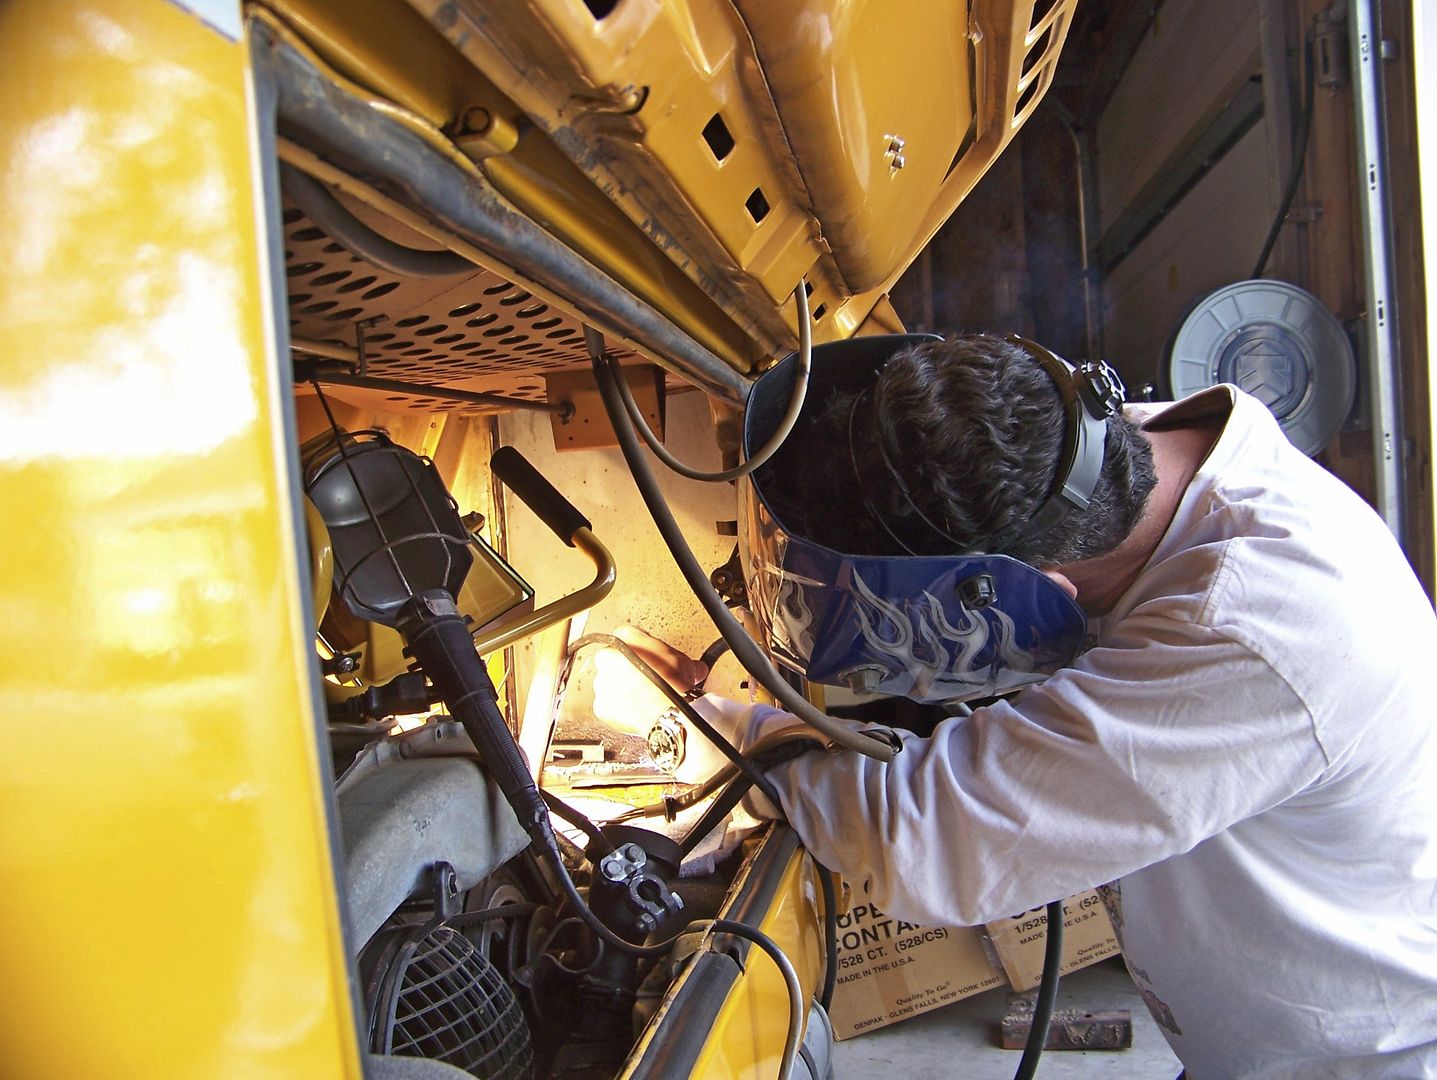
"Colin, get the dremel on it and clean it up," said Jack The Migger. Well, wouldn't you know it, under the burnt outside of lumpy crusty crispy burnt-looking metal, was a decent-looking brass sort of welded joint. Now I wanted to play.
"Jack, I AM going to weld the rear brace MYself."
"Oh, sure, suit yourself, but I don't think there is much metal to work with there, it will probably burn through."
"How the HELL do you see in here?" I asked from the mask.
"It auto-dims."
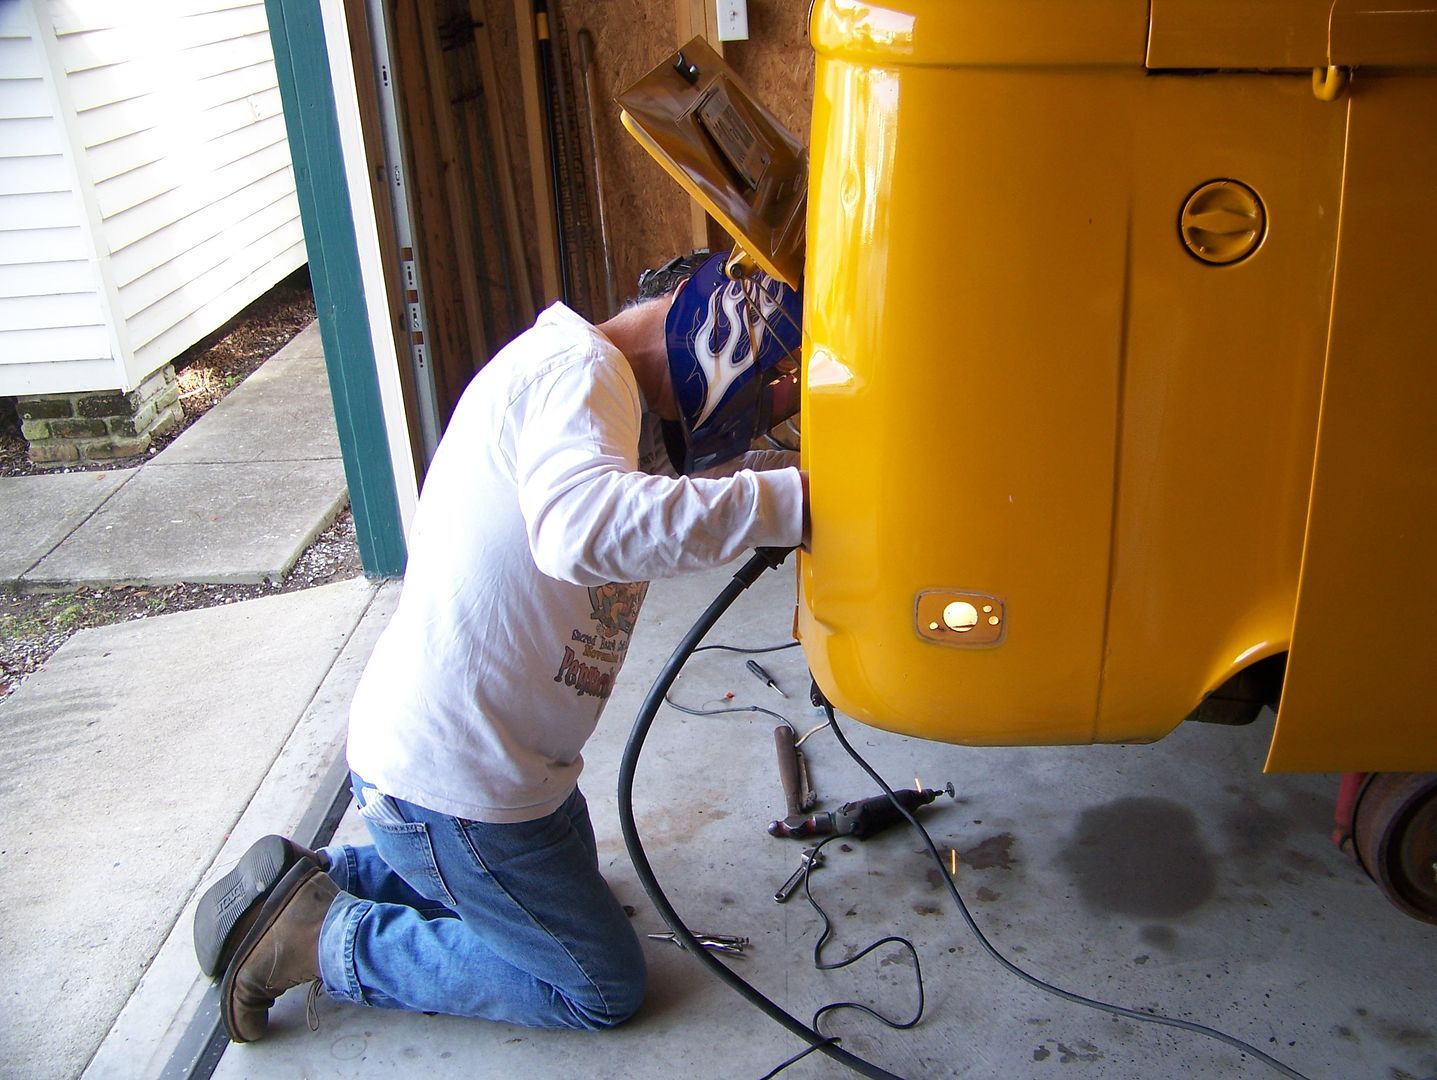
With an exceptional display of incompetent thrashing and mask slipping and sparking and weld rod wastage, I conducted two spotty looking welds at the rear corner with a little bubbling of the paint on the outside.
"This is harder than it looks."
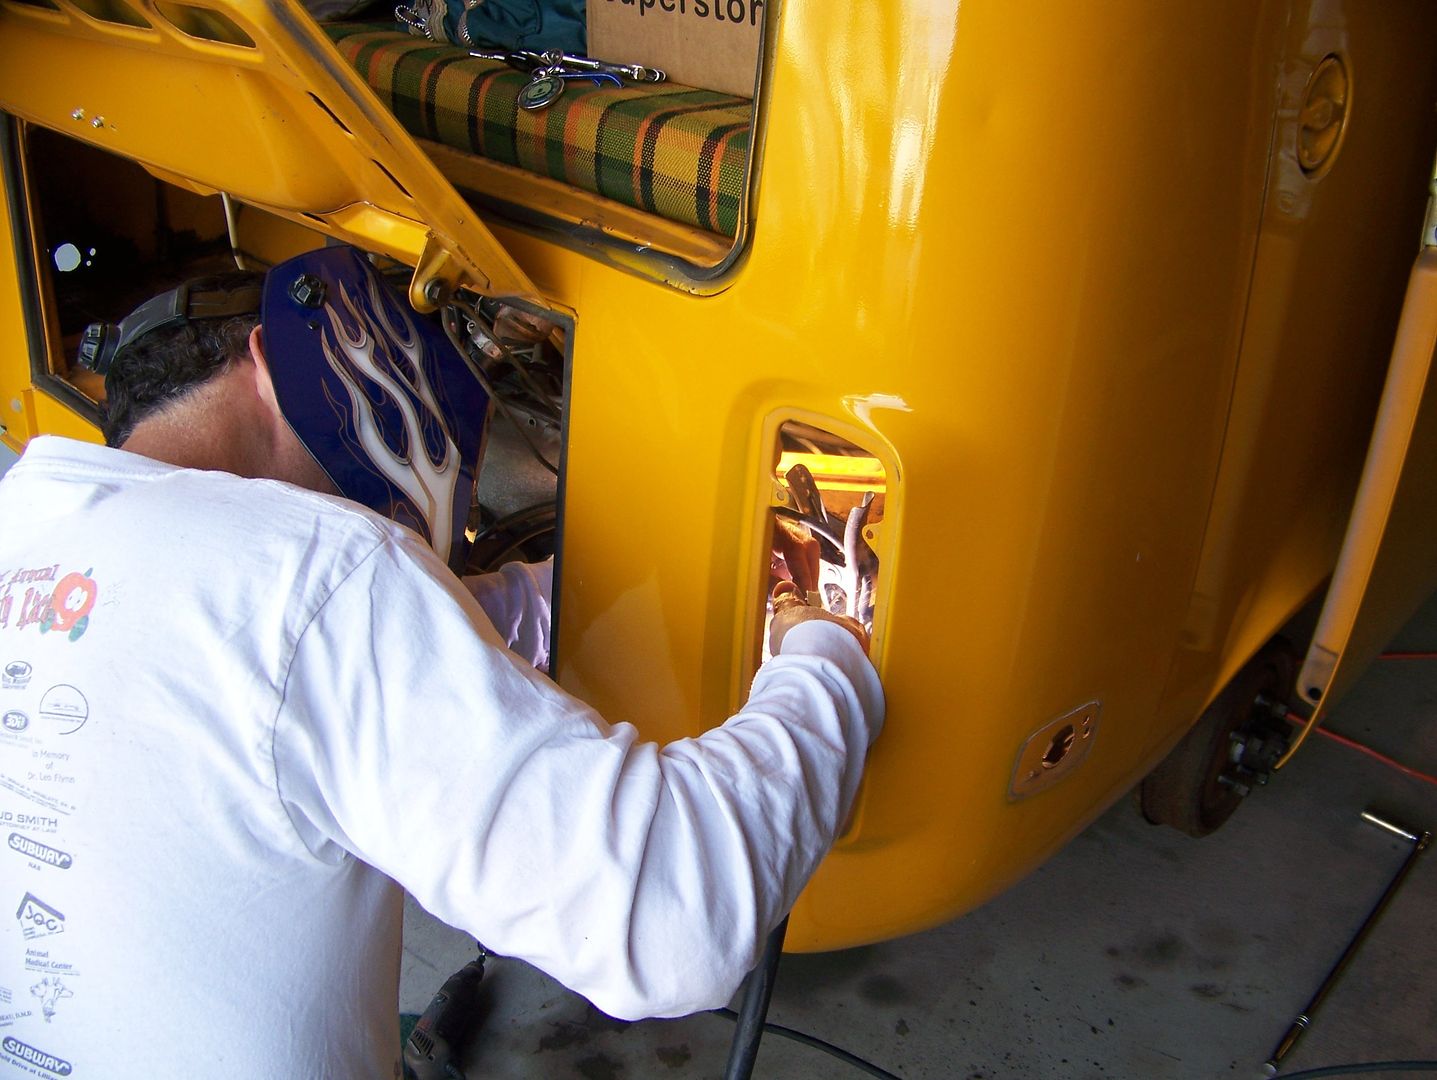
Here is the welded-in new battery tray. There is a mess of mangled metal from the long-ago impact, but our welded remnant of new battery tray front is matching the pinch weld line nicely and the tray is *solidly* in place:
Here is four hellish hours later, after applying bondo to the metal moonscape and a butyl-tenacious-mucky-caulk (the same stuff I used on Chloe's windshield) line around the perimeter of the battery tray with my fingers, then finding out that I did not have a suitable cleaner solvent (finally discovered chlorinated brake parts cleaner worked . . . that, and a roll of paper towels):
Here, I used the wrong spot filler and discovered that it needed "hardener". It never set. It never set. It never set. It never set . . .
Many many many hours later, I scraped off the NeverSet Body Filler and reapplied real bondo and followed through with the correct spot putty. Vacuum/sand/vacuum/sand all night, then hand painted primer:
After some trying spray can cap paint-mixing . . . . and even more vexing brush painting through that infernal taillight opening . . . :
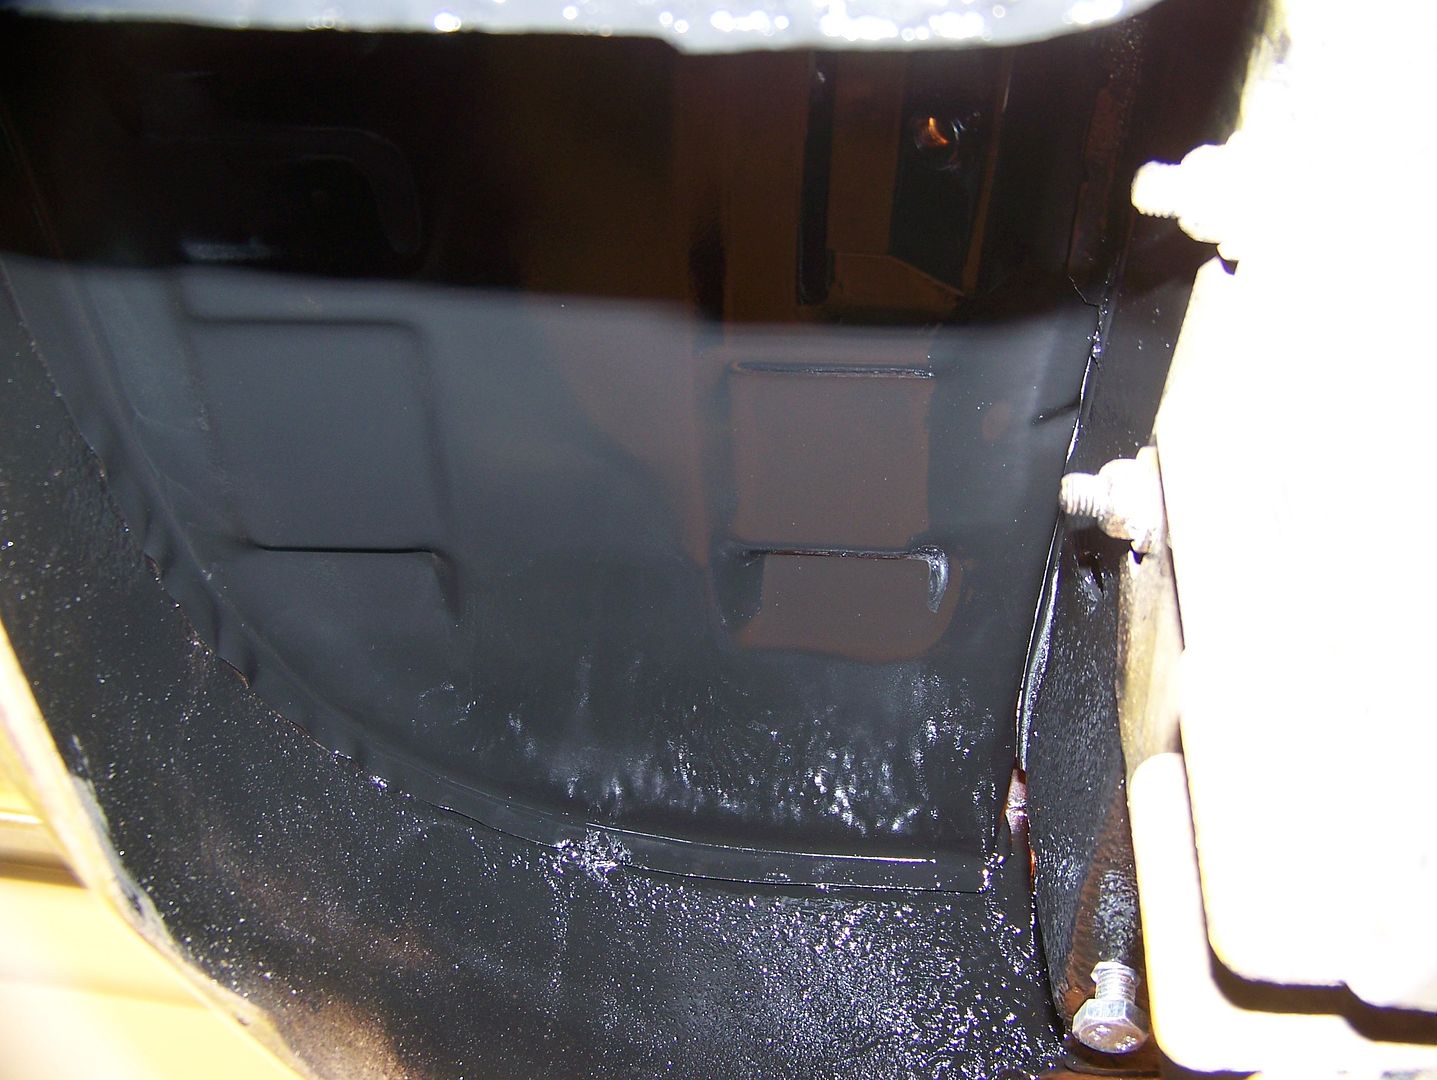
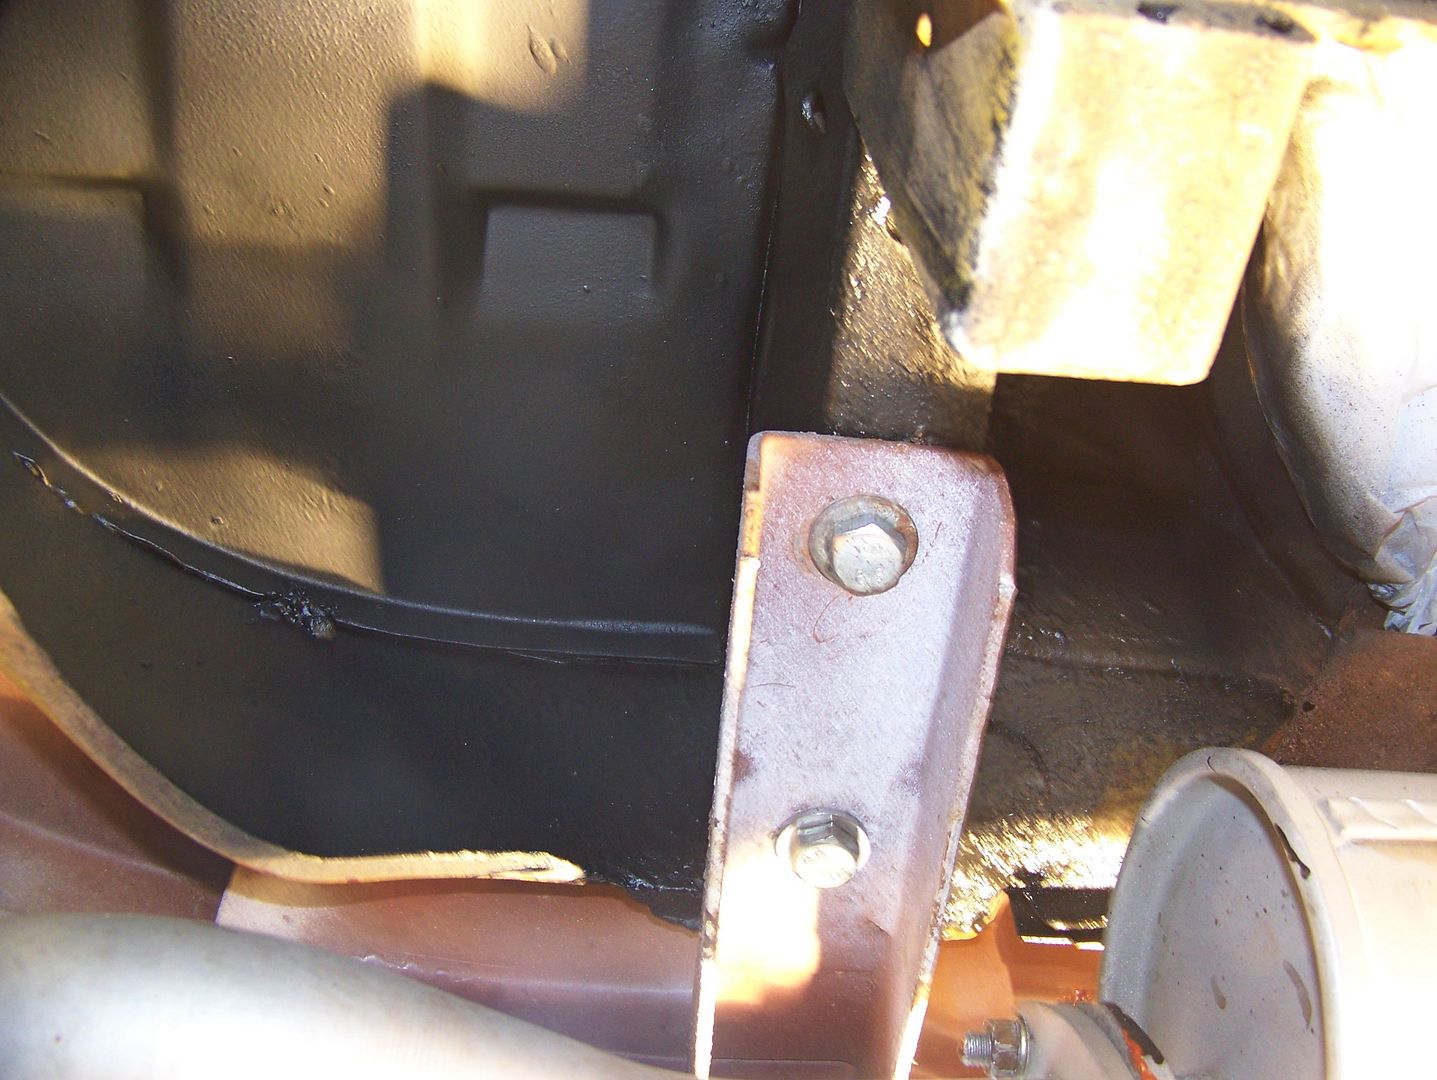
Meanwhile, under the car I had brushed, blasted and driven rust catalyzing primer up into pinch welds and seams with air pressure, followed by an air-pressure-turbo-assisted application of black paint, followed by a turbo-assisted application of undercoating:
I found the BobD replacement rear bumper bolts purchased in Albuquerque in 2012, and tapped and anti-seized the suffering bolt holes on the car, elongated the bumper bracket holes with the dremel grinder, and got that bumper looking proper-like (next to my hideous battery tray weld screaming at the viewer of this photograph, "don't let this guy weld!":
As I was finishing up and putting away tools, I spied the left rear wheel with bubbled paint and a wet spot. That was one wrecked BobD wheel paint job. After my stated departure time had arrived, I
a) had to replace left rear wheel cylinder, decontaminate shoes and drum, and adjust brakes
b) change oil
c) adjust valves
d) get that left lower tin removed and retorque all eight exhaust manifold nuts
e) adjust AFM wiper 1/2 tooth rich
f) Rainex the windshield
g) thank Jack for hosting this most challenging and interesting repair (we did good, Jack).
Have been driving through a pounding driving rust-promoting rain for two days now.
The Universe is so funny I forget to laugh.
Colin